How to Sew a Buttonhole by Hand
Buttonholes are essential components of garments, providing the means to fasten buttons securely. While modern sewing machines offer convenience, there's something timeless and rewarding about sewing a buttonhole by hand. Whether you're an enthusiastic DIYer or a novice looking to expand your sewing skills, mastering the art of hand-sewn buttonholes is a valuable technique to have in your repertoire.
This step-by-step process of sewing a buttonhole by hand will ensure a professional finish every time.

Selecting the Right Tools and Materials:
Before you begin sewing a buttonhole by hand, gather the necessary tools and materials. You will need sharp fabric scissors, a ruler or measuring tape, tailor's chalk or a washable fabric marker, sturdy thread that matches your fabric, and a sharp needle suitable for the weight of your fabric.
Marking the Buttonhole Placement:
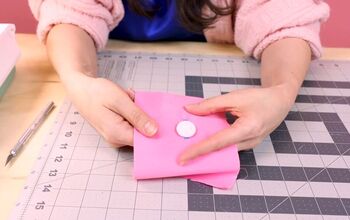
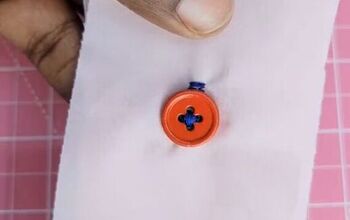
Accurate measurements and markings are crucial for a well-aligned buttonhole. Place the button on the fabric where you want it to be fastened. Using tailor's chalk or a fabric marker, mark the top and bottom edges of the button on the fabric. This will serve as a guide for the length of your buttonhole.
Creating the Buttonhole Stitch:
To begin sewing the buttonhole, bring the needle up through the fabric from the wrong side, near the bottom edge of the marked button. Leave a small tail of thread on the backside, which you will secure later. Insert the needle back into the fabric, next to the starting point, creating a small horizontal stitch.
Next, move the needle diagonally across the marked buttonhole width, making a slanted stitch. Bring the needle back up through the fabric, close to the first stitch, and create another slanted stitch in the opposite direction. Repeat this process until the desired length of the buttonhole is reached, making sure to keep the stitches evenly spaced.

Reinforcing the Buttonhole:
To reinforce the buttonhole and prevent fraying, you'll need to work a series of close-set blanket stitches along the edges. Start by bringing the needle up through the fabric near the beginning of the buttonhole. Insert the needle through the fabric again, but this time, loop the thread around the needle before pulling it tight. Repeat this process, creating evenly spaced blanket stitches along both sides of the buttonhole.
Securing the Thread:
Once you reach the end of the buttonhole, secure the thread by making a small knot close to the fabric. Insert the needle through the fabric, near the knot, and bring it out a short distance away. Pass the needle through the loop created, forming a second knot. Trim the excess thread, ensuring the knot is tight and concealed within the fabric.
Finishing Touches:
To ensure a professional and polished look, press the buttonhole gently with a warm iron on the wrong side of the fabric. This will help flatten the stitches and give the buttonhole a neat appearance.

Sewing a buttonhole by hand is a skill worth acquiring for any sewing enthusiast. While it may require practice and patience, the result is a beautifully crafted buttonhole that adds a touch of handmade elegance to your garments.
By following the step-by-step instructions provided in this article, you can confidently sew buttonholes by hand, knowing that your creations will be secure, durable, and visually appealing.
So, pick up your needle and thread, embrace the art of hand-sewing, and unlock a world of possibilities in your sewing projects.
The author may collect a small share of sales from the links on this page.


Comments
Join the conversation