How to Sew Buttonholes by Machine
Let’s talk about how to sew buttonholes.
I know sewing buttonholes can be one of those tasks that makes people nervous. Let’s face it, it’s usually the last step in making a shirt or a jacket, and you don’t want to mess up!
While there’s a few things that can go wrong, sewing beautiful buttonholes really comes down to preparation.
In this post, I will walk you through all the things you need to do to get ready to sew a buttonhole. Then I’ll walk you through the simple process of sewing buttonholes by machine on a shirt. Why a shirt? Because you’ll get probably the most amount of practice on your buttonholes when you make a button down shirt.
So pull out that button down shirt you still haven’t finished, and let’s break down how to sew buttonholes.
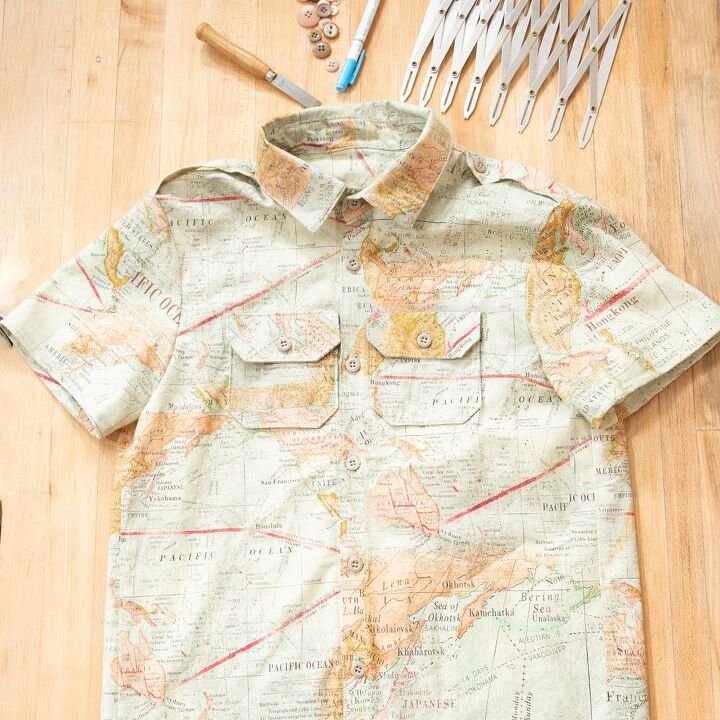
Table of Contents
Hand worked buttonholes vs sewing buttonholes by machine
I’m not going to show you how to sew buttonholes by hand because there’s not a lot of times when you need to do so. Hand worked buttonholes are a couture technique that are legitimately lovely, but they take a lot of time and practice to master.
So yes, you can sew buttonholes by hand, but machine buttonholes are excellent for almost everything. Better still: today’s automatic buttonhole feet take all of the measuring and guesswork out of sewing a buttonhole. Sewing a buttonhole by machine is almost a set it and forget it kind of thing. Almost…
If you want to delve into sewing buttonholes by hand, I would save them for a special project like a tailored coat and practice practice on scraps of your fashion fabric before you attempt one on your good fabric.
elizabethmadethis.com is a participant in the Amazon Services LLC Associates Program, an affiliate advertising program designed to provide a way for websites to earn advertising revenues by advertising and linking toSome of the links below are affiliate links. This means that, at zero cost to you, I will earn an affiliate commission if you click through the link and finalize a purchase.
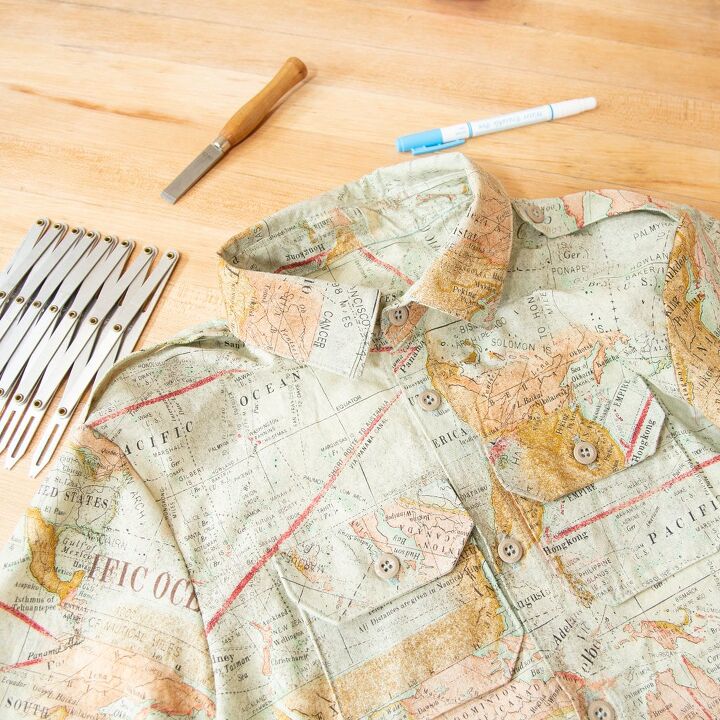
Supplies for sewing buttonholes by machine
- Fusible interfacing (Check out 13 types of interfacing to choose the best interfacing for your fabric)
- Buttonhole chisel
- Quilting ruler
- Simflex buttonhole gauge
- Fabric marker
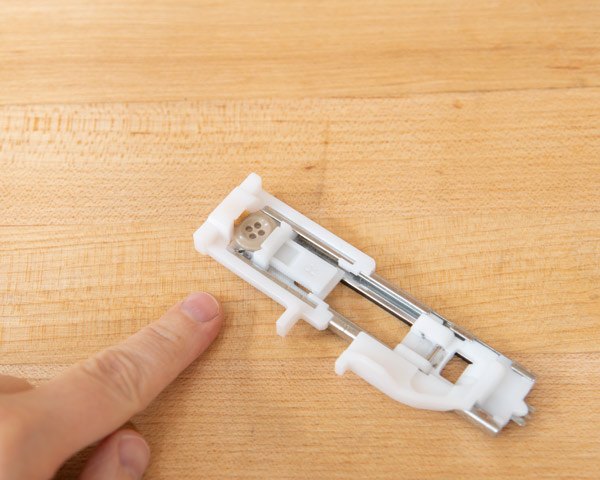
- Automatic buttonhole foot
- Fray Block (optional but awesome)
What kind of buttonhole foot should I use?
I’ve tried generic buttonhole feet in the past, and I’ve got to be honest, it didn’t give me good results.
Maybe it was the particular one I tried, but my advice here will be to use the automatic buttonhole foot that was made for your machine. For example, my machine is a Janome; therefore, I have a Janome buttonhole foot.
How does a sewing machine make a buttonhole stitch?
A machine makes a buttonhole in 2 parts:
- A rectangle, rounded rectangle, or rectangle with a circle end (keyhole buttonhole) of tiny straight stitches. These stitches are the frame for the actual buttonhole.
- Zigzag stitches around the straight stitches. On rectangular buttonholes, there’s a bartack at the top and bottom which is a made up of rows of reinforced stitches for extra strength.
To sew a buttonhole, a machine makes the frame, working backwards, then forwards to the end. After that, narrow zigzag stitches are laid down around the frame of the straight stitches, again working backwards then forwards.
This type of stitching produces even, consistent buttonholes with reinforced stitching that makes it safe to cut through the center of the hole without worrying about the fabric fraying in the wearing.
How to sew buttonholes step by step
Adding interfacing to the buttonhole area
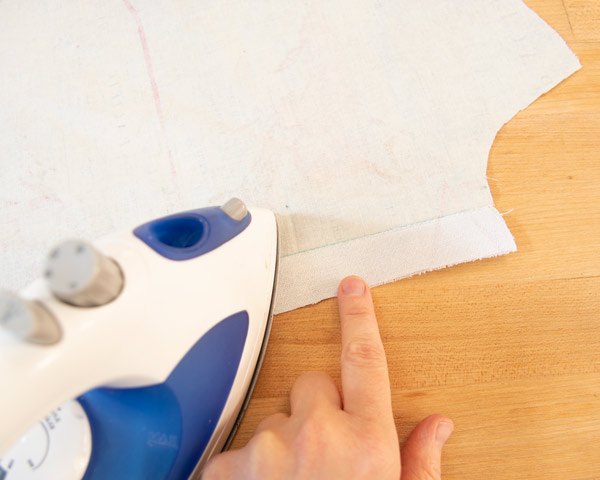
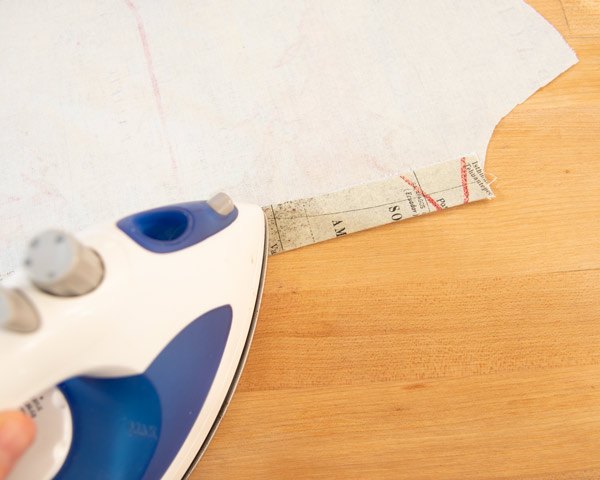
First things first, add interfacing in the area behind where the buttonholes will be. In my case, it’s going on the back side of my button band. For button bands, interface to the fold line, then press the band towards the front right on that line.
If you were sewing buttonholes on a pocket or some other piece, you’d add a layer behind wherever the buttonhole will be.
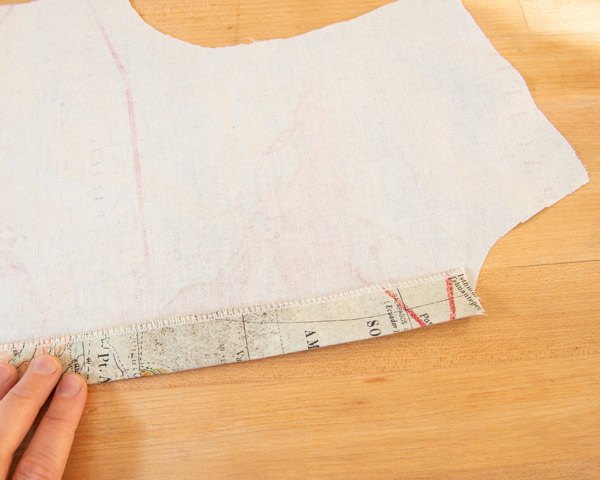
For button bands, either finish off the edge with a serger or press back the raw edge by 1/4″ to the wrong side. Stitch down the button band close to the finished edge. You can stitch down the button band from the right or wrong side depending on your preference.
Make a test buttonhole
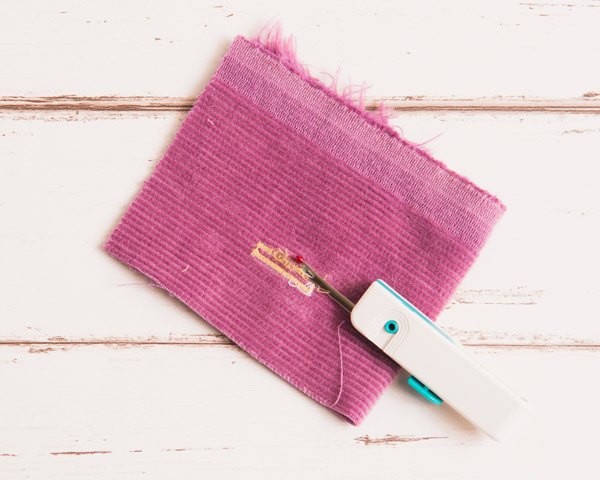
Never ever ever skip this step. Take a scrap of fabric, fold it in half with a layer of interfacing in between the layers.
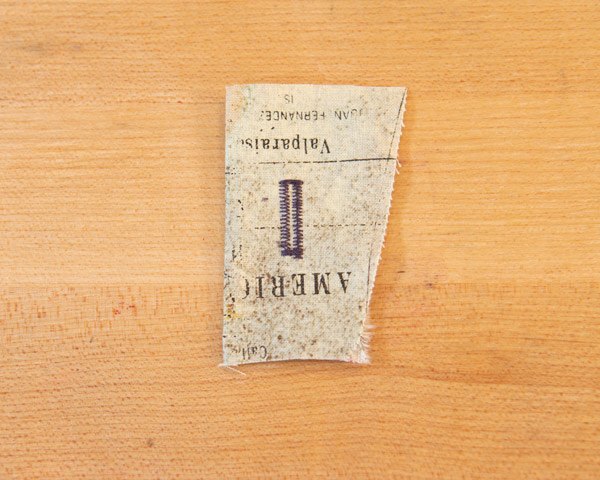
Pop one of the buttons that you’re using on your project in the buttonhole foot.
Set your machine on one of the buttonhole stitches and stitch out a buttonhole.
The reason why this is important is that it’ll help you get an accurate look at how long your buttonhole will be. It also can help you troubleshoot working with a fabric that’s a little tricky. Check out Gamechanger Tips for Sewing Buttonholes for some ideas on making a buttonhole in fabric that’s being a little grumpy. This test buttonhole can stop you from having to rip out stitches later.
Lastly, stitching a test buttonhole or buttonholes can help you just get used to the process of stitching them. The machine will go forward and back a couple times. It’s a weird sensation at first, so let it be weird in your tests so you’re not surprised when you’re stitching for real on your project.
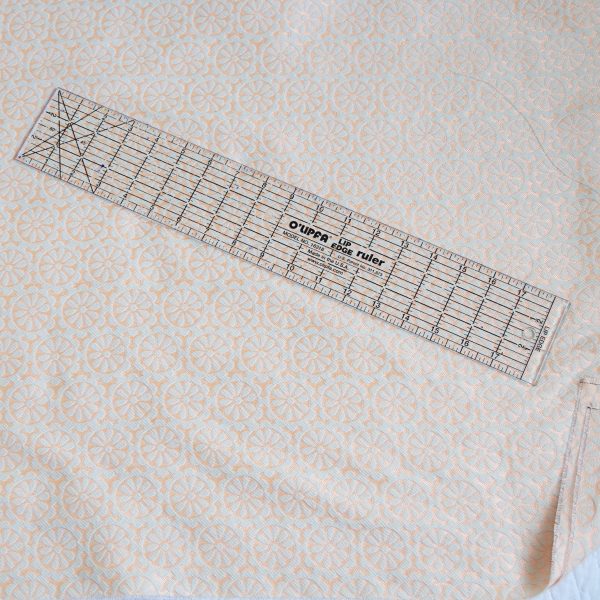
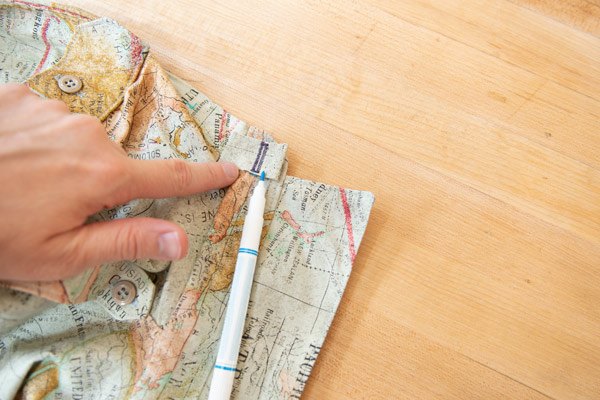
Mark the top and bottom buttonhole
Using a ruler, measure on your pattern where the top buttonhole and the bottom buttonhole are placed.
Do not use the piece of pattern paper with the buttonholes marked on it. Sometimes the tissue can move as you’re working with it, leading to your buttonholes being in different locations.
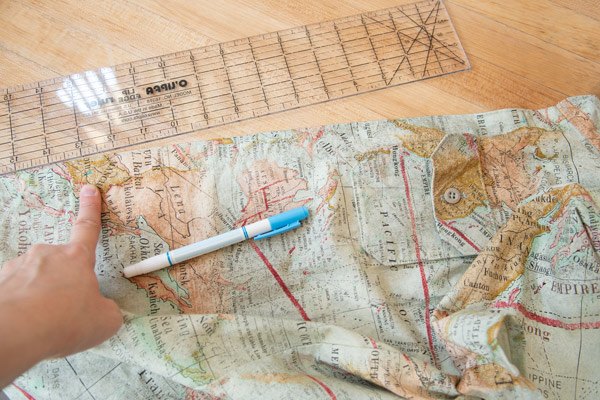
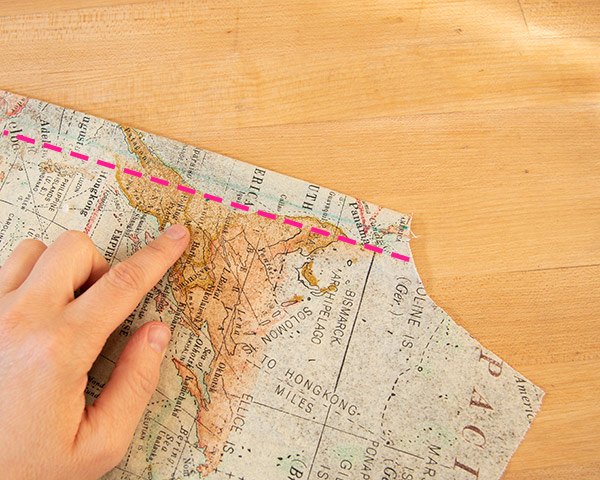
If you’re sewing a shirt, be sure that the center front is incorporated into your mark. I like to make a sort of L-shaped mark with a fabric marker.
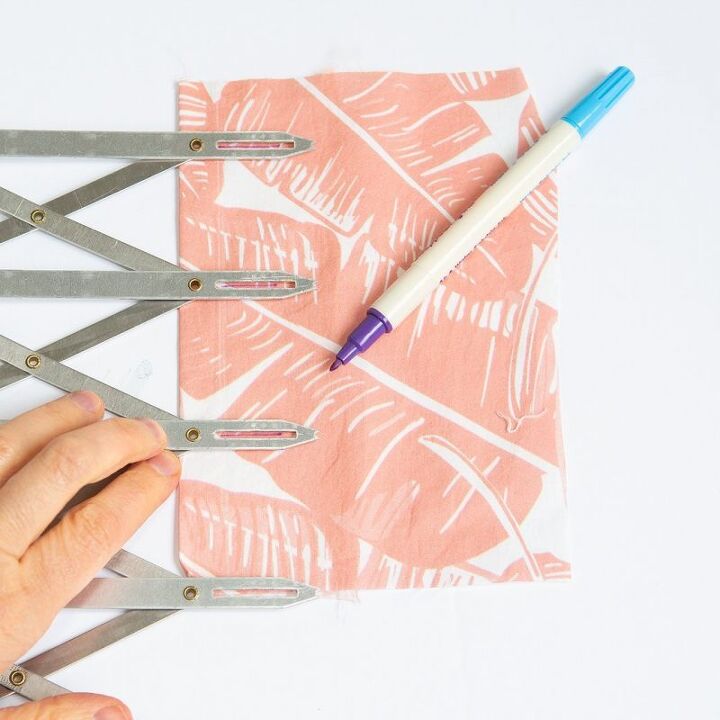
Mark the other buttonholes
Count off the number of holes you’ll need with the Simflex gauge. Carefully grip the end of the gauge in one hand while your second hand is on the space where the last hole you need on the gauge is. Spread the gauge evenly between the markers as you line up the top marker with the top hole and the bottom marker with the bottom hole.
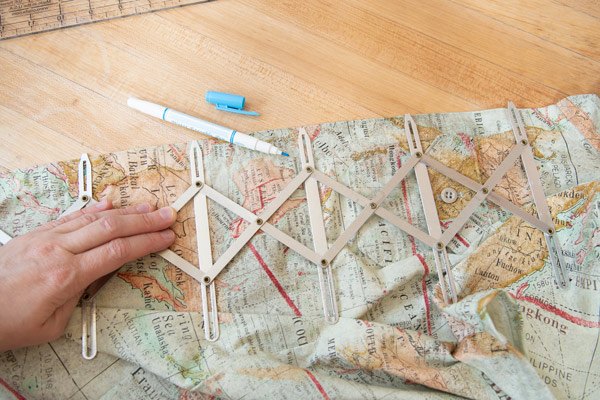
I know one criticism of this tool is that sometimes the gauge will space out the holes slightly unevenly. I personally have never had that issue with mine as long as you evenly pull on the gauge to open up the space to where they need to be. You’re always welcome to double check your measurements with a ruler.
Mark the buttonhole on the collar or cuffs
If you’re sewing your buttonholes on a shirt, you’ll also need to mark the holes on the top of the collar and perhaps the cuffs.
Cut off the extra fabric at the top and bottom of your test buttonhole. Use the test buttonhole to mark where the end is.
You always want to sew buttonholes on collars and cuffs towards the edges. If you start sewing ON the edge, the buttonhole foot will often get caught and you’ll have to rip out the hole.
Elizabeth Made This Tips
Stitch out the buttonholes
With the buttonhole foot on (button loaded in the back) and presser foot up, line up your needle with your top mark.
Next, drop the needle right on the mark into the fabric. Put the presser foot down, making sure that the guide bar (mine is black) is pulled down. This bar will help the machine sense when it needs to move backwards or forwards as you stitch.
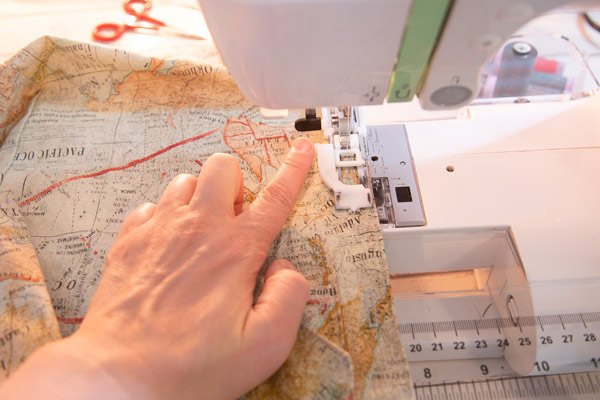
Hold onto the fabric at the front and the back of the machine with even tension so that you can guide the fabric as it stitches.
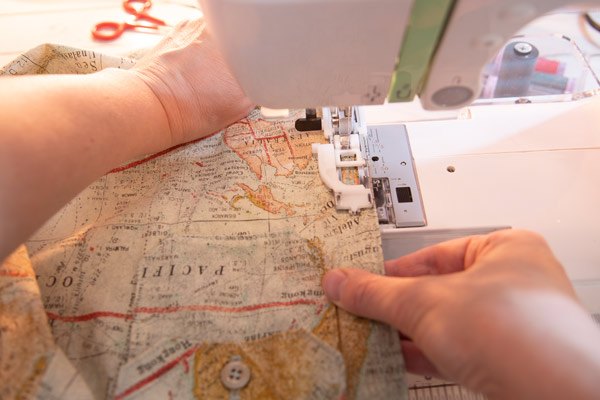
When you finish stitching the first buttonhole, lift the foot, reset the needle and keep stitching. Repeat until you’ve stitched all the buttons on the button band.
For a collar or cuff, drop the needle in the mark you made and stitch TOWARDS the edge of the collar or cuff.
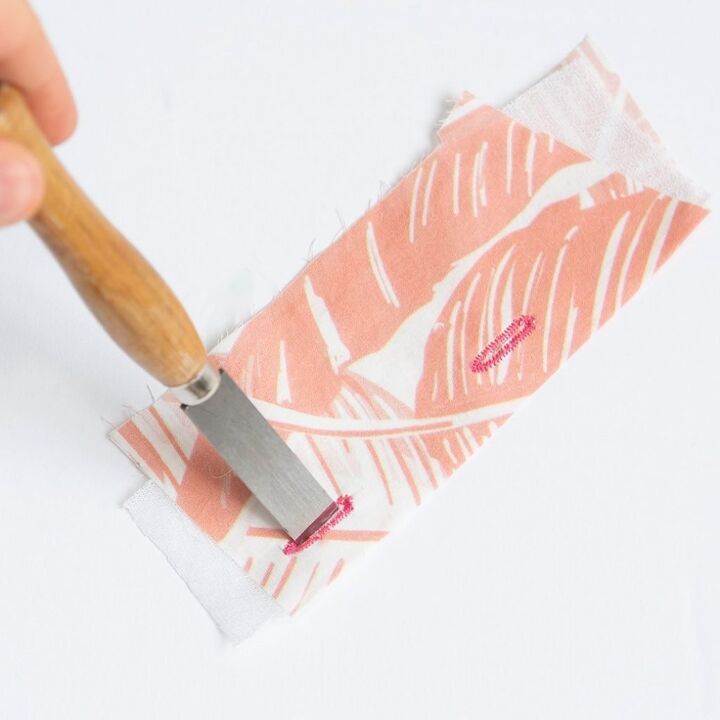
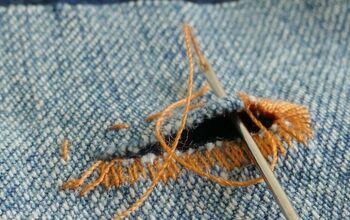
Cut open the buttonholes
You can use small embroidery scissors for this job, but a buttonhole chisel is even better. There’s almost no chance of accidentally cutting through the sides or the ends of your stitching with a chisel.
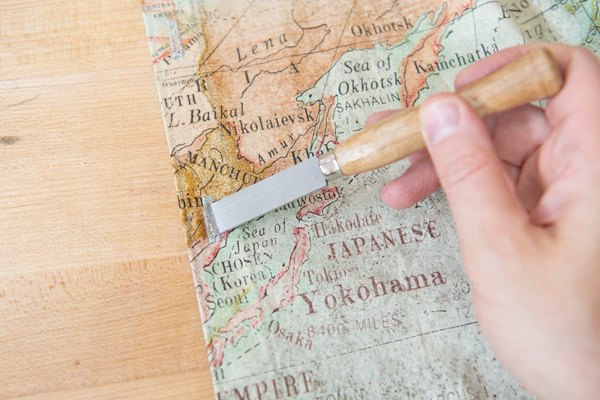
Working on a cutting mat, position the buttonhole chisel in the center of each buttonhole. Apply pressure to cut open the hole.
Add Fray Block to the holes
Apply a little Fray Block to each buttonhole. This just keeps some of the threads from getting too unruly around the inside buttonhole edges. I often skip this step and it’s no problem. Fray Check also works here.
Use the holes to mark the buttons
Line up the edges of your shirt and pin at the bottom and top. Push a pin through each buttonhole to mark where each button will go.

Sew on your buttons and button everything up to finish.
If you’re still having trouble with your buttonholes after following these steps on how to sew buttonholes, don’t be afraid to practice on scraps. It takes some time to anticipate when the machine will go the other direction. The more buttonholes you stitch, the better you’ll get at knowing how to keep the stitching going and when you should stop and just rip out a hole before it becomes a problem.
Get more help with sewing shirts:
How to make a pillow from a sweater (easy project for Fall)
I’ve got a quick and cozy project for Fall for you: how to make a…
How to make a square circle skirt without a pattern
You will absolutely love learning how to make a square circle skirt. Confession: I do…
Elizabeth Farr is the writer behind the Elizabeth Made This blog where she shares helpful sewing tips, step by step sewing tutorials and videos to help you explore your creativity through sewing. She has written sewing Eguides and patterns, been a featured teacher at Rebecca Page’s Sewing Summit and Jennifer Maker’s Holiday Maker Fest and her work has appeared in Seamwork and Altered Couture magazines. She also created a line of refashioned garments for SEWN Denver. When her sewing machine isn’t humming, she’s playing and teaching violin, and hanging around a good strategic board game with her husband and 4 kids.
The author may collect a small share of sales from the links on this page.


Comments
Join the conversation