How to Sew on a Button by Hand

Today’s tutorial is all about how to sew on a button by hand. I’m sure you have clothes in your closet that have missing or loose buttons!
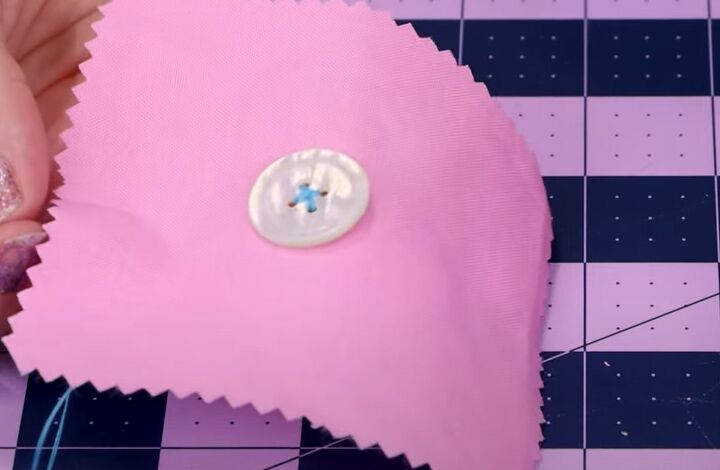
I’m going to show you how to sew a button back on the professional way, so it looks beautiful and neat on both sides.
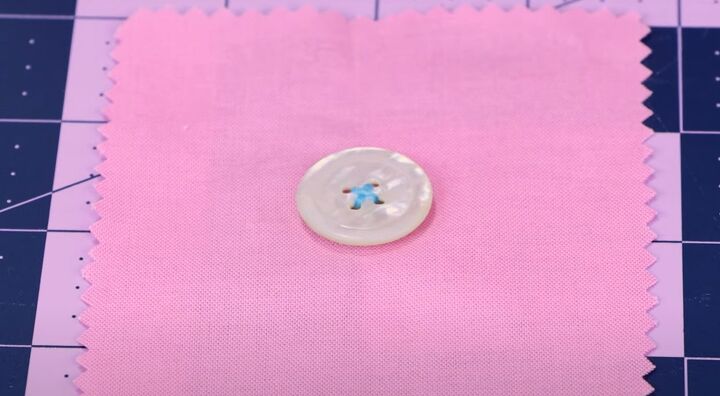
We’re going to be working with a flat 4 hole button today, but you can use exactly the same technique for a button with 2 holes.
Tools and materials:
- 2 or 4 hole button
- Scrap fabric
- Hand sewing needle
- Thread
- Scissors
1. Thread your needle
You’ll need two feet of thread, so cut that approximate amount from the spool.
Push one end of the thread through the eye, or hole, in the end of the needle.
If you find it difficult, you can get a loop threader that makes the job a lot easier.
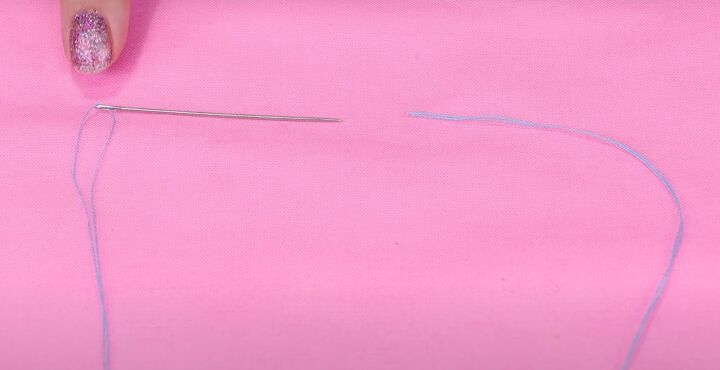
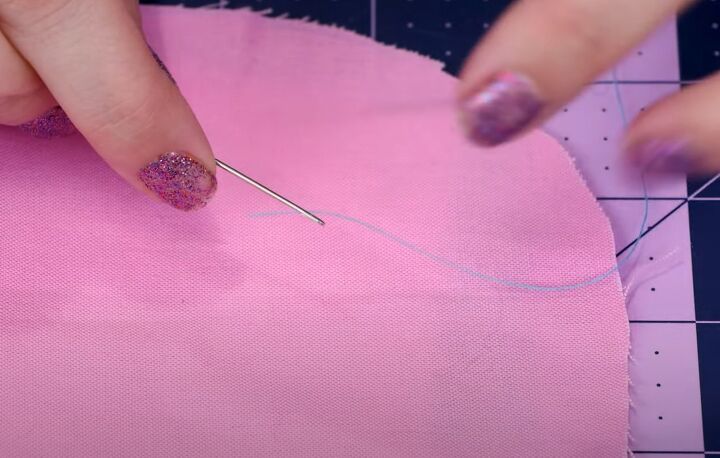
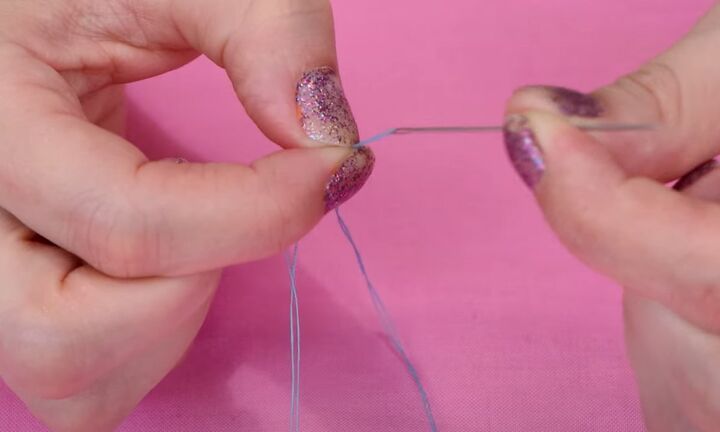
Pull the thread through the eye until the needle is in the middle of the thread and both ends line up.
Lay the needle and thread out in a circle.
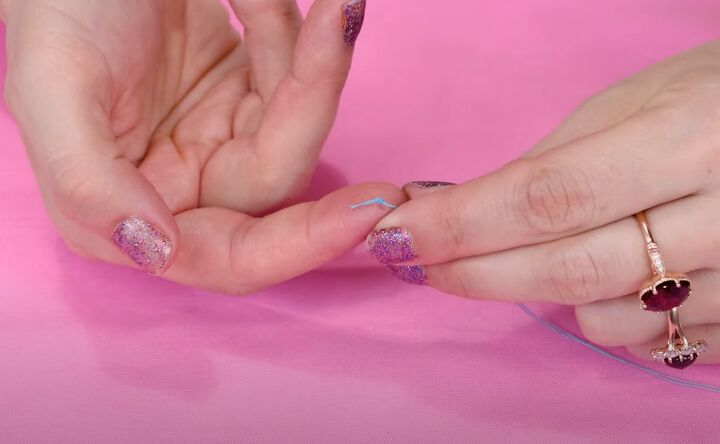
2. Make a knot
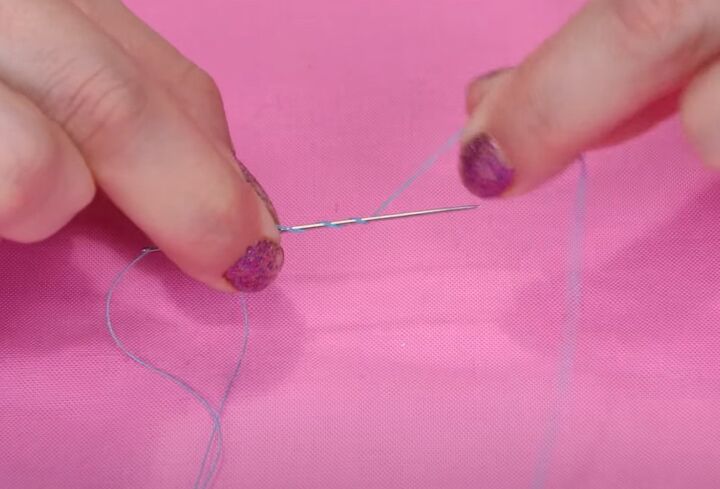
Knot the two ends together by holding the thread tails against the needle with the finger and thumb of one hand.
Loop the thread tightly around the needle three or four times.
Slide the loops down the needle towards the eye and between your finger and thumb.
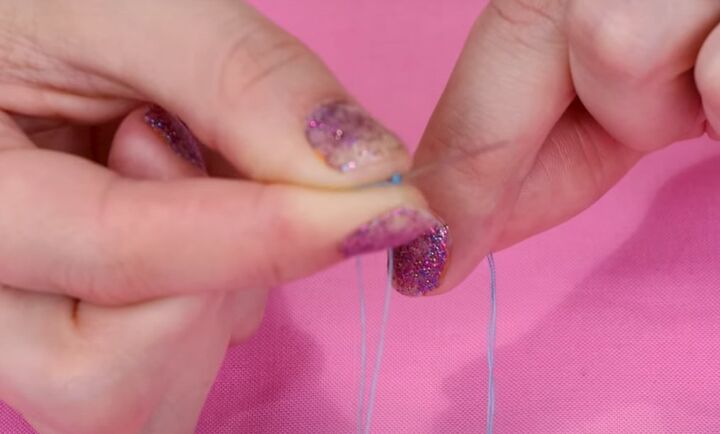
Grasp the length of the needle in your other hand and pull it.
Keeping hold of the loops between your finger and thumb, pull the loops off the needle and along the thread until you reach the end.

3. Secure your thread
Take the needle through one hole of the button from the back to the front. Leave about a 2 inch tail below the button.
Take your needle through the diagonally opposite hole to the back of the button.
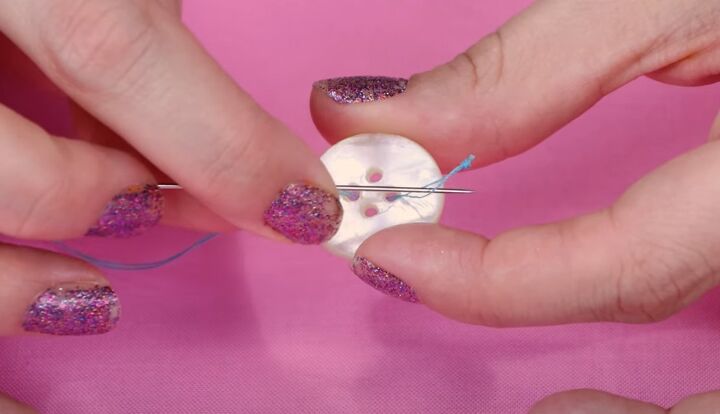
Turn the button over and take the point of the needle through the loop at the end of the thread.
Pull the thread tight to secure the button on the thread.
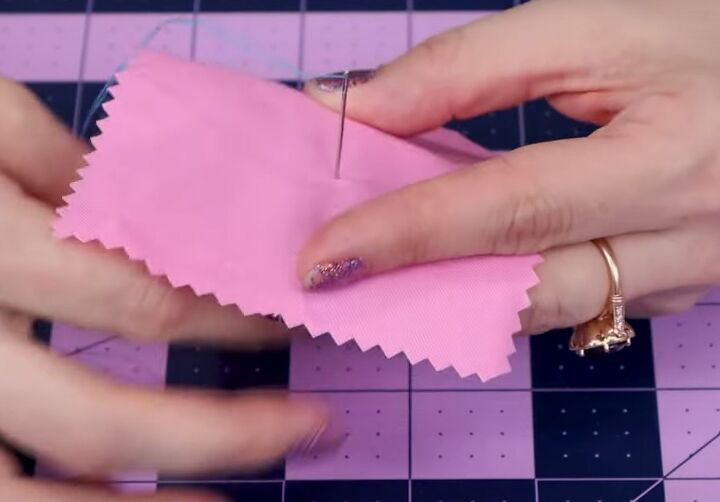
4. Attach the button
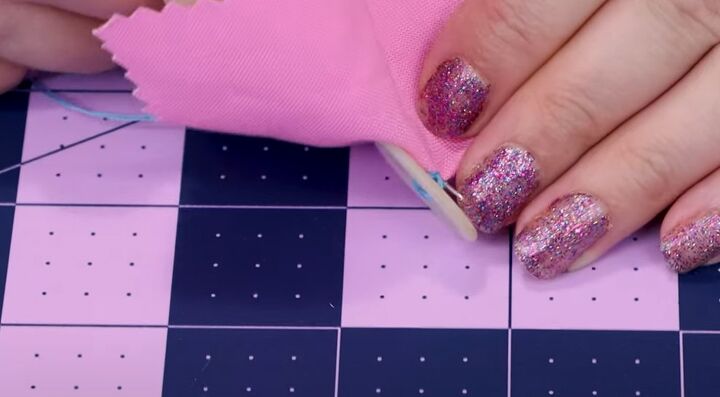
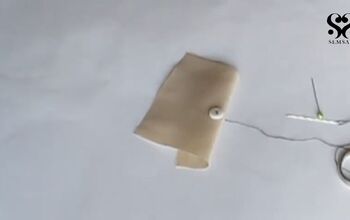
Pull the tip of your needle through the fabric where you want the button to be, from front to back, until the button is lying flat on the fabric.
Don’t pull the thread too tight. Aim to keep the button at least 1/8th of an inch above the fabric.
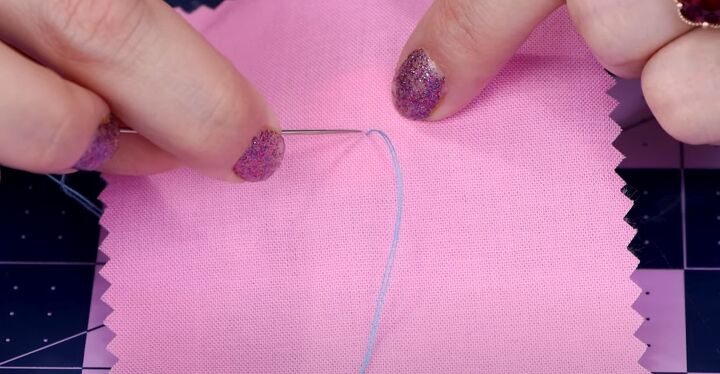
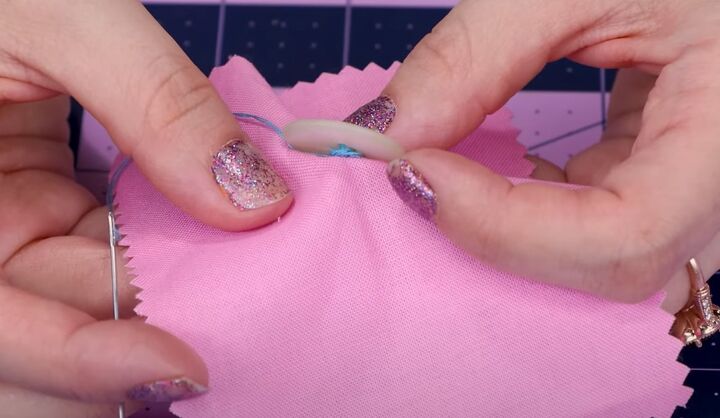
Put the needle back into the fabric, very close to where the thread came through.
Bring the needle out at the front through the first hole.
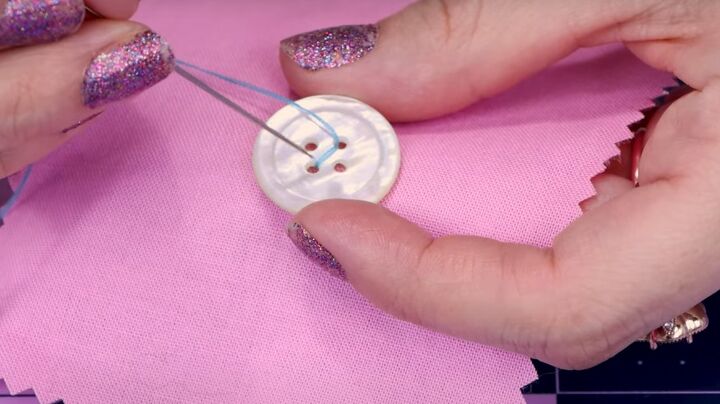
5. Sew on the button
Be careful to keep all the stitches on the back very close together.
Pass the needle through the same set of holes two more times.
Sew through the other pair of holes three times in the same way, ending with the needle at the back of the fabric.
6. Make the shank
Bring the needle to the front of the fabric, underneath the button.
Pull the thread through. Wrap it three times around the stitches between the button and the fabric.
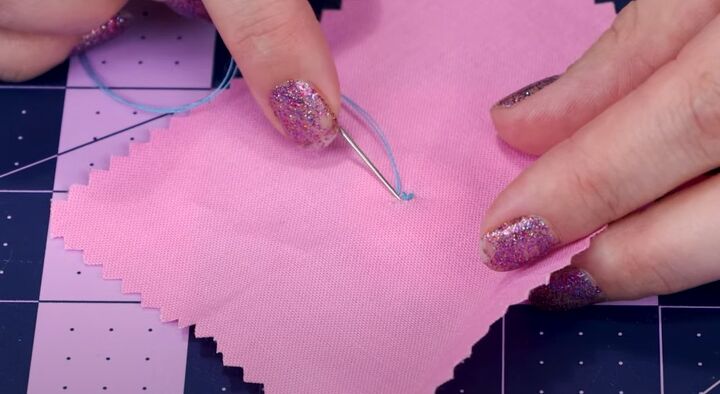
7. Fasten off
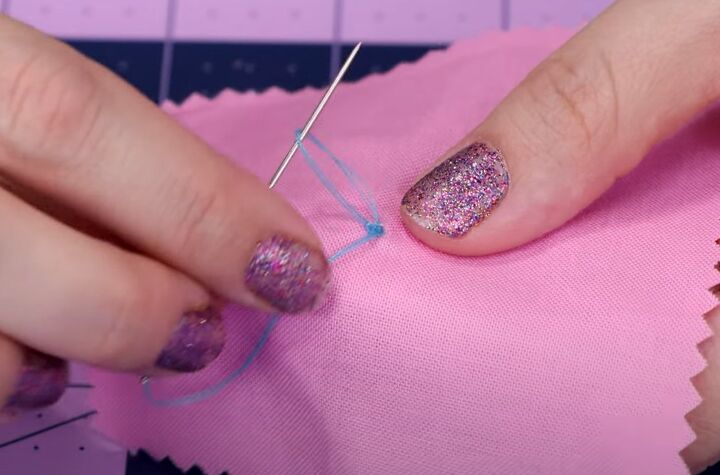
Take the needle through to the back. Pull it firmly and check the fabric is lying flat.
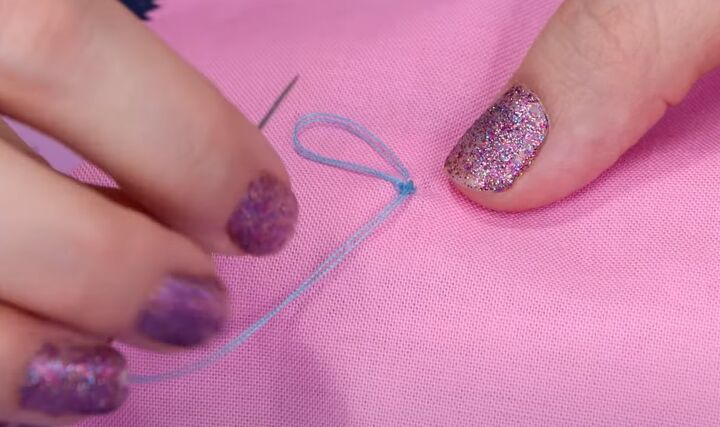
Make a small stitch in the back of the fabric. Before you pull it all the way through, put the tip of the needle through the loop to make a knot.
Make a second knot close to the first.
Cut the thread just above the knot.

How to sew on a button by hand
I hope this has inspired you to go and sew on all those loose or missing buttons now.
If your fabric is very thick, you may need to leave more space between the button and the fabric.
Remember the buttonhole has to fit under the button and if it’s too tight, the button will pull off again.
Let me know in the comments if you have any questions at all about this.
Next, learn How to Take in Waist on Jeans.
The author may collect a small share of sales from the links on this page.


Comments
Join the conversation