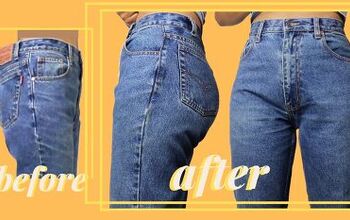
How to Take in Waist on Jeans

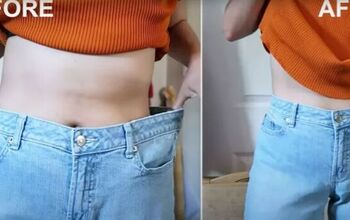
How to take in the waist on jeans is one of those jobs we all seem to put off as long as possible. It seems so intimidating! But, actually, it's really easy to do.
Today, I want to show you exactly how to downsize your jeans like a pro. A hump jumper probably comes with your sewing machine and will make sewing denim a lot easier.
Tools and materials:
- Jeans to downsize
- Tailor's chalk
- Pins
- Seam ripper
- Scissors
- Hump jumper (optional)
- Needle size 90/14
- Contrast thread for topstitching
- Sewing machine
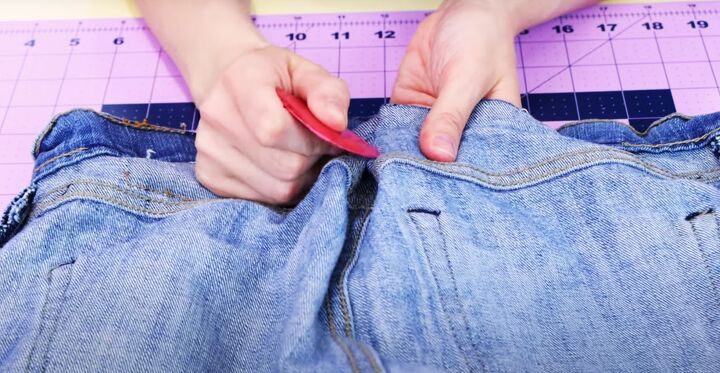
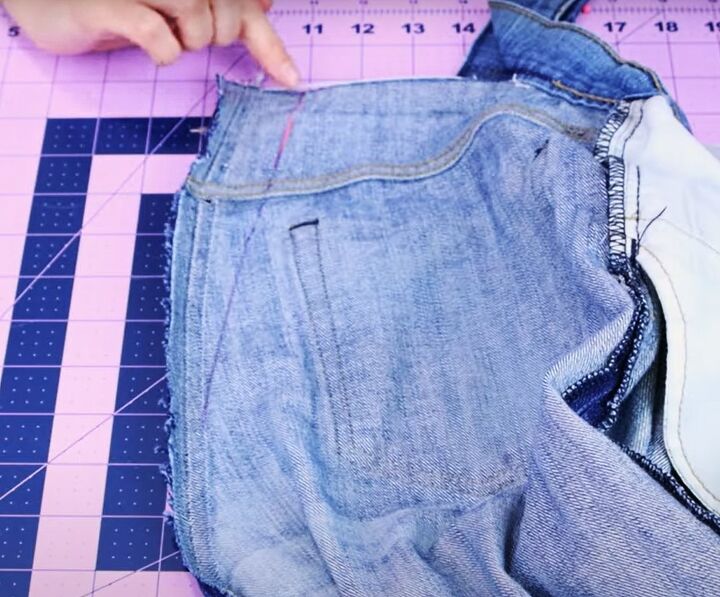
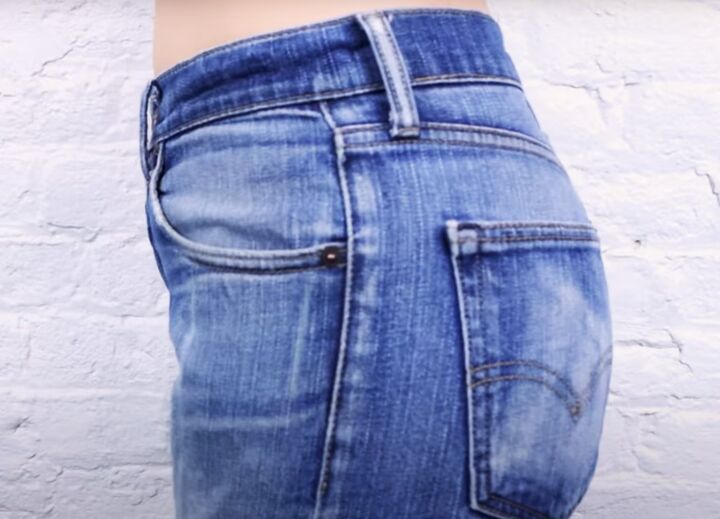
1. Separate and pin the waistband
Use your seam ripper to remove the waistband at the back of the jeans.
You'll need to remove the center belt loop and open the top and bottom of the waistband for several inches either side of the main seam.
If your jeans have a tag or label on the waistband as Levi's do, remove the label and separate the waistband past where the label was as well.
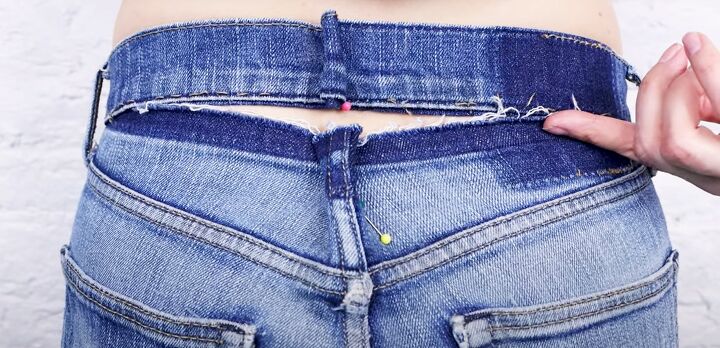
Try the jeans on and pin the waistband and center back to fit you.
If you need to take in the back of the jeans all the way down, pin that as well.
Otherwise, just pin the top edge of the jeans and the waistband.
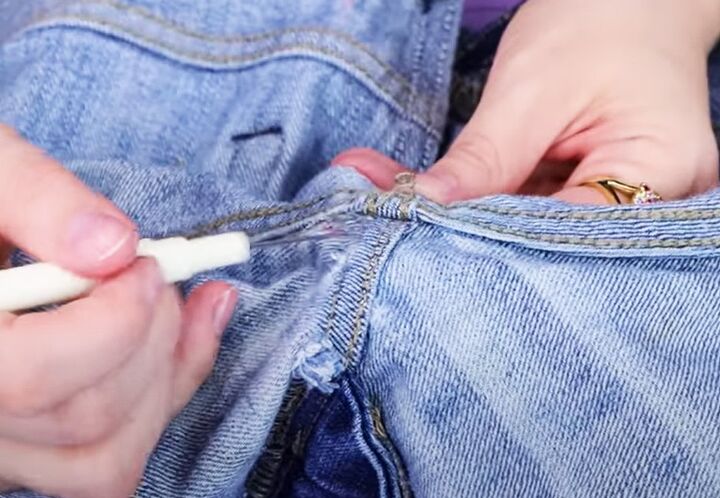
2. Open the center back seam
Turn the jeans inside out. Mark the position of the new seam with tailor's chalk on either side of the pins, before you remove them.
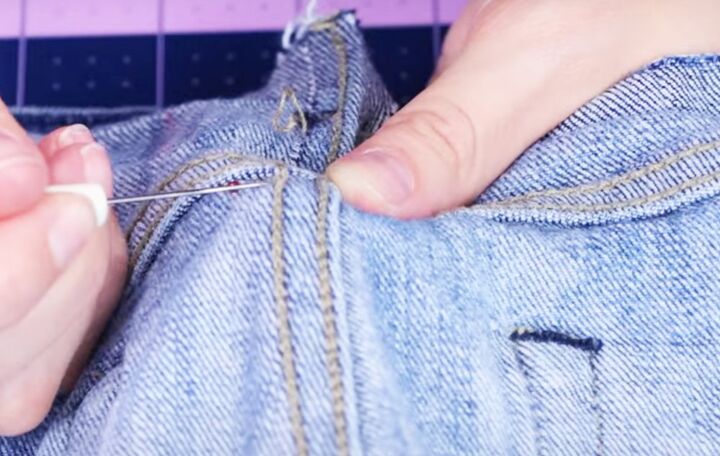
Seam rip both rows of stitching on the center back right down to the inner leg seams.
You can usually rip the chain stitch and pull the end, so the stitching comes out easily.
Also open the crotch seam where it joins the inner leg seams.
Press the edges of the seam flat, to make it easier to sew.
3. Sew the new seam
If you're taking in the whole center back seam, pin the seam with the right sides together using the chalk markings from the waist to the crotch.
If only the waist needs to be taken in, pin the seam with the right sides together at the top and taper it so it blends into the stitch holes of the original seam.
Then continue pinning along the inner edge of the original seam line down to the crotch.
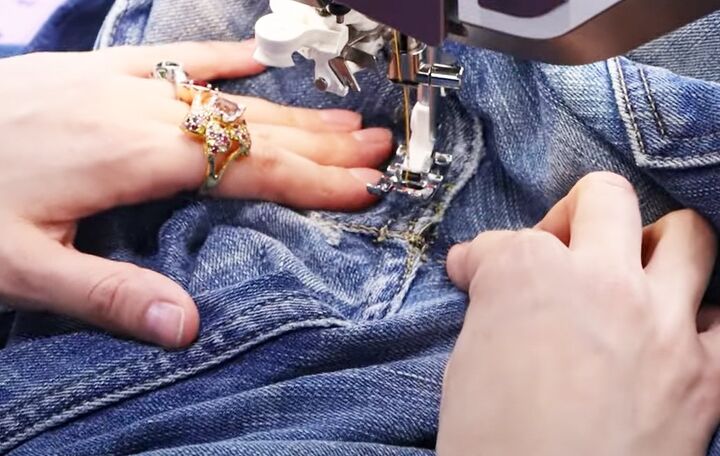
Check that the yoke seams are lined up on the outside, then sew the new seam with a straight stitch.
Try the jeans on again to ensure they fit.
4. Topstitching
We can't replicate the original machine-made flat felled seam, but we can make it look as though we have.
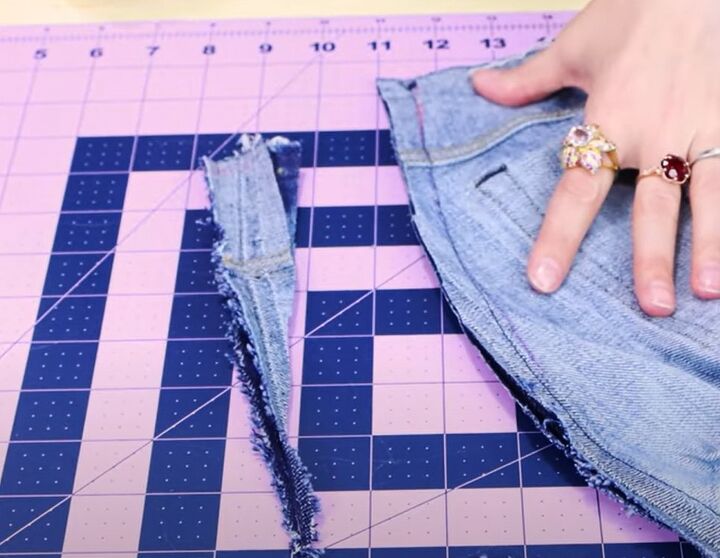
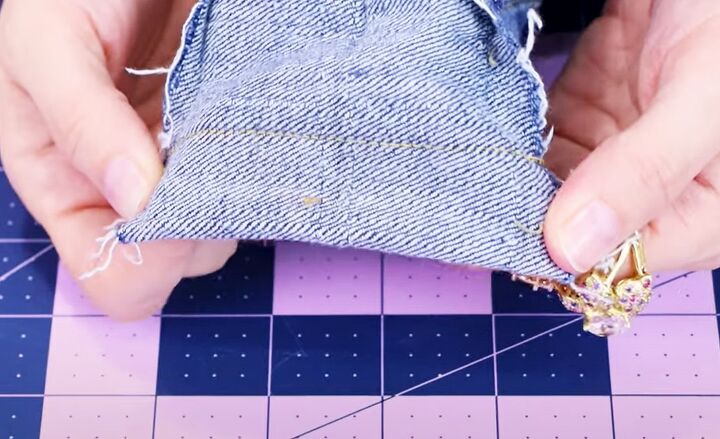
Trim off the excess fabric leaving a half inch seam allowance.
Sew the edges of the seam allowance together with a zigzag stitch or use a serger.
Press the seam allowance to one side.
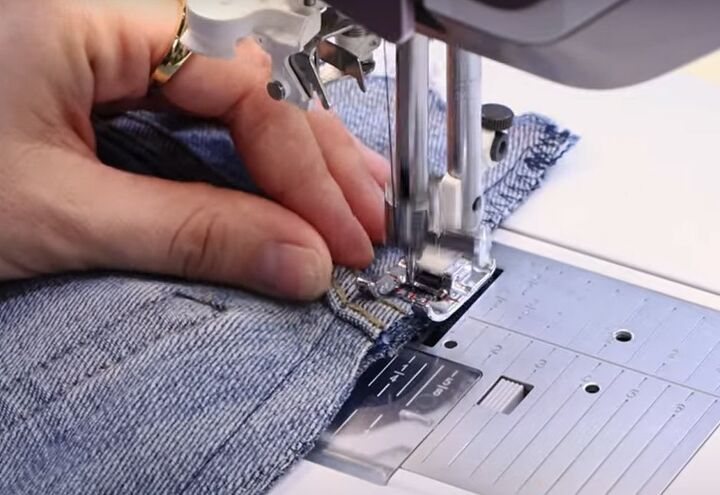
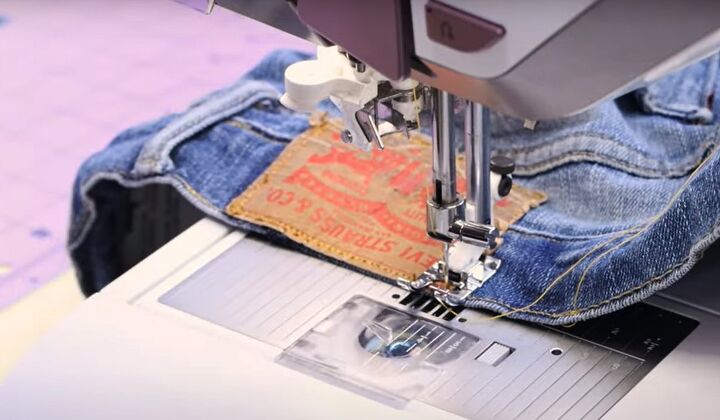
Using the contrast thread, edge stitch the seam on the right side.
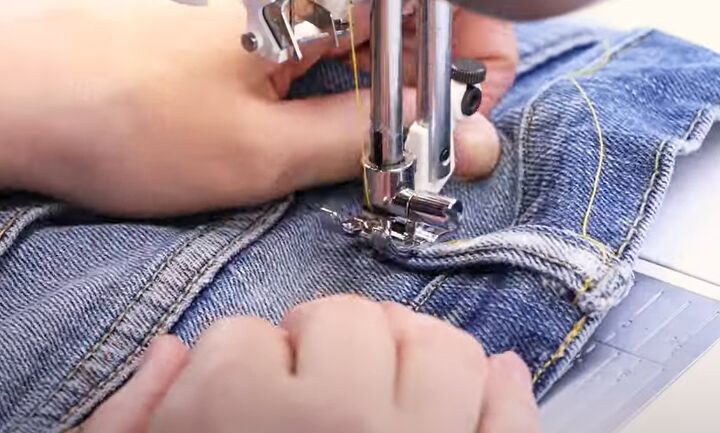
Use the hump jumper to help you sew over the thickest parts of the fabric.
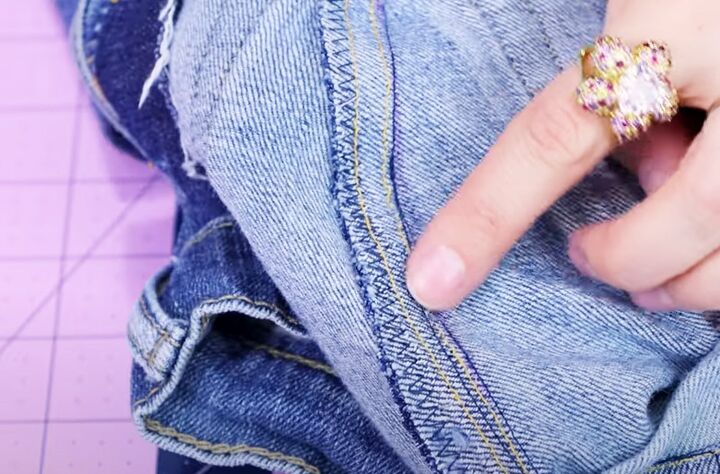
Top stitch about a quarter of an inch inside the edge stitches, to give the appearance of a flat felled seam and also keep the seam allowance in place on the inside.
Sew up the small opening in the crotch of the jeans by edge stitching and top stitching on the right side.
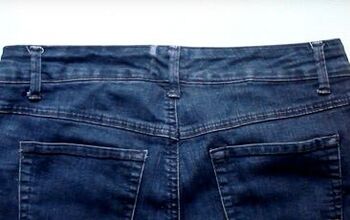
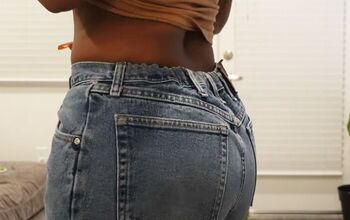
5. Take in the waistband
You can hide the new waistband seam under the label if you have one, or at the center back under the belt loop.
I'm putting mine under the label but the technique is the same for both.
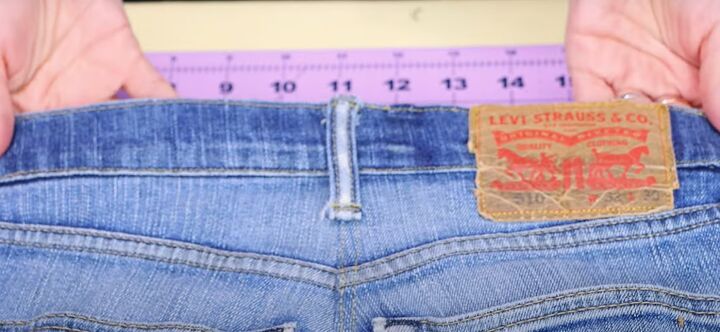
Measure how much you need to take in the waistband by.
Open up the waistband and pin and sew the new seam with the right sides together.
Cut off the excess, leaving a quarter inch seam allowance.

Sandwich the top of the jeans inside the waistband and pin into place.
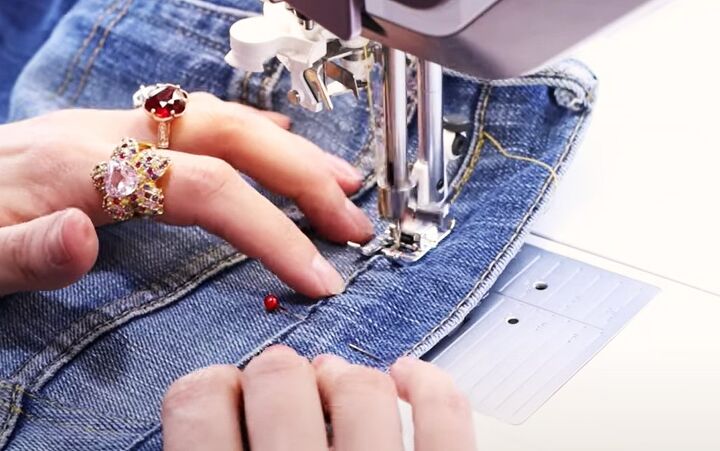
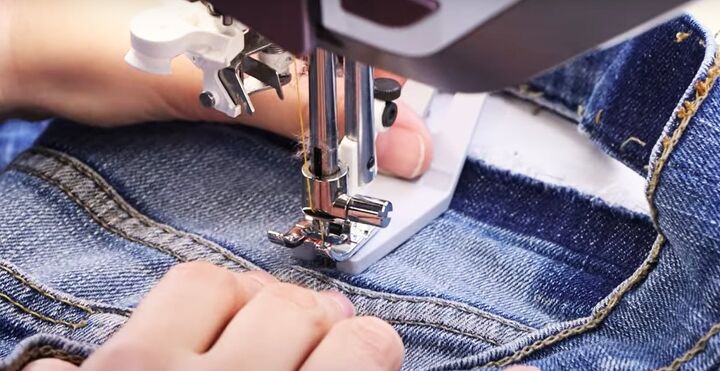
Edge stitch the top and bottom of the waistband on the right side. Use the contrast thread and follow the original sewing line.
6. Finishing
Replace the label in its original position.
Reattach the belt loop at the center back of the waistband.
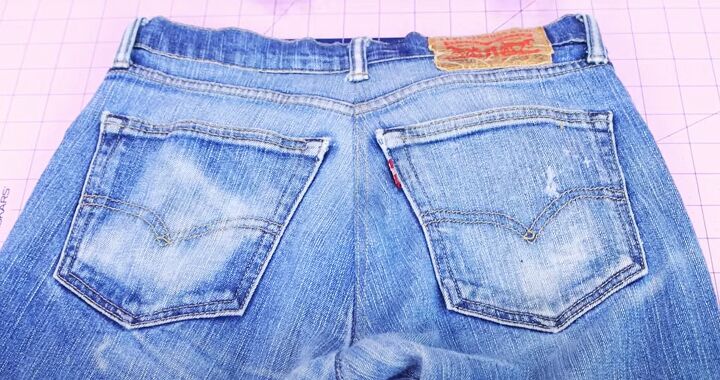
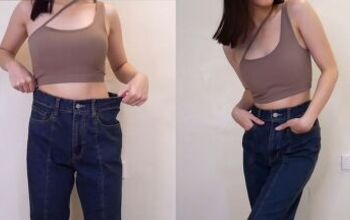
How to take in the waist on jeans
I bet that was a lot easier than you thought it was going to be. You need the right needles for denim and the hump jumper helps a lot, but it's a very straightforward process to take in your jeans waist.
I hope you'll never be intimidated by this again! If there are other projects that you'd like to see me tackle, do let me know in the comments below.
The author may collect a small share of sales from the links on this page.


Comments
Join the conversation
How can I keep this tutorial pants ? So I can follow if I need to repair my loose pants ?
Thank you for your answer. I think this tutorial would help me to follow your guides and instructions.
Lolita