How to Take in Jeans "the Proper Way" For a Perfect Fit

You found the perfect jeans. They fit great at the hips and the length is ideal. The only problem? The waist is way too big. You might be thinking of getting your jeans altered but that’s expensive!
In my previous tutorial, I showed you an easy hack to downsize jeans with waist elastic. However, that's more of a quick fix or temporary solution. Today. I want to show you how to take in jeans "the proper way."
It's more time-consuming, but when you know how to take in your jeans at the waist and the side seams, your jeans will fit so much better.
Tools and materials:
- Denim needle - I used a size 16 needle
- Thread - I used a Tex60 polyester thread
- Sewing machine
- Scissors
- Seam ripper
- Wire end cutters or another tool
- Clear grid ruler
- Measuring tape
- Hip curve
- Pins
Make sure your machine has a strong motor and a high presser foot to accommodate the bulky fabric.
Some cheaper machines have plastic inner workings that won’t be able to handle sewing denim. Know before you sew!
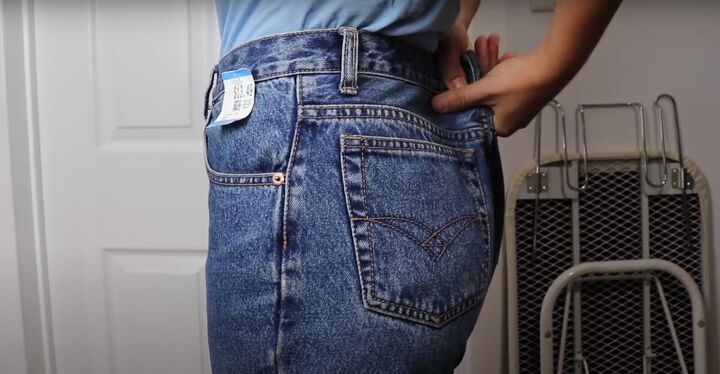
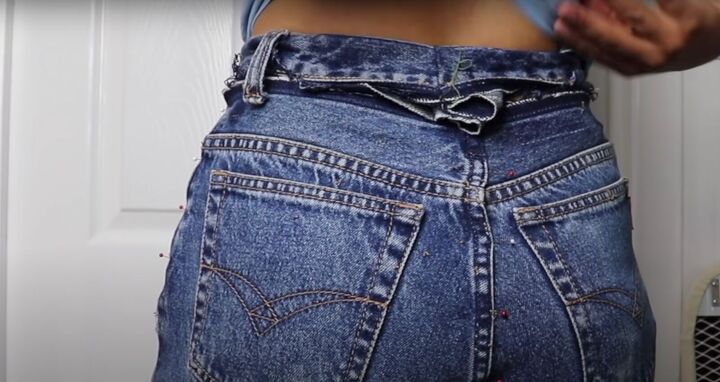
1. Get the right fit
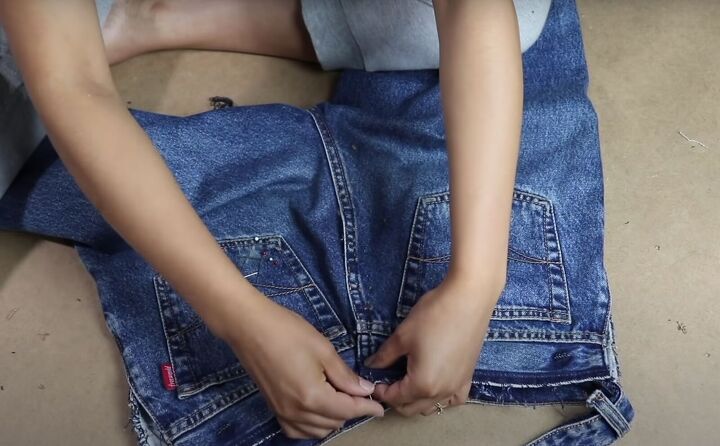
Pinch the jeans in the back at the center back seam to find how much you need to take in.
You might think “oh this is where I will take it in and it will look great” but you may notice how the seams slant on the outer side seams when you pull back.
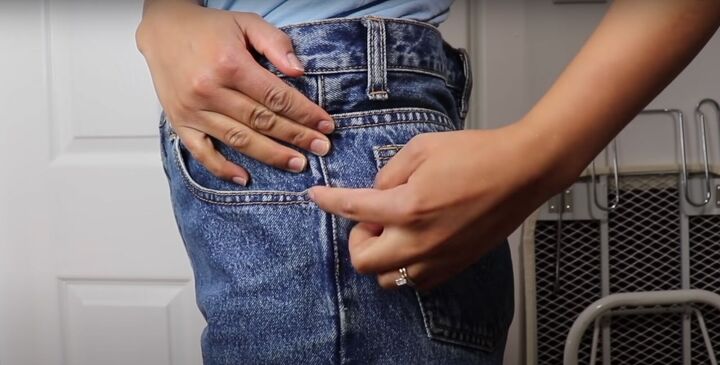
This means you’re going to have to take the jeans in from the back and the 2 sides to keep all the seams nice and straight.
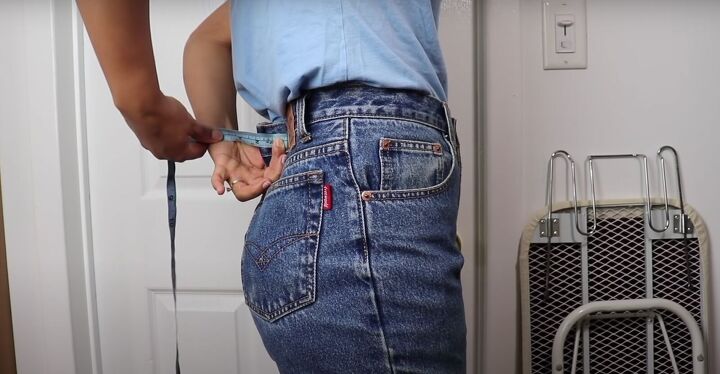
Measure the amount you need to take in.
My measurement for a perfect waist fit is about 4 inches. Your measurement may be different but the technique is the same.
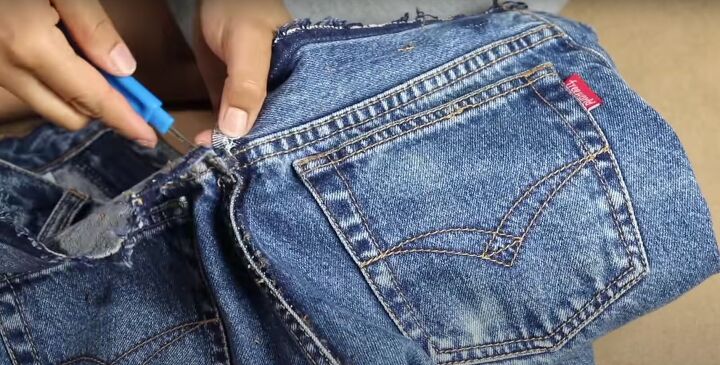
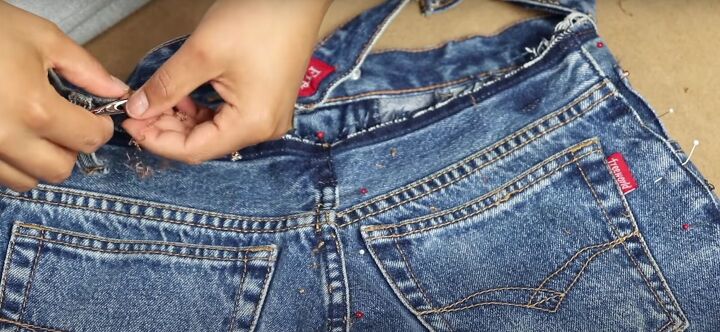
2. Rip the seams
Use your seam ripper to open up the waistband.
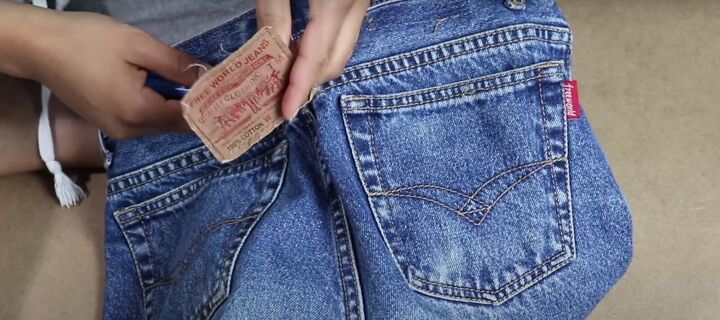
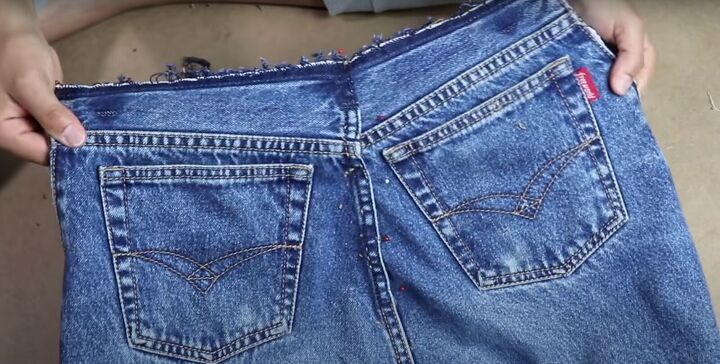
If your jeans have a label at the back, carefully remove it. Set it aside to sew back on when you’ve finished your tailoring.

Open up the waistband seam from the outer side seam on one side across the entire back to the other outer side seam.
Lift up the bottom of all the belt loops. Completely remove the center back belt loop - you’ll reposition it on your new center back later.
Open up the back center seam to just below the back pockets.
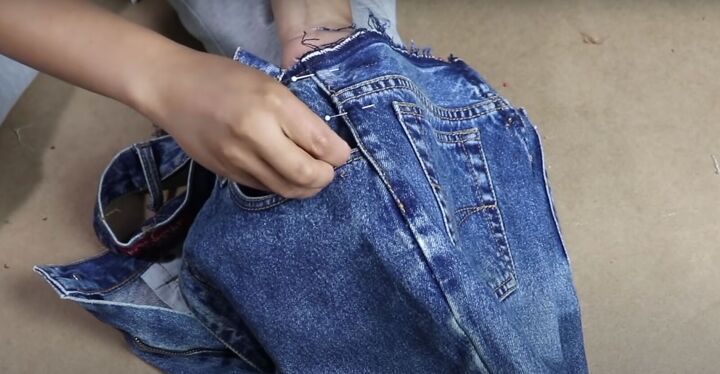
Open up both side seams. This part is challenging because the side seams are usually serged on the inside. Take your time and have some patience.
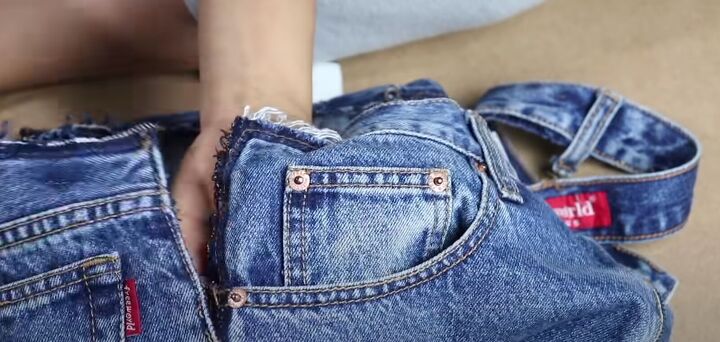
Go down to the same length as the back center seam - just below the back pockets.
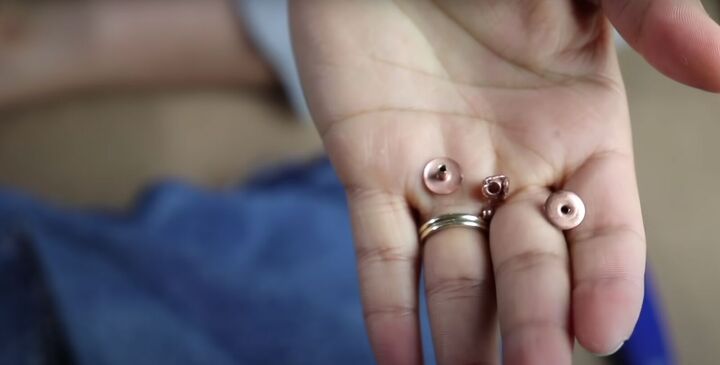
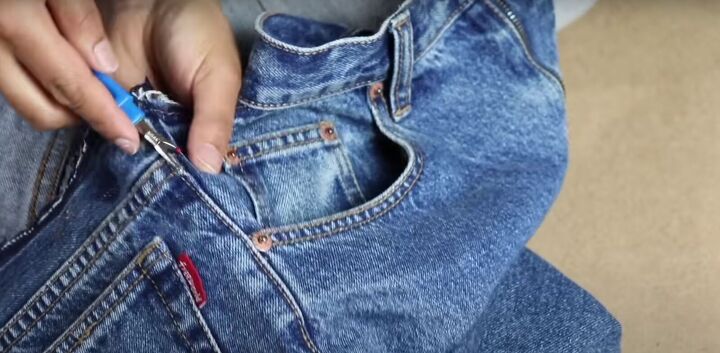
3. Remove the rivets
Some jeans have rivets right at the side seam near the front pockets. Use a wire cutting tool or another tool to remove them. You won’t be able to reattach them. Please be careful with this step!
4. Measure how much to take in
Once everything is open, it’s time to figure out how much to take in at each seam. You’ll be taking in from all 3 seams.
In my case, I needed to take in 4 inches, which is 1.333 inches per seam.
For simplicity’s sake and your sanity, I suggest leaving fractions behind and going for 1 inch at each seam.
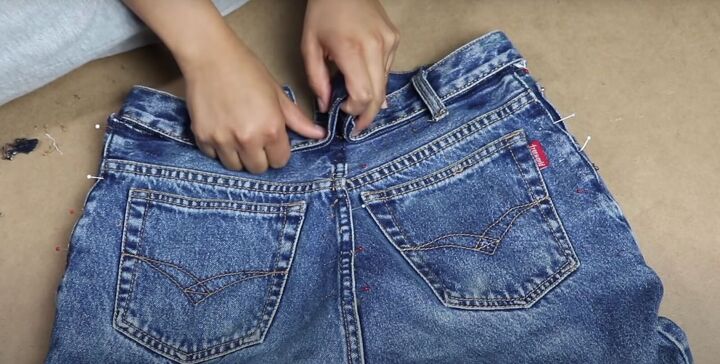
Start with the back center seam. After measuring, pin in 1 inch.
For each side seam, after measuring 1 inch, pin towards the front of the jeans.
5. Modifying the waistband
When you move the center back seam, you have to make sure the stitching along the top is removed so you can create a very clean new seam.
Take out the top seam stitches.

Open up the waistband and pull it out.
On the wrong side, measure about 2 inches. You’ll need to take off a bit from that measurement, close to a ¼ of an inch because you’ll need to mark it on a slant.
If you recall, we removed 3 inches from the waistband but the waistband needs to be a bit wider at the bottom where it meets the body and smaller at the top (think about your own waist).
Try on the pinned jeans and see how they fit. If they fit perfectly, congratulations! You’re ready to sew. If they don’t, reposition the waistband until they fit properly.
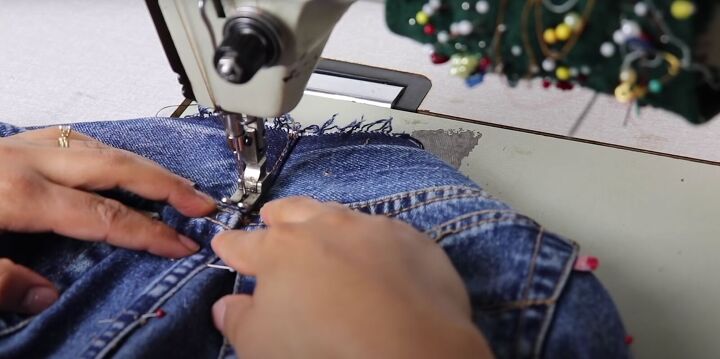
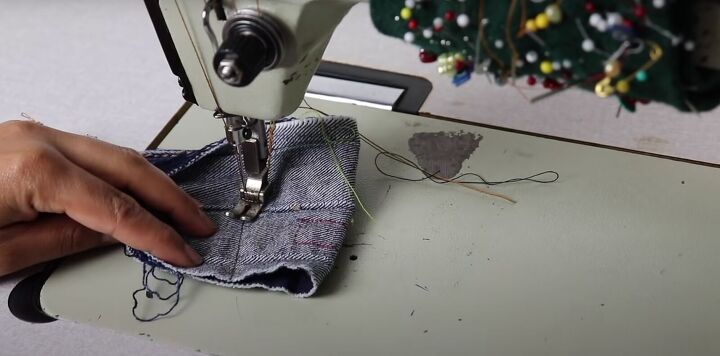
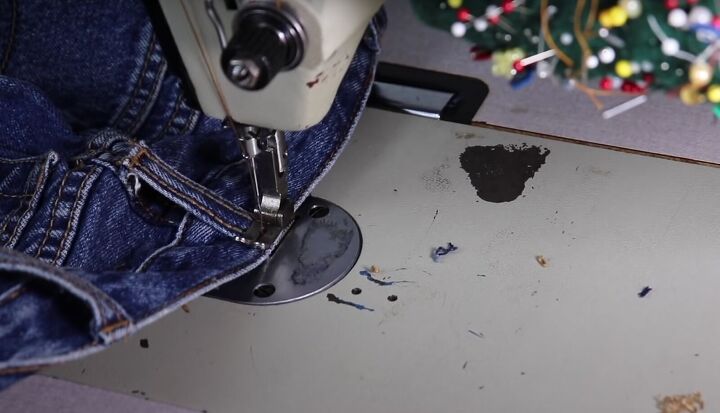
6. Start sewing
Get a nice cotton thread to match as close as possible to your jeans’ thread. Sew where the stitching was previously.
It's best to sew on the wrong side first to secure and then topstitch.
Jeans take a lot of stress, especially if there’s little stretch. I recommend double stitching to help keep everything secure.
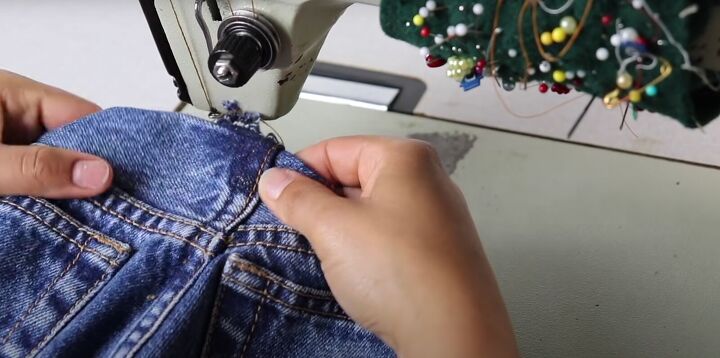
Sew the center back seam on the waistband. Snip off some of the excess. Slant the edges of the seam allowance so it doesn’t poke out when you sew it down.
Line up the outer waistband to the new waist of the jeans and straight stitch along the seam.
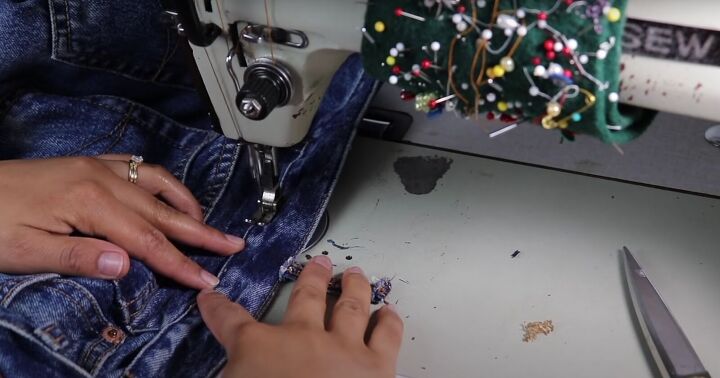
The center back seam where you took it in should line up with the center backstitching of your jeans.
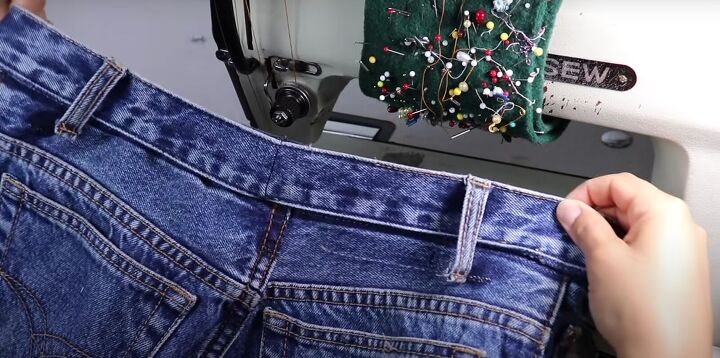
Once that’s secure, topstitch over the bottom seam and lift up the belt loops as you sew across. Then, topstitch the top.
Reattach the back center belt loop. Secure the bottoms of the other belt loops.


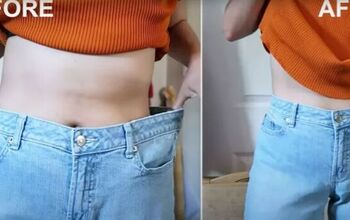
How to take in jeans tutorial
I hope this tutorial on how to take in jeans helps you alter ill-fitting jeans by yourself. I'm really happy with my results.
Let me know in the comments what you think!
The author may collect a small share of sales from the links on this page.


Comments
Join the conversation
Terrific tutorial! This has ALWAYS been my fit problem!