How to Take in Waist on Jeans

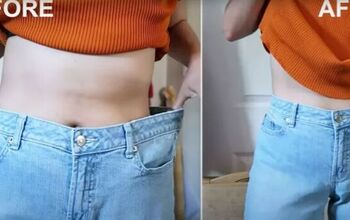
Today, I'm going to show you how to take in the waist on jeans for a perfect fit.
Whether you've lost weight or your jeans are thrifted or gifted, here's how to take in jeans at the waist the professional way.
There's no lumpy waistband or thick center back seam with this method, just well fitting, flattering jeans.
Tools and materials:
- Oversized jeans
- Scissors
- Seam ripper or razor blade
- Tailor's chalk
- Denim or leather machine needles
- Sewing machine
- Serger (optional)
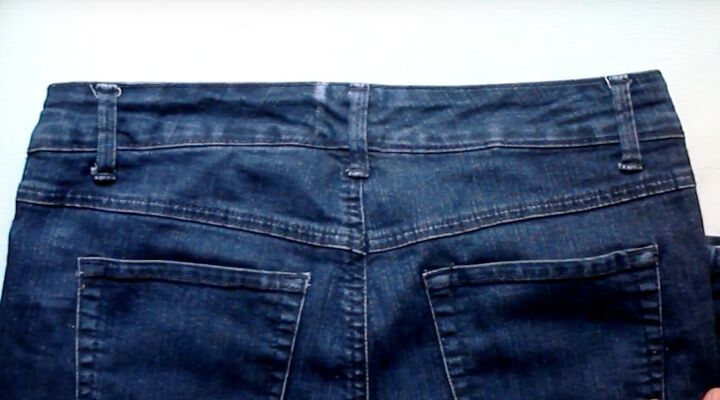
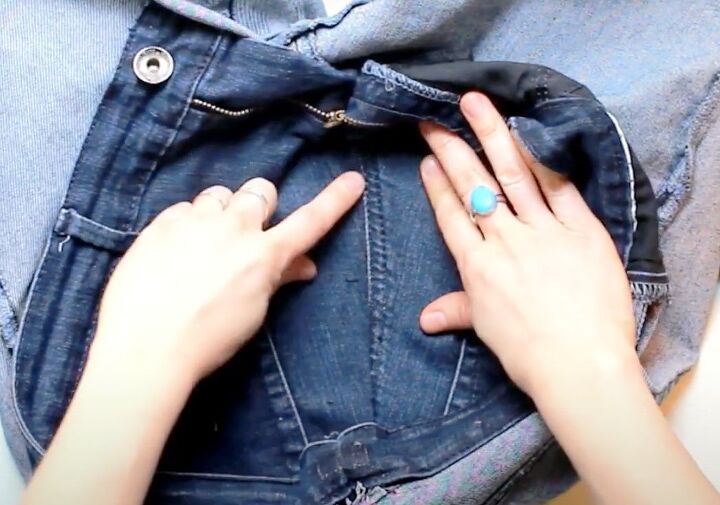
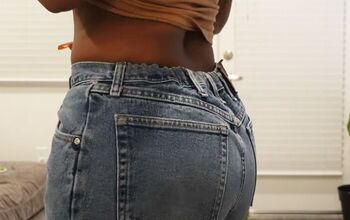
1. Try on the jeans
Turn the jeans inside out and try them on.
Pinch the center back waistband and seam together until you get the fit you want.
If possible, pin the adjustment in place or place a chalk mark on the fold either side of the center back seam.
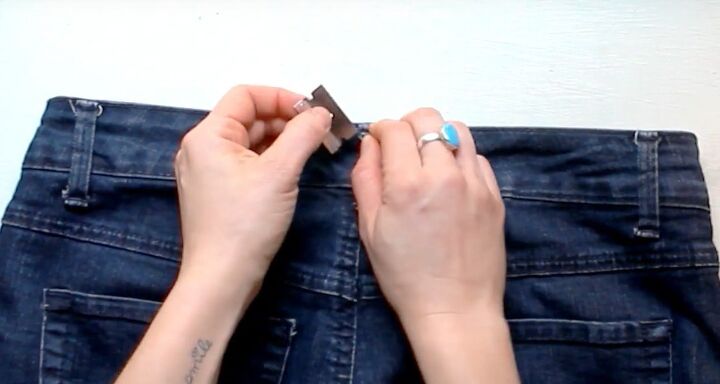
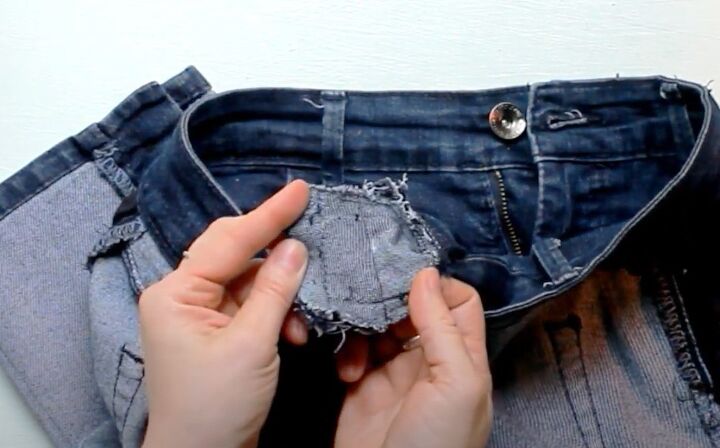
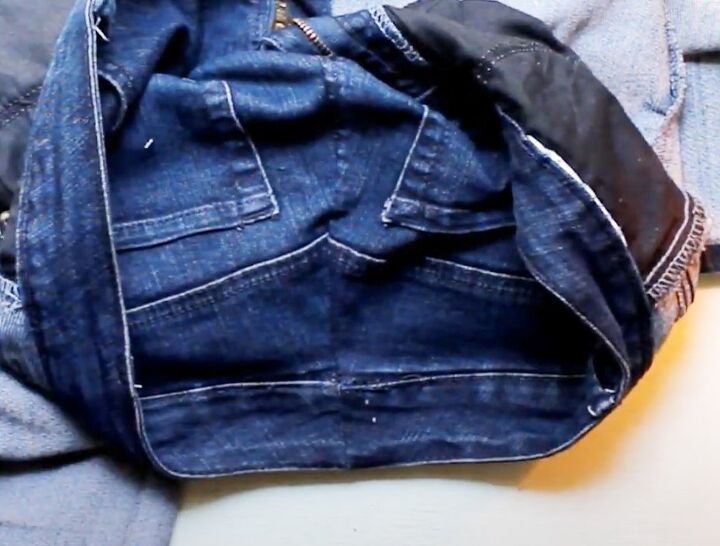
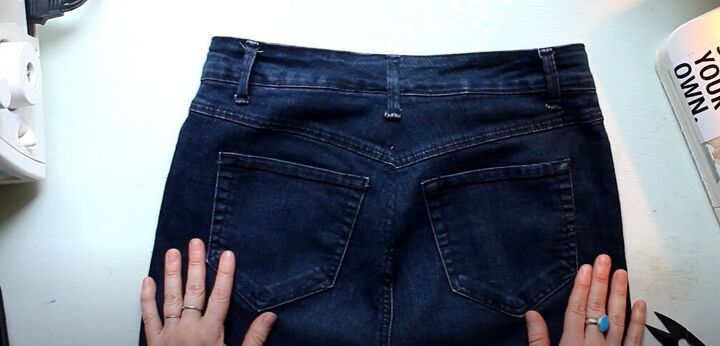
2. Deconstruct the jeans
Use a seam ripper or razor blade to remove the center back belt loop. Don't just cut it off because you'll be sewing it back later.
Remove any tags or labels inside the waistband at the center back.
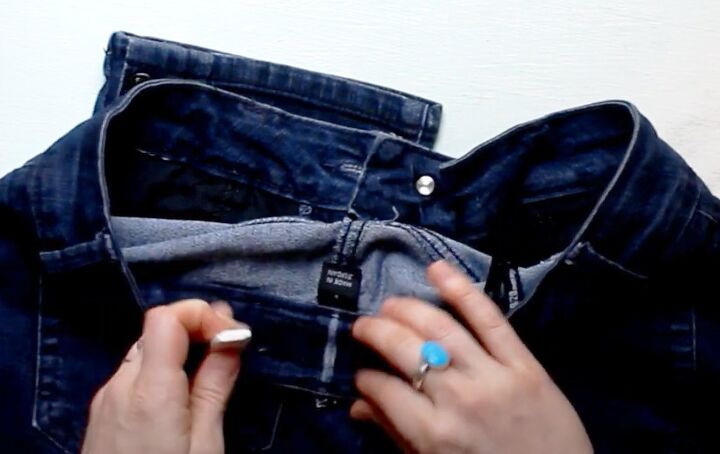
If the inside of the waistband doesn't have a center back seam, mark the point using the outer seam as a reference.
Mark how much you need to take in the seam either side of the existing center back seam.
Working from several inches outside the new size marks you made, rip the stitches connecting the waistband to the jeans from the inside.
Also remove the stitching from the top edge of the waistband over the same area to separate the two layers.

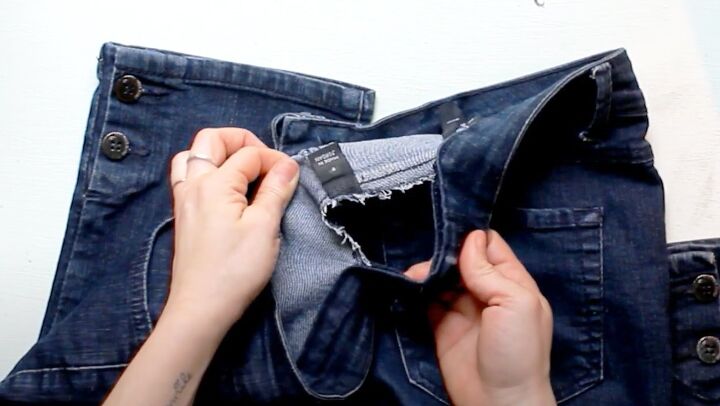
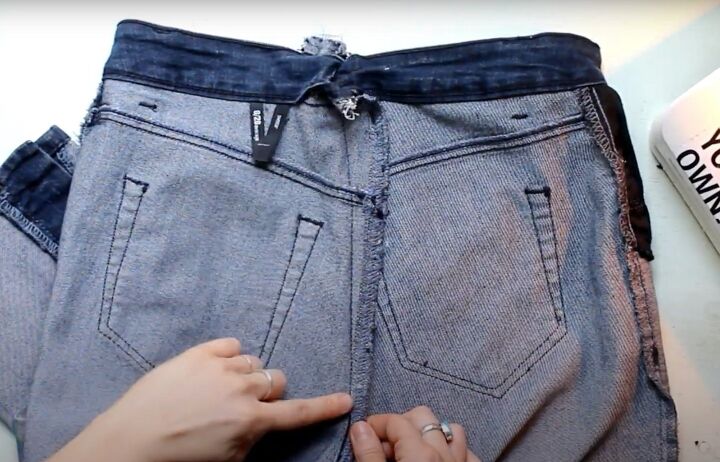
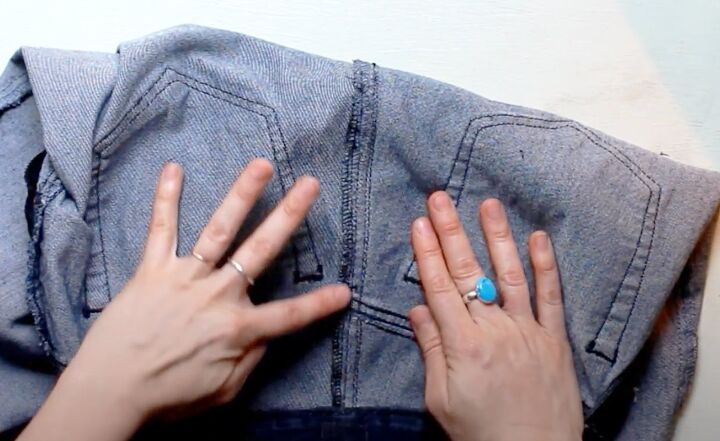
3. Center back seam
Turn the jeans inside out. Mark the point where the new seam will taper into the existing center back seam and open the seam from that point up to the top edge.
Most jeans are constructed with a flat fell seam here, so you have two rows of stitching to undo.
The inner row is usually a chain stitch and can be pulled out easily once the first few stitches have been cut.
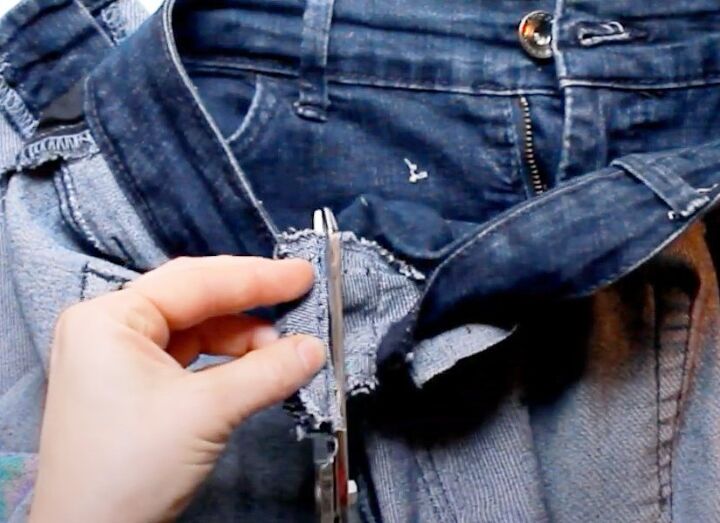
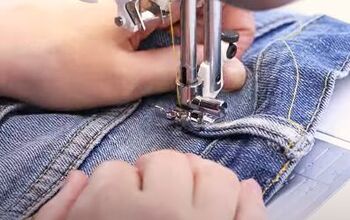
Pin and sew both layers of the waistband to the new size.
Sew the new center back seam from the marks at the top edge so that it tapers into the original seam.
Make sure the two yoke seams line up in the center.
4. Finish the seams
Trim the waistband seams and open them out flat.
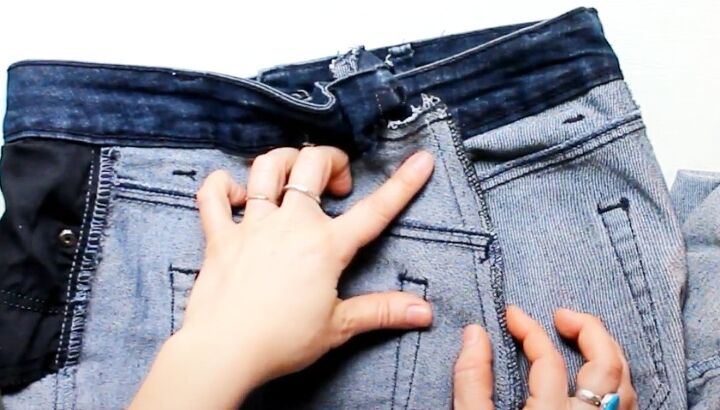
Serge or trim and overlock the raw edges of the center back seam.
You won't be able to replicate the machine made flat fell seam, but we're going to fake it a bit.
Top stitch either side of the seam, following the line of the original stitching and making sure the seam allowance is folded in the right direction.
5. Finish the waistband
Top stitch the top edge of the waistband.
Fold the bottom edges of both layers of the waistband to the inside, enclosing the raw edge between them.
Top stitch along the lower edge of the waistband, making sure you catch the raw edge as you sew.
Replace the belt loop over the center back of the waistband using two bar tacks.
Optionally reattach the tags or labels inside the waistband.
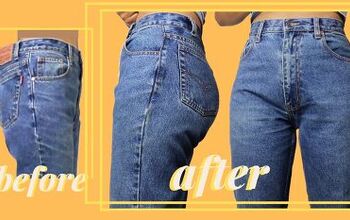
Taking in the jeans from the center back seam means you don't have to worry about the rivets or pockets.
How to take in waist on jeans
You could of course just sew a new seam from the waistband and cut away the excess fabric, but I think my method retains the look of the original jeans as far as it's possible while still making the alteration a fairly simple process.
I hope you learned something from this tutorial and have the confidence to resize jeans yourself now.
I'd love to hear how you get on. Please leave me a comment and let me know.
Next check out my post on How to Sew on a Zipper.
The author may collect a small share of sales from the links on this page.


Comments
Join the conversation