How to Take in Jeans at the Waist

Here’s a super easy way to take in your jeans at the waist and get rid of that annoying gap.
You don’t even need a sewing machine. In fact, I think it’s easier to hand sew the whole thing. Use strong denim needles if you have them.
Tools and materials:
- 1 inch wide, non-roll woven elastic
- Safety pins
- Scissors
- Fabric marker
- Seam ripper (optional)
- Hand sewing needles and thread
1. Mark the jeans
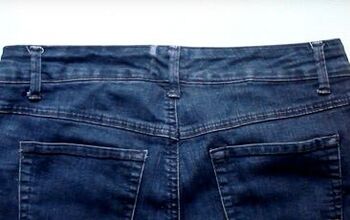
Try your jeans on and put some chalk or fabric marker on the waistband where it starts to gap away from your back on each side.
This will give you an idea where you need to take the jeans in.
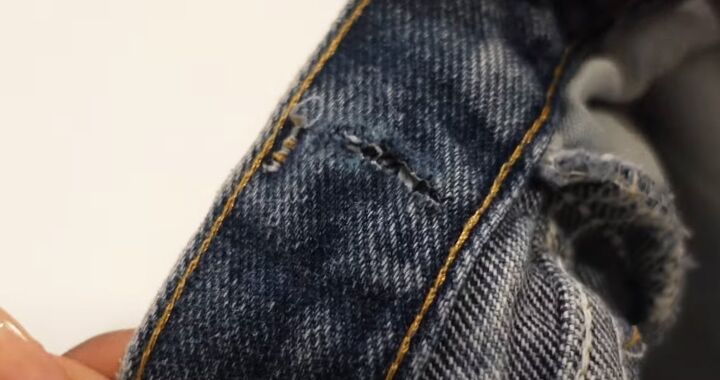
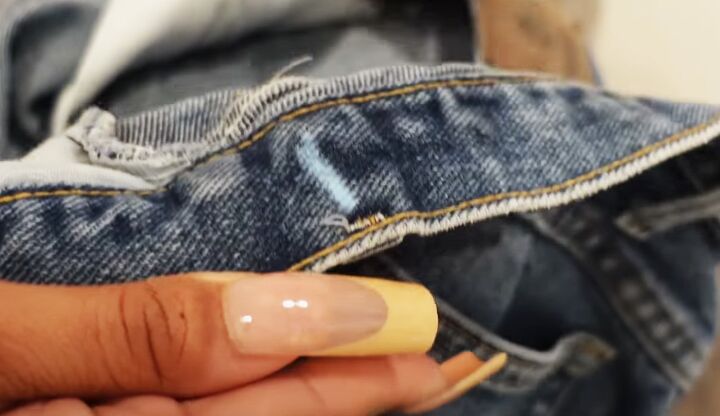
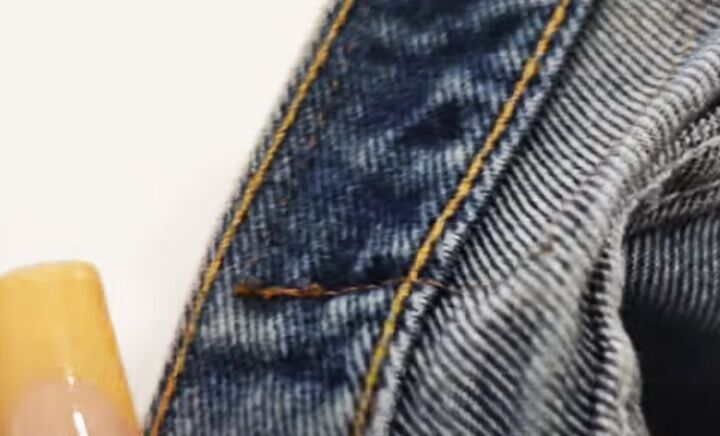
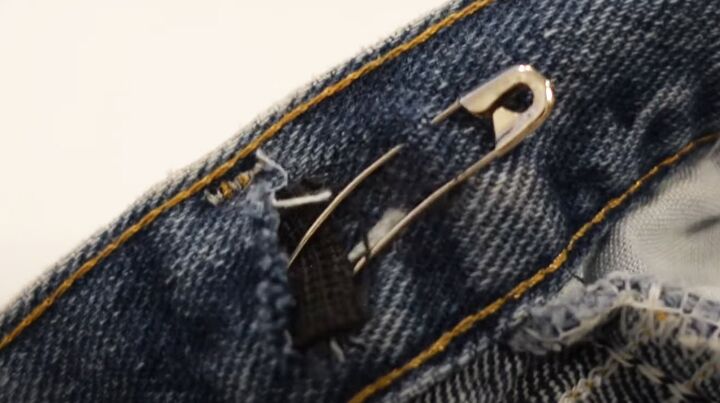
2. Cut the waistband
You’re going to cut two slits into the inside of the waistband so you can thread the elastic through.
I’d suggest making the slits under the belt loops on each side.
The slits need to be slightly wider than the elastic you’ll be using.
Snip through the fabric with the point of the scissors first, then make the gap larger.
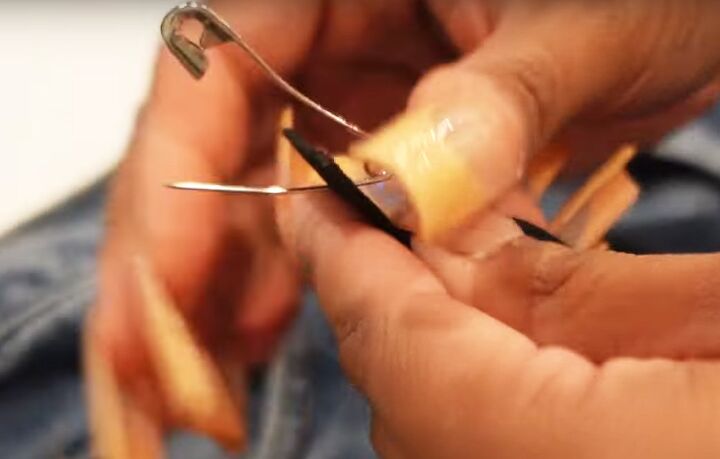
3. Remove the label
If you have a large label on the outside of the jeans as I do, you’ll need to remove the stitching on the inside.
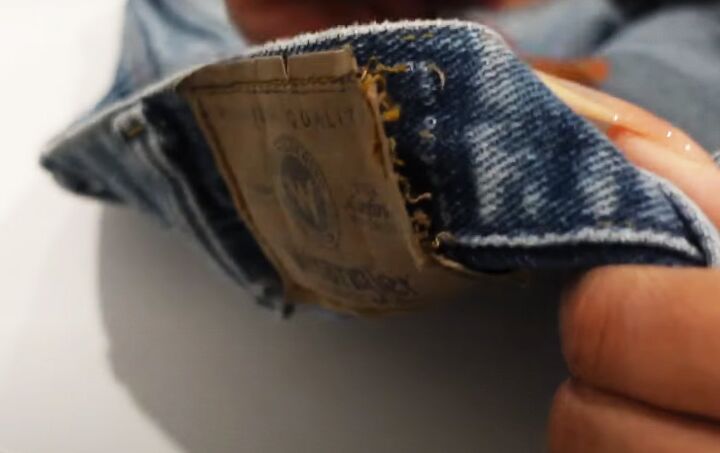
Don’t take the label off completely, just snip the visible stitches on the inside. If you have a seam ripper, it will make the job easier.
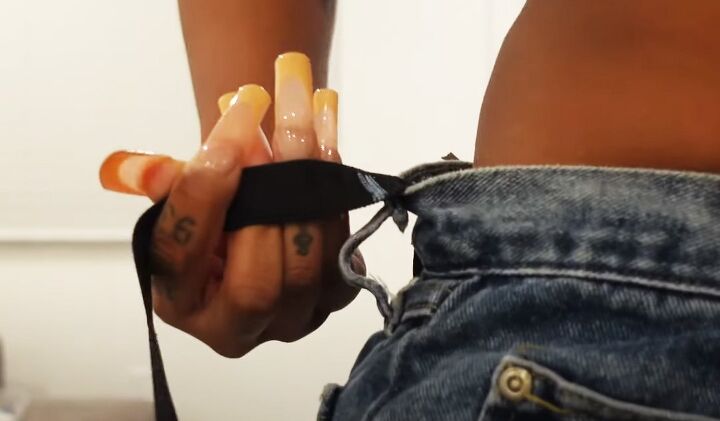
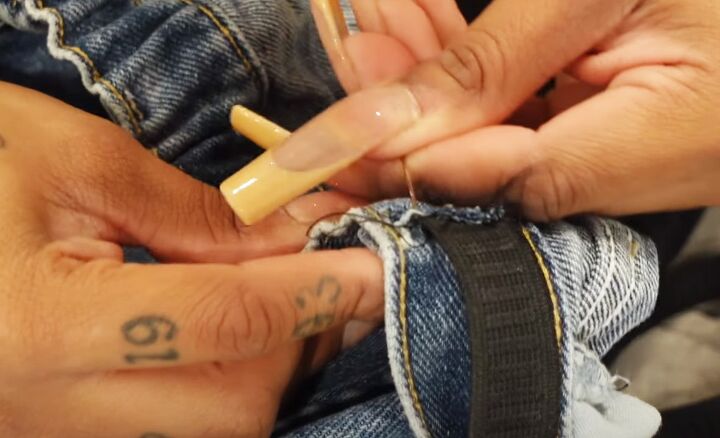
4. Insert the elastic
Put a safety pin through one end of the elastic. This will make it easier to push it through the waistband.
Push the safety pin through one of the slits and feed it through the waistband.
This can take a little time and patience if the waistband is stiff.
Very importantly, when the safety pin emerges through the second slit, pin the end of the elastic firmly to the jeans.
I didn’t do this the first time and really regretted it, so learn from my mistake!
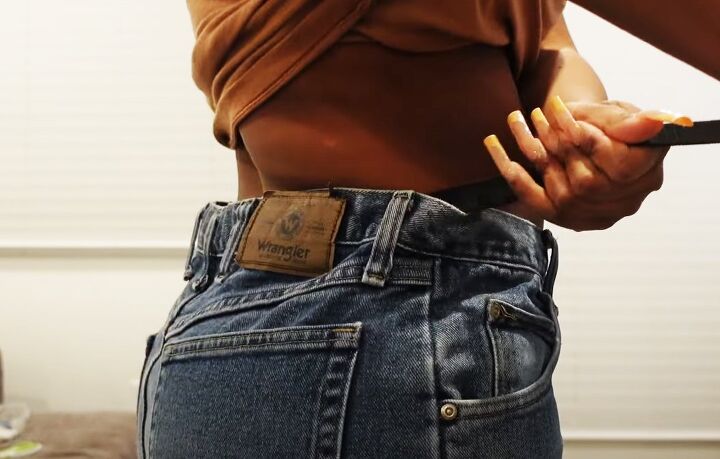
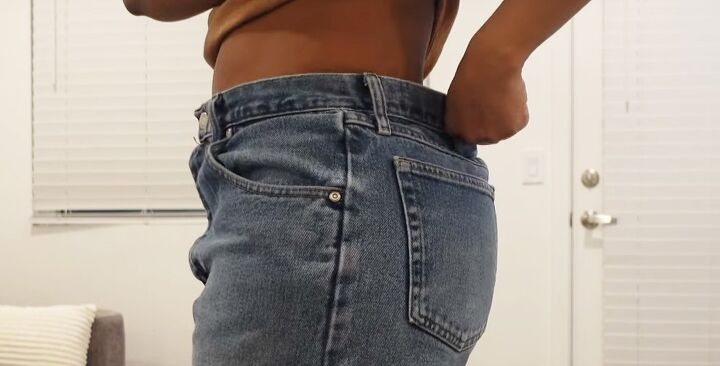
5. Fit your jeans
Try the jeans on. Take another safety pin and the fabric marker with you.
Pull on the free end of the elastic until the back of your jeans looks right and feels comfortable.
Once you have the fit you want, pin the elastic to the jeans and mark it where it comes out of the slit.
Don’t cut the elastic yet!
6. Sew the elastic
Thread up your needle and sew both ends of the elastic very firmly and securely to the inside waistband of the jeans.
Denim isn’t easy to sew by hand, so take your time with this. Try not to let your needle go through to the outside of the waistband.
It doesn’t matter if you’re not the neatest sewist in the world, no one else is going to see this.
It’s more important that the elastic is attached securely to the jeans.

When you’ve finished sewing, cut off the excess elastic about half an inch from your stitches and remove the safety pins.
If you took the label off, you’ll need to replace this now from the inside.


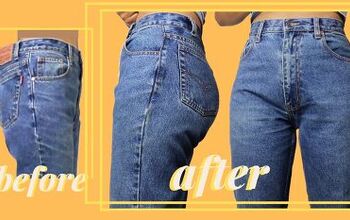
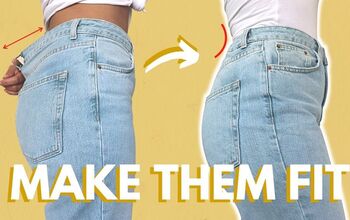
How to take in jeans at the waist
It’s such a relief to be able to do this for ourselves. That big gap at the back has gone and my jeans fit close to my body, as they should.
I’m so pleased with how this DIY alteration turned out. I made some mistakes that I won’t make again, but it was really so easy to do.
If you’ve got any questions, drop them below.
Next, check out my 6 Cute Outfit Ideas With Cargo Pants.
The author may collect a small share of sales from the links on this page.


Comments
Join the conversation
I just make 2 darts -- 1 on either side of the back seam and carefully taper them at the bottom just before you get to the pockets or the yoke - if there is one. This eliminates the "fullness" that the elastic makes.
OR -- I usually have to take up the full length of the side seams, so I run the seam thru the waistband creating a "dart" there. That eliminates the "fullness" in the back.