How To Take in the Waist of Jeans
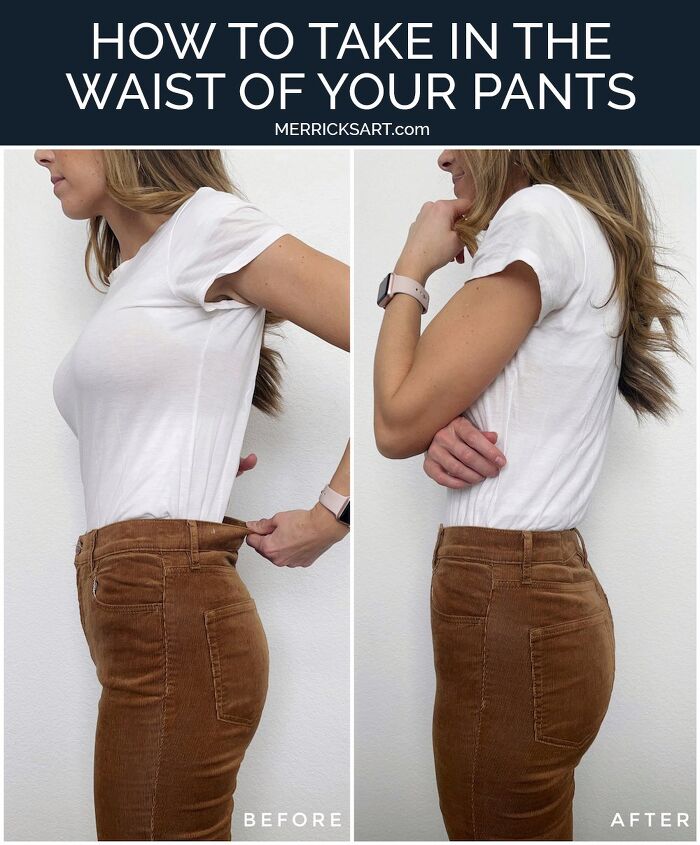
I bet we all have a pair of jeans that fits everywhere but the waist, yes? I’ve got a really easy DIY today to show you how to take in the waist of jeans so can get rid of that waist gapping.
How to take in the waist of jeans
I’ve got a quick and easy tutorial today for how to take in the waist of jeans! That annoying gap at the back of your jeans has GOT TO GO, and this is how to do it.
There are more in depth ways to do this, by taking out the waistband, adjusting, and reattaching, and those tutorials are amazing. But this tutorial is much simpler and easy for anyone to do.
Step 1. Put the pants on.
First, turn your jeans inside out. Then put them on. It might be a little awkward to put on inside out jeans, but trust me…it will make the measuring and pinning much easier in the long run.
Once they’re on and zipped/buttoned up, it’s time to measure.

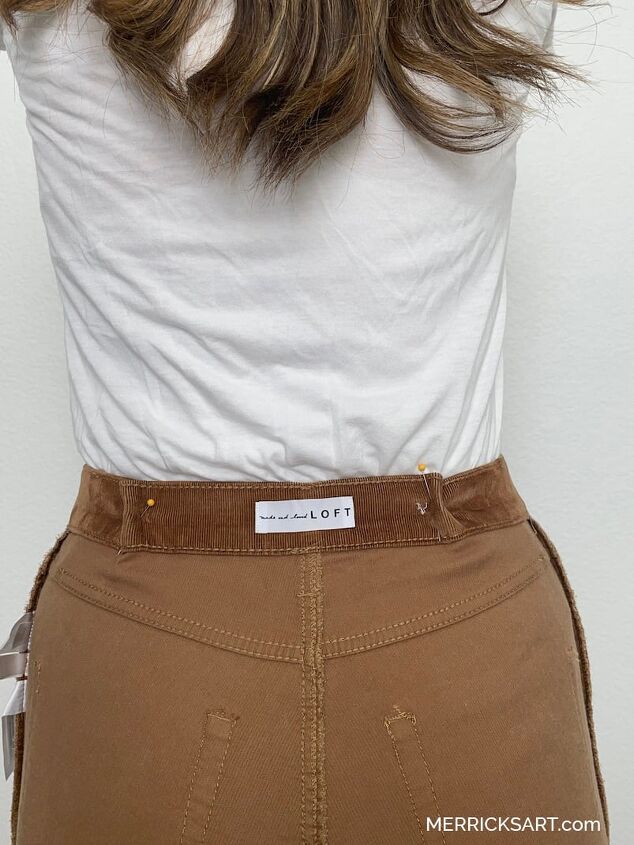
Step 2. Time to measure.
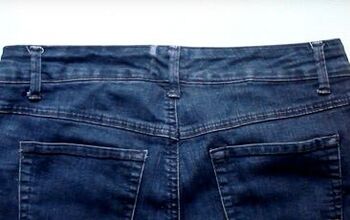
We’re going to make two darts in the waistband in between the belt loops in the back. Your jeans probably have belt loops on the sides above your hips, and one in the center. Find the center points between the side belt loops at the back belt loop. If this is super confusing, refer to the photo below.
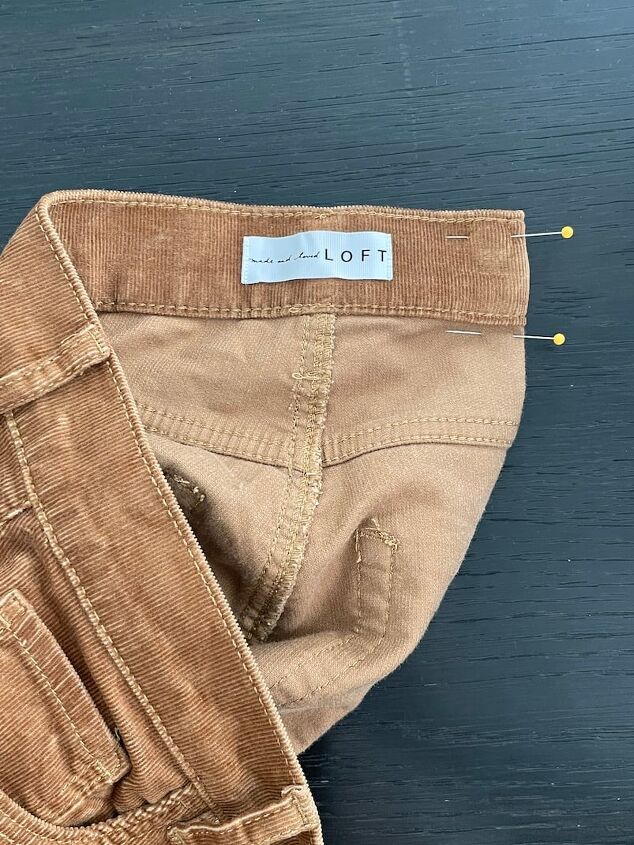
Step 3. Pin the darts.
Once you’ve located the place where you want to make your dart, pinch the fabric evenly on both sides to create two darts (see photo below).
Try to line up the waistband seams as best as you can as you pinch and pin. If the seams are uneven when you sew the dart in place, it will be obvious when you wear the jeans.
Use pins to hold these darts in place.
Step 4. Turn the pins and get ready to sew.
Remove the jeans carefully, making sure the pins stay in place, and lay the jeans on a flat surface.
If it’s too hard to pin, or if they come out when you remove the pants, just eyeball the amount of the dart and then re-pin once they’re off and laid straight.
To make it easier to sew, turn your pins horizontally, and mark your dart with a marker or pencil if needed so you know exactly where to sew. Make sure the waistband seams are still as lined up as possible.
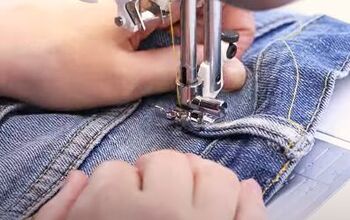
Step 5. Time to sew!
Carefully sew from the top of the waistband to the bottom of the dart with a straight stitch. Make sure you backstitch at the beginning and the end of the dart.
To avoid a puckered dart, angle your seam so it gradually gets closer and closer to the edge of the fabric and eventually runs off the fabric. (Just backstitch a few stitches right before you sew off the fabric).

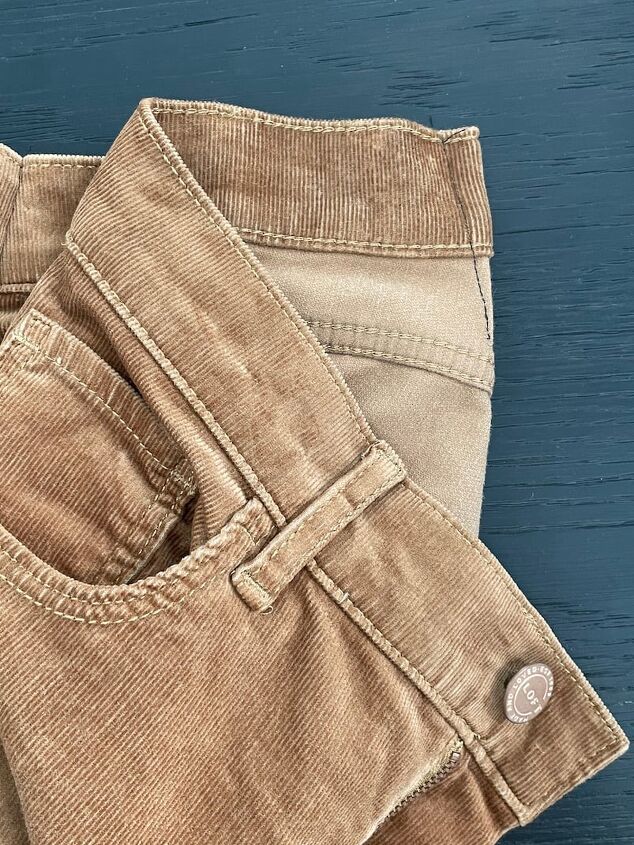
Step 6. Check your work, and press.
Once you’ve sewn both darts, try on your jeans and check the fit. If the dart is puckered, the waistband seams are really obviously not lined up, or there’s still a fit issue, unpick your stitching and try again.
When you’re satisfied with the fit, press your darts and your seams with an iron so they lay nice and flat.
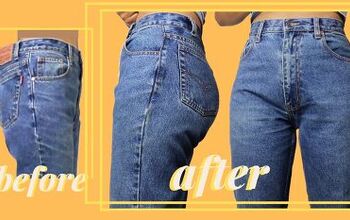
Then go wear your perfectly fitting jeans!

IF YOU LIKED THIS POST, YOU MIGHT ALSO LIKE THESE POSTS:
The author may collect a small share of sales from the links on this page.


Comments
Join the conversation