Learn the Important Skill of Sewing a Button With This Easy Tutorial

Sewing a button is one of the most basic things you need to know when it comes to sewing. Knowing how to do it can be helpful for tons of different projects as well as simply fixing an existing garment. In this tutorial, I walk you through the basics of sewing a button so that you can utilize the skill whenever you want!
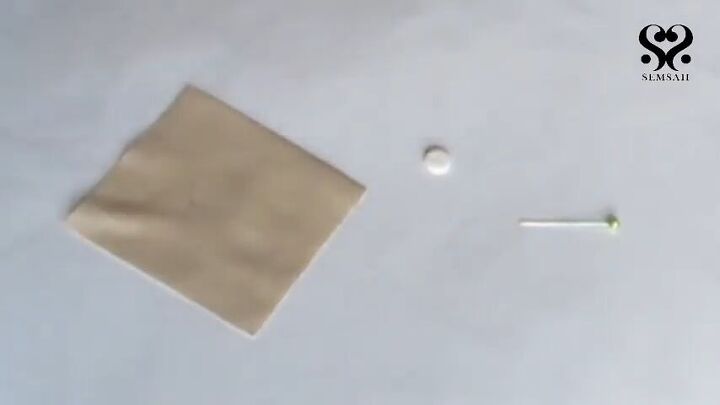
Tools and Materials:
- Button
- Fabric
- Needle
- Thread
- Pin or toothpick
- Scissors
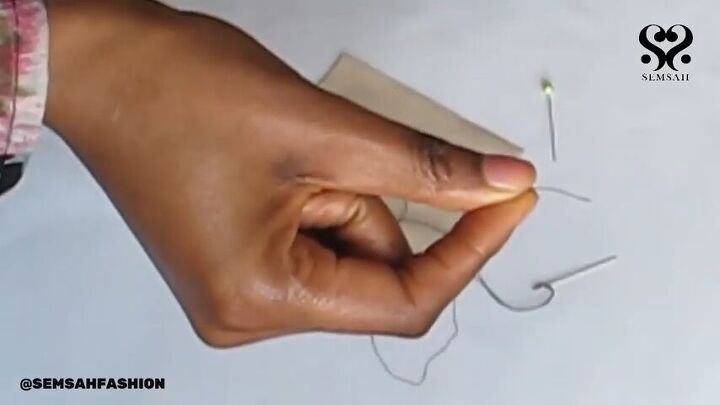
When it comes to sewing, the first thing you need to do is insert your thread through the needle. Then you need to tie a knot at the end of the thread to keep it in place. You do this by creating a loop and pulling the thread through it to create a knot.
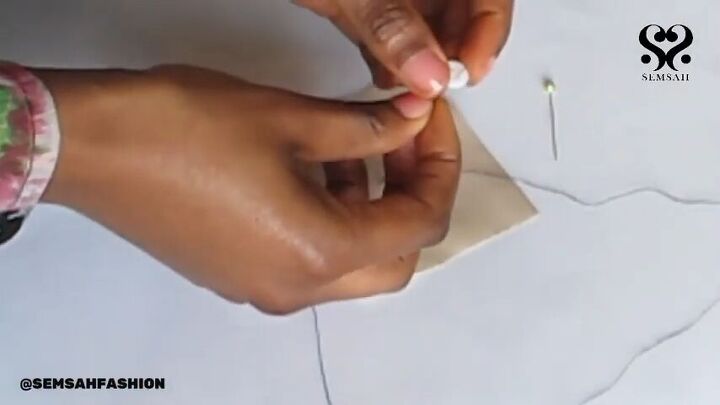
Create a hole in your fabric and pull the needle and thread through the hole. Then take the button and insert the needle through one of the holes. The button I’m using has two holes, but the same principle applies for four holes.
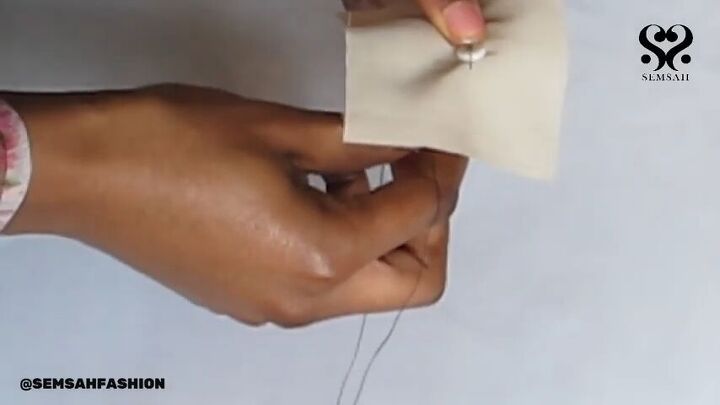
Place a pin or toothpick in between both holes. This will prevent you from pulling on your fabric or sewing your button too tightly. Then you’re going to go back through the same hole on the other side, before moving on to the next hole where you’ll repeat the process. Do this at least three times.
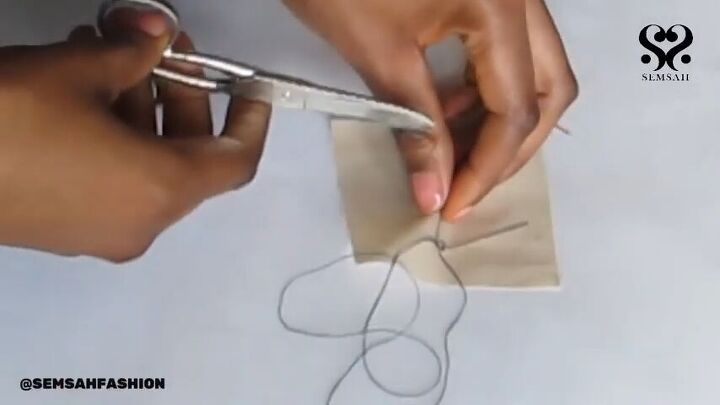
Pull your needle through behind the button so that it ends in the back of the garment. Then take your scissors and snip off the excess.
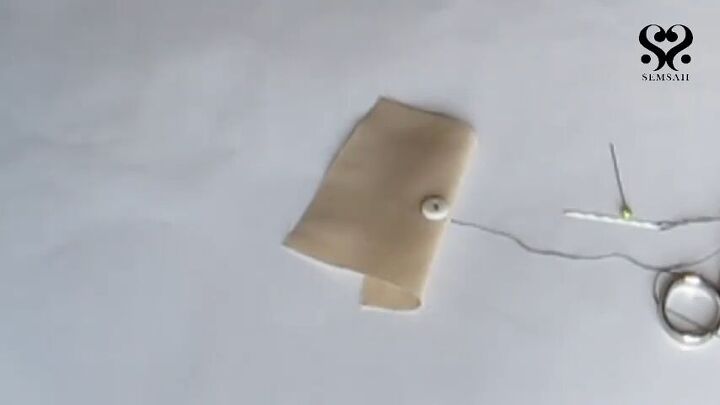
And there you have it! Now you know how to sew a button by hand. I hope you enjoyed this tutorial and that you are able to put it to good use, whether it be in fixing a button or creating a whole new garment. I’ll be waiting to see your projects with this new skill, so show me down below!
The author may collect a small share of sales from the links on this page.


Comments
Join the conversation