No-pattern Sewing Tutorial: Easy Button Front Skirt

I made myself a button front skirt from silky fabric. You don't need a pattern for a circular skirt for this. You can simply measure and cut directly onto the fabric.
I chose a silky fabric to make a brown skirt with buttons, but any fluid material would work well. The measurements given are for size 38.
Tools and materials:
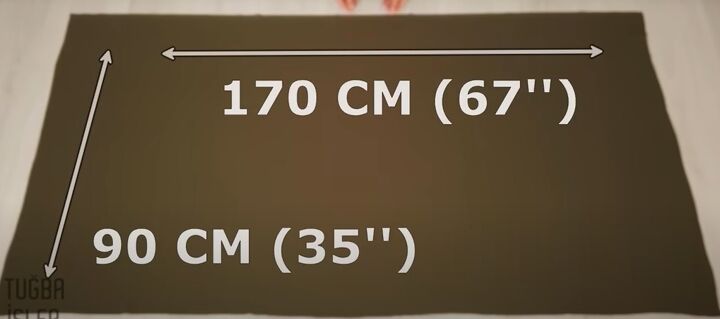
- 67 inches (170 cm) of 35 inch (90 cm) wide silky fabric
- 6 buttons
- Ruler
- Tape measure
- Pins
- Chalk
- Scissors
- Sewing machine with buttonhole attachment
1. Prepare fabric
Fold the fabric widthways with selvedges together and lay it flat with the folded edge on your right.
Pin the layers together to stop them slipping.
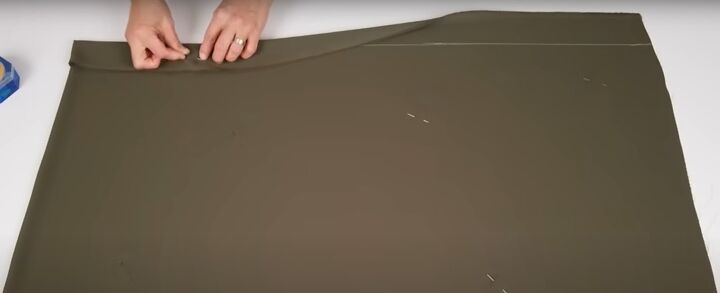
Chalk a line 2.4 inches (6 cm) down from the edge nearest to you along the length of the folded fabric.
Fold the fabric down along the line and pin.

2. Cut out the skirt
Place one end of the ruler on the folded corner on the right and mark a curved line 9.5 inches (24 cm) from the corner for the waist.
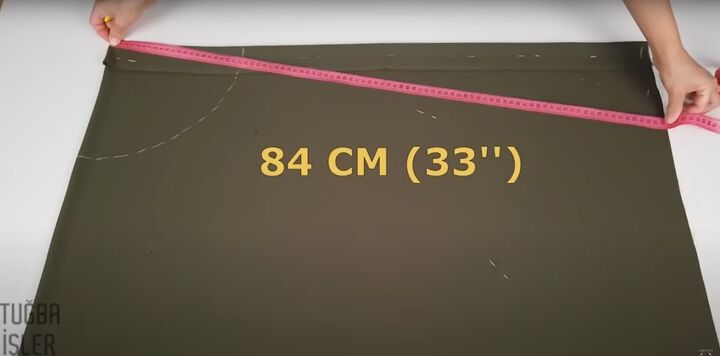
Use a tape measure to mark a second curve 33 inches (84 cm) from the same corner for the skirt length.
Adjust this measurement to make a button front midi skirt.
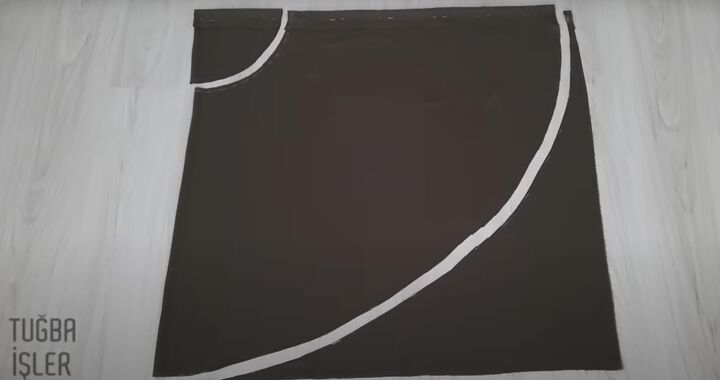
Cut 1/2 inch (1.25 cm) inside the smaller line and along the longer line.
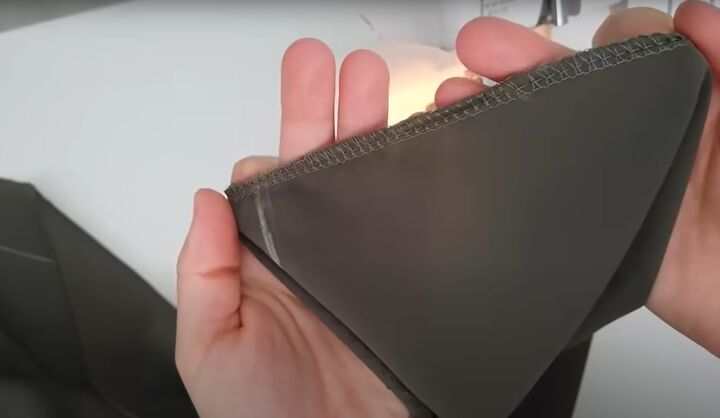
3. Overlock raw edges
Unpin the folded edge and open the fabric out. Overlock or zigzag stitch all the raw edges.
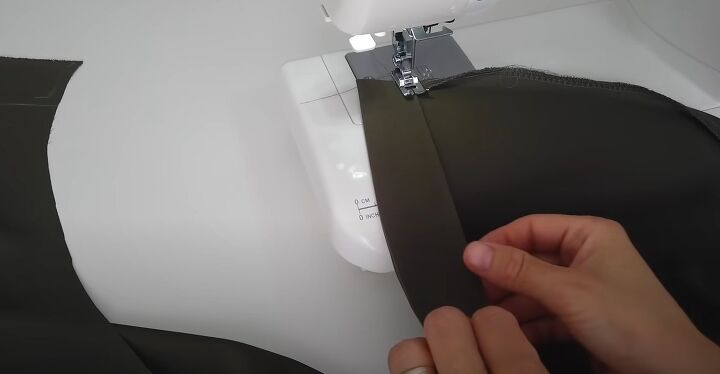
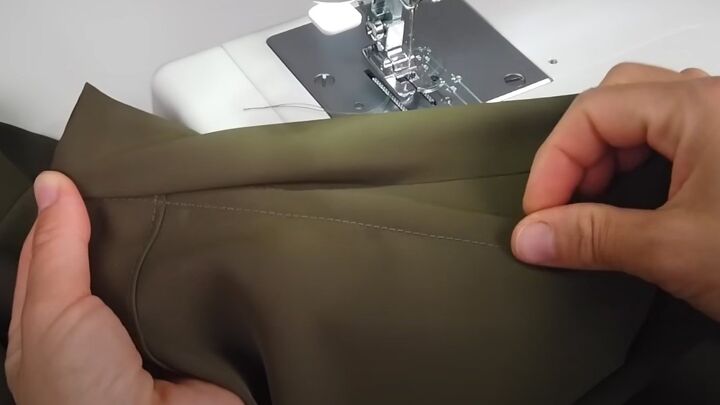
4. Stitch the front plackets and hem
See video from 4:30 to 7:20 for how to sew these sections.
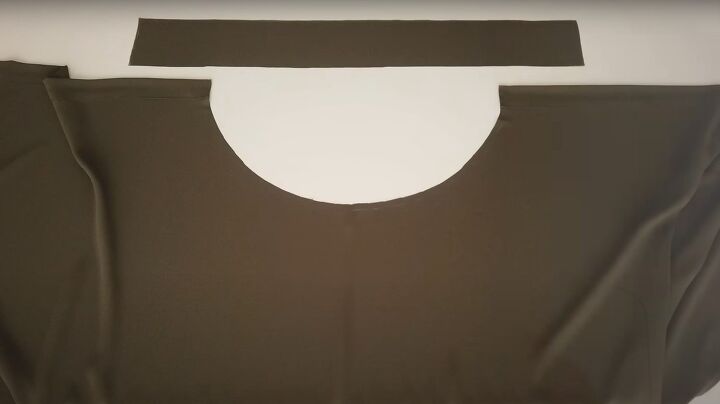
5. Cut and attach waistband
Cut a strip of fabric 30 inches (76 cm) long and 4 inches (10 cm) wide.
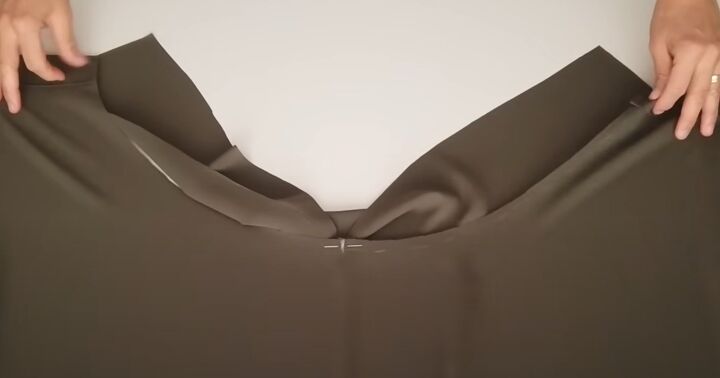
Mark the center of the waistband and the waist edge and pin them together, right sides facing.
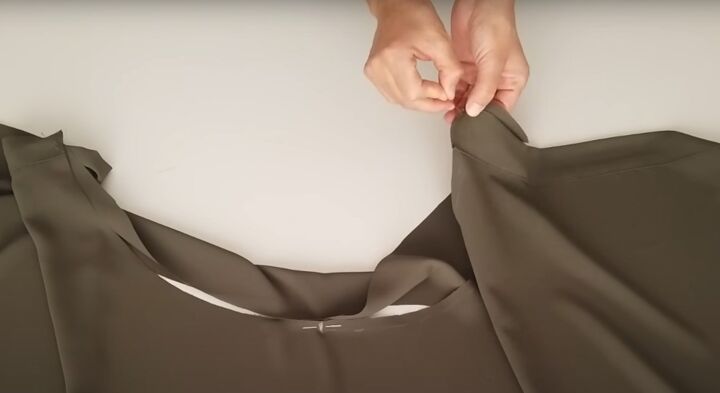
Pin each end of the waistband to the top of the plackets, leaving a seam allowance free on the short edges.
Sew the waistband to the skirt along the curved edge, easing slightly to fit.
6. Finish waistband
Fold the waistband to the right side and stitch along both short edges.
Turn the corners right side out and fold the waistband over to the inside, enclosing the raw edge.
Pin it into position, making a narrow hem on the raw edge, and stitch along the lower fold.
7. Plan buttonholes
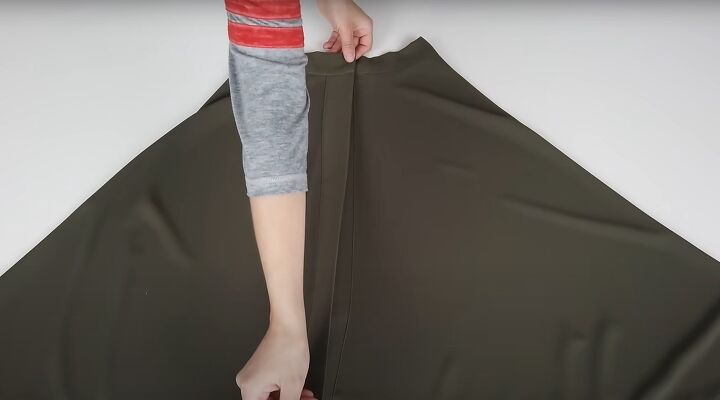
Open the skirt out flat, wrong side up, and fold the sides into the center, overlapping them by the width of the plackets.
Put one button on the waistband and spread the rest out evenly down about 2/3 of the plackets.
Mark the position of each buttonhole with chalk.
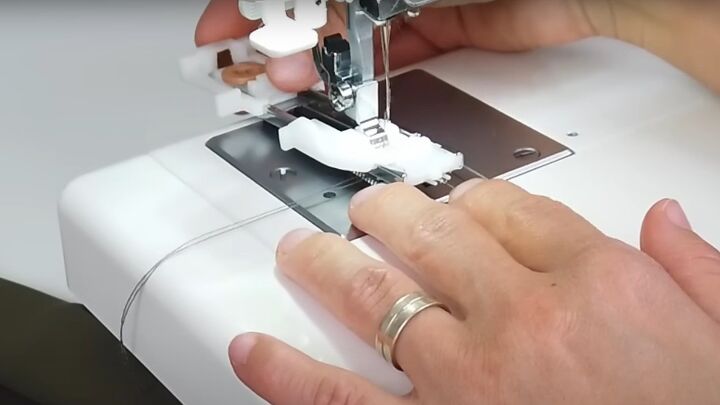
8. Sew buttonholes
Put a button into the buttonhole attachment to set the size.
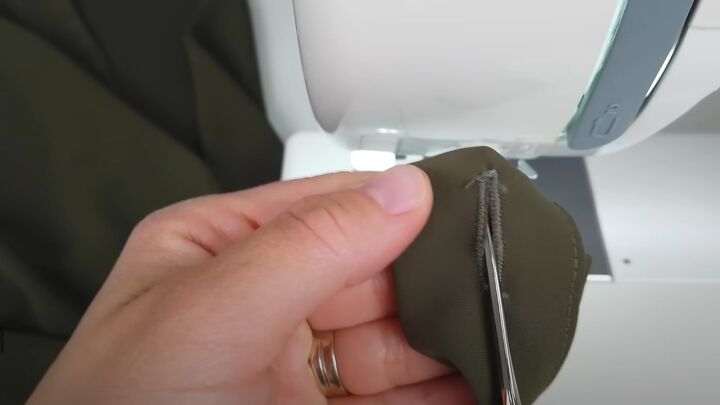
Stitch either side of the buttonhole marks and carefully snip between the stitches.
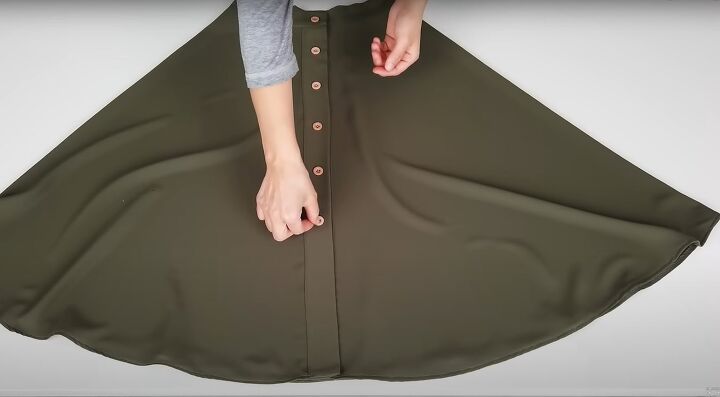
Sew on the buttons.


DIY button front skirt
I hope you enjoyed seeing how to make a circular skirt.
My skirt moves beautifully and goes with so many styles of top. If you'd like to see more of my patterns, please comment below and check out my TikToks at https://www.tiktok.com/@tugbaisler
The author may collect a small share of sales from the links on this page.


Comments
Join the conversation