How to Make a Silk Skirt - Pattern & Step-by-Step Sewing Tutorial

If you want to know how to make a silk skirt, the Aurora silk skirt sewing pattern and this tutorial will help you learn how to sew a silk shirt.
This silky midi-length skirt is sewn on the bias and is super elegant. Gather all your materials, print the pattern using the link below, and let’s get started making your DIY silk skirt!
Tools and materials:
- 2 yards silky fabric
- Elastic to fit your waist - use either ¾ or 1 inch
- Matching thread
- Glasshead pins
- Scissors
- Sewing machine
- Serger if you have one
- Clips
- Aurora pattern
- Iron
- Clapper
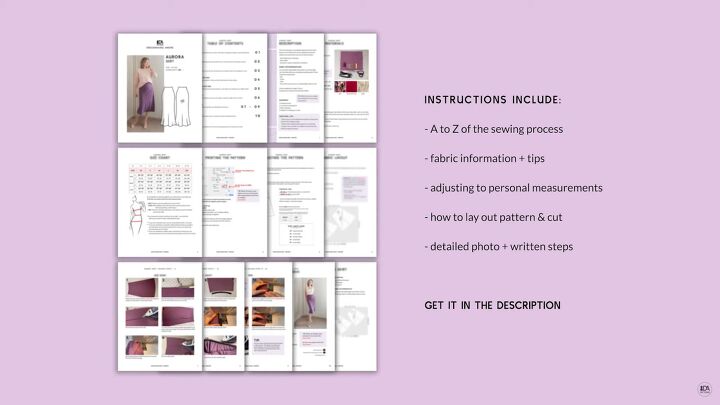
The Aurora pattern comes with very detailed instructions and all the information you’ll need when making this skirt, so make sure to check it out.
You’ll need to use a lightweight woven fabric with some drape like a natural or synthetic silk, crepe, or satin. The technique used for this skirt is a French seam though you could use a serger if you have one. French seams look very refined, clean, professional, and elegant.
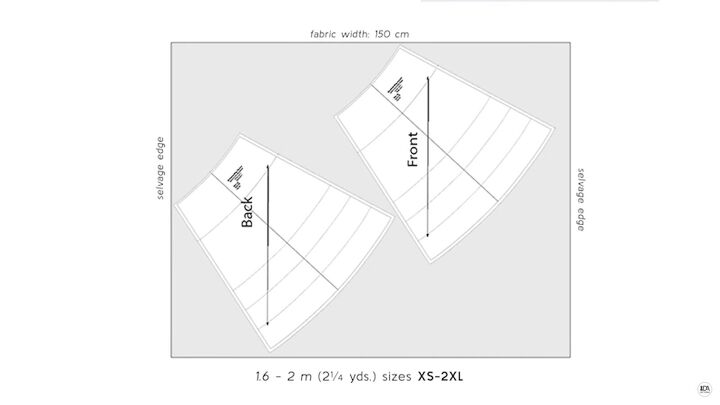
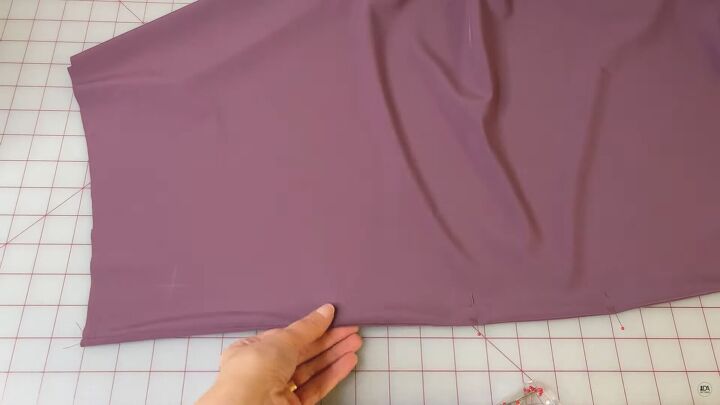
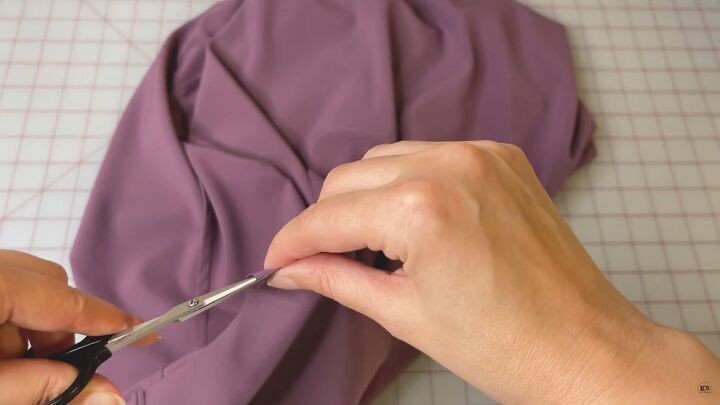
1. Cut the pattern
Follow the instructions on the pattern to cut the fabric and make sure to transfer all of the marks with small clips.
Note: These types of fabrics look very similar on the right or wrong side so before pinning or sewing, it may be helpful to mark the wrong side. I make a cross on the wrong side so I know which side I am using.
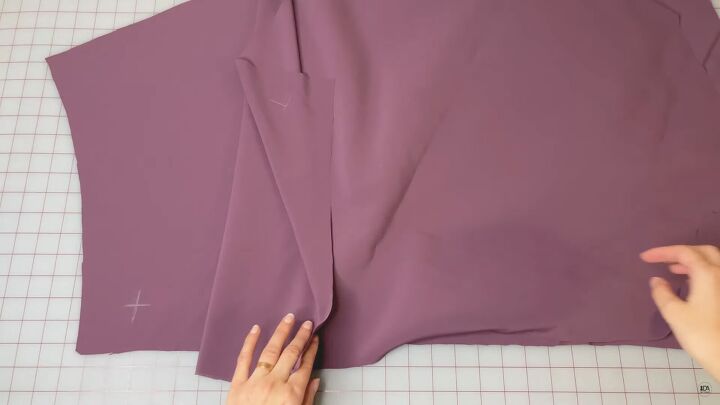
2. Pin the pattern
Place the front and back pieces on the wrong side together. Pin the side seams matching all of the markers using glasshead pins placed horizontally in the fabric, rather than vertically.
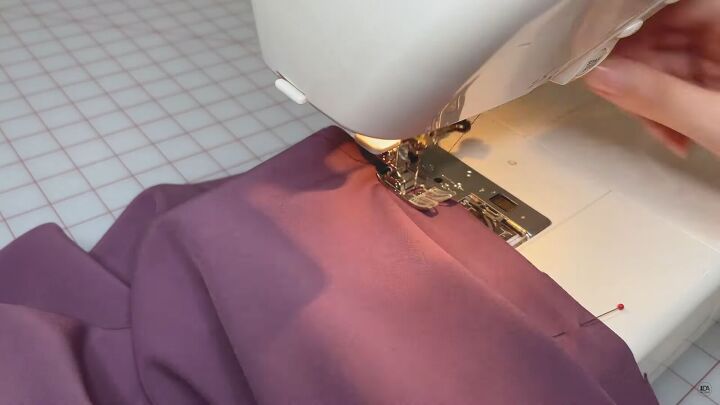
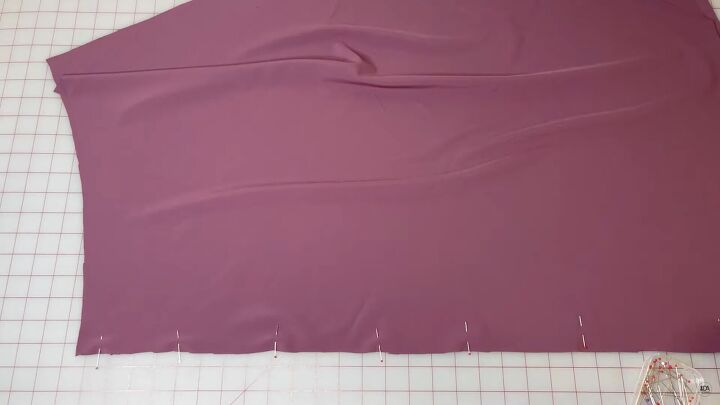
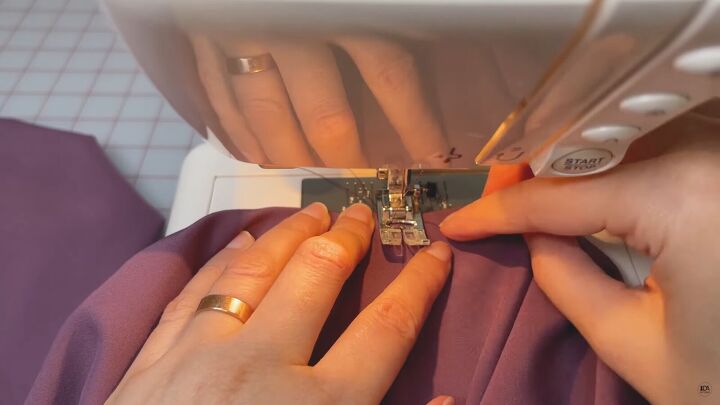
3. Sew the skirt
Sew the side seams ¼ inch (6mm) from the edge.
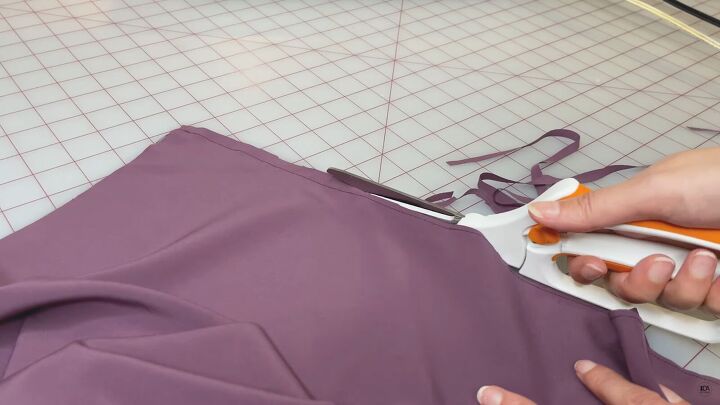
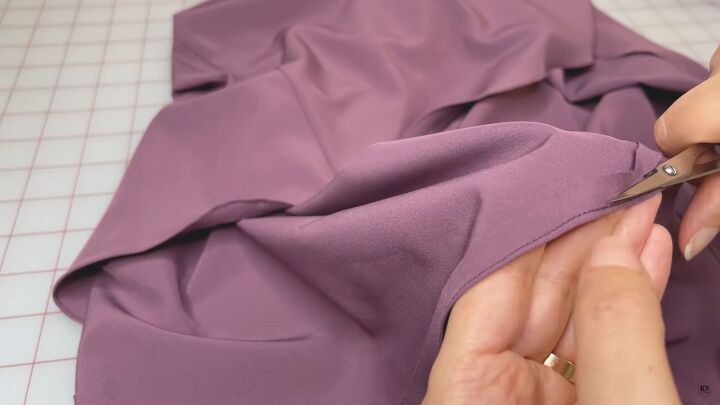
4. Trim and press the side seams
Then trim the seam allowance to ⅛ of an inch (3 mm) right by the edge of the seam.
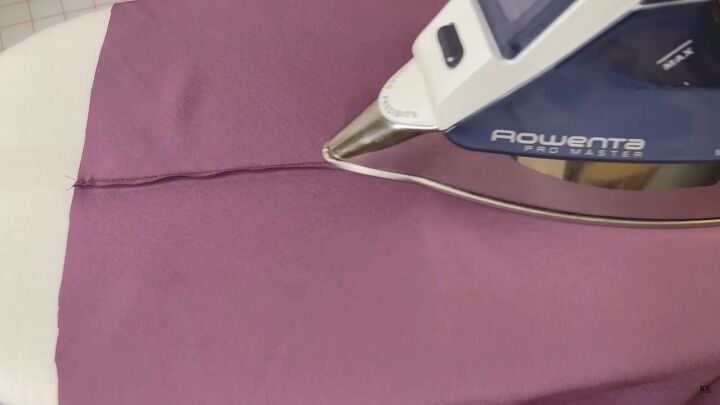
Press the side seams to one side.
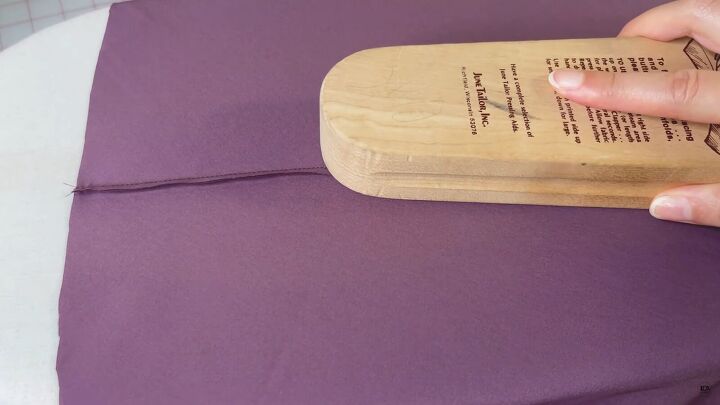
Cool the fabric using a clapper.
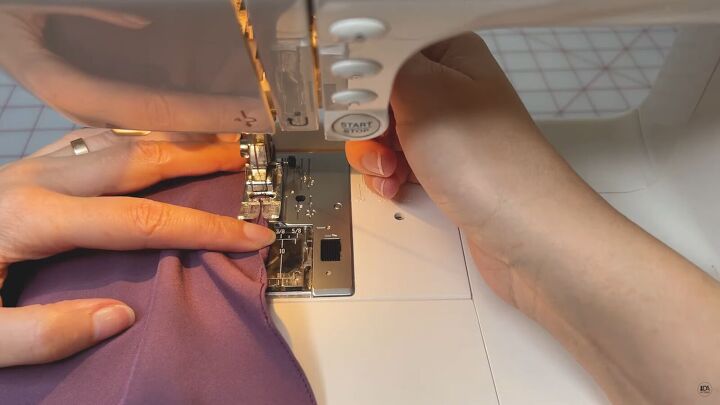
5. Sew the side seams again
Then, turn the skirt so the right sides are together. Pin the side seams again so the seam allowance will be inside the seam.
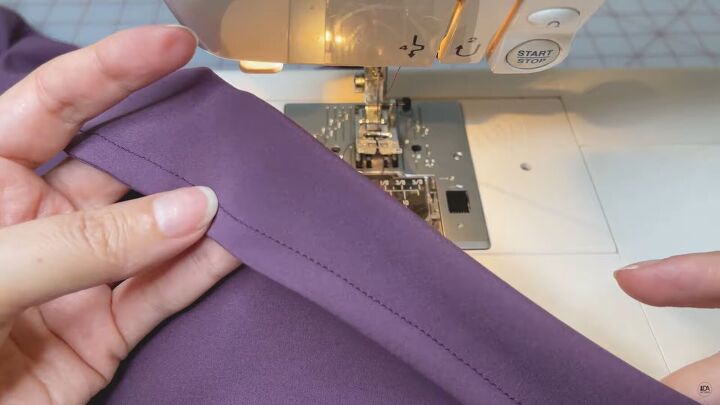
Sew up the side seams by stitching on the wrong side about 0.2 inches (5mm) from the edge.
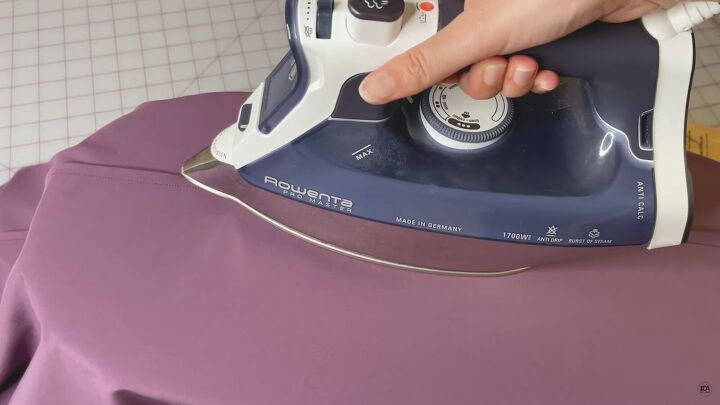
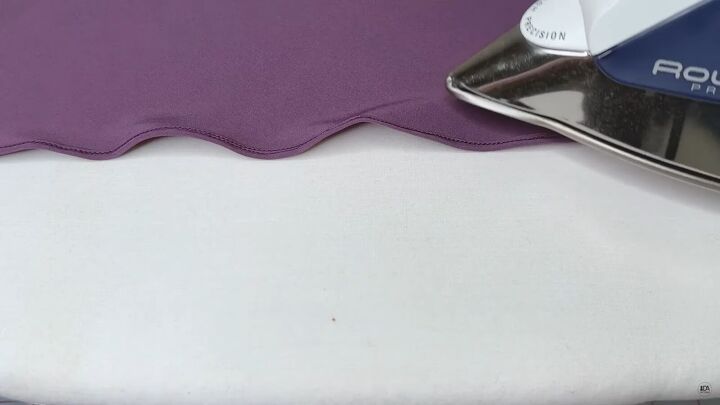
6. Press again
Press the side seams towards the front. This is so the eye doesn’t catch the seams when looking straight at the skirt. Then use a clapper to cool the fabric.
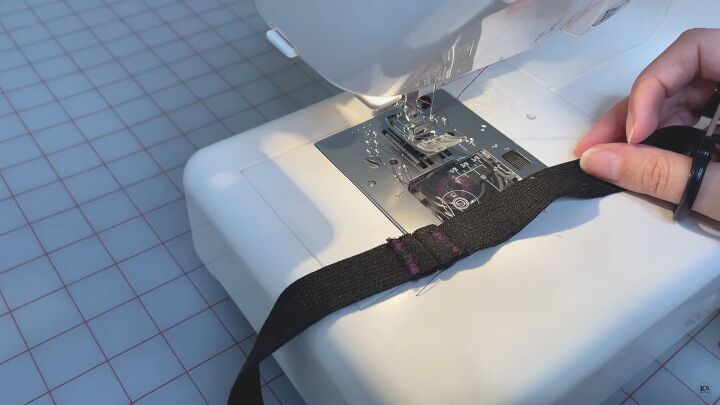
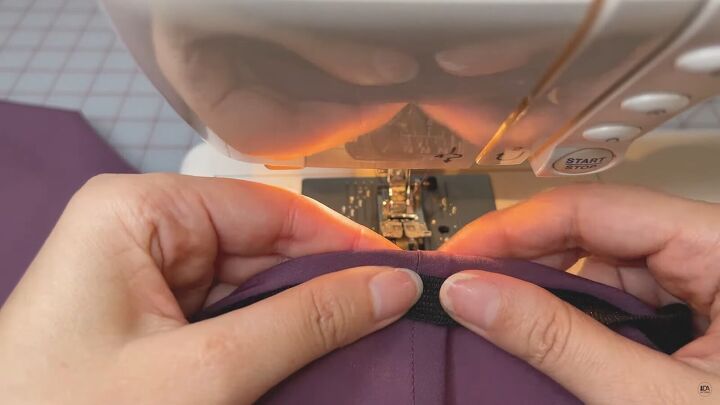
7. Sew the elastic
Sew the ends of the elastic together creating one large loop using a zigzag stitch to secure the ends.
8. Insert the elastic waistband
Mark the waists back and front centers by notching. Mark the quarters on the elastic with pins (side seams and center front and back).
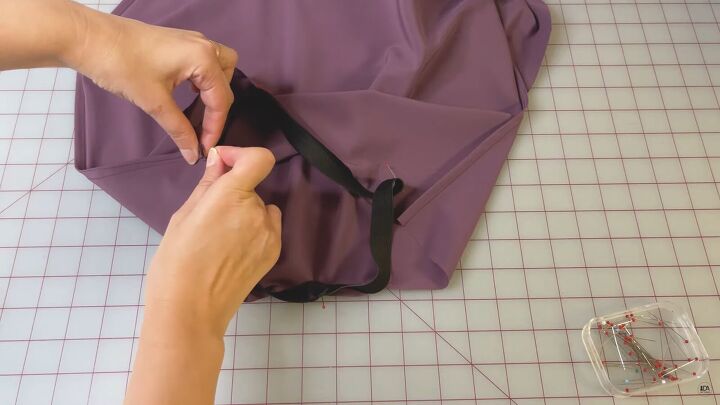
Have the skirt right side facing. Place the elastic joined stitching at the center back of the skirt so you always know where the back of the skirt is.
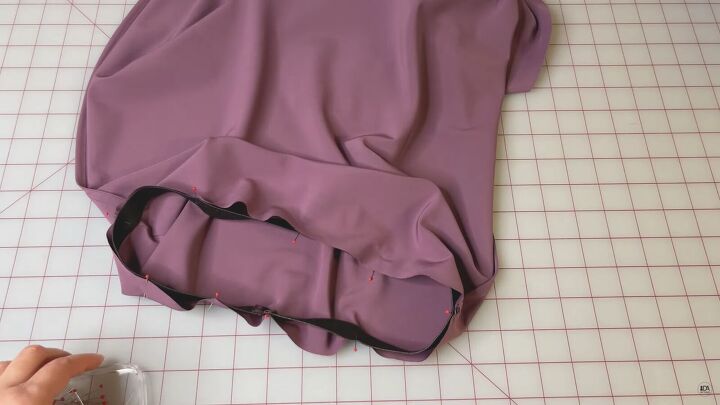
Pin the elastic at the waistline on the right side of the skirt, matching up the elastic marks with the waistline marks. Then pin the elastic in between.
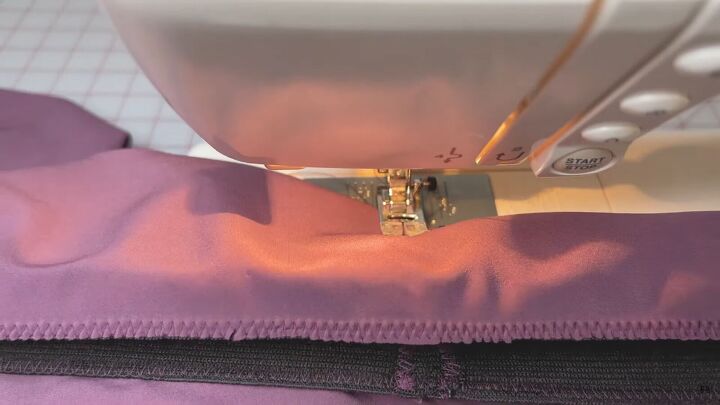
Sew the elastic to the waist close to the edge using a zigzag stitch.
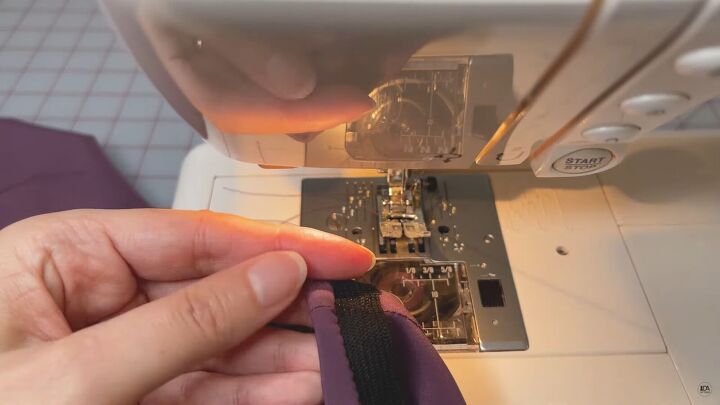
Then fold over the elastic to the wrong side.
Secure the elastic to the side seams by straight stitching on the seam just for the length of the elastic.
Press the waistline carefully not to catch the elastic.
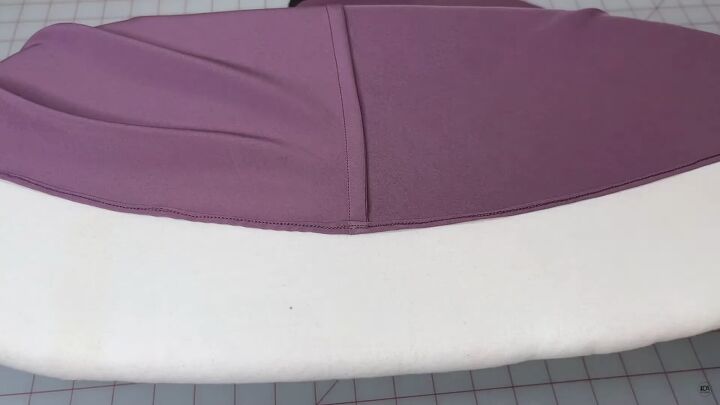
9. Final touches
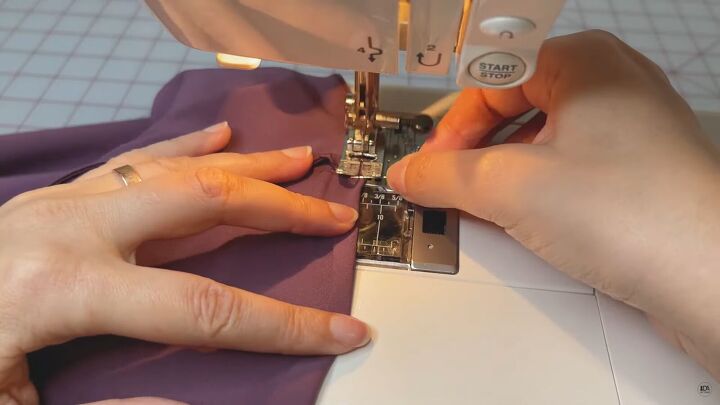
Try on the skirt and look for any unevenness at the hem edge. Trim any excess fabric.
Fold over the hem edge, ¼ inch to the wrong side, and sew ⅛ of an inch to the edge.
Trim any excess seam allowance as close as possible to the seam edge. Press the hem carefully and then use the clapper to cool.
Then fold the seams to the wrong side once more and stitch over the first seam, creating a very narrow hem.
Press the hem of the skirt again. Cool with the clapper.
Then give the entire skirt a final press, finishing with the clapper. This will give it a professional finish!

How to make a silk skirt tutorial
I hope you enjoyed and tried this tutorial on how to make a silk skirt with the beautiful and simple Aurora pattern! Please comment below if you’ve made it. I love hearing your sewing success stories!
The author may collect a small share of sales from the links on this page.


Comments
Join the conversation
very pretty! the materials listed links are broken. Where can I find this pattern?