Easy Palazzo Pants Pattern + Step-by-step Sewing Tutorial

Here’s a very easy palazzo pants pattern that you can mark, measure and cut directly on to the material.
I used 56 inches (144 cm) of stretch knitted fabric for these so they’re soft and fluid. The measurements are for a size 38 so just add 1.5 inches (4 cm) to them for each size up.
Tools and materials:
- Stretch knit fabric 47 inches (120 cm) wide
- 2 inch (5 cm) wide elastic to fit comfortably around your waist with an overlap
- Scissors
- Straight edge
- Tape measure
- Chalk
- Pins
- Overlocker or sewing machine
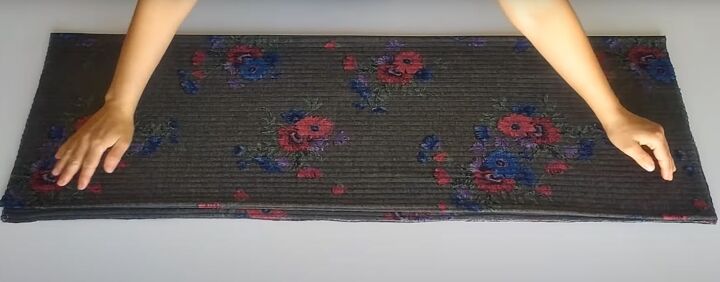
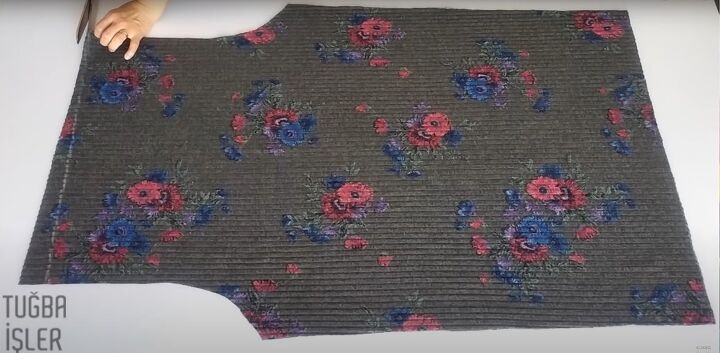
1. Prepare fabric
Fold your fabric in half widthways and in half again to make 4 layers, each approximately 14 inches (36 cm) wide by 44 inches (112 cm) in length for size 38.
Lay the fabric on a flat surface with the open edges facing away from you.
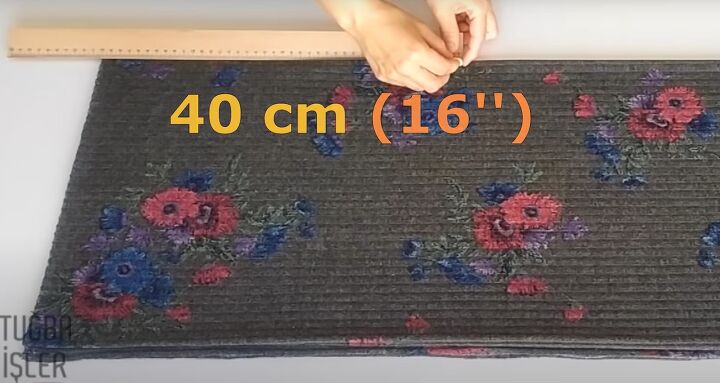
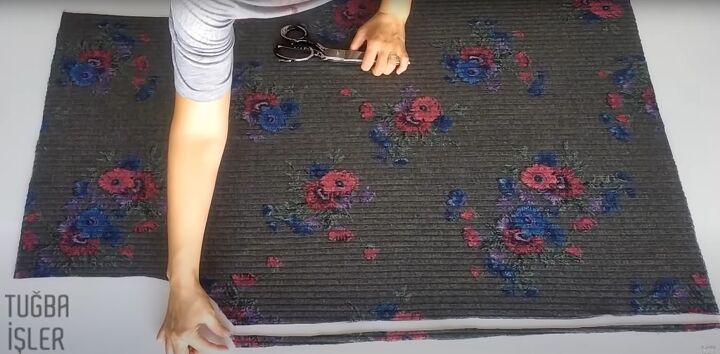
2. Mark crotch seam
Measure 16 inches (40cm) along the folded edge and mark with chalk.
Draw a line from the chalk mark across the fabric and put a thick mark or pin where the line ends on the open edge.
For a size 38, this line will be 13.5 inches (35 cm) long.
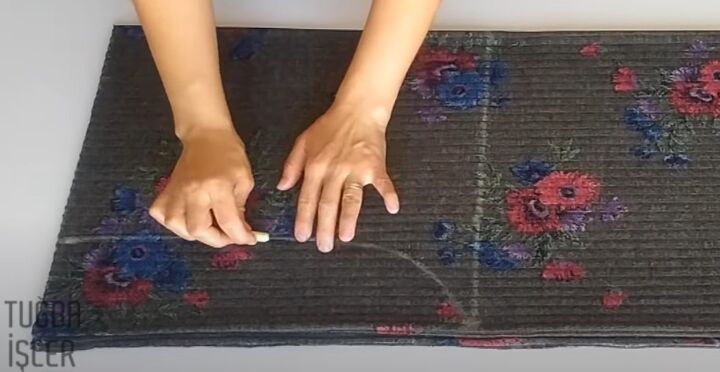
Measure 10 inches (26 cm) from the folded edge across the fabric above the chalked line.
Chalk a curved line from this point to the marked point on the open edge for the crotch seam.
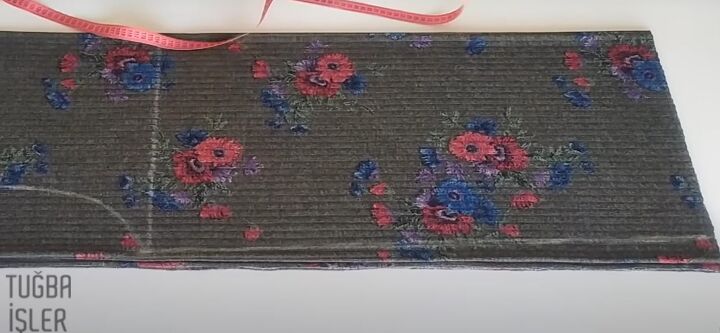
3. Mark inside leg seam
Measure 13 inches (33 cm) from the folder edge across the fabric on the other side edge and mark. Chalk a line joining this mark to the end of the crotch seam.
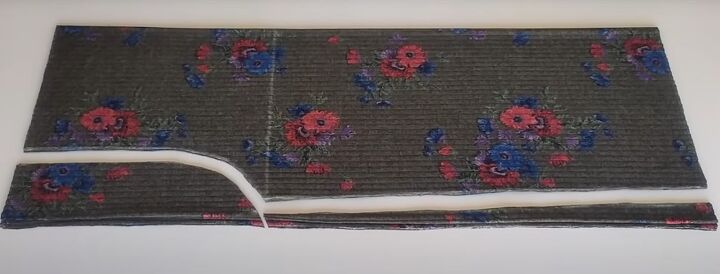
4. Cut out the basic shape
Cut along the crotch and leg seams through all layers.
5. Taper waist and front edge
Open out your fabric into 2 layers and measure 2 inches (5 cm) down from the top edge on one side.
Draw a slanted line from this point to the top of the crotch seam on the other side and cut along this line.
Cut 1 inch (2cm) from the seam running from crotch to the hem on the side you just marked.
6. Pin the crotch seams
Turn the fabric so the waist is towards you. The shorter crotch seam nearest to your right hand is the front and the longer crotch seam is at the back.
Put the two layers together, right side facing, and pin the back and front crotch seams.
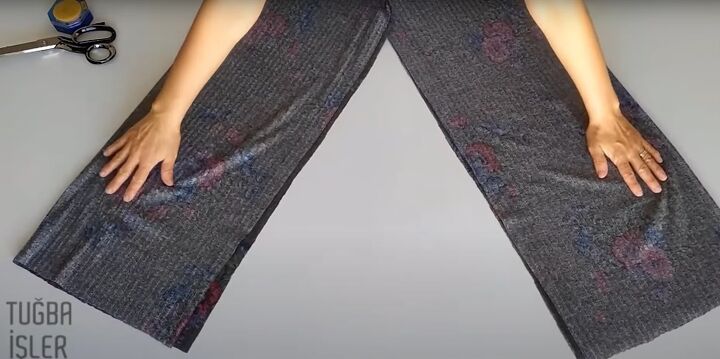
7. Pin the leg seams
Open the pants and place the crotch seams together. Lay the pants flat so the crotch seams are in the center and pin the inside leg seams.
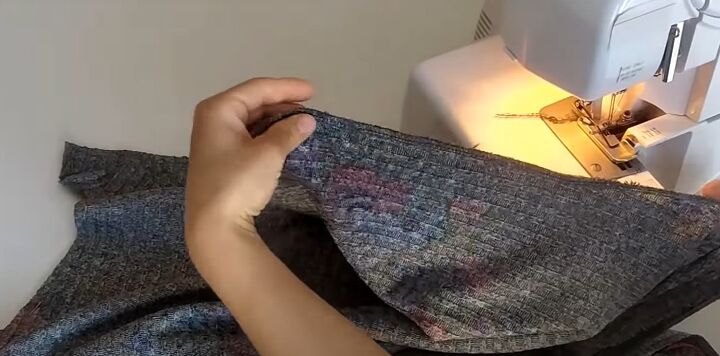
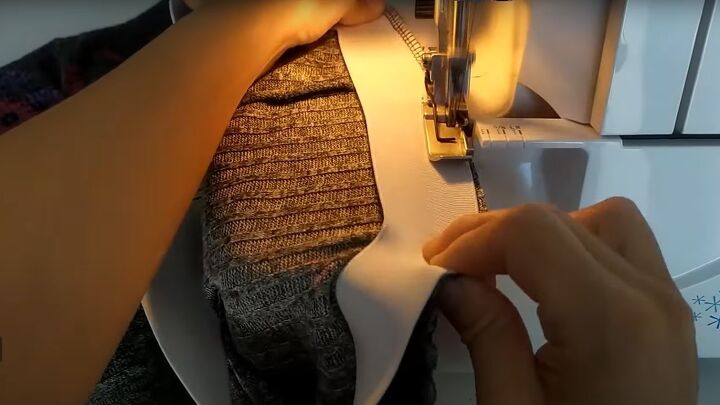
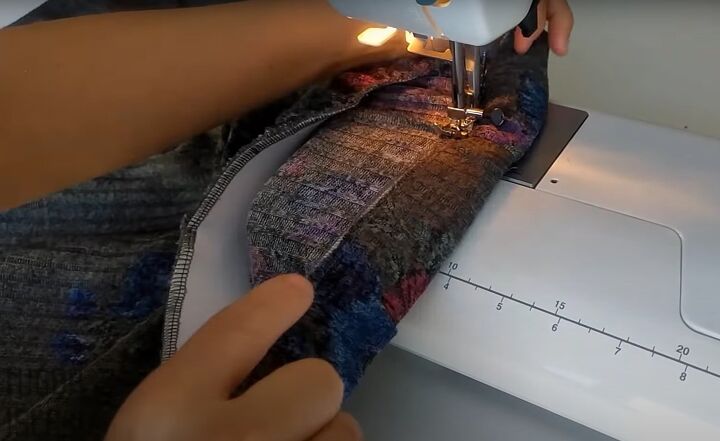
8. Sew seams
Stitch the crotch and leg seams, using an overlocker if you have one, or a zigzag stitch. Overlock the hem of each leg.
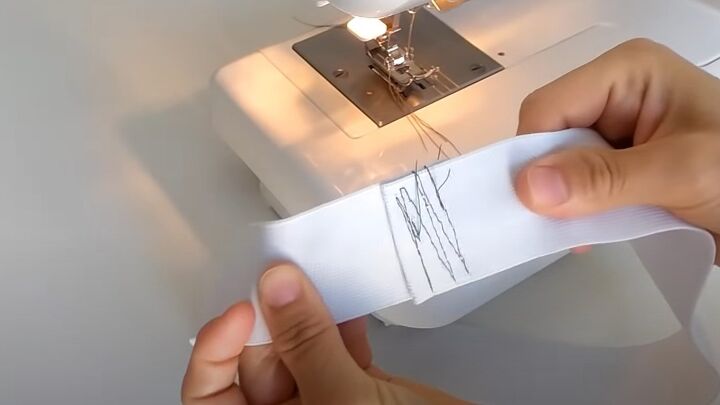
9. Join elastic
Overlap the edges of the elastic and stitch them firmly together.
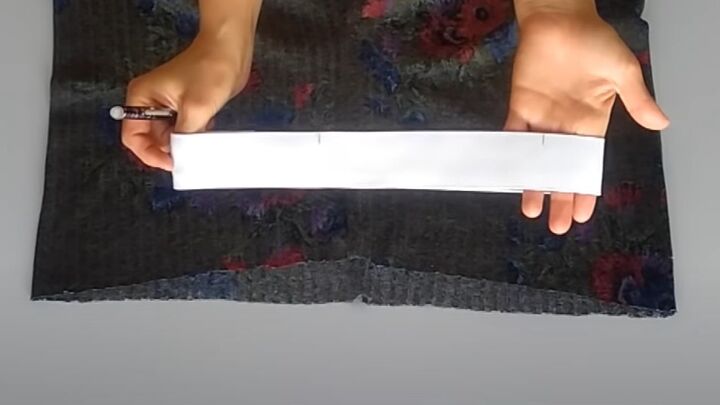
10. Insert elastic
Turn the pants right side out. Mark each quarter section of the elastic to make it easier to insert it evenly.
Place the seam of the elastic at the center back, the half-point mark at the center front and the two quarter marks at the side seams. Pin the elastic in place.
Sew the elastic to the inside of the pants along the top edge, stretching it to fit as you go.
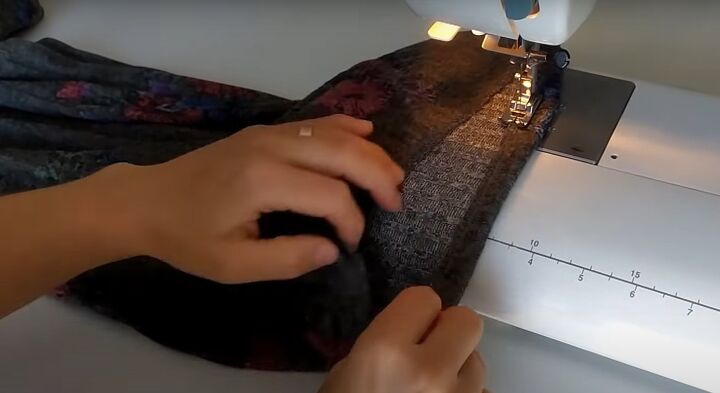
11. Make waistband
Turn the waist edge to the inside, enclosing the elastic, and sew into place along the lower edge close to the first row of stitching.
12. Hem the pants
Try on the pants, turn up the lower edge and hem.
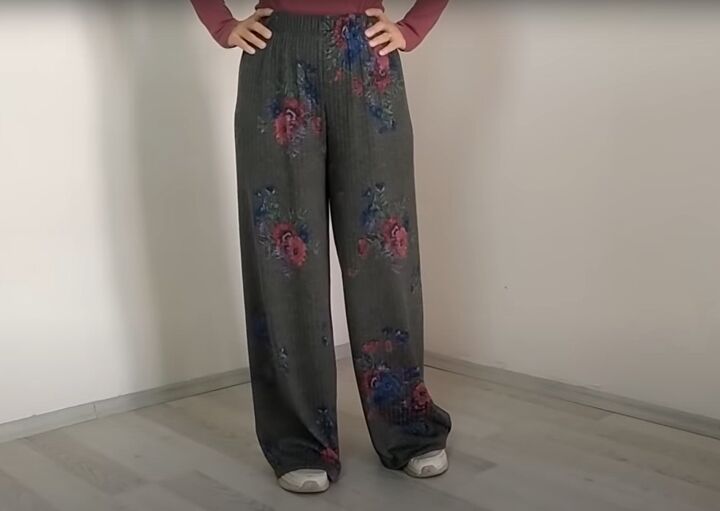

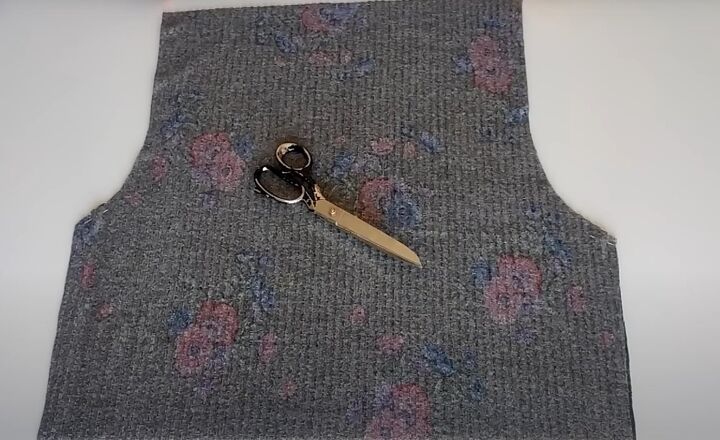
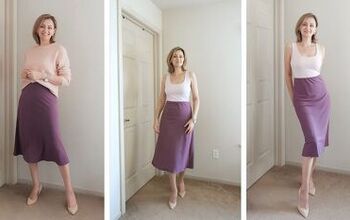
Palazzo pants pattern
My finished DIY pants are soft and comfortable, and they move and drape beautifully.
I hope you enjoy making them. If so, leave a comment below!
For more ideas on how to sew pants like these, please follow me on Tik-Tok https://www.tiktok.com/@tugbaisler
The author may collect a small share of sales from the links on this page.


Comments
Join the conversation