No-pattern Sewing Tutorial: DIY a Gorgeous Ruffle Hem Skirt

Today, I’m going to show you how to make a ruffle hem skirt that is ruched on one side.
I love ruffles on clothing, and I also like the ruched style this skirt has both of these elements!
You don't need a pattern for this skirt. You can simply measure and cut directly onto the fabric. Let's get started.
Tools and materials:
- Fabric
- Scissors
- Tailor's chalk
- Sewing machine
- Pins
- Iron
- Safety pin
- Elastic
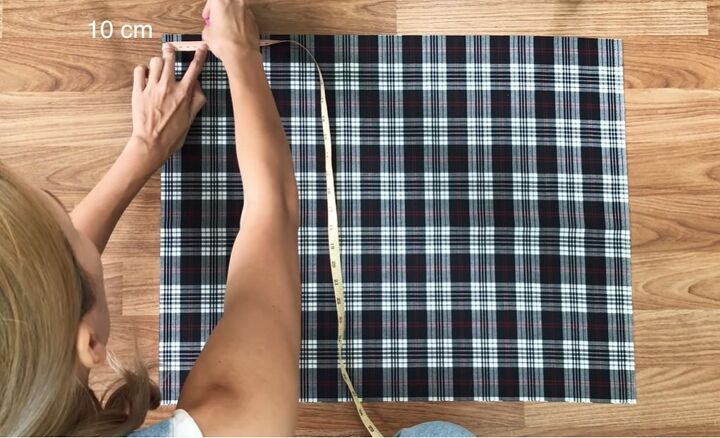
1. Mark and cut the fabric
Start by cutting two rectangles.
The width is ½ of your hip measurement x 1.5 (for me, this was 69cm [27 inches]), and the length is the measurement from your belly button to above your knee (for me, this was 55cm [21.6 inches]).
Place one rectangle on top of the other. Mark 10cm (4 inches) from either side at the top of the fabric.
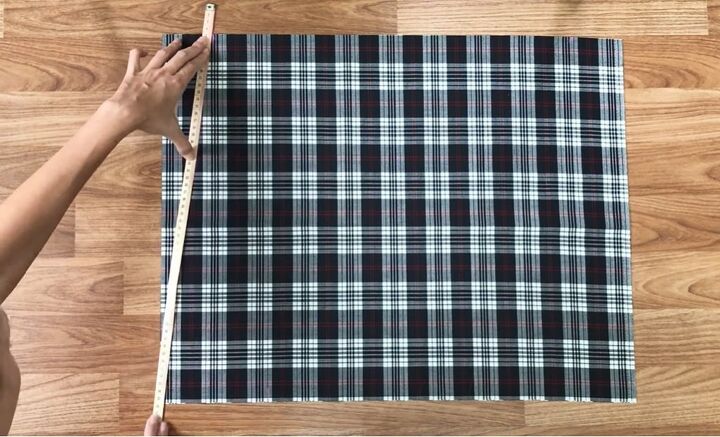
2. Adjust the size
Draw straight lines from the two marks to the bottom of the rectangle. Proceed to cut along these lines.
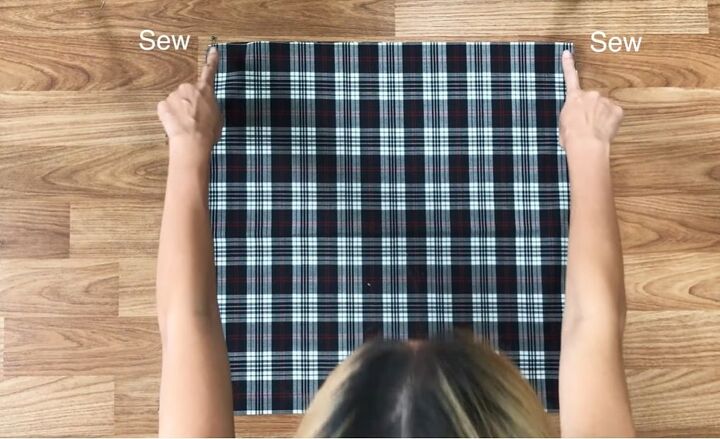
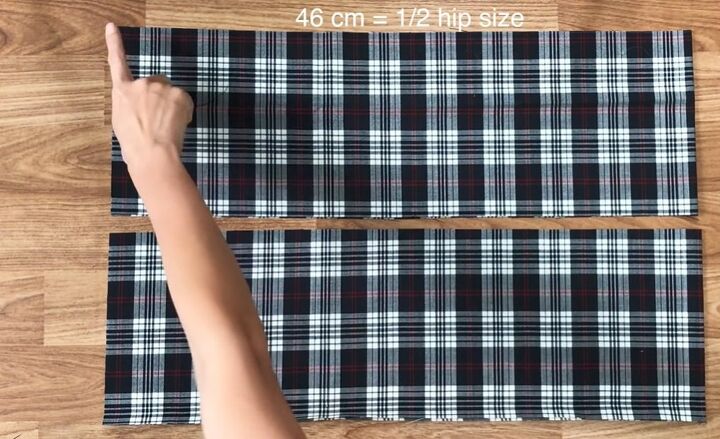
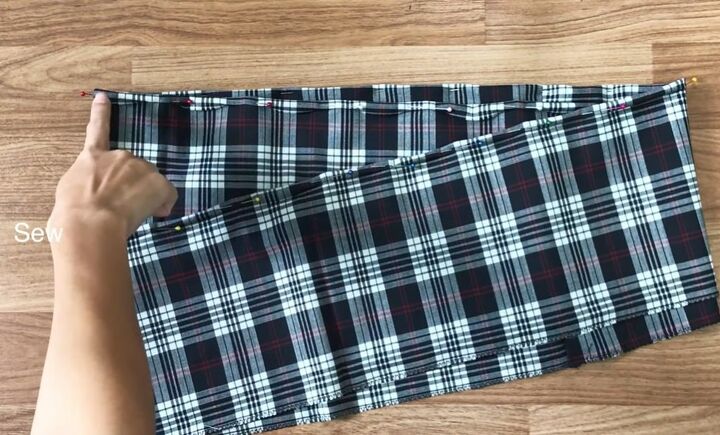
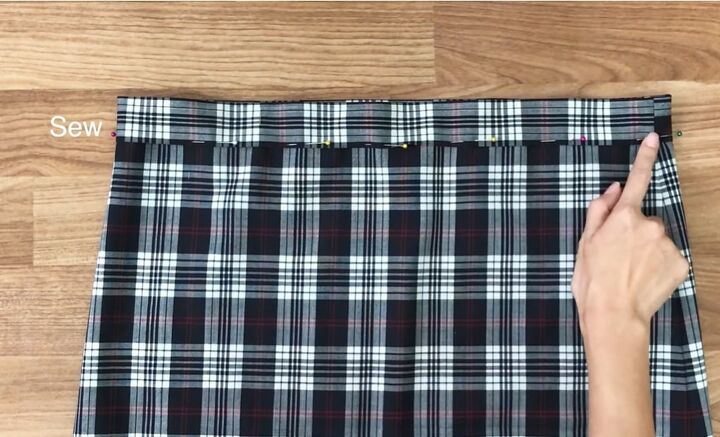
3. Sew the two sides
Pin down the two layers of material on either side to join them and then sew them all the way down the sides, overlocking them with a zigzag stitch.
4. Cut out the ruffle fabric
Cut 4 more rectangles that have a width of your hip measurement (for me, this was 92cm [36 inches]) and a length of 25cm (10 inches). Connect the two rectangles together with a zigzag stitch to have a long, circular piece of fabric.
5. Sew the sides of the ruffle piece
Fold the top over twice and pin it. Then sew down.
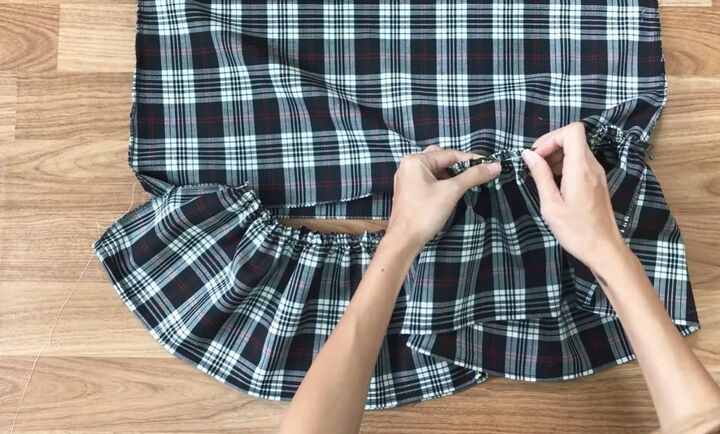
6. Gather the fabric
Make a loose seam along the side that you just sewed.
Pull the thread until the length of the ruffle is ½ the hip size x 1.5 - 4cm (1.6 inches).
For me, this is 65cm (25.6 inches). This will be the same length as the bottom of the skirt.
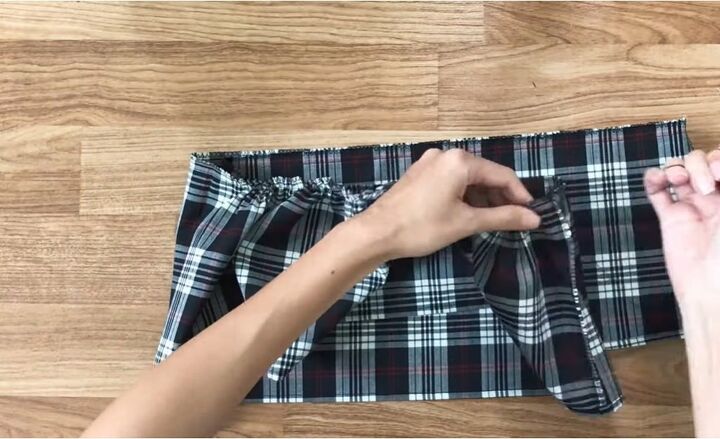
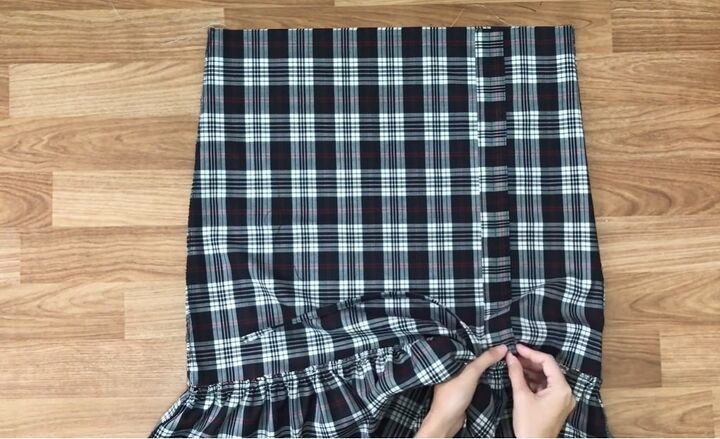
7. Attach the ruffle to the skirt
Connect the ruffle to the main body of the skirt by pinning the two together. Then sew them.
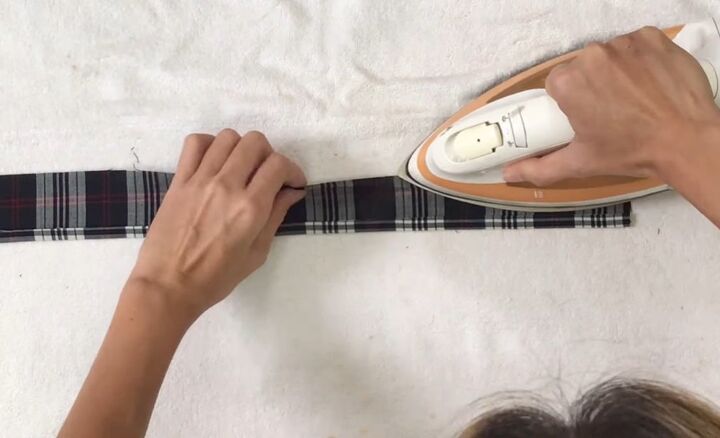
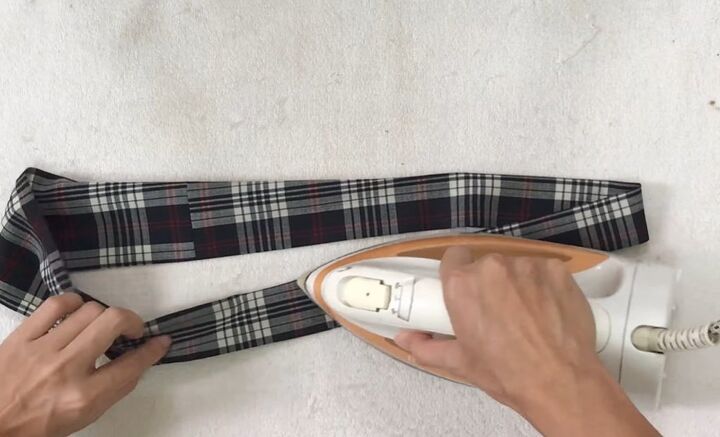
8. Make the casing for the ruching
Cut a piece of fabric that is 55cm (21.6 inches) in length and 6cm (2.4 inches) in width.
Fold in both of the long sides by 1cm (0.4 inches) and iron them down.
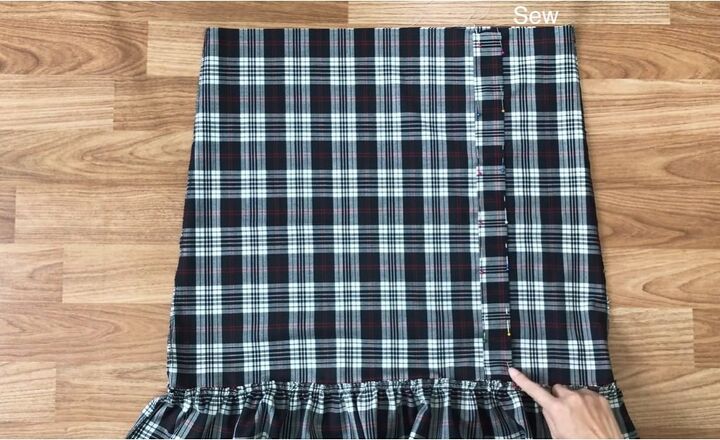
9. Sew the casing to the skirt
Find the ¼ point along the width of the skirt and mark it.
Place the strip of material vertically below this mark and pin it all the way down the skirt. Then sew it down on either side.
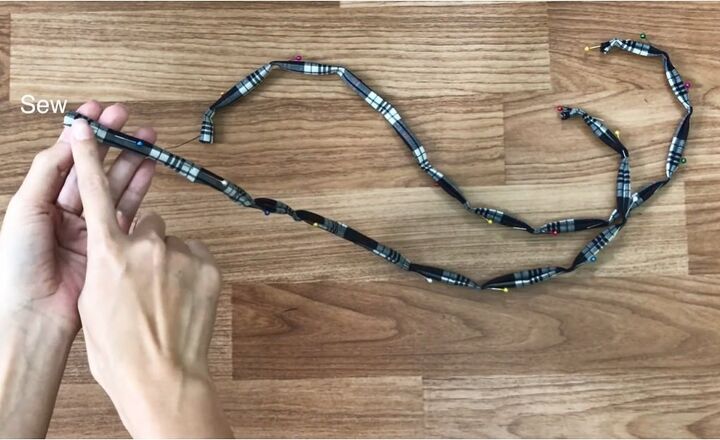
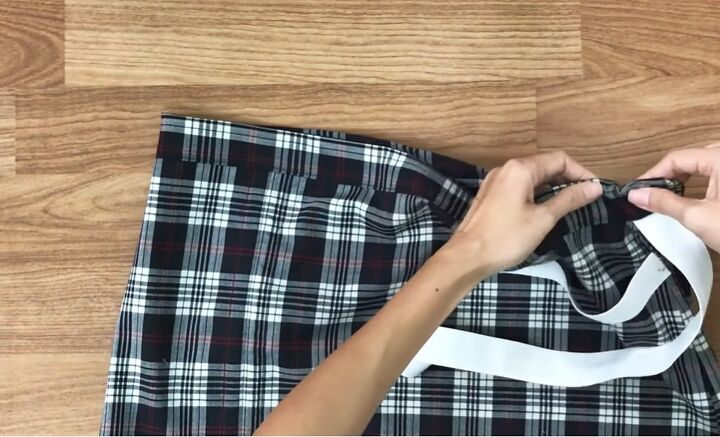
10. Make the ties for the ruching
Cut two strips that measure 65cm (25.6 inches) in length and 3cm (1.2 inches) in width.
Fold them over on each long side and then fold them in half. Pin them down and sew them.
11. Pull the ties through the casing
Place a safety pin at one end of each strip and bring them all the way through the fabric strip on the skirt.
Once they’re through to the other end, sew them at the top of the skirt.
12. Make the waistband
Cut a piece of fabric where the length is the hip measurement + 4cm (1.6 inches) in length (for me, this is 96cm [37.8 inches]). It should be 12cm (4.7 inches) in width.
Sew the open width sides together to create a circular piece of fabric. Then fold each side in by a few centimeters and iron the folds down, and then fold the waistband in half lengthways.
Make sure the total length of the waistband is the same as the top of the skirt.
13. Attach waistband to skirt
Place the skirt inside the waistband up until the folded point.
Join the waistband to the top of the skirt all the way around.
Proceed to sew down but keep a small gap open where you will insert the elastic.
14. Insert elastic
Insert a safety pin into one end of the elastic and pull the elastic all the way around the waistband.
When done, sew the two ends of the elastic together and then close up the open gap. If you want, you can sew the elastic in place on opposite sides to prevent it from moving around when you’re wearing the skirt.
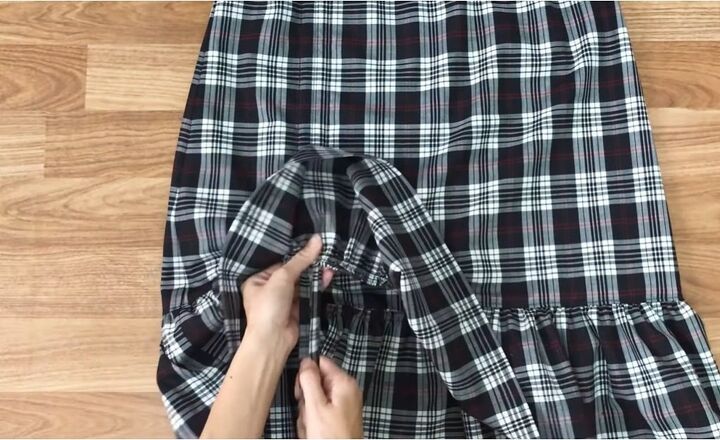
15. Pull the ties
The last step is pulling the ties to create the ruched part of the skirt.

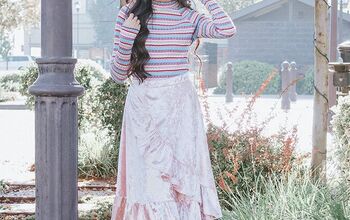
Ruffle hem skirt
And we finished this DIY. Here's the final ruffle skirt with ruching.
You can wear this skirt in the fall with a sweater and some boots or in the summer with a vest top and sandals. It has year-round appeal!
For more sewing content, check out my posts on How to Make a Jacket From Old Clothes and This Glitzy DIY Christmas Party Dress is Perfect for the Holidays.
The author may collect a small share of sales from the links on this page.


Comments
Join the conversation