How to Make a Jacket From Old Clothes With Faux Sherpa Lining

If you’re looking to learn how to make a jacket from old clothes look no further. Here’s how to make a corduroy jacket using a corduroy shirt and a soft white towel! It literally looks like a sherpa jacket but without the hassle of sewing with sherpa.
If you wanted to know how to make a sherpa jacket, give this tutorial a try. You will love this DIY corduroy jacket and it only takes around an hour to make. Let’s get started with this easy and simple shirt jacket sewing pattern!
Tools and materials:
- Corduroy shirt
- White towel
- Scissors
- Measuring tape
- Ruler
- Tailor’s chalk
- Sewing machine
- Serger (optional but recommended)
- Pins
- Iron
1. Make the jacket pattern
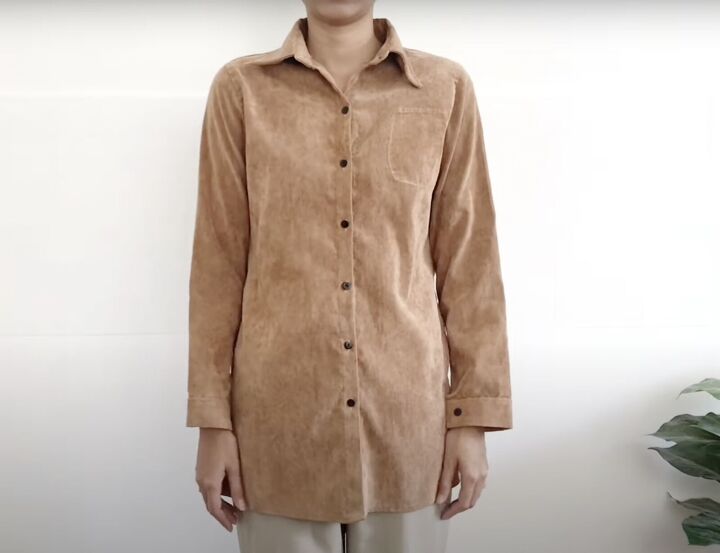
I’m using this long corduroy shirt that is a bit big on me to make the jacket. If you can find one that fits you reasonably well across the shoulders and chest, this would be ideal.
You can use what you already have at home or buy one at the thrift store.
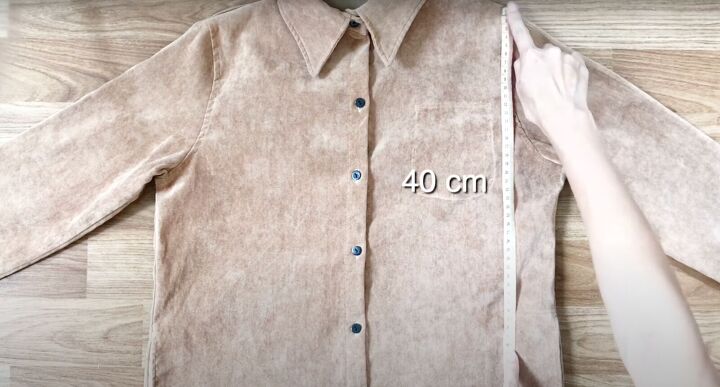
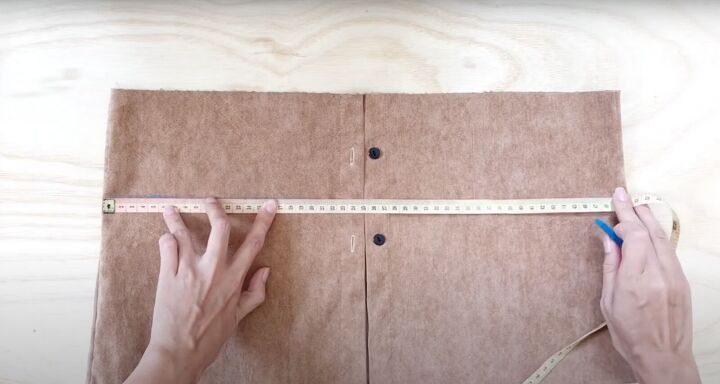
Measure the length you want the jacket to be from the shoulder down towards the waist. In this tutorial, I’ve measured about 40 cm or about 16 inches.
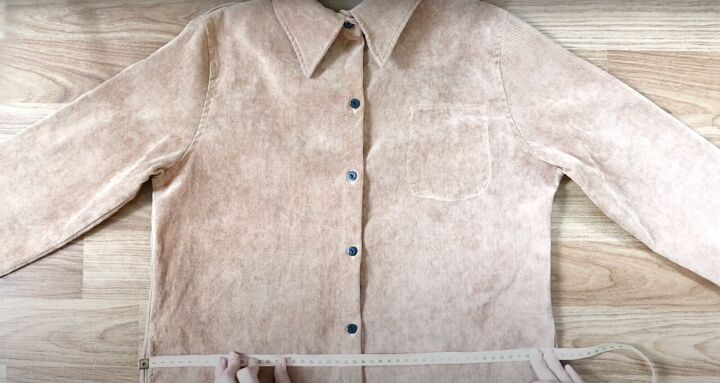
Mark all the way across using a ruler or measuring tape so the jacket is even all around.
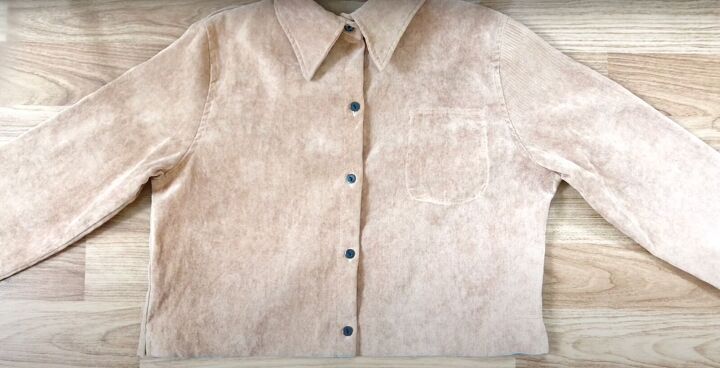
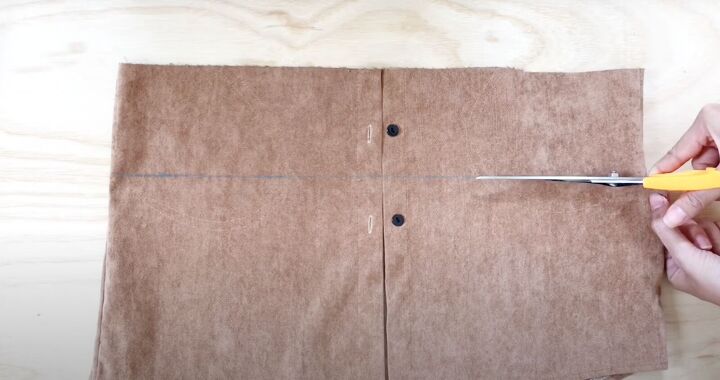
Cut across the line.
2. Make the waistband
You’ll use the bottom portion to make the waistband and pockets. Mark the fabric at 4 inches (about 10 cm) down from the cut edge all the way across.
Cut it out in one long strap.
3. Make the pockets
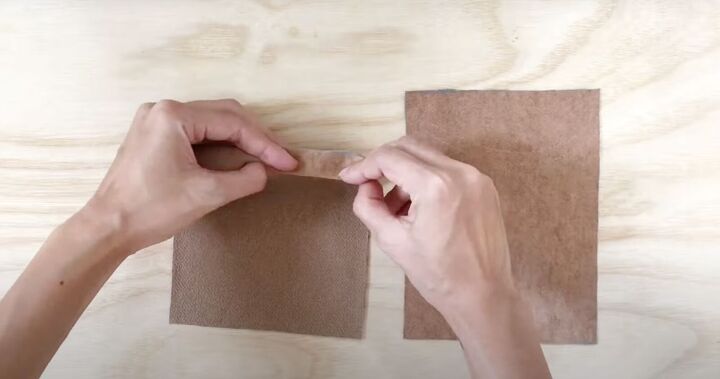
Mark the rest of the leftover fabric for two pockets. Each measure about 5 X 7 inches (13 X 17 cm).
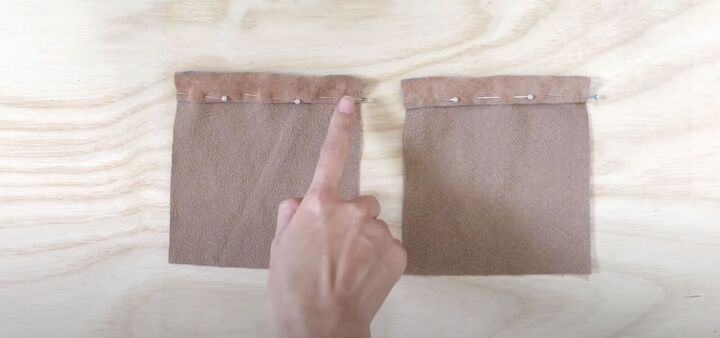
Double fold the top of the pocket twice, measuring ¼ inch (1 cm) for each fold. Use your ruler to make sure the folds are even. Pin into place. Sew into position.
If you have a serger, serge the ends. Corduroy may fray. If you don’t have a serger, finish the ends using a zigzag stitch.
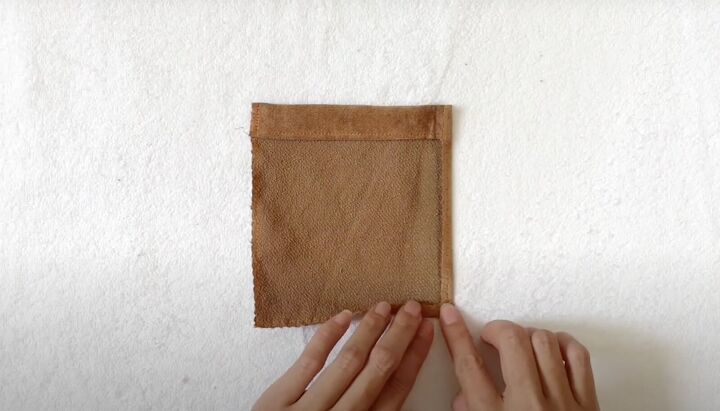
Fold the 3 pocket edges inside and press to flatten on both pockets.
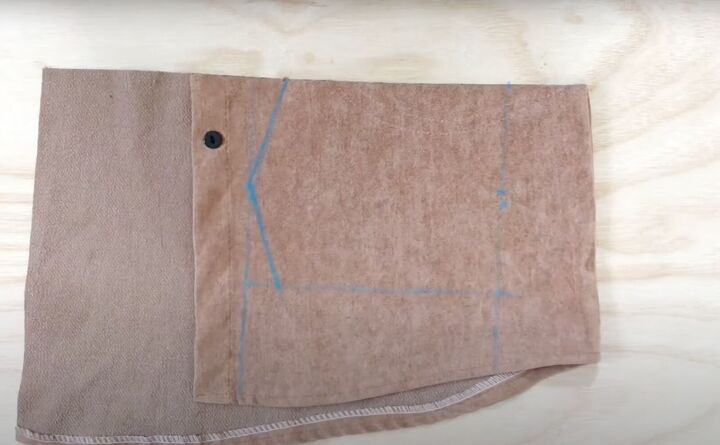
To make the pocket flap, mark 2 rectangles that are 6 X 5 inches (16 X 13 cm). Mark halfway down the length (on the 5 inch side). Then at the top, mark in ¾ inch.
Connect these marks with the ruler to make a pointed end. Do this to both sides of the rectangles.
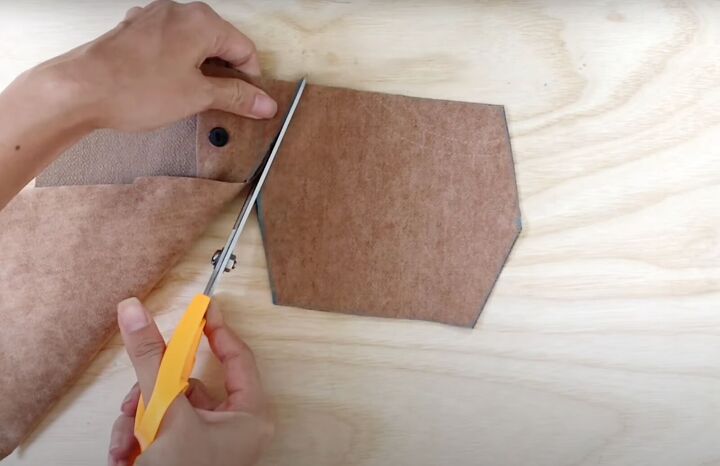
Cut out the marks. Fold the fabric in half and cut along the fold.
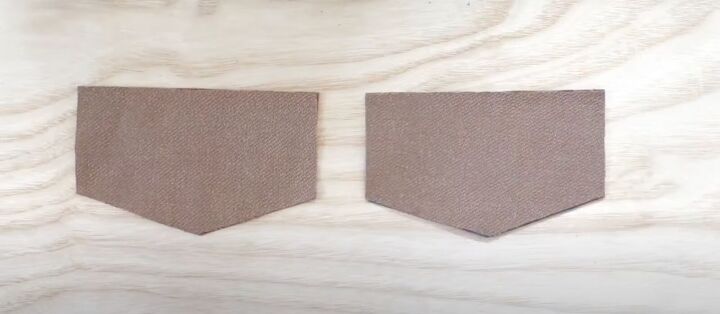
You should have 2 sets (with 4 pieces). Lay them right sides together. Pin and sew along the sides and the pointed bottom, leaving the top unsewn.
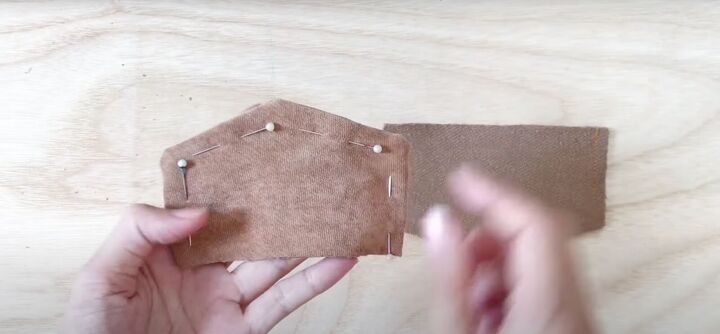
Turn them right side out and topstitch the ends about ⅛ inch inward. Serge the unsewn top.
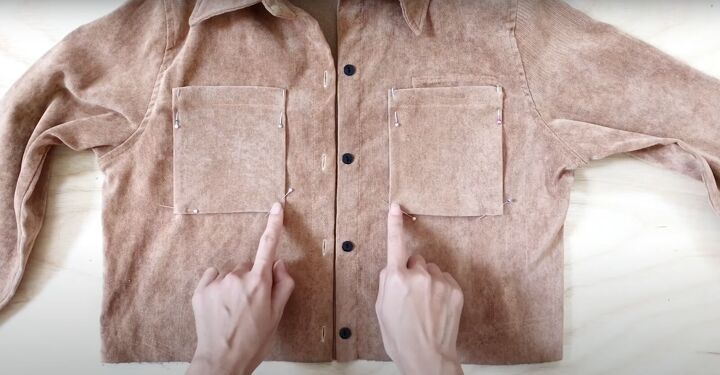
4. Attach the pockets
Measure the position of the pockets to be 6 inches (15 cm) from the bottom going upward and 2 inches (5 cm) outward from the button plackets on either side.
Pin the pockets in place. Topstitch the pocket all around, leaving the top unsewn.
Lay the pocket top about ⅛ of an inch above the pocket opening. Pin in place. Sew across.
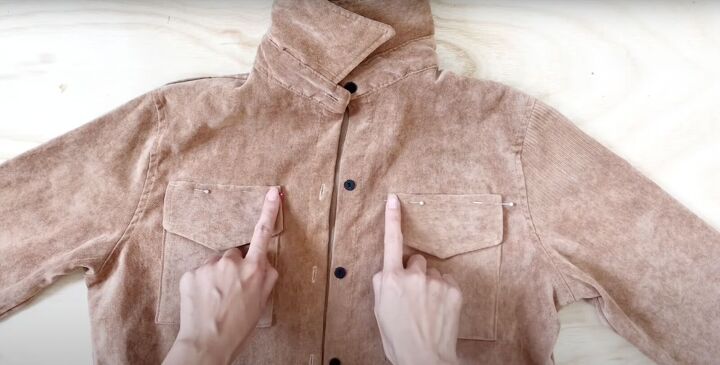
Once sewn, pin again, and topstitch along the flat edge.

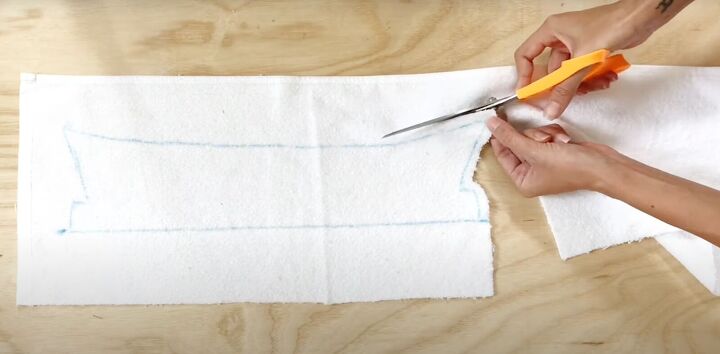
5. Make the lining
For an inexpensive, soft, plush lining, use a new white towel. Fold the jacket in half and lay it across the folded towel.
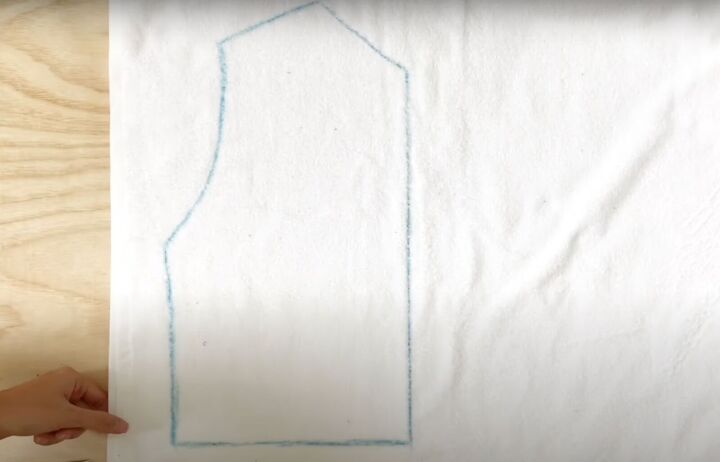
Mark the pattern of the body of the jacket without the sleeves. Cut it out leaving an extra ¼-inch seam allowance. The front needs 2 pieces.
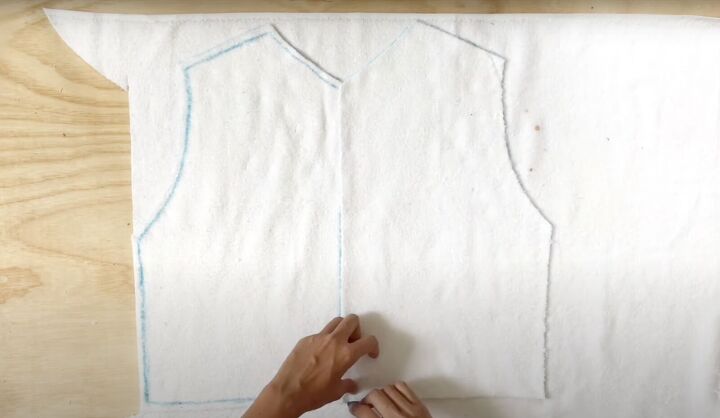
Use the front pattern as a template for the back which you’ll cut in one piece.
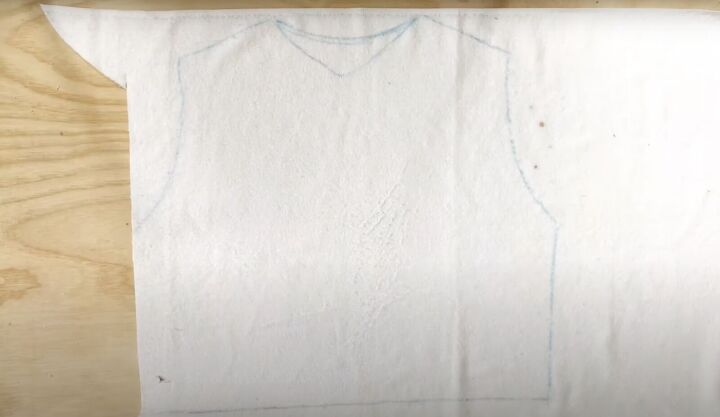
The back neckline is higher and rounder than the front so make sure to mark it on the back lining.
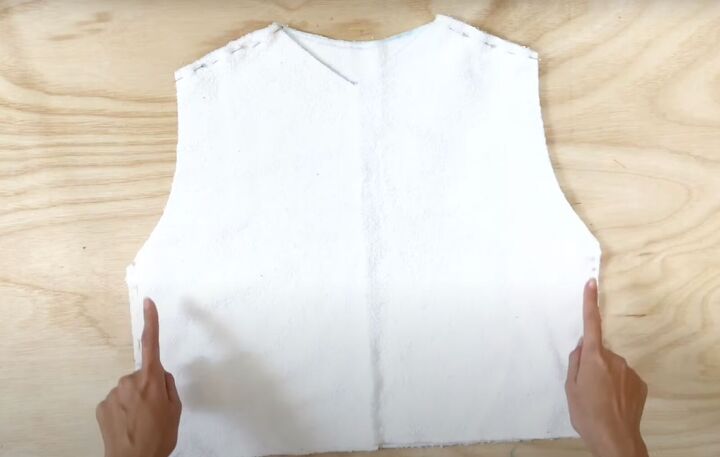
Lay the front pieces and back of the lining, right sides together. Pin the shoulders and side seams in place. Stitch into position.

Lay the towel flat and lay the jacket collar directly on top.
Trace the collar pattern and add an extra ¼-inch seam allowance.
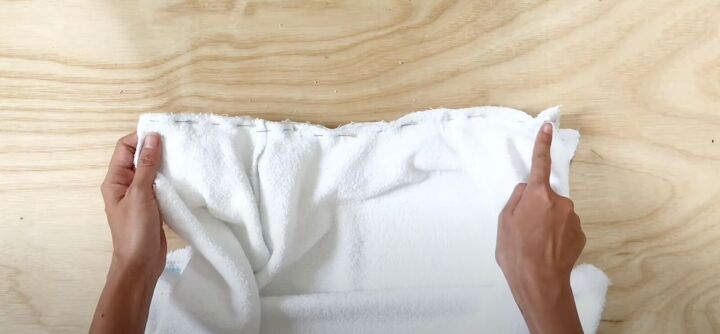
Pin the collar to the lining and sew into place.
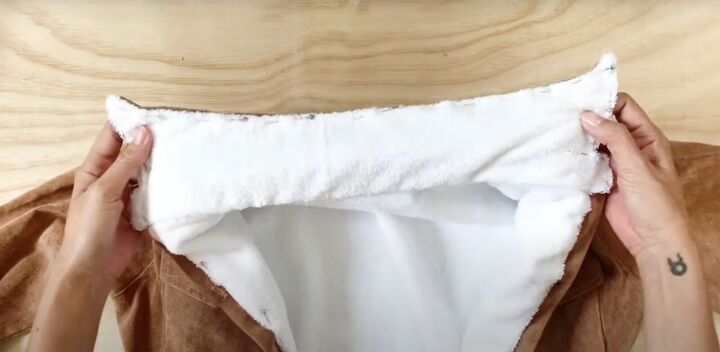
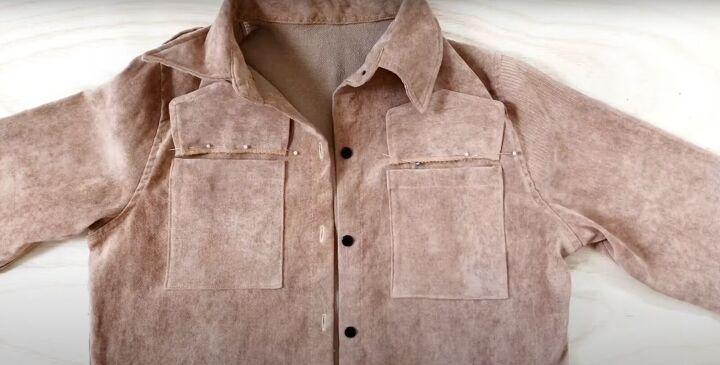
6. Attach the lining to the jacket
Lay the lining on the inside of the jacket, with their wrong sides together. Fold in the seam allowance and pin in place all along the jacket edges.
Topstitch along the collar, the front opening, and all along the waistline.
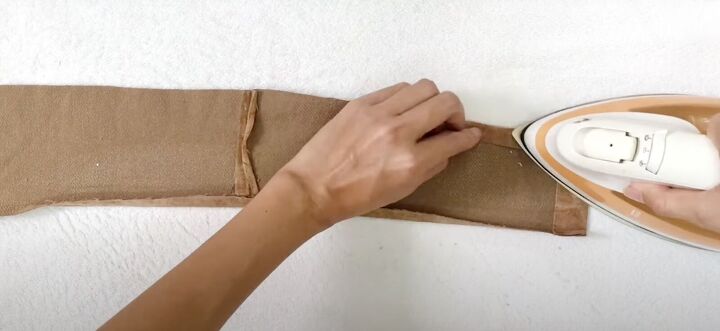
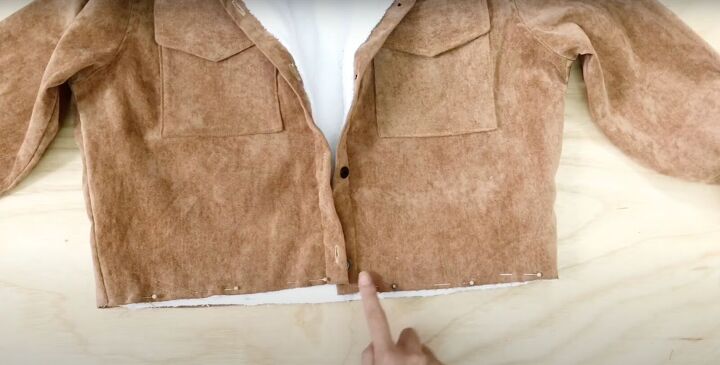
7. Make and attach the waistband
On the long strap you cut before, fold in ¼ inch along the length on either side. Press flat.
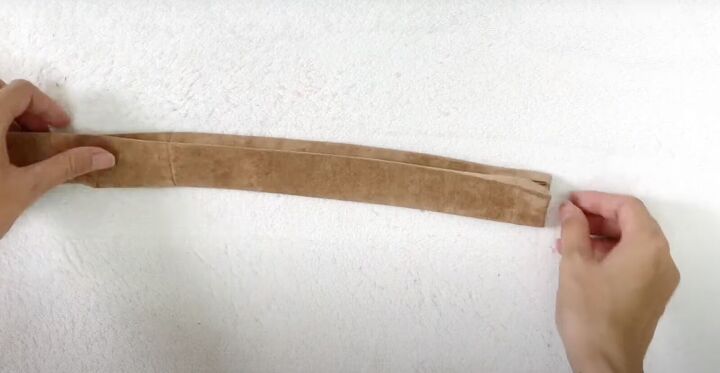
Then fold the strap in half. Press flat.
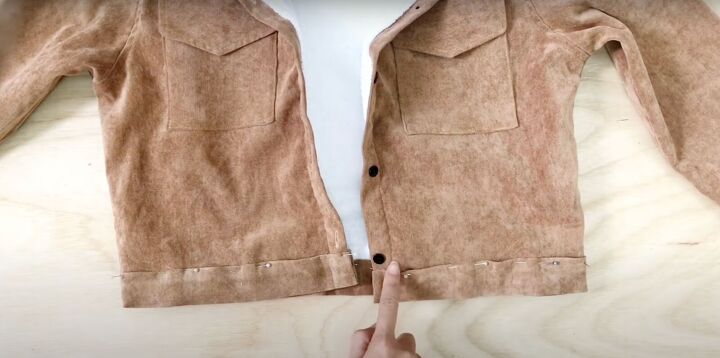
Sandwich the jacket hem inside of the open end of the folded strap, starting at either side of the front opening at the button plackets. Pin all the way around. Topstitch into place.

You’ve just learned how to make a corduroy jacket!

How to make a jacket from old clothes
I hope this tutorial helped you learn how to make a sherpa-lined jacket easily and quickly! This is a great way to turn something old into something completely new.
Please let me know in the comments if you’re planning to make this super easy DIY corduroy jacket.
The author may collect a small share of sales from the links on this page.


Comments
Join the conversation
Well done!!!❤️👌