Sew a Mitered Corner in a Few Quick Steps!

If you don’t miter a corner properly, it can look bulky and messy.
Here’s a really simple way to do it that doesn’t involve any complicated measurements or calculations.
Just make sure your fabric is cut straight in both directions.
Best fabric scissors!
Tools and materials:
- Fabric
- Iron
- Scissors
- Knitting needle (optional)
- Pressing cloth (optional)
- Sewing machine
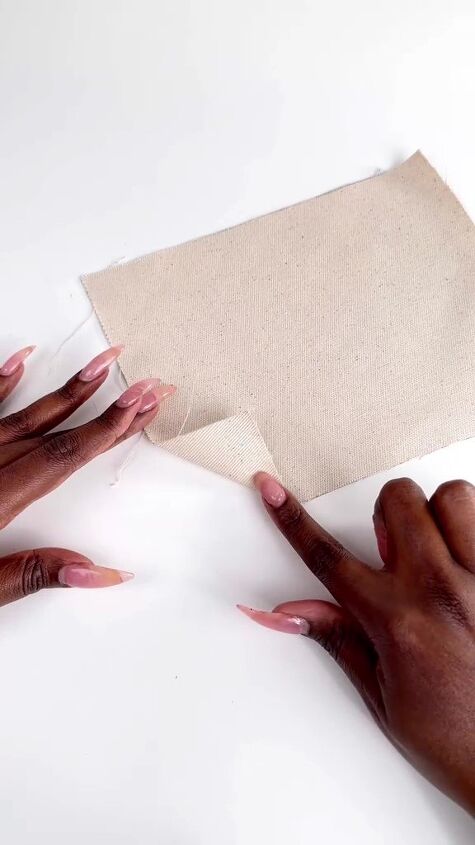
1. Make a right angle
Fold the point of the corner to the right side to make a right angle.
Press it in place.
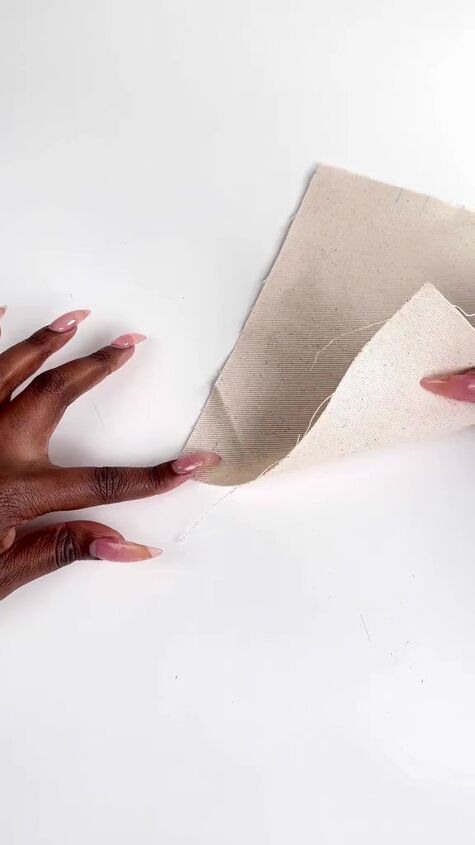
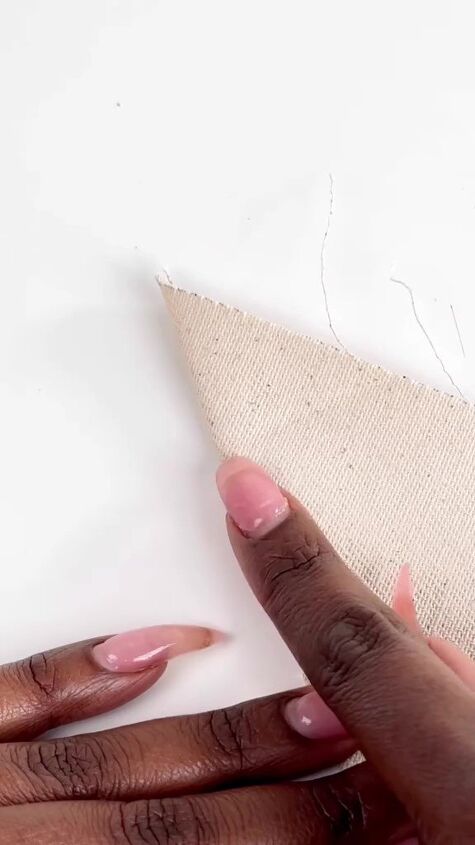
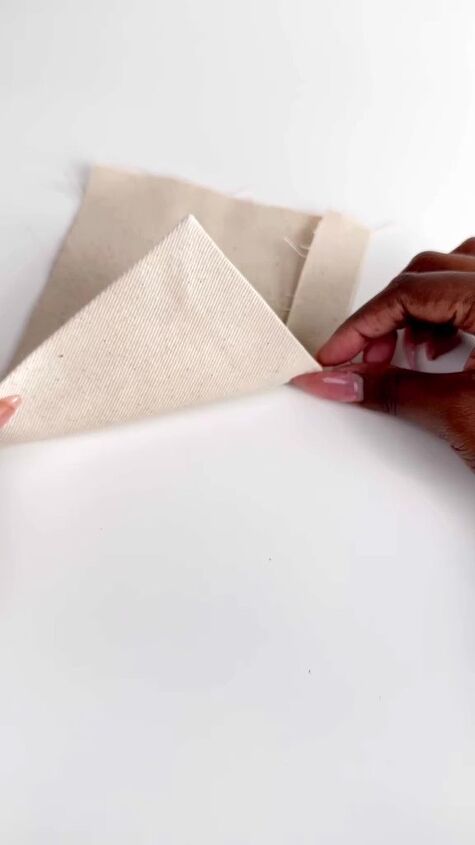
2. Fold
Open out the fabric.
Fold it diagonally so the two edges either side of the corner meet, with the right side inside.
3. Sew
Sew across the corner, using the first fold line as a guide.
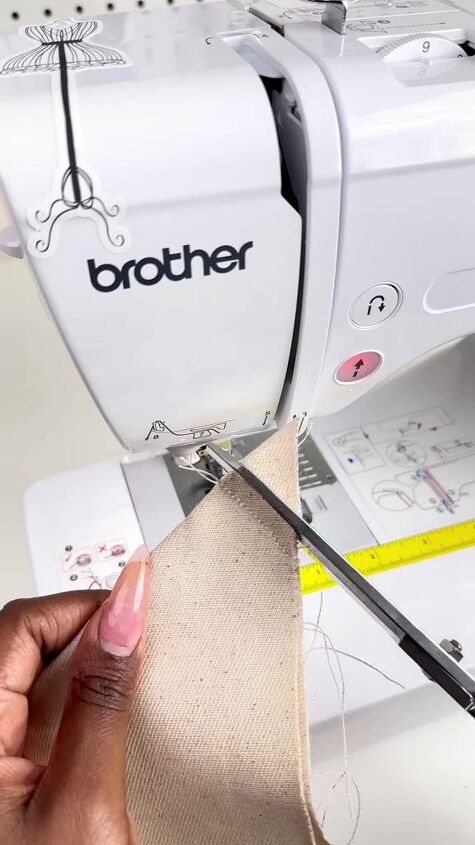
4. Trim
Cut away the excess fabric.
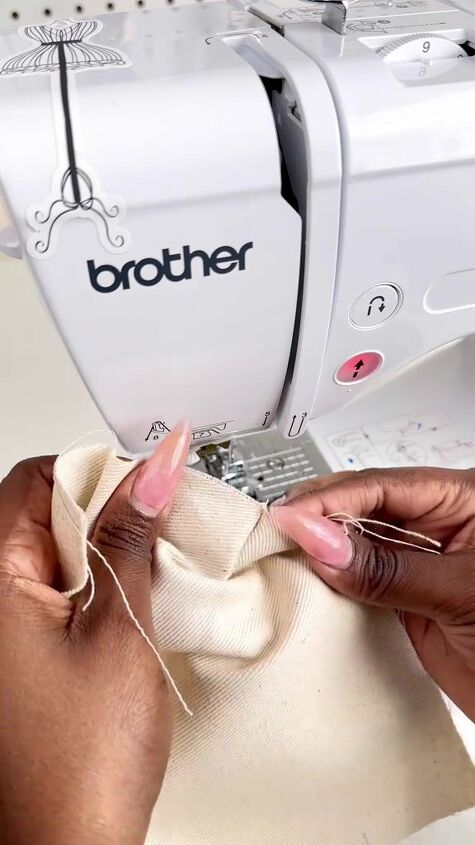
5. Flip
Flip the corner to the right side.

Push out the point and shape the corner with your fingernail or a knitting needle.
6. Press
Press carefully on the wrong side first.
Then press on the right side.
Use a pressing cloth if you have one, so the bulk of the seam doesn’t show through on the right side.
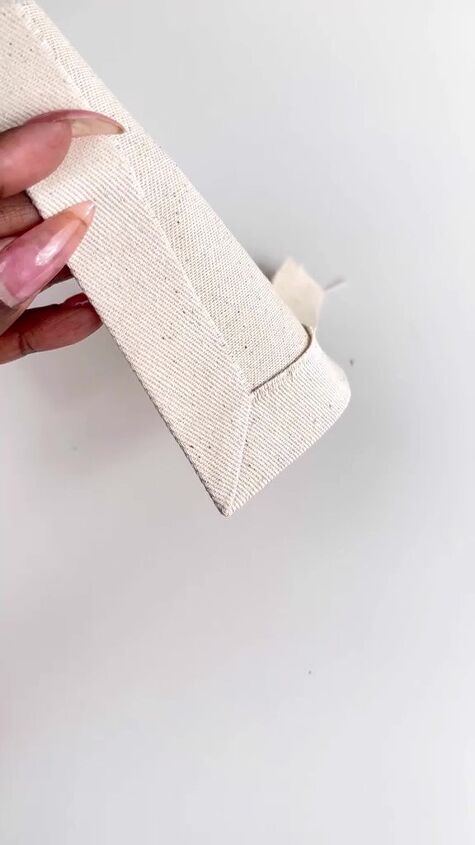
Sew a mitered corner in a few quick steps
The finished corner looks neat and flat from both sides.
Here I started with a square but this works just as well with a rectangular piece of fabric too.
Does it look easy to you? Comment down below.
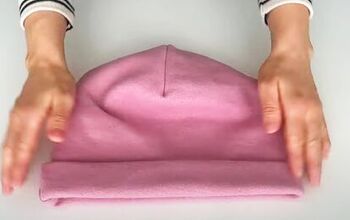
For more sewing advice, check out my quick tutorial on How to Get the Perfect Baby Hem.
Then go ahead and drop me a follow on my TikTok: @.keycult
The author may collect a small share of sales from the links on this page.


Comments
Join the conversation