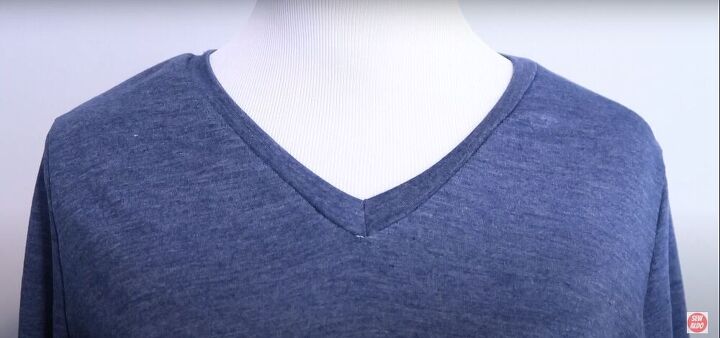
Easy Neckband Tutorial for a V-Neck Shirt

If you want to sew a v-neck shirt, adding a neckband will give it just the right amount of detail to make your work look polished. Follow my tutorial to learn a simple technique to make a neckband.
Tools and materials:
- Fabric
- Measuring tape
- Pins
- Scissors
- Seam ripper
- Sewing machine
- Overlock machine (optional)
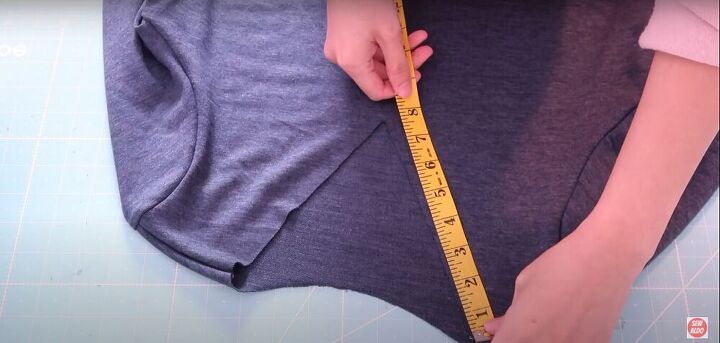
Measure the neckline
I measured all the way around the neckline. Mine came out to about 26 inches.
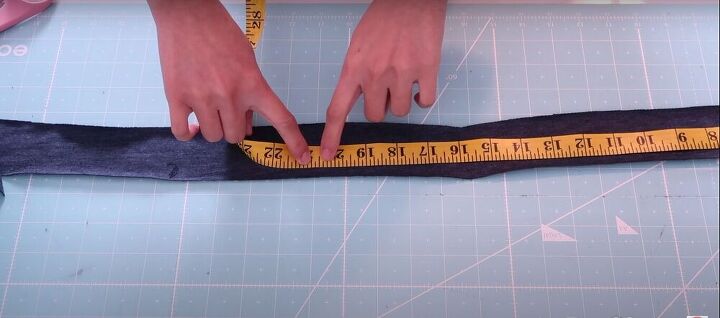
Measure out the length of the neckband
To get the measurement for the neckband, multiple the length of the neckline by 0.8, then add an extra quarter of an inch. The width should be about two inches.
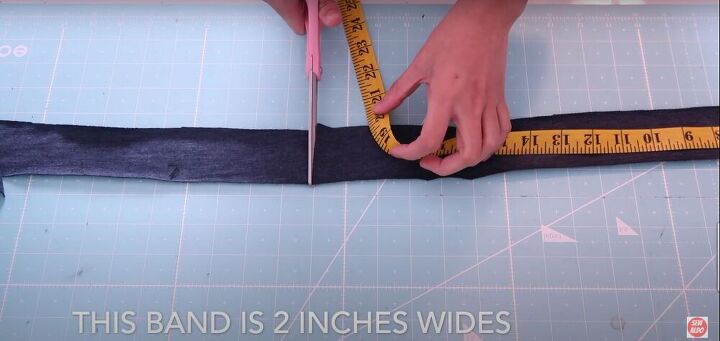
Cut the fabric
I then cut the fabric for the neckband to the required length.
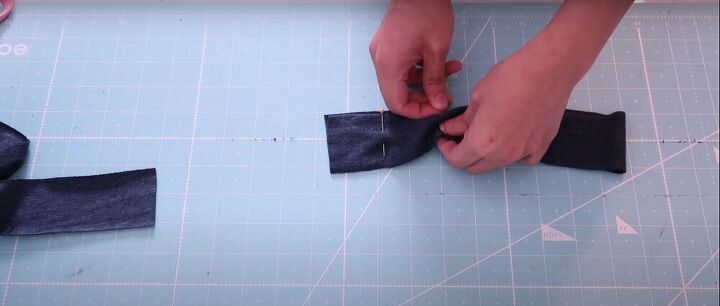
Fold the fabric in half and pin it
I folded the strip of fabric in half and secured it with a couple of pins.
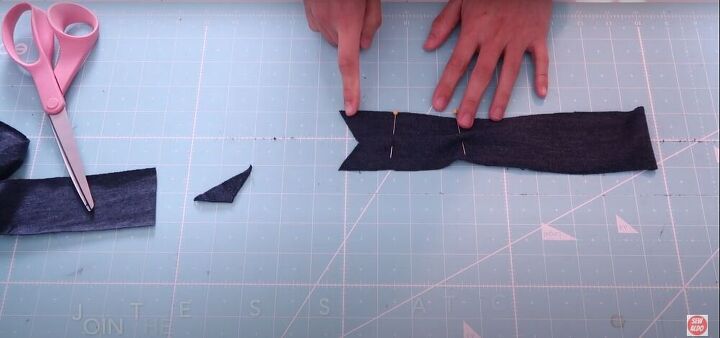
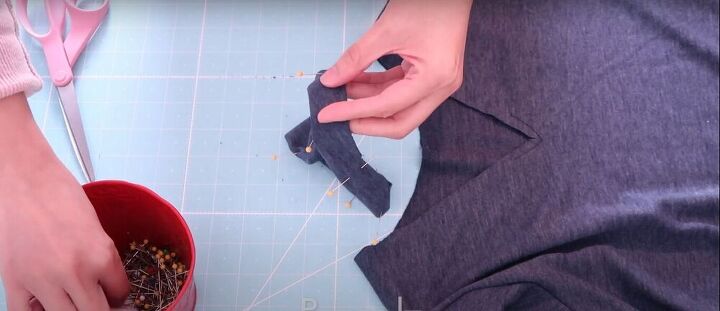
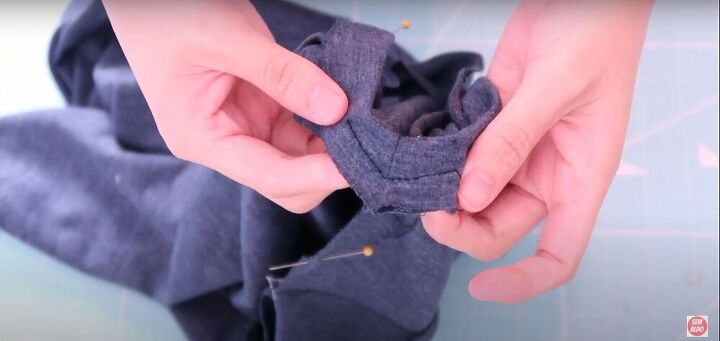
Cut a dovetail
On the open side of the fabric, I cut out a triangular piece.
Join the ends
I sewed the ends of the fabric together, starting at the center of the triangle.
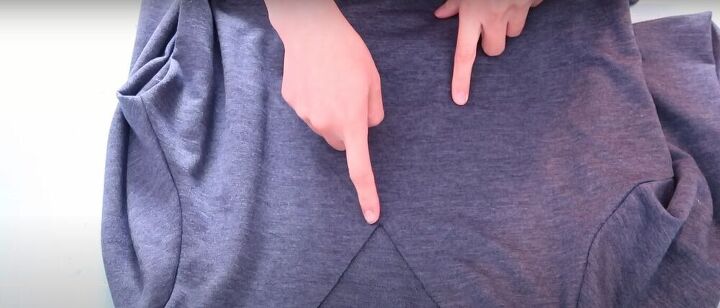
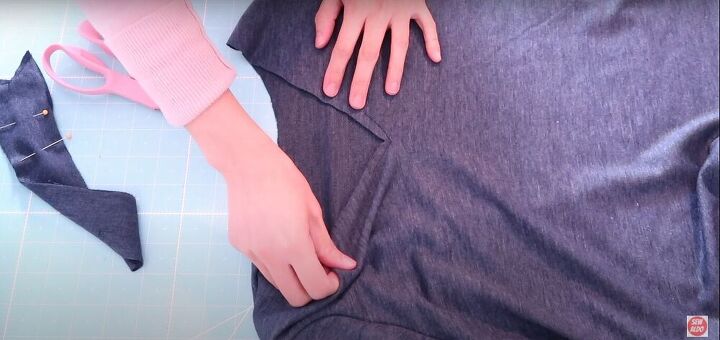
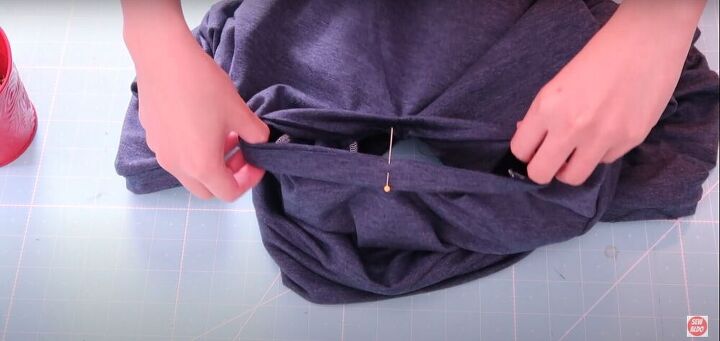
Baste stitch the V of the shirt
I baste stitched around the center of the V to prevent tearing when I cut it.
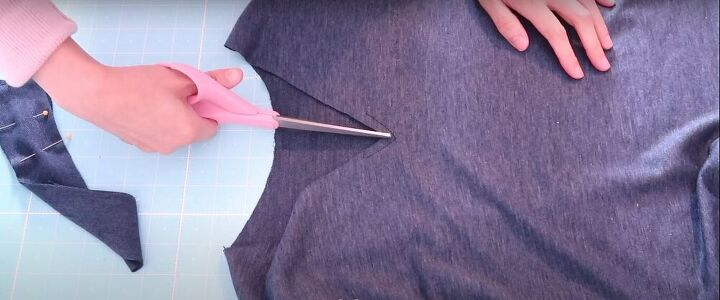
Snip the center of the V
Cut the center of the V, making sure not to cut through the stitching.
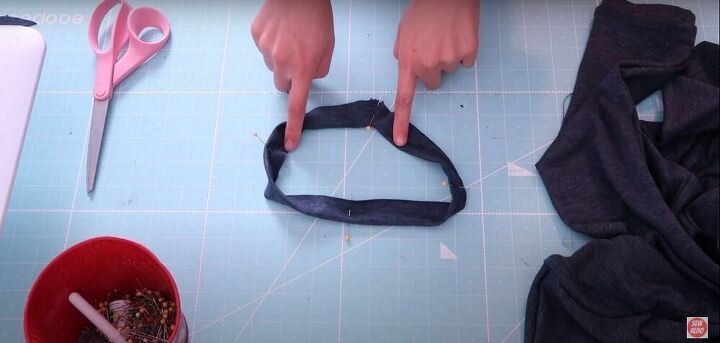
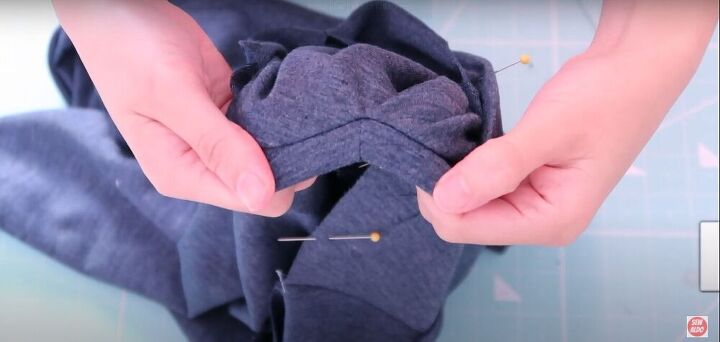
Fold, pin, and press the neckband
I folded the neckband with the wrong side facing in, and pinned it together. Then I ironed it flat.

Quarter the neck hole
I folded the shirt so the neckline was folded exactly in half. I marked the halfway point, and then folded it in half again, and marked the two quarter-length points with pins.
Quarter the neckband
Using the same technique, I marked the quarter-length points on the neckband with pins, as well.
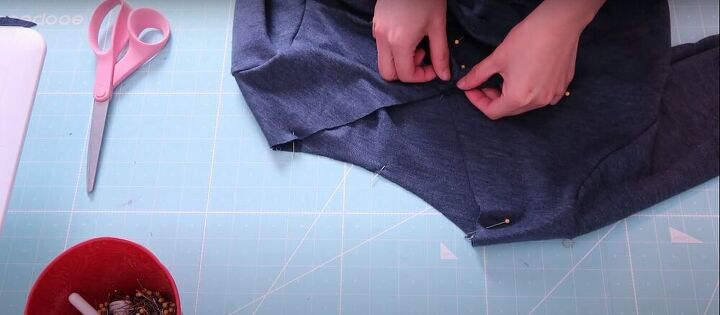
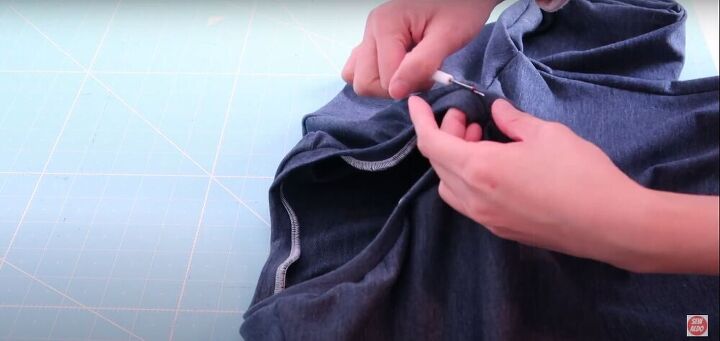
Match the V’s
I matched up the V of the neckline and the neckband, and pinned it in place on the right side of the fabric.
Baste the V
I baste stitched the V of the neckband to the V of the shirt, so I could check if everything was lined up correctly.
Match the quarter points
Using the pins as a guide, I matched up the quarter points on the neckline and on the neckband, and pinned everything into place.

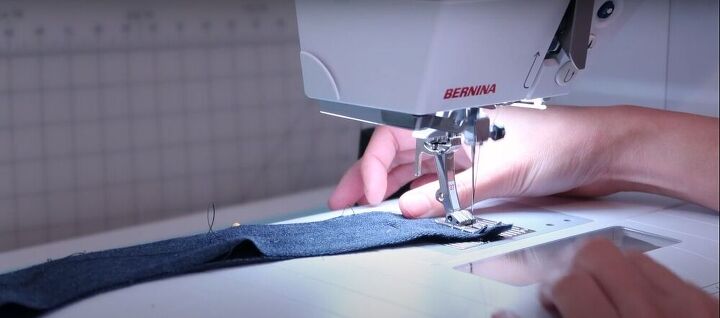
Serge the neckband onto the shirt
I used a serger to connect the neckband to the shirt. If you do not have a serger (also known as an overlock machine), you can do this with a regular sewing machine, using a narrow zigzag stitch. The neckband has a smaller circumference than the neckline, so make sure to stretch the neckband as you are sewing it onto the shirt.
Unpick the baste stitch
To finish off, I just removed the baste stitches I had put in earlier to check the alignment of the neckband.
Let me know if you use this technique to make a v-neck shirt, and find it helpful. Happy sewing!
The author may collect a small share of sales from the links on this page.


Comments
Join the conversation
Great idea!!