How to Easily Add a Zipper Pocket to Any Garment

I was asked recently how to add a zipper pocket on to an existing garment, such as a market apron, to keep cash and valuables safe.
I thought it was a brilliant idea! Today I’m going to add a patch pocket with a zipper closure to the apron I wear to craft markets.
The same technique will work for any other garment, of course.
Tools and materials:
- Fabric matching the main garment
- 8 inch (20 cm) zipper
- Transparent tape
- Narrow double-sided tape
- Pins or fabric clips
- Fabric marker
- Ruler
- Scissors or rotary cutter
- Sewing machine
- Zipper foot
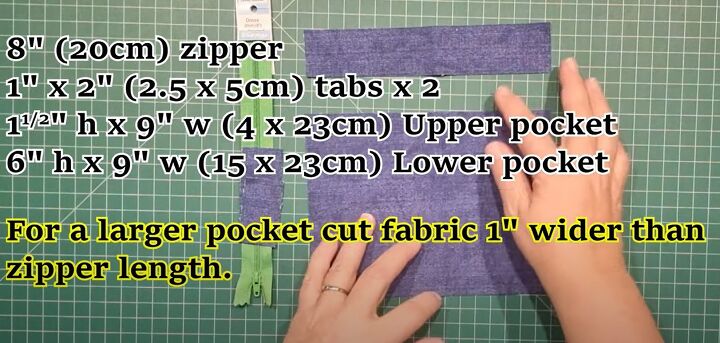
1. Prepare your supplies
My patch pocket is 9 inches (23 cm) wide. The closure needs to be 1 inch (2.5 cm) shorter than this, so I’m using an 8 inch (20 cm) zipper. If your pocket is wider or narrow than mine, adjust your zipper length accordingly.
Cut the fabric for the patch pocket - mine is 9 inches (23 cm) by 6 inches (15 cm). Cut a strip of fabric the same width as the pocket and 1.5 inches (4 cm) wide.
You will also need two tabs from the same fabric to cover the ends of the zipper, 1 inch (2.5 cm) wide by 2 inches (5 cm) long.
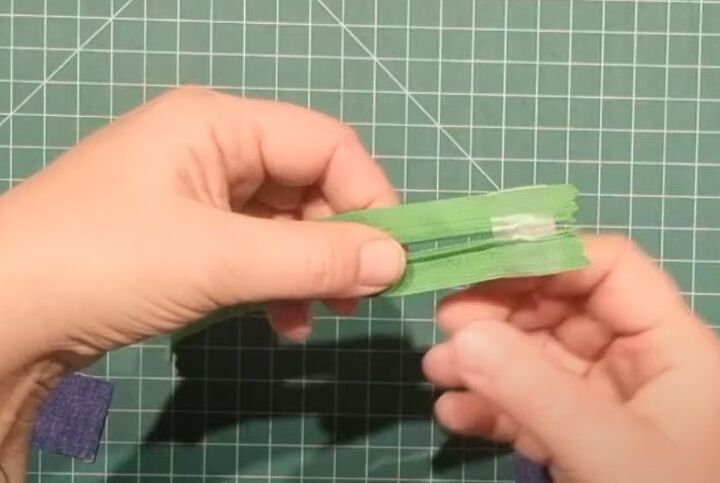
2. Attach the tabs
Open the zip by a couple of inches (5 cm).
Place a small piece of transparent tape over the open end of the zipper tape to hold it together temporarily.

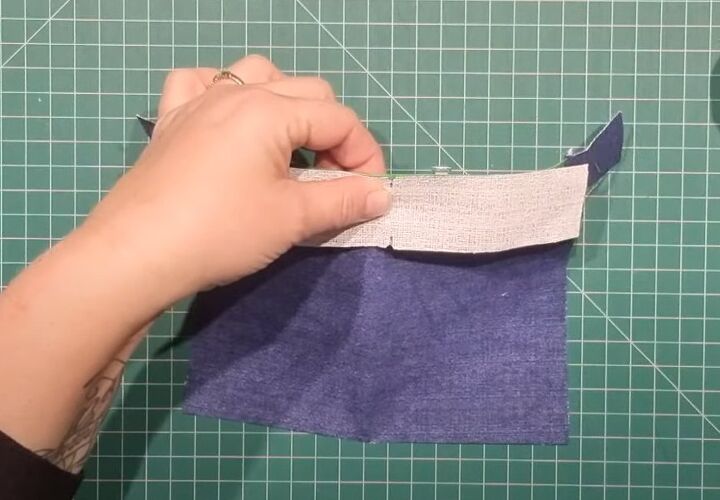
Pin or clip the short edge of one tab, wrong side up, over the right side of the zipper tape just below the metal stops.
Pin the second tab in the same way on the other end of the tape, just inside the metal bar.
Sew both tabs in place, 0.25 inches (0.6 cm) from the edge.
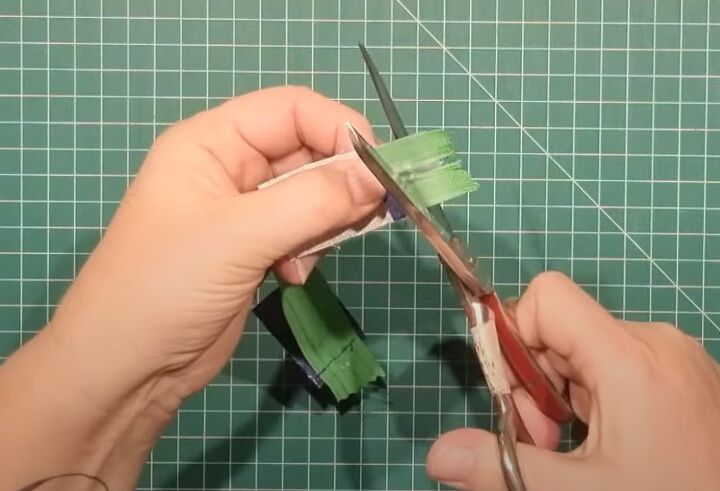
Trim off the excess zipper tape at both ends and remove the remaining transparent tape.
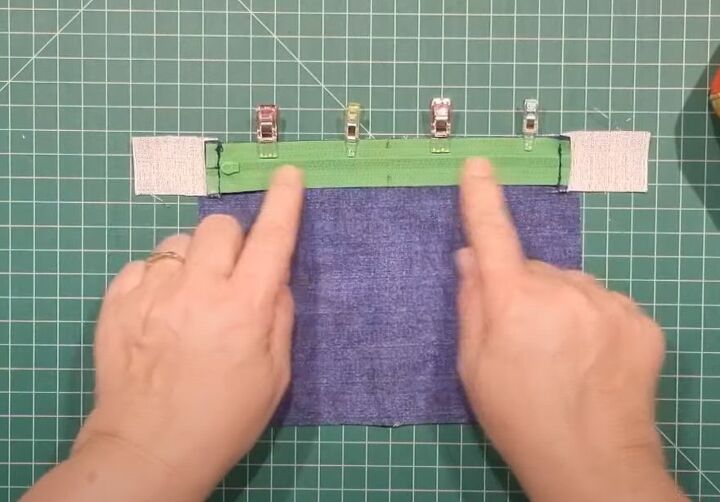
3. Insert the zipper
Mark the center of the long edges of the zipper tape.
Also notch the center long edge of the fabric strip and the top edge of the pocket.
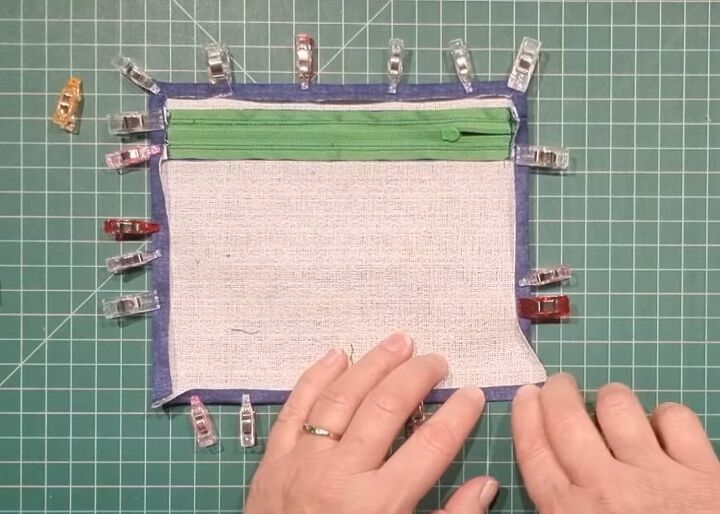
Pin the zipper to the top edge of the pocket, with the right sides facing and the centers aligned.
Pin the strip to the other edge of the zipper tape in the same way, so the zipper is sandwiched between the two pieces of fabric.
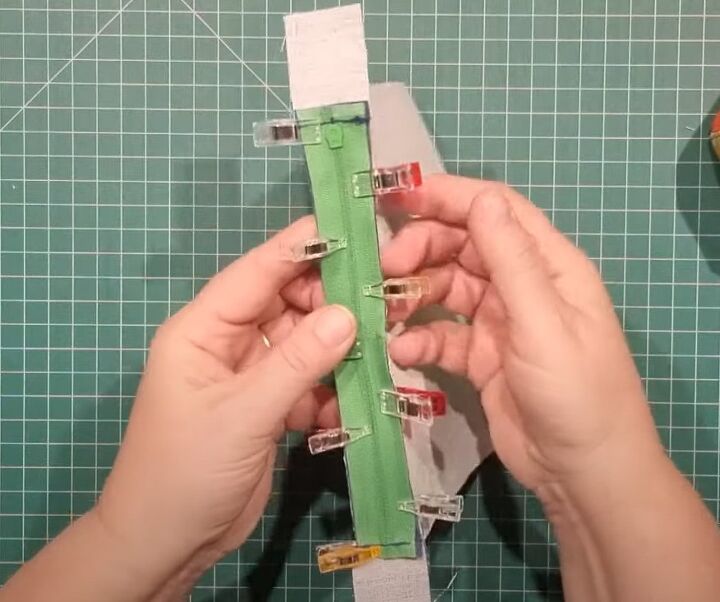
Using a zipper foot, sew down both edges of the zipper tape on the wrong side. Slide the zipper tab out of the way as you sew.
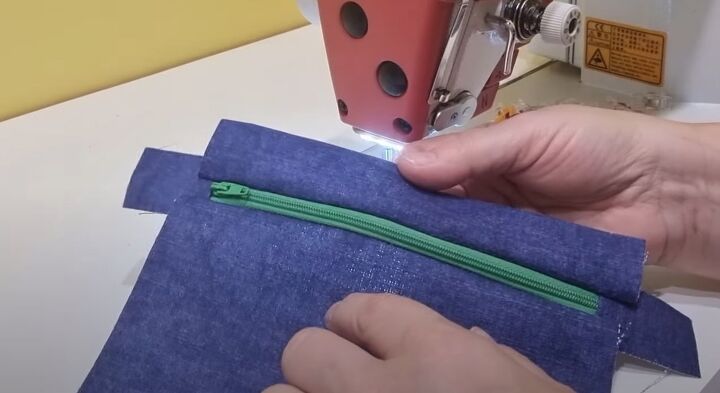
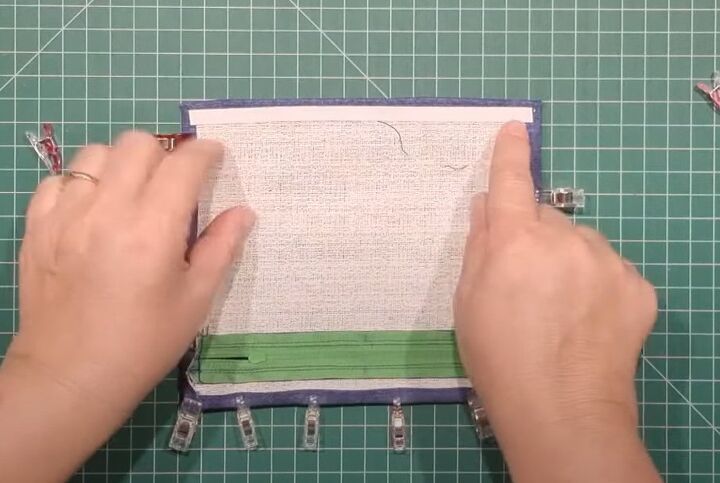
Open out the seams, making sure the zipper tape is lying flat.
Topstitch close to the edges on the right side.
4. Prepare the pocket
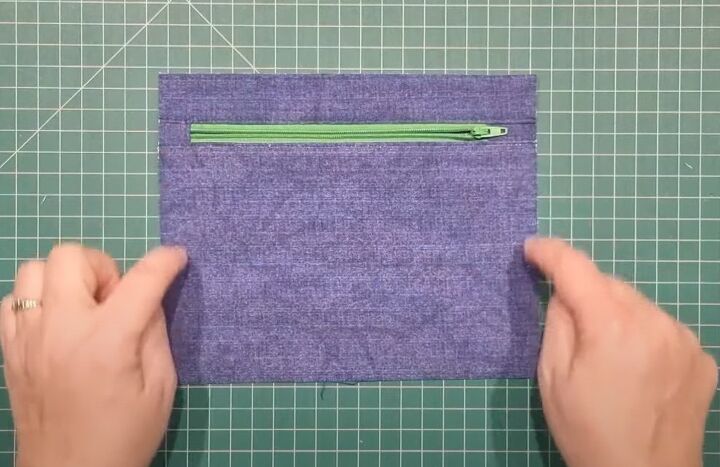
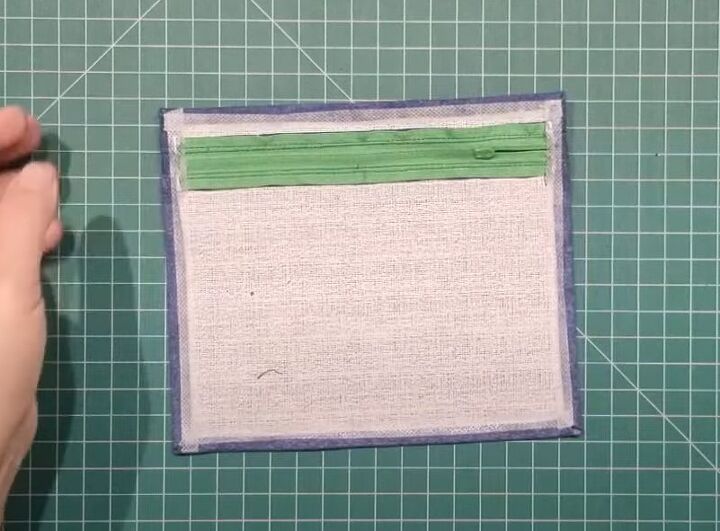
Trim the pocket sides and tabs so that you have an equal amount of tab showing at each end of the zipper (approximately 5/8 inch (1.5 cm).
On the wrong side, fold the raw edges in by 0.25 inches (0.6 cm) on all four sides and clip or pin in place.
At the corners, finger press both edges inwards separately.
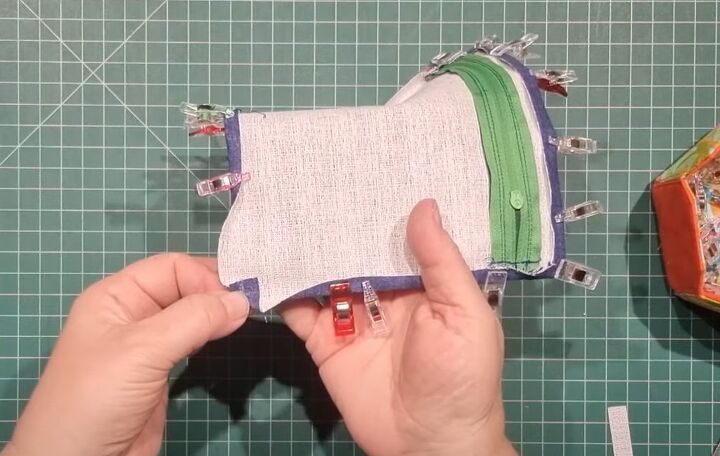
Turn the point of the corner to the wrong side across the diagonal.

Fold both edges over it, to create a miter.
5. Attach the pocket
Place a strip of double sided tape over each of the raw edges on the wrong side.
Remove the top layer of tape.
Find the center of the pocket and the center of the apron, or whatever garment you’re attaching the pocket to.
Place the pocket on the garment and press it down, so the tape holds it in place.
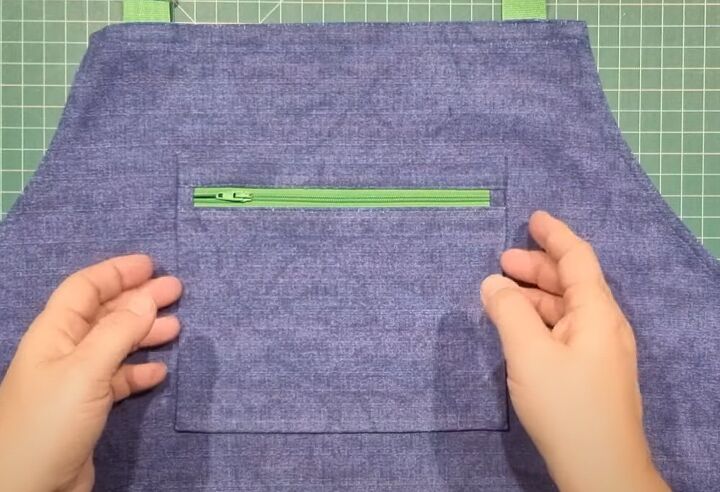
Sew in place with two rows of topstitching, one row close to the edge and a second row 0.25 inches (0.6 cm) inside it.

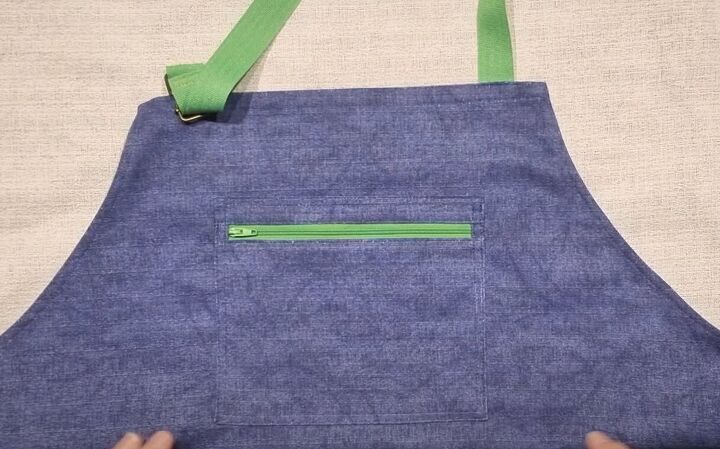
This makes a very secure and convenient pocket that looks like it was always intended to be part of the original garment.
How to add a zipper pocket
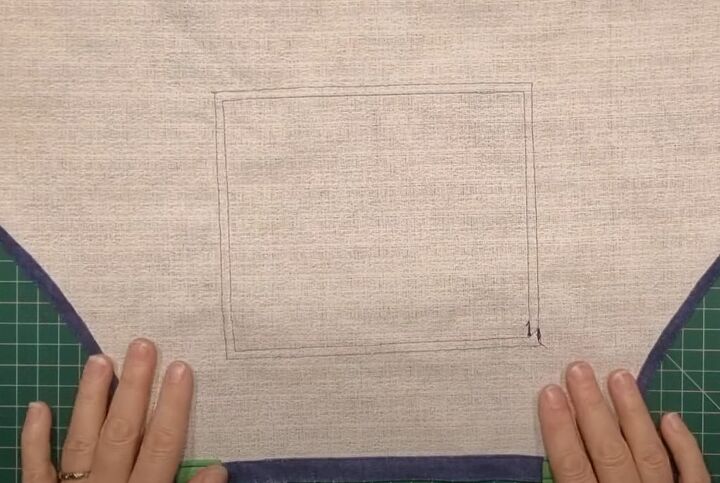
The inside is just as neat and professional as the outside.
I’m really glad someone asked me how to sew a pocket on because I didn’t realize how much I needed one of these myself!
I’d love to hear what you think of it in the comments. Where do you need to add a zippered pocket?
Next, learn How to Sew a Hair Scrunchie Using the Super Easy Burrito Roll Method.
The author may collect a small share of sales from the links on this page.


Comments
Join the conversation