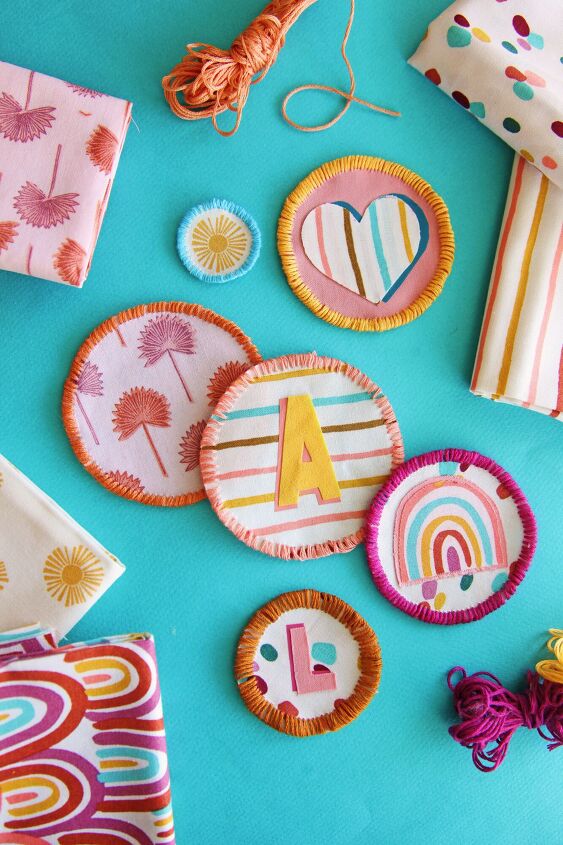
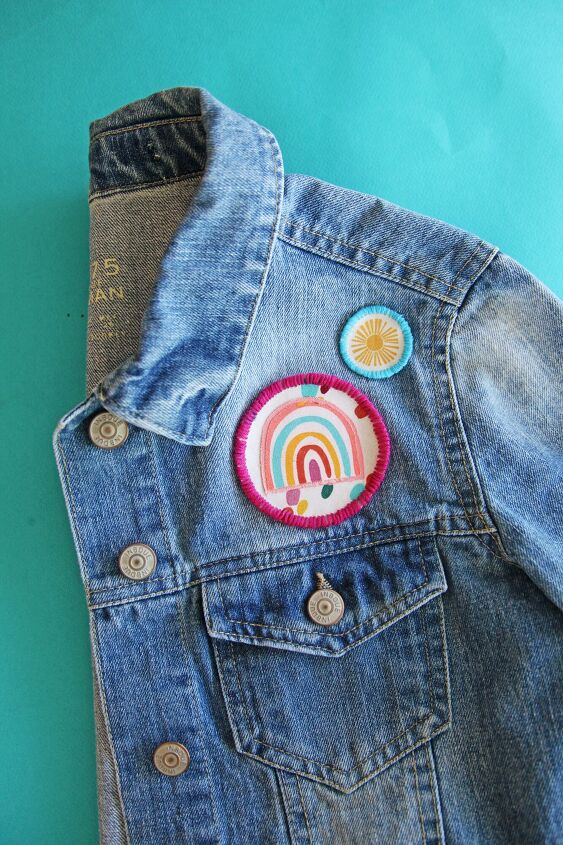
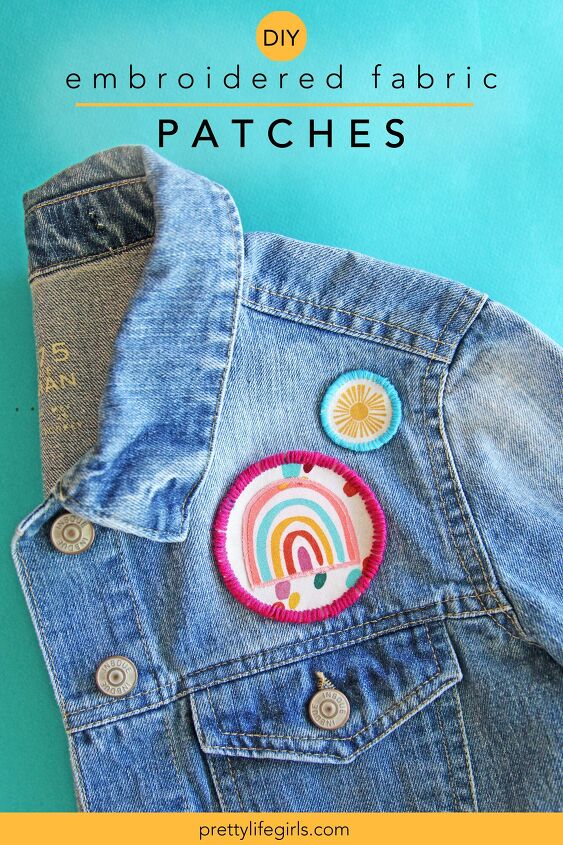
DIY FABRIC PATCHES STEP BY STEP TUTORIAL
I can’t believe I’m saying this with my hands still stained from summer tie dyeing, but back-to-school season is somehow upon us! Before you know it we’ll be packing up backpacks and lunchboxes and sending kids on their way, but first let’s make a fun craft to customize their gear and make it their own – DIY Fabric Patches!
Today we’re going to show you how to make custom patches that can be put on a backpack, jacket, lunchbox and more, to give them personality and style, and you don’t need a sewing machine or any fancy tools to make it happen. Just some cool fabric, Heat ‘N Bond and some embroidery floss! Let’s get making!
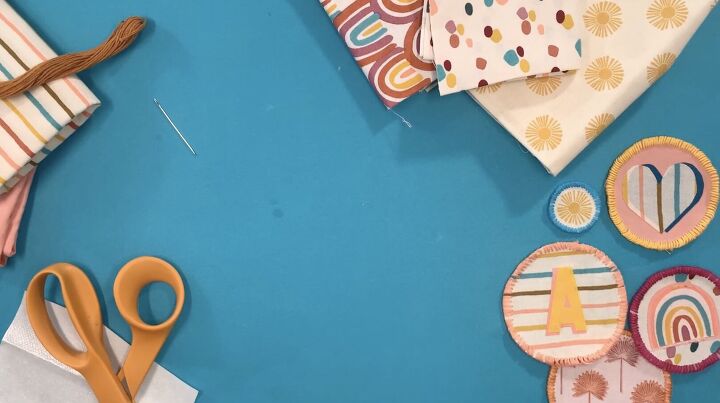
Supplies needed to make DIY Fabric Patches
Fabric
Heat N Bond
Embroidery Floss
Iron
Scissors
Needle
How to make DIY Fabric Patches
Watch the video, or read the steps below!
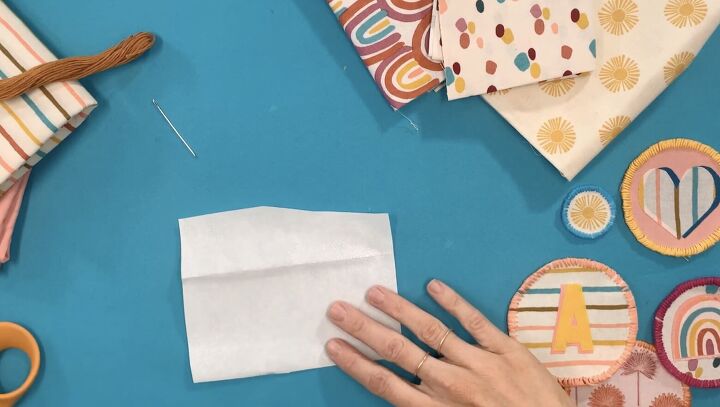
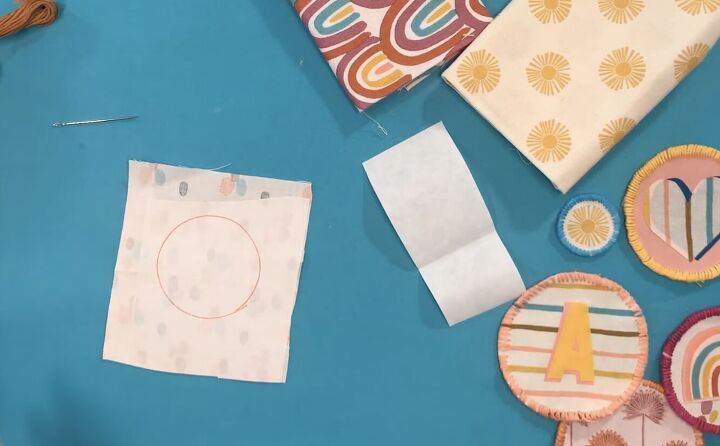
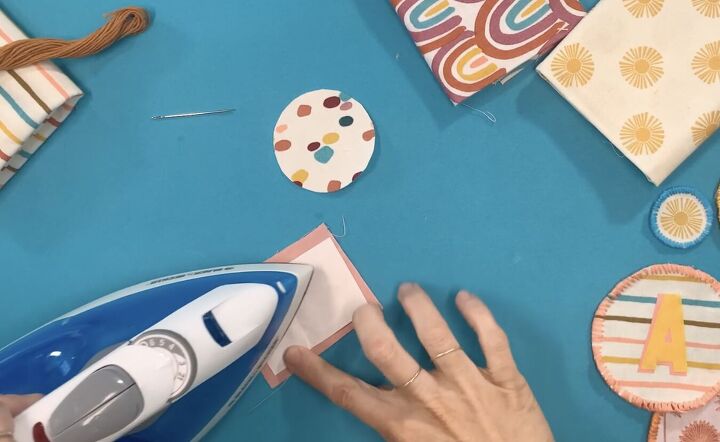
Step 1: Start by cutting a piece of fabric a bit bigger than the desired size of your patch.
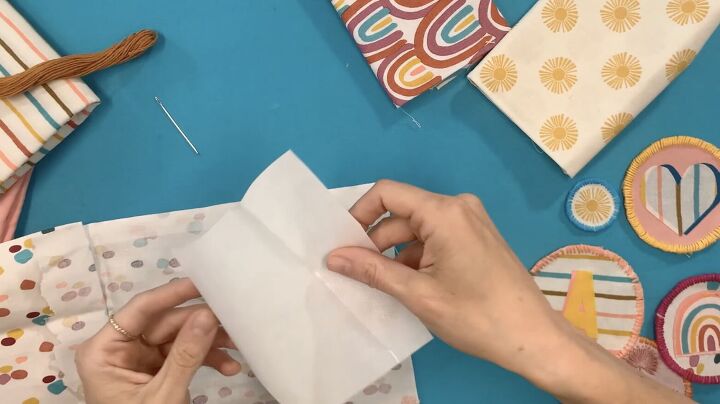
Place the fabric design-side-up on the bumpy side of the heat ‘n bond.

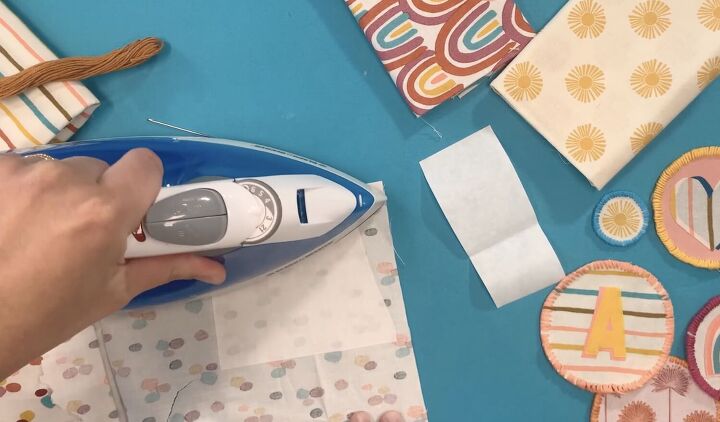
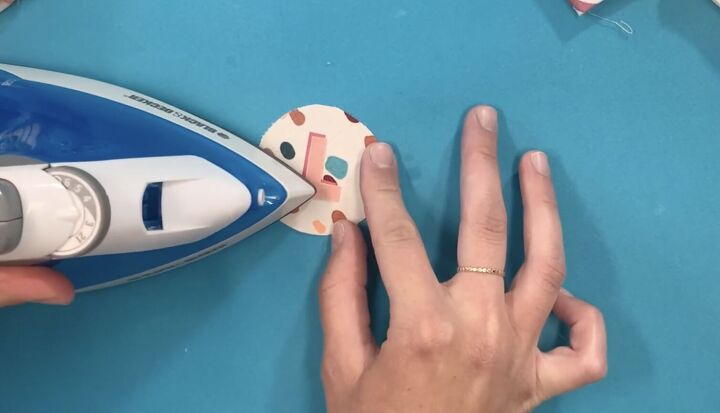
Press with an iron according to package directions.
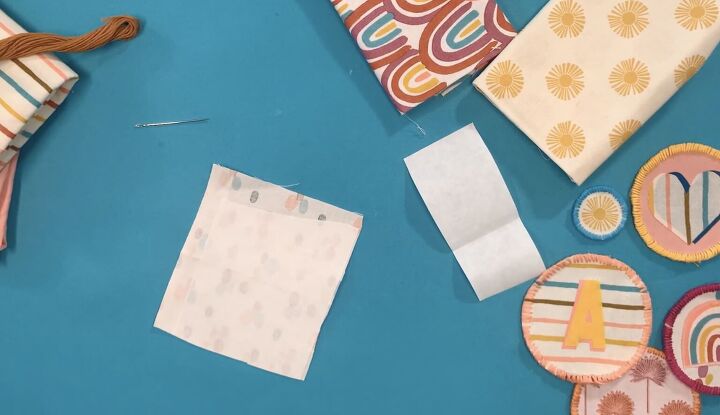
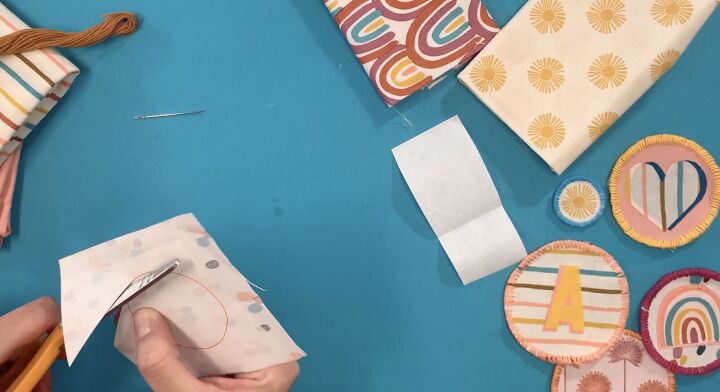
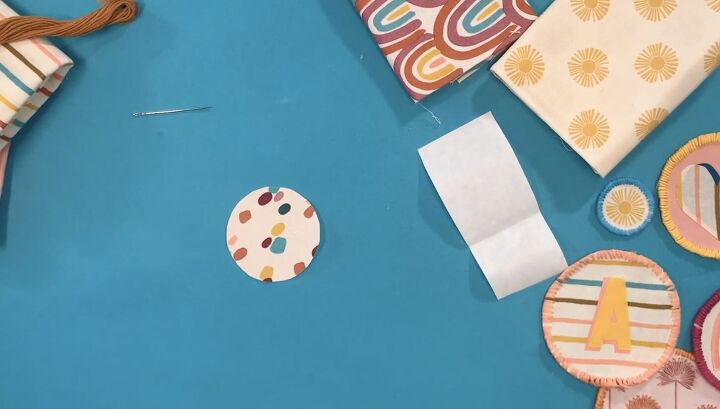
Step 2: Keep the backing on the fabric and cut the patch into a circle in your desired size using scissors.
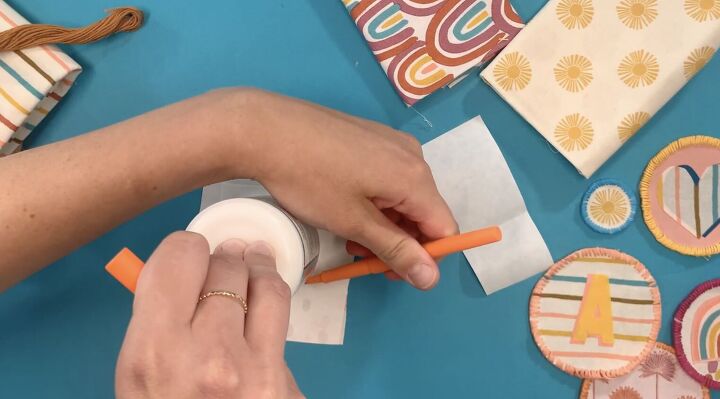
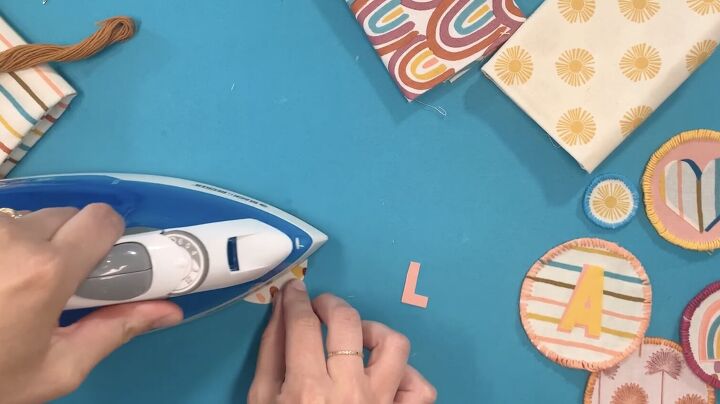
Step 3: Iron-on desired embellishments using heat transfer vinyl or with more heat ‘n bond fabric.

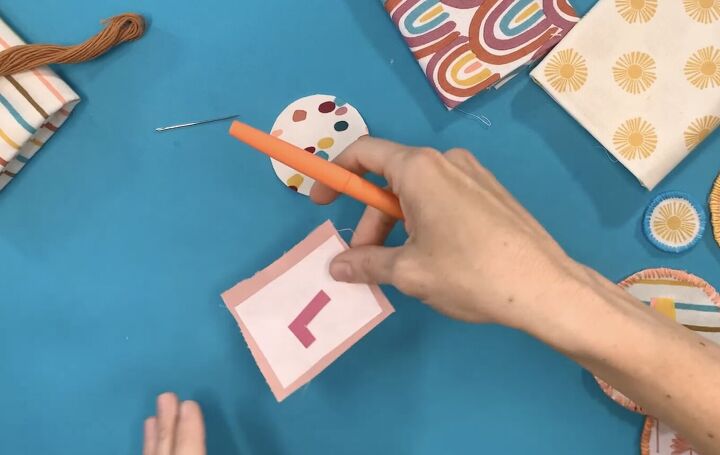
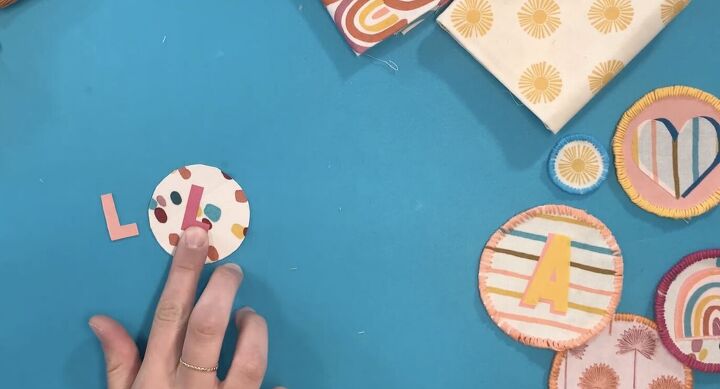
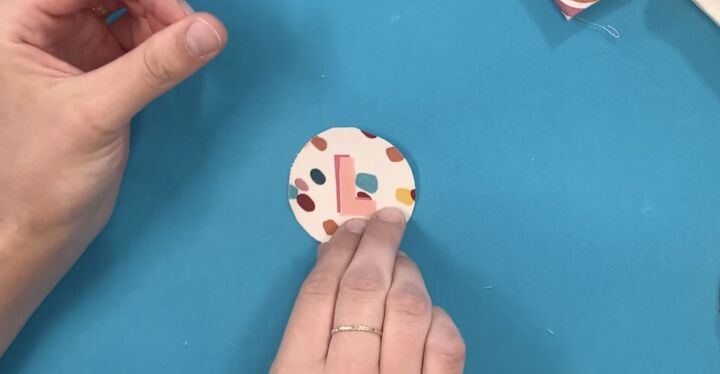
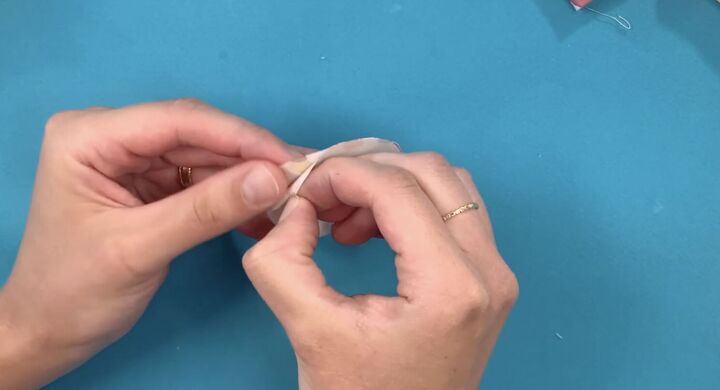
Once applied, peel off the paper backing.
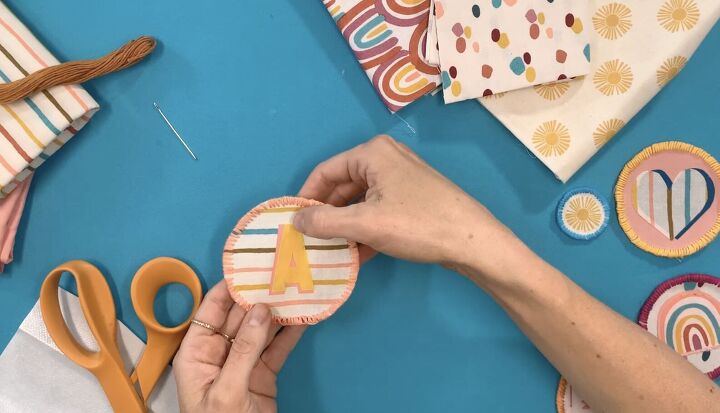
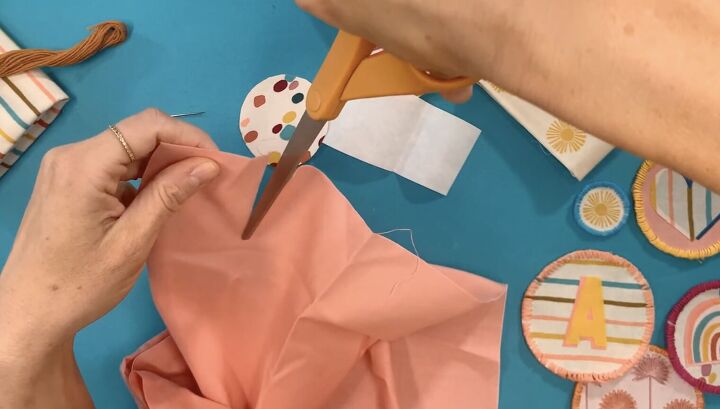
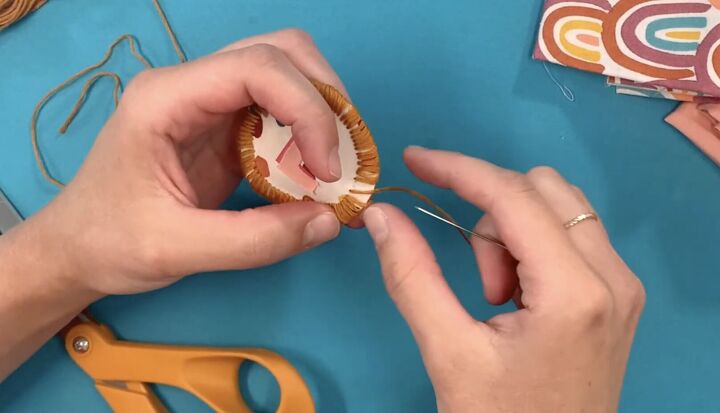
Step 4: Stitch around the edge of the patch using embroidery floss and a needle.

Step 5: Iron the patch on your desired surface.
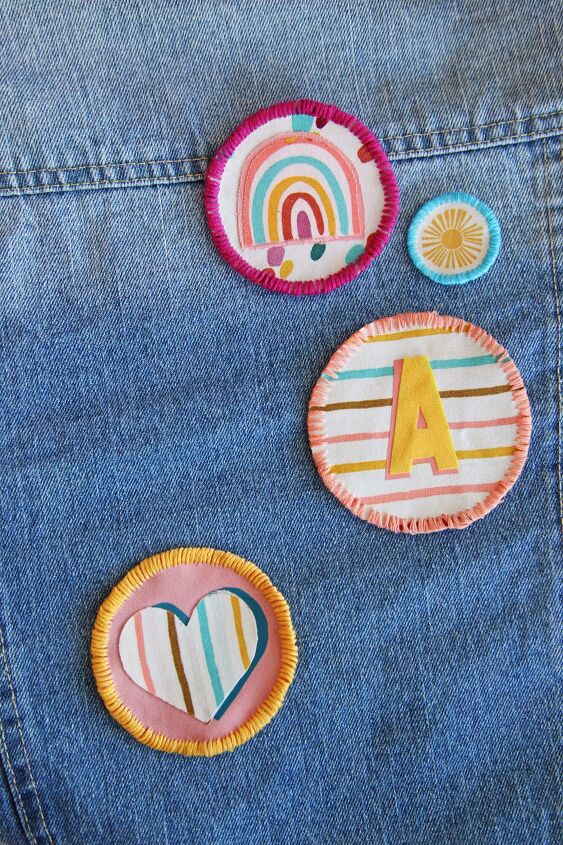
That’s it! Just think of the possibilities for customizing all of your things to make them your own! Add characters, monograms, your favorite colors and more to make all of your supplies for school even more fun!
Happy making!
ox. Liz and Sam
The author may collect a small share of sales from the links on this page.


![DIY Headband [Step-by-Step Tutorial With Pictures]](https://cdn-fastly.upstyledaily.com/media/2021/04/22/6428632/diy-headband-step-by-step-tutorial-with-pictures.jpg?size=350x220)


Comments
Join the conversation