How to Turn a Belted Cardigan Into a Zippered Jacket and Stay Warm
Here’s an easy refashion: Today we’re turning a belted cardigan into a zippered jacket.
I’ve never loved how you constantly have to tie and retie a belted cardigan when you wear it. When it’s cold outside, you need a sweater that stays closed on your body, am I right?
I’m going to show you how to take a belted cardigan that’s maybe a little small across the front and make it more cold weather friendly. You’ll learn how to stitch a separating zipper in there, you’ll get a better fit, and for once you’ll have a cardigan that stays put. Win, win, win!
So grab yourself a 2 way separating zipper, and let’s fix this cardigan.
This page contains affiliate links. As an Amazon affiliate, I earn on qualifying purchases. If you purchase a product through one of them, I will receive a commission (at no additional cost to you). I only ever promote products that I use and love and I think you will love too. Thanks for supporting this blog!

Table of Contents
Supplies to refashion a belted cardigan into a zippered jacket
- 2 way separating zipper
- Steam a Seam 2 tape
- 3 small buttons
- scrap of ponte knit or other heavier knit fabric
- 1 belted cardigan in a color you like
- Zipper end nippers if needed
- Zipper repair kit if needed
- small piece of 1/4″ or foldover elastic
- Needle nose pliers
- Pins, hand needle, and matching thread
Where to find a belted cardigan to refashion
For this project, you’re going to need a belted cardigan, preferably one that fits your shoulders but maybe is too small across the chest. If it has a hood, bonus awesome.
If you don’t have one in your closet, this is a great thing to thrift. Winter months are a fantastic time of year to go looking for unusual sources for sewing supplies at thrift stores. ( Click here for 15 of my best thrifting for sewing supplies tips).
Cutting up your cardigan
First things first, take your belt cut off 8″. Set this piece aside.
From here, fold the remaining belt in half. Cut along the fold. Now it’s time to add the zipper.
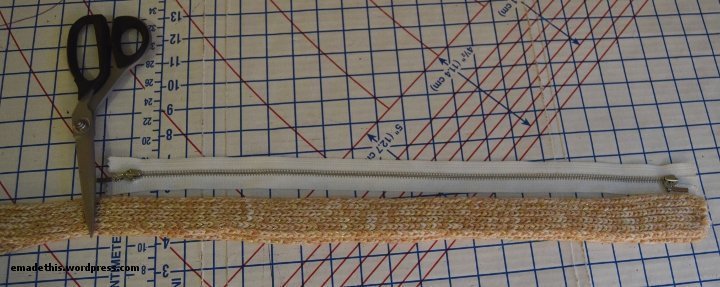
Shorten your zipper
Lay your zipper on one of the long cut belt pieces. If your zipper is longer than the belt, here’s how to fix it.
- Mark the place where the top of the belt matches the zipper tape.
- Unzip the zipper a few inches below the mark.
- Use your zipper nippers to remove zipper teeth 1/4″ below the mark and about 3/4″ above this mark. Get a firm grip on the teeth with the pliers and pull away the teeth. Be careful. I won’t say I’ve hurt myself doing this but I totally have.
- Add a top stop to each side of the zipper. They’re the little u-shaped pieces in the zipper repair kit. Pull one out and squeeze it into place with needle nose pliers.
Sewing in the zipper
Preparing the zipper for turning a belted cardigan into a zippered jacket
Believe it or not, this is a crazy easy zipper to sew. After you sew this in, you’re going to want to turn every belted cardigan into a zippered jacket!
Cut 2 pieces of Steam-a-Seam as long as your zipper. Apply the sticky side onto the right side of the zipper.
Steam it in place with your iron.
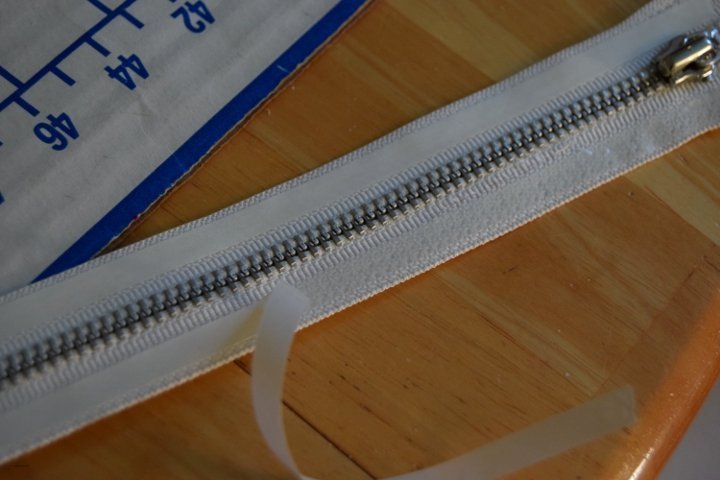
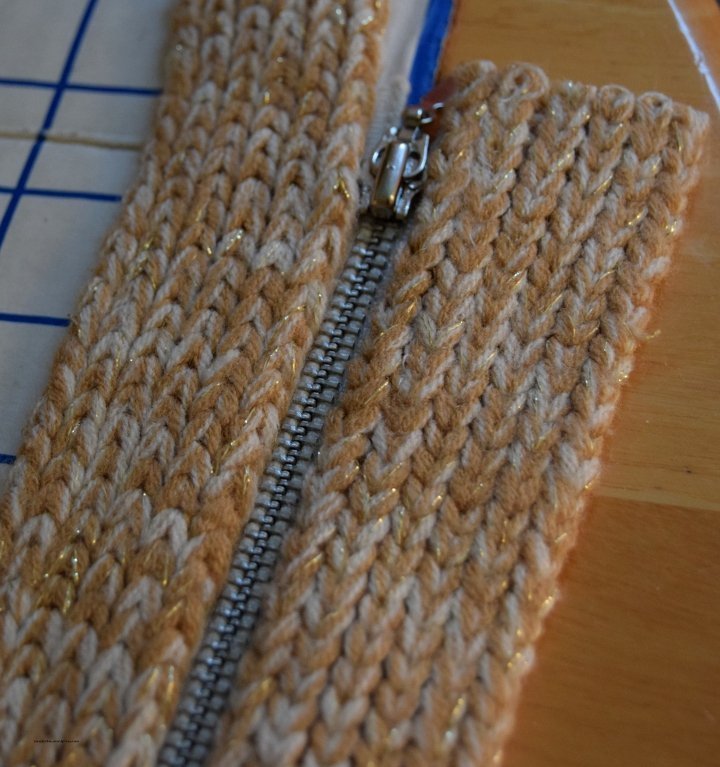
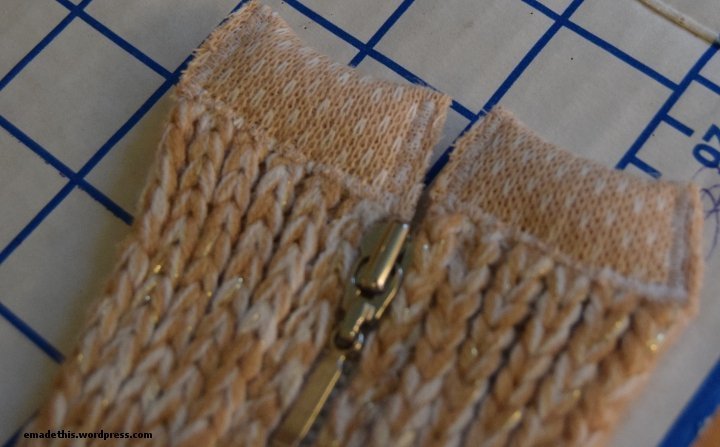
After that, peel off the backing paper. Gently place the pieces of the belt over the zipper tape. Ideally, you should be able to just see the metal teeth and none of the zipper tape.
Keep the cut edges of the tape even with the top of the zipper.
Steam the belt to activate the glue in the Steam a Seam. Repeat for the second side of the zipper.
Sewing in the zipper
From here, sew down the zipper with a straight stitch close to the metal edge of the zipper. Be sure to backstitch at the bottom. Move the zipper stop out of the way if you need to and continue stitching.
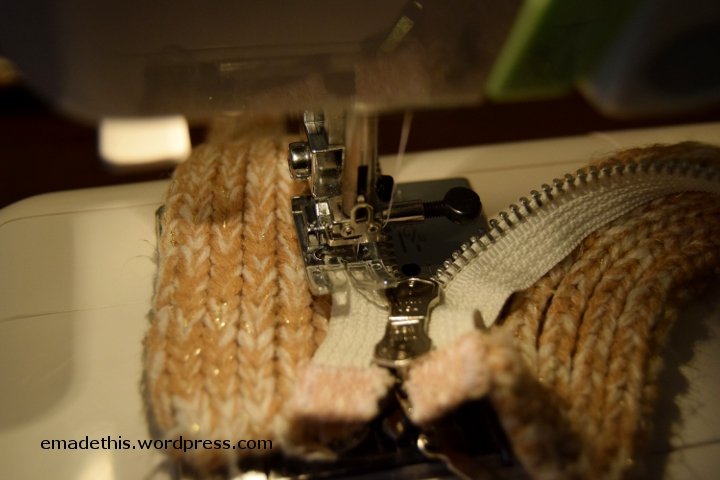
Flip the zipper over and sew the tape to the fabric with a straight stitch.
Finishing the top of the zipper
To finish the top of the zipper, cut 2 pieces 1.75″x the width of your belt piece. Press back 1/4″ on each side of the 2.5″ side.
Bring the folded edges together so that the bottom layer overlaps the top by about 1/16″. Press again so now you have a pressed top fold on this little piece.
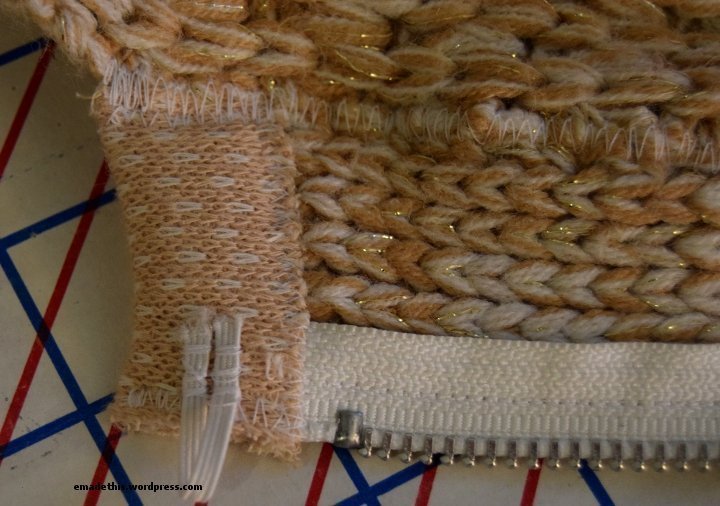
Keeping the zipper unzipped, pop the folded piece over one side of the top of the zipper. Use a zigzag stitch to stitch down all sides of this top piece in place. Repeat this for the second side of the zipper.
Thread and knot a hand needle. On the wrong side of the zipper, fold and stitch a small loop of elastic in place right at the top of the zipper. A few hand stitches out to do it. Tie a knot and cut off your thread.
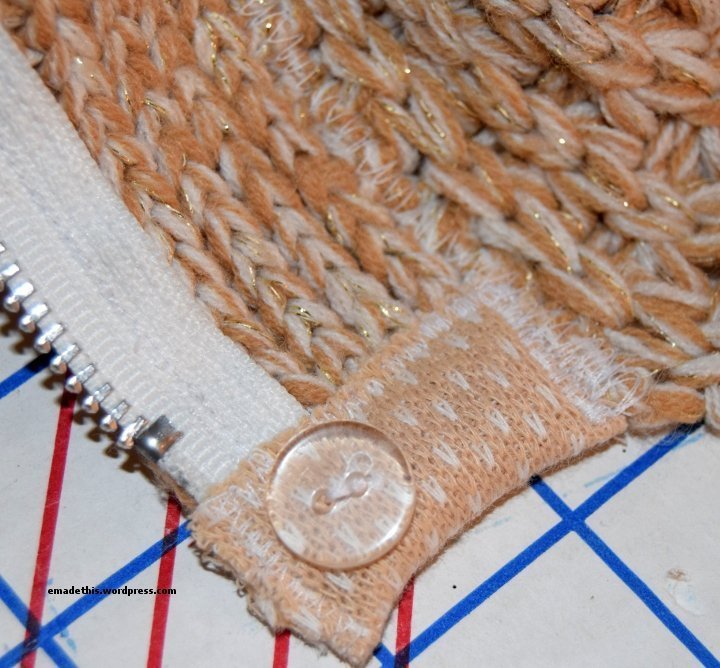
Finish off the zipper by sewing on a small button on the back of the second side of the zipper. This will keep the top of the zipper closed as you wear it.
Now it’s time to add the zipper to the cardigan.
Sewing the zipper to the cardigan
Take the zipper unit and line up the sides with the center front of the cardigan.
Here you have a choice.
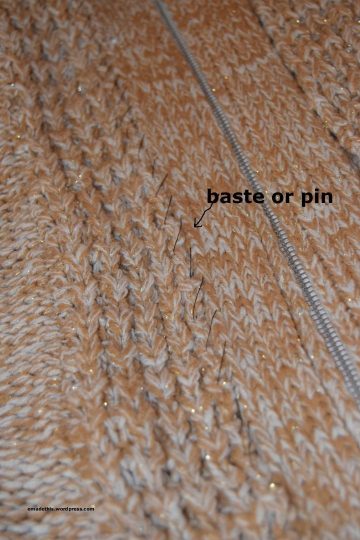
- You can pin the zipper unit in place, or better,
- you can use a hand needle and contrasting threads to make large diagonal basting stitches that connect both pieces together.
I will recommend basting here as its going to keep things from moving around on you in the next step. Baste the second side of the zipper to the opposite side of center front.
From here, stitch the basted sides of the zipper to the front with a zigzag stitch, backstitching at the top and bottom.
Your quest to turn a belted cardigan into a zippered jacket is complete unless you want to add a little bit extra on the back. Read on, friend!
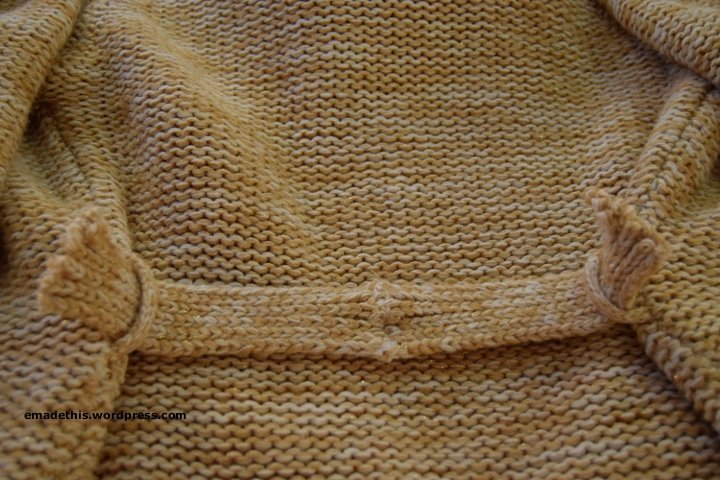
Add a back belt to your zippered cardigan
Thread two of the belt loops on the side with the 8″ section of the belt you cut off earlier. Fold belt in half, bringing the raw edges together. Sew the edges together with a zigzag stitch at 1/4″ seam allowance. Position the belt so that the seam sits at center back.
Cut a piece of your ponte knit 2″ x 4″. Fold this piece in half longways right sides together and stitch down the 3.5″ side with a narrow zigzag stitch (0.5mm width, 2.5mm length).
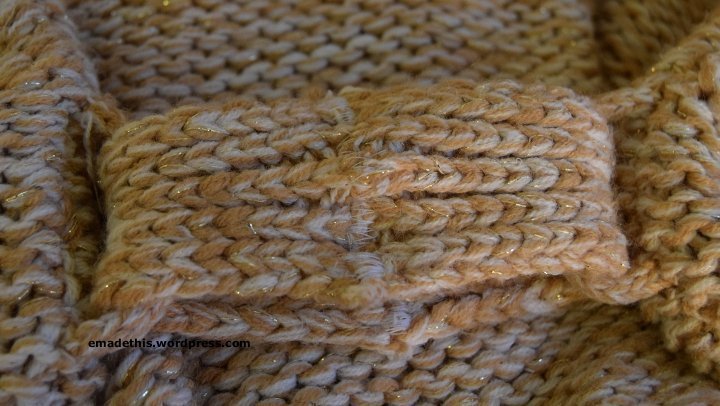
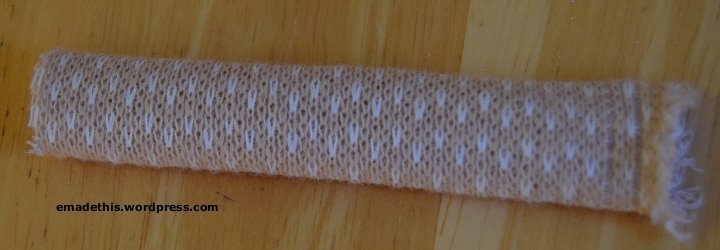

Turn out the little tube right side out and press so that the seam is in the middle of the back. Fold the tube around the center seam of the belt so that you can see the seam on the tube you just sewed. Be sure that the tube is snug around the belt. You don’t want this loop to move around on you.
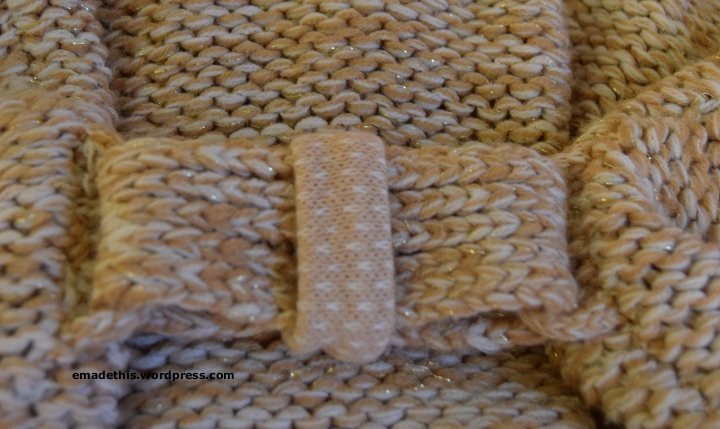
Stitch across this short seam of the tube with that same narrow zigzag, backstitching on each end. Trim off any of the extra loop piece, then turn the loop right side out. The loop should now sit snugly right over the center seam of the back belt.
Sew on two buttons for decoration on top of the loop through both all layers of the belt and the loop.


Ah, much more useful. You won’t have to tie and retie that silly belt, and you can adjust the two way zipper as you want to for all day comfort. Stay toasty my friend! Winter + refashioned sweaters is always a good thing.

Elizabeth Farr is the writer behind the Elizabeth Made This blog where she shares helpful sewing tips, step by step sewing tutorials and videos to help you explore your creativity through sewing. She has written sewing Eguides and patterns, been a featured teacher at Rebecca Page’s Sewing Summit and Jennifer Maker’s Holiday Maker Fest and her work has appeared in Seamwork and Altered Couture magazines. She also created a line of refashioned garments for SEWN Denver. When her sewing machine isn’t humming, she’s playing and teaching violin, and hanging around a good strategic board game with her husband and 4 kids.
The author may collect a small share of sales from the links on this page.


Comments
Join the conversation
I have a sweater waiting for this wonderful idea. Looks great.
😍