Turn an Oversized Vintage Jacket Into a Cape Blazer

I really like cape blazers. I have several, they are just a fun alternative to regular outerwear. In my last post, I told you I was working on creating my own from an oversized vintage jacket.
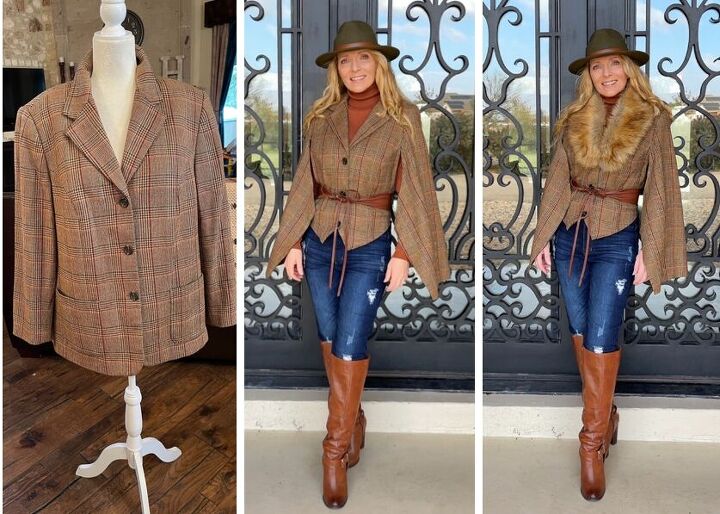
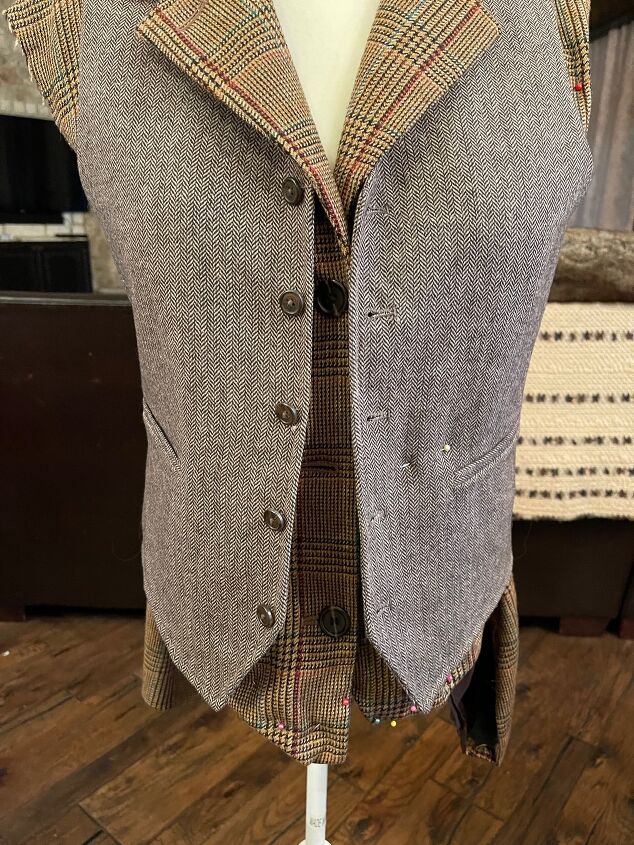
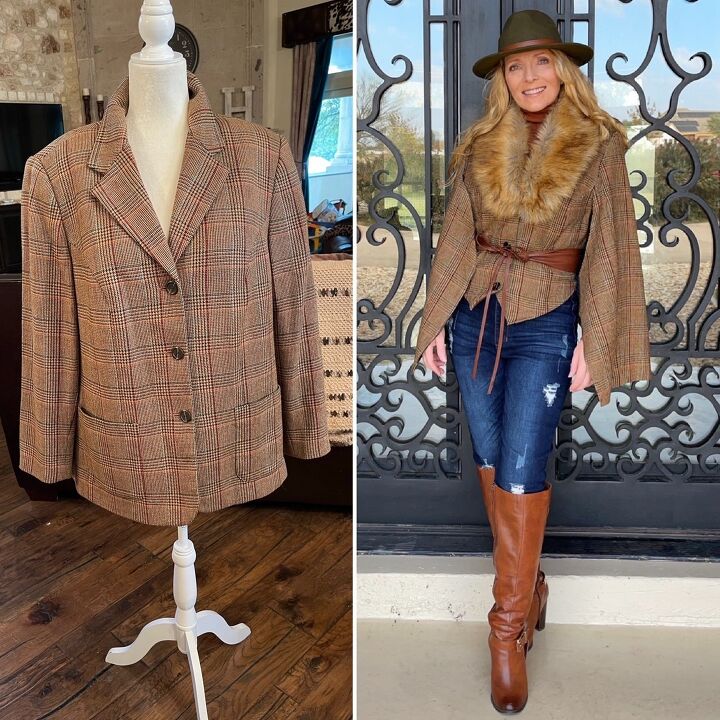
Here are the before, after, and after after lol. I am not a great seamstress so I tried to make it as easy as possible to create what I envisioned in my mind. Even though there were trying moments, it was easier than I thought it would be.
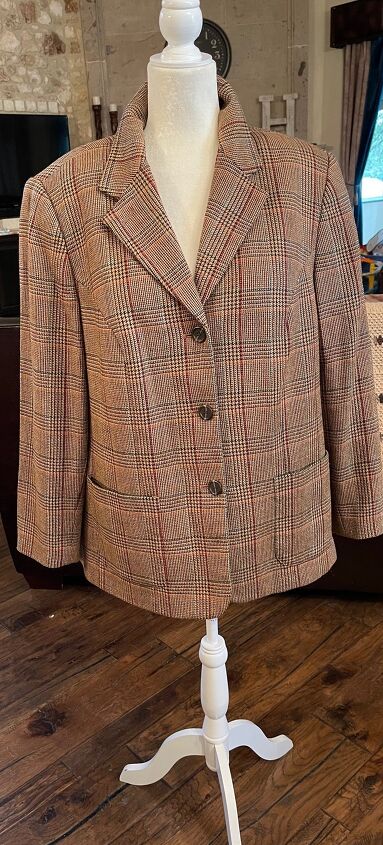
This project started when I saw this cute $5 jacket at my local thrift store. It was a size 18 but I loved the vintage plaid and tried to figure out what I could make out of it. I came up with a plan to give it a completely new identity. You can also use a more fitted jacket which I will do in the future since it would require a lot less sewing.
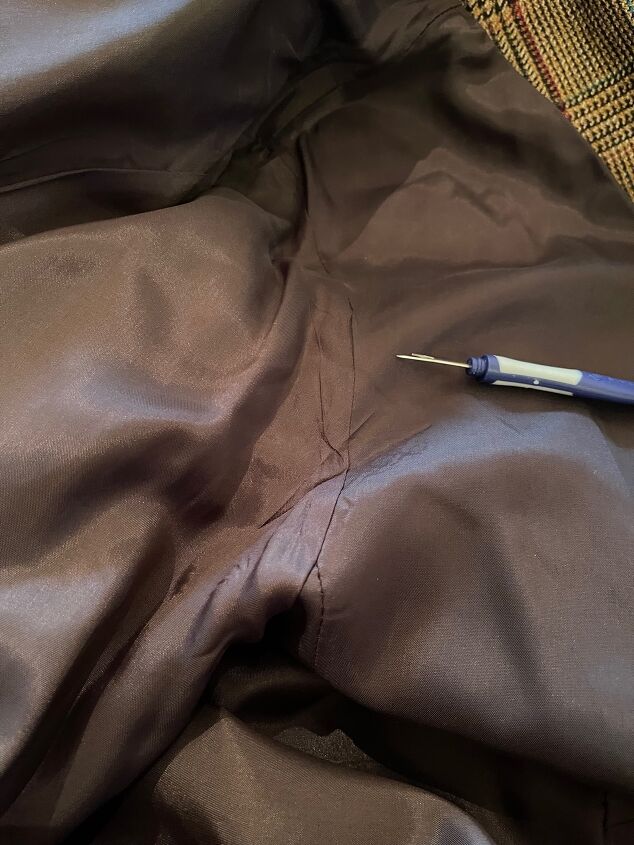
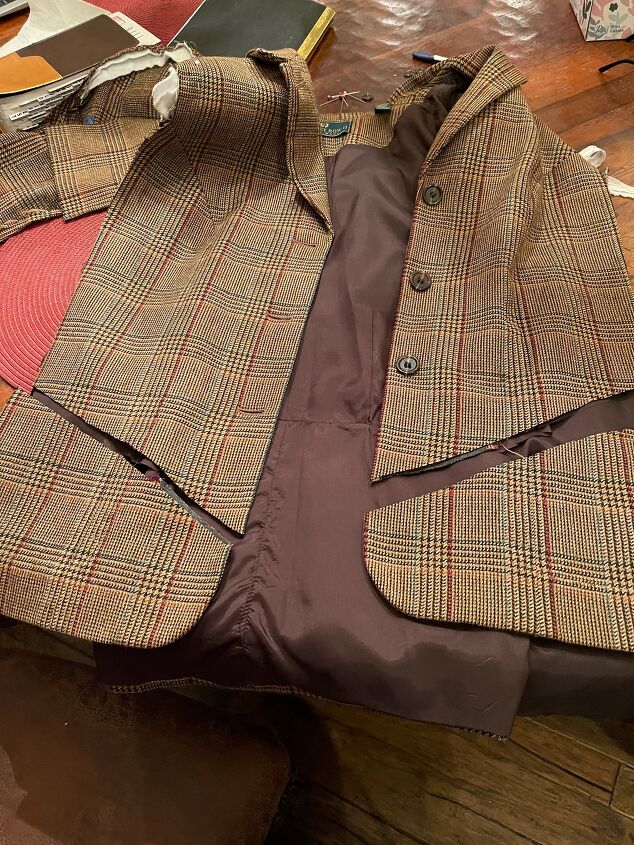
After having the jacket cleaned, take a seam ripper and open the seams at the shoulder where the sleeve connects to it. You want to remove the sleeves from the jacket with the lining still attached inside if possible.
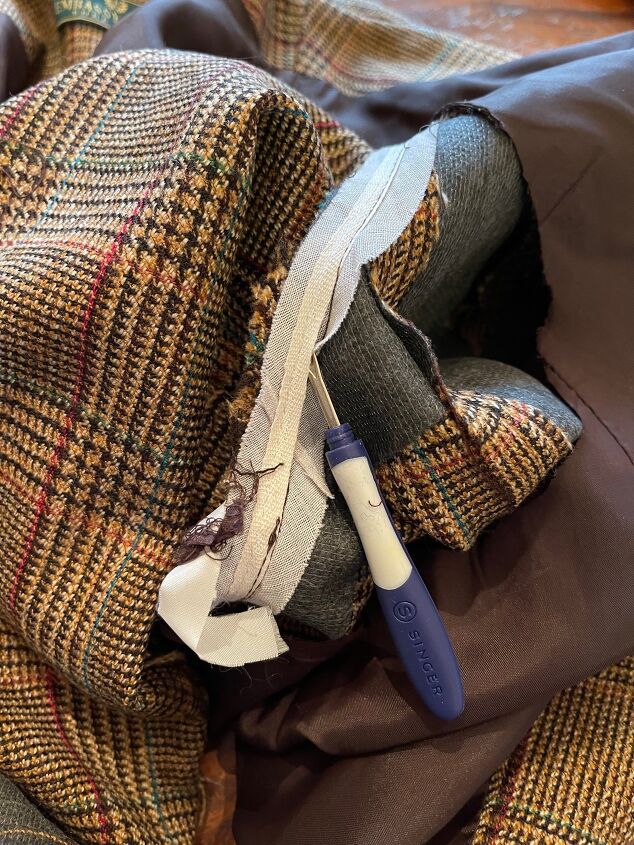
I didn't do this right away since I wasn't sure what all I would be keeping but remove any binding or should pads if the jacket does not fit you properly.
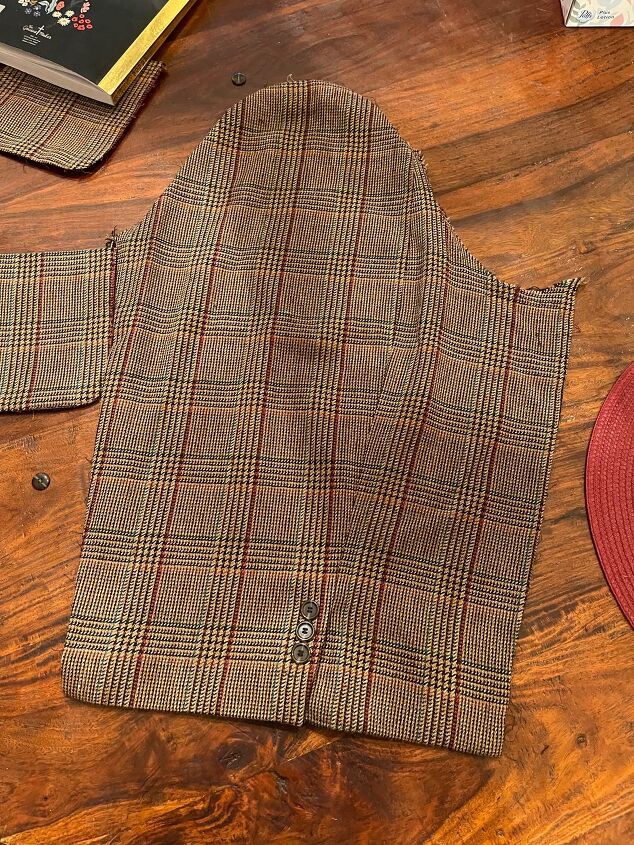
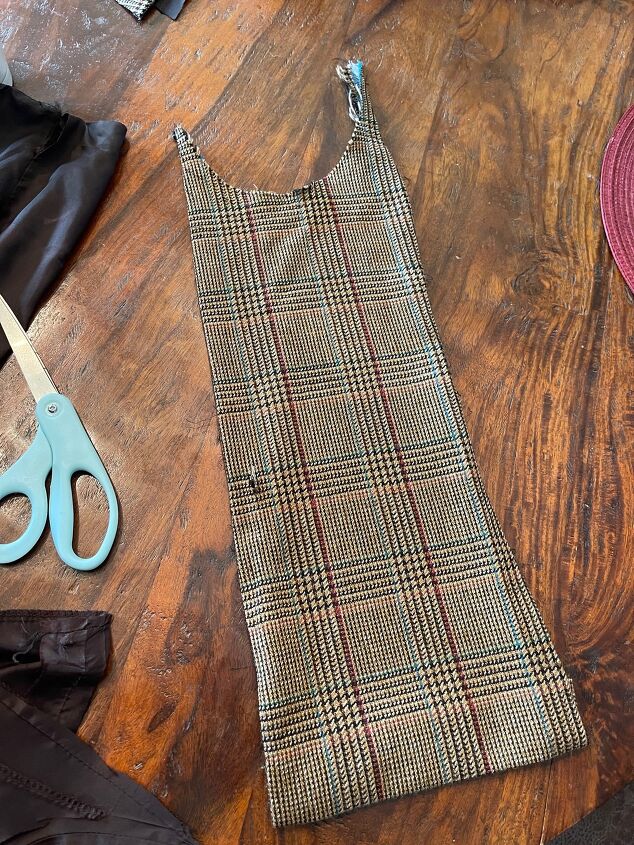
After detaching the sleeves, using the seam ripper open both seams (lining and sleeve) that hold the sleeve together. Lay the sleeve out, as you will be using it later. If yours has front pockets like mine did, gently remove them with the seam ripper, and make sure you don't create holes in the front.
You should now be left with what looks like a vest. You need to measure the shoulder area and pin the sleeve opening to where it will fit your shoulders correctly. Again, if you have a blazer that is your size to start, you wont need to do this extra step.
If your jacket is too large as mine was, using the seam ripper, rip out the middle seam, mine had 2 seams so I cut both, leaving the side open. I was lucky that it was the amount of fabric I needed to lose to make it fit my bust.
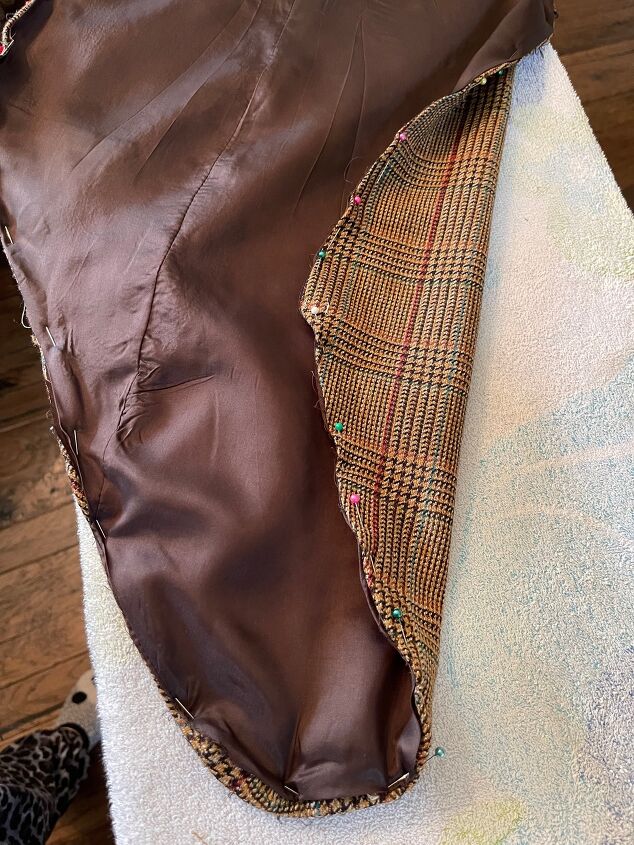
Fold under and pin the lining and raw seams to match the shoulder pin you put in earlier and taper it to fit your bust and waist measurements.
On a side note, extra fabric can be used to make shoe bows, recover part of a pair of shoes, or a hat band to create some cute matching pieces.
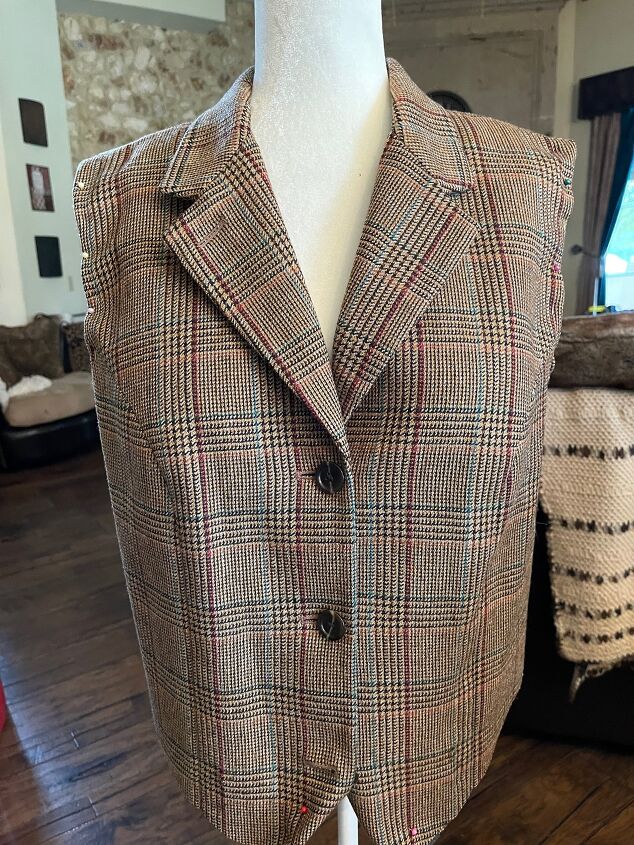
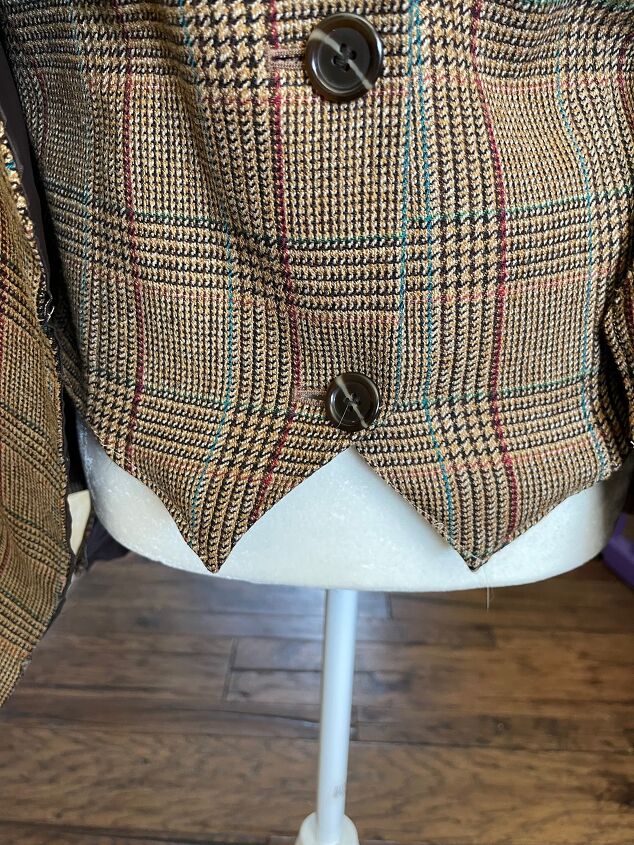
I changed gears a little mid-way and decided that I wanted to make the front look more like a tailored vest, to get the points and length I liked, I took one that fits me well and draped it over the existing piece, and pinned the slants where it needed to go. I measured that both were equal before cutting.
Laying the piece on the table I cut below the pins to give me a little extra to work with in case I messed it up.
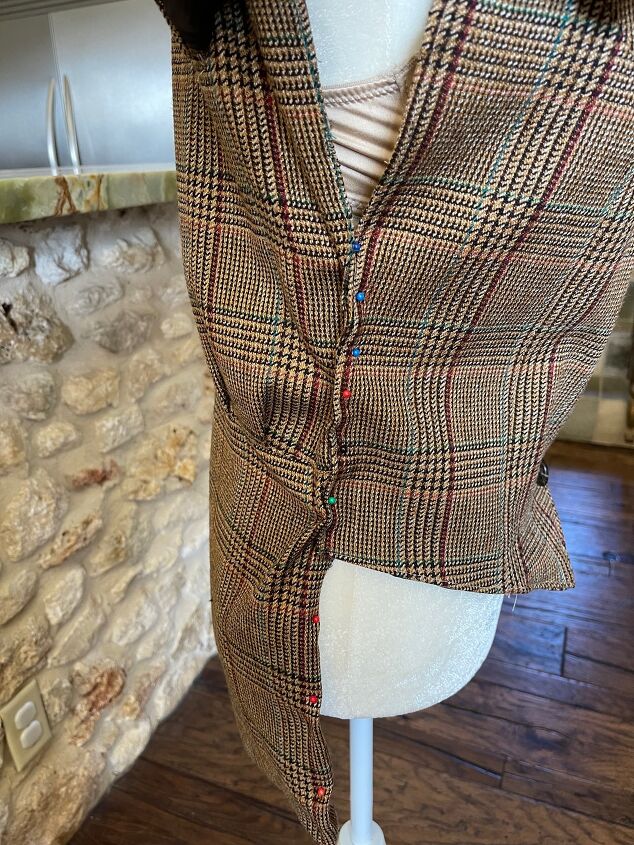
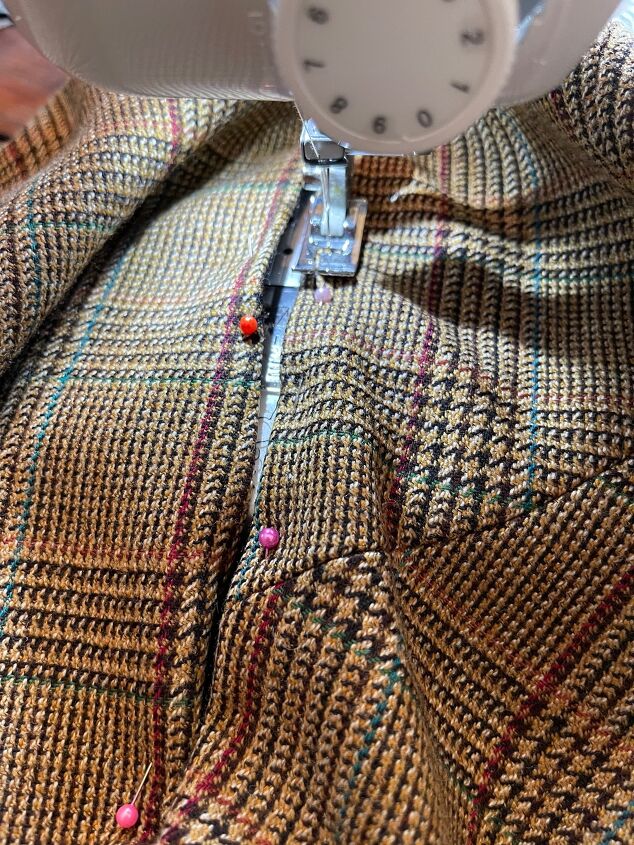
Let all the pinning begin! The back of this jacket has a gathered waistband that I wanted to keep which is why it looks a little bunchy when pinned.
Pin the two sides together and sew it. Normally, you would cut the vest back to match the front length, but I opted to keep it long to match the sleeves. Either way is fine. I folded the raw edges of the front bottom of the vest, pinned it, and sewed it.
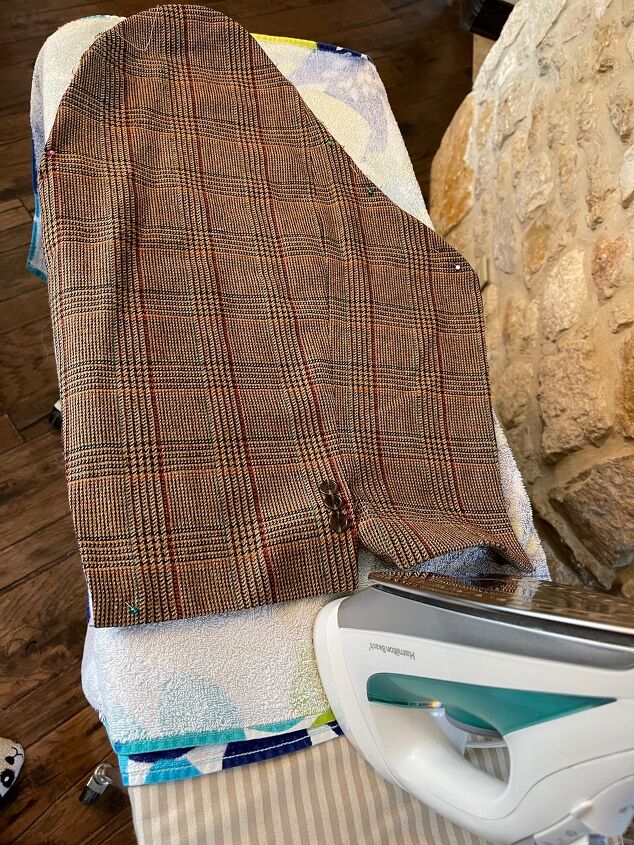
Iron out your sleeve and attached lining, I removed the cuff buttons, but you can leave them on if you would like.
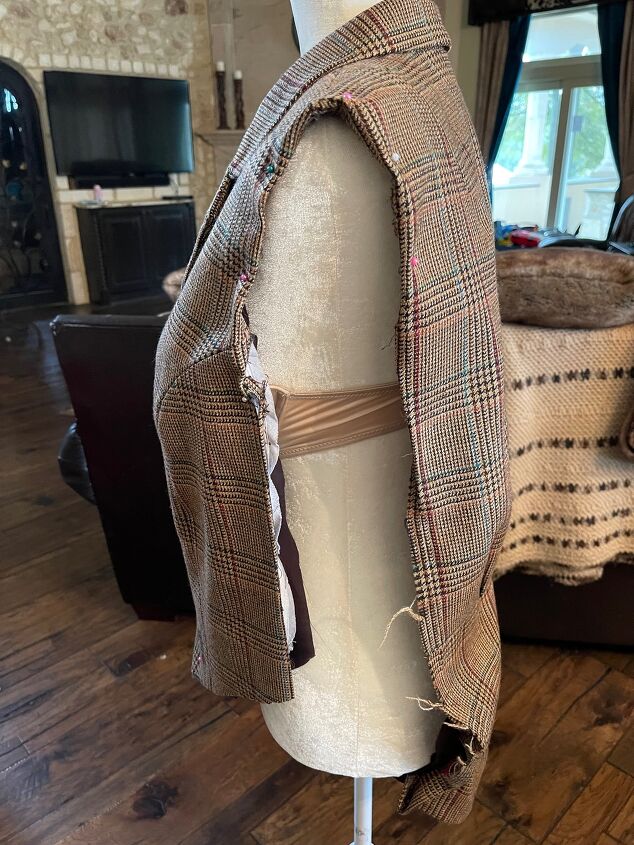
I rounded out the pointed cut of the sleeve, folded in any areas the lining was not sewn to the new sleeve, pinned it, and sewed it so it is one solid piece.
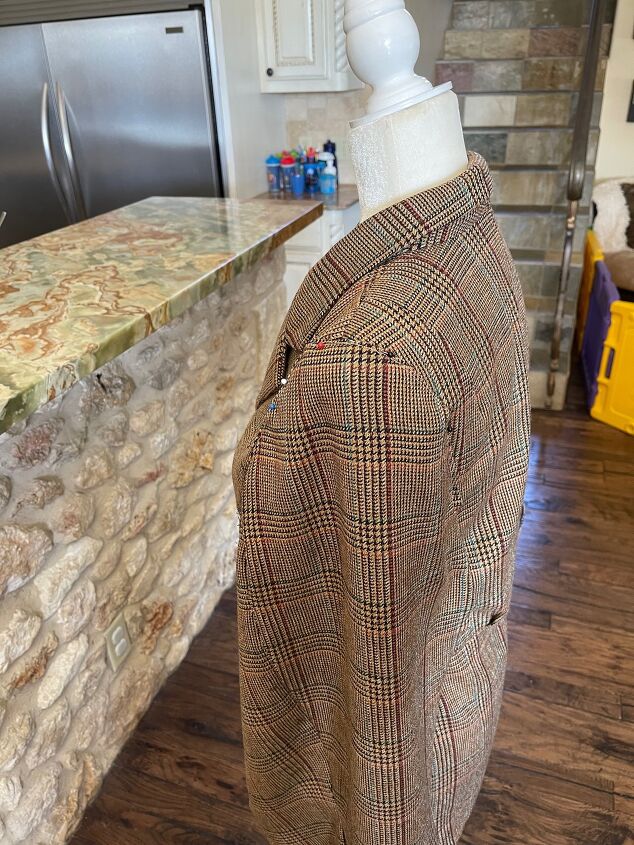
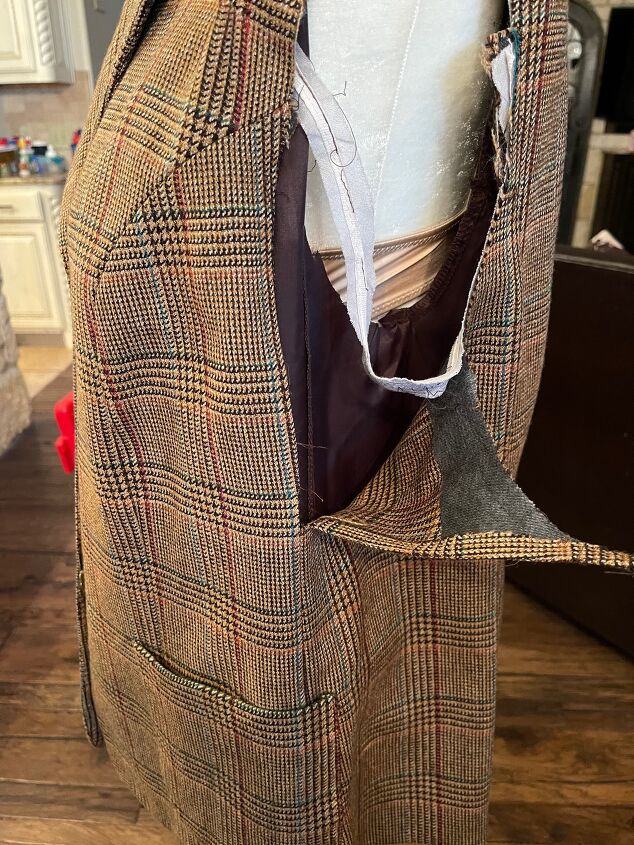
I pinned and then sewed the sleeve back to the vest. I like to have a lot of free room for my arms with my capes which is why I also left the back of the sleeve open. You could sew the back down completely leaving just the front sleeve open if you want more of a solid piece.
Sewing all the pinned areas was the longest part of this project.
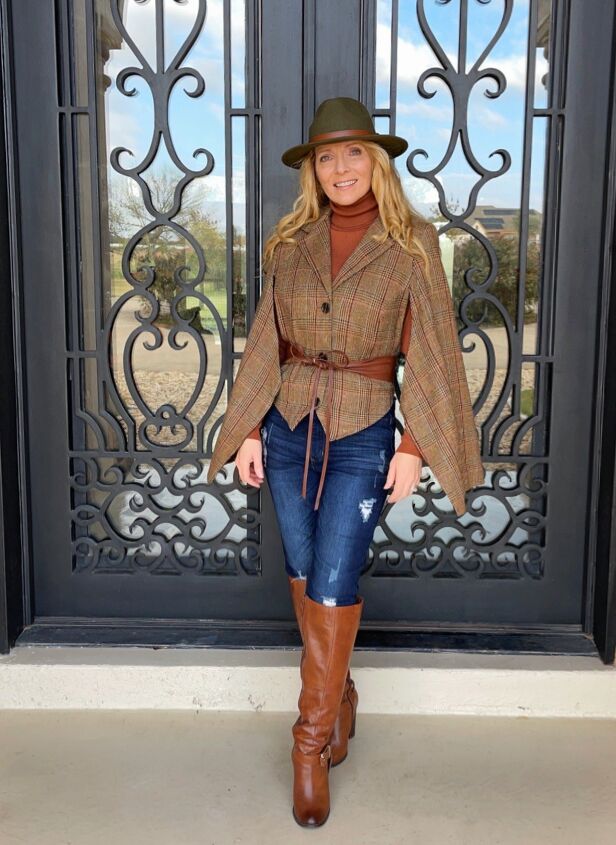
This is how she looks on! If I had to do it again, I would probably add either leather or coordinating fabric to the sides of the sleeves to make them fuller. After seeing the pix, will fix this in the future to give the sleeves more of a flounce.
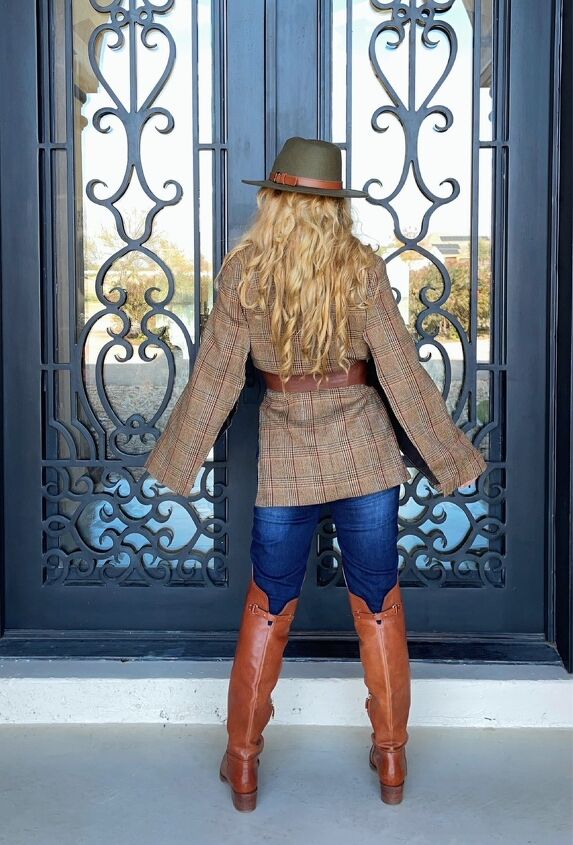
Here is the back, when I took this I forgot to blouse it up a little over the belt.
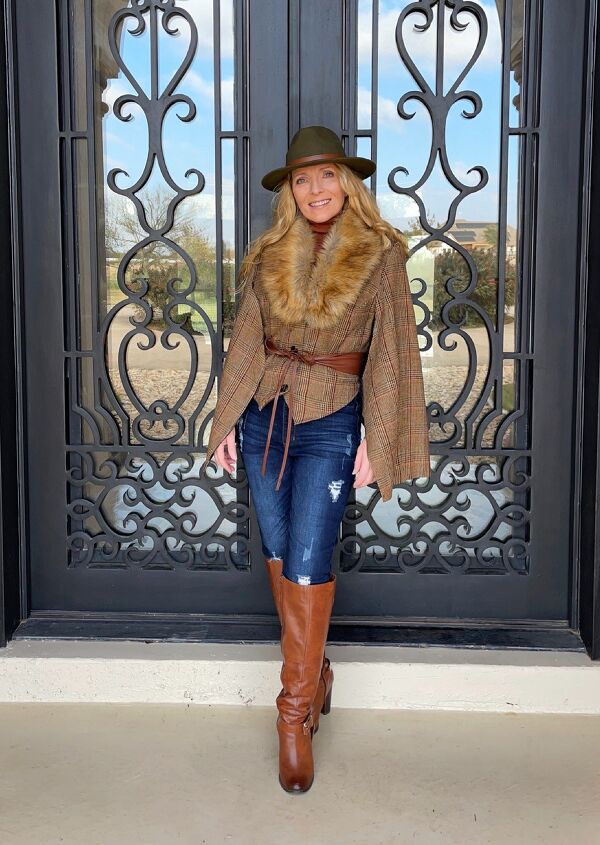
Adding a removable fur collar is always my go-to fashion staple in chilly months.
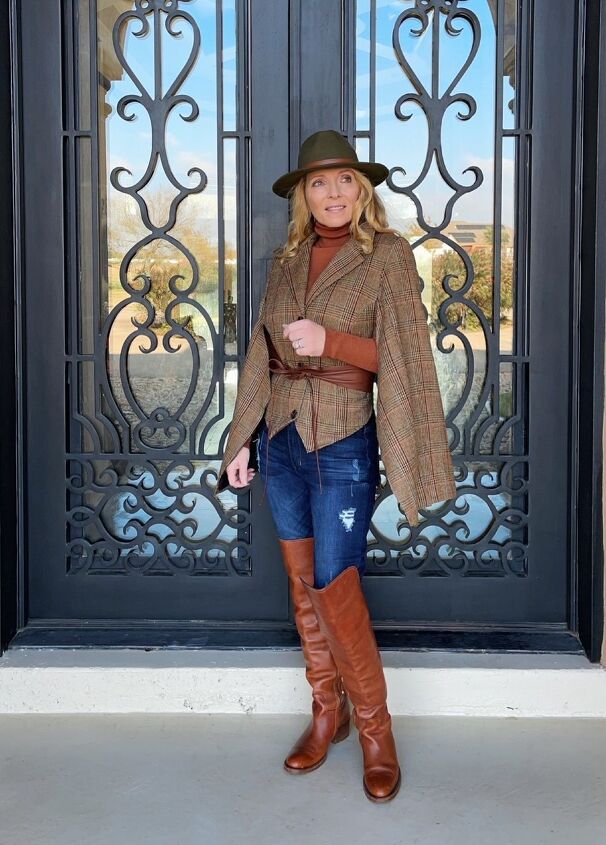
It certainly looks different and is unusual which I like! Switching up to over-the-knee flat boots gives it more of an English flair.

Plaid always gives you a lot of choices in what to wear underneath. It would look great over a dress too.
This took me a couple of days since I didn't have time to work on it consecutively as I wanted to. I would think it would only take a few hours for those who sew well. Now that I have a better idea of what I am doing, I will be trying this project again in the near future!
Hope your day is BLESSED!
Eden
The author may collect a small share of sales from the links on this page.


Comments
Join the conversation
your Jackie beautiful. You’re brilliant! I can’t wait to try to make one. And you styled it beautifully. You and I have the same
fashion esthetic. I’m always trying to remake clothes, and update them. I even made a steampunk wedding gown out of a comforter, a tapestry purse and random hardware, for a fashion contest and won. Again, you are brilliant