How to Make a Super Cute Checkerboard Purse

This DIY clutch purse is a quick and easy project that uses scraps of fabric. It makes the perfect accessory and is beginner-friendly. I used a free pattern for the bag and added an inner phone pocket and crossbody straps.
Tools and materials:
- Free digital pattern (when you sign up for the news letter)
- Paper for pattern
- Sticky tape
- 2.5 inch squares of fabric
- Iron on interfacing
- Lining fabric
- Gauze for straps (optional)
- D ring
- Zipper
- Scissors or rotary cutter
- Iron
- Sewing machine
- Quilting foot (optional)
- Zipper foot (optional)
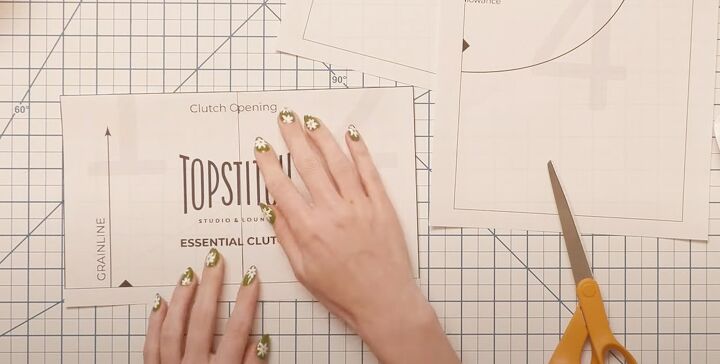
1. Print pattern
Print out the pattern, cut out the pieces and tape them together.
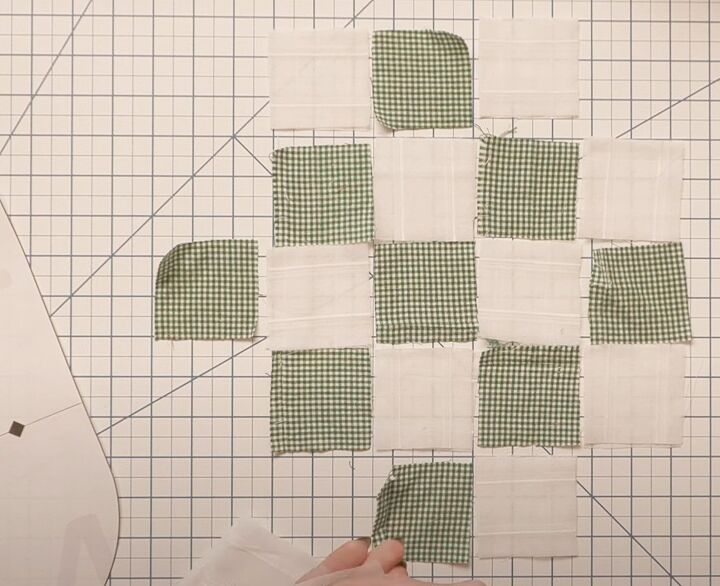
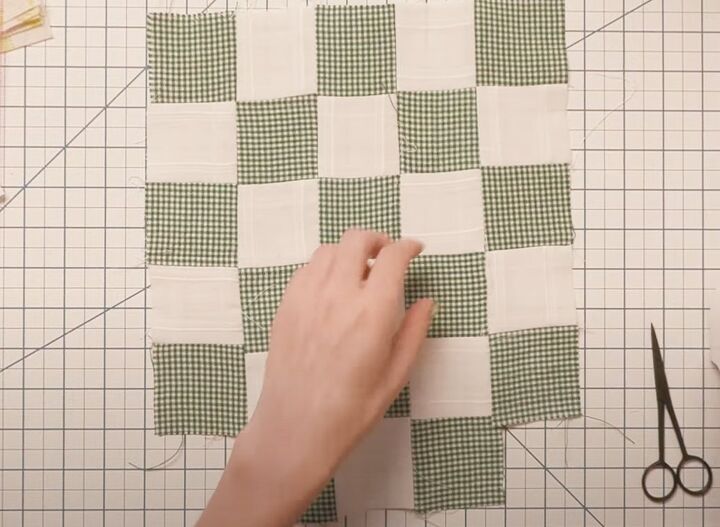
2. Choose fabric
I wanted to make a checkerboard bag and I already had a selection of 2.5 inch fabric squares to choose from.
You can make this from a single piece of fabric if you prefer or cut complementary fabrics into squares.
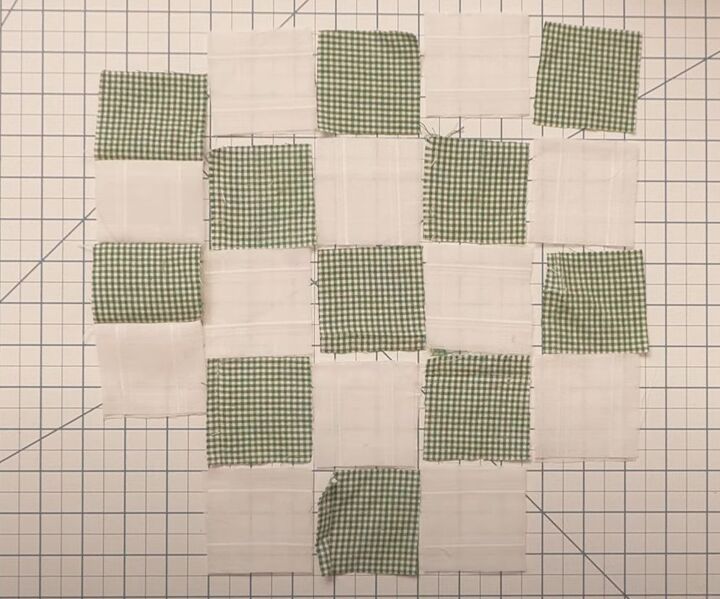
Lay out your squares until you create a design you like.
When you sew them together they will be 1/4 inch smaller all around, so check you have enough squares to make two pieces of the main fabric.
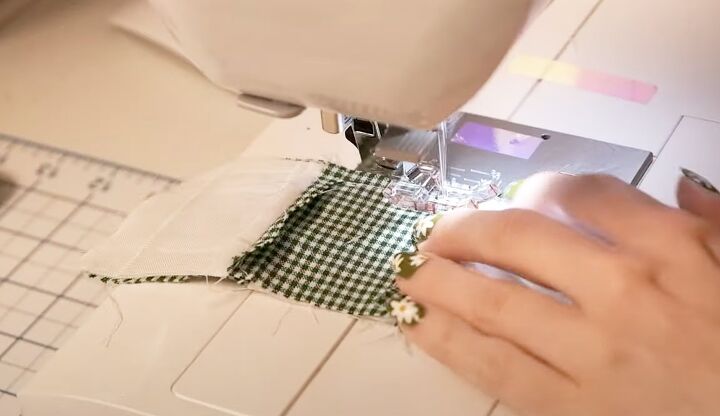
3. Sew vertical strips
Use a quilting foot if you have one to join one set of squares together in vertical strips.
Sew them with right sides facing, taking a 1/4 inch seam allowance, and without backstitching at the beginning and end of each seam.
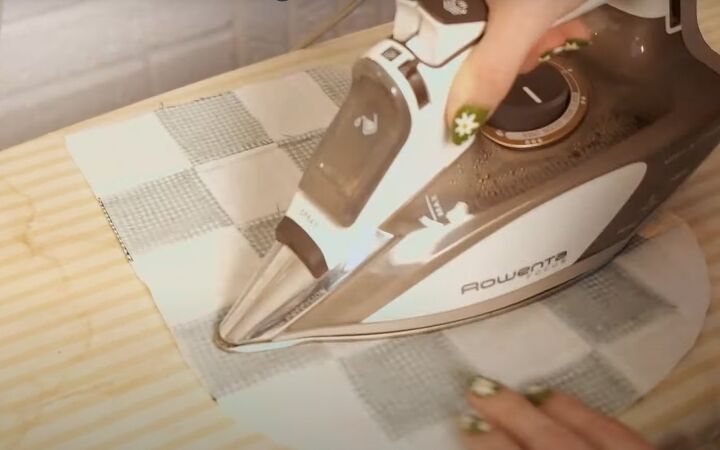
When all the strips are sewn, press the seams open.
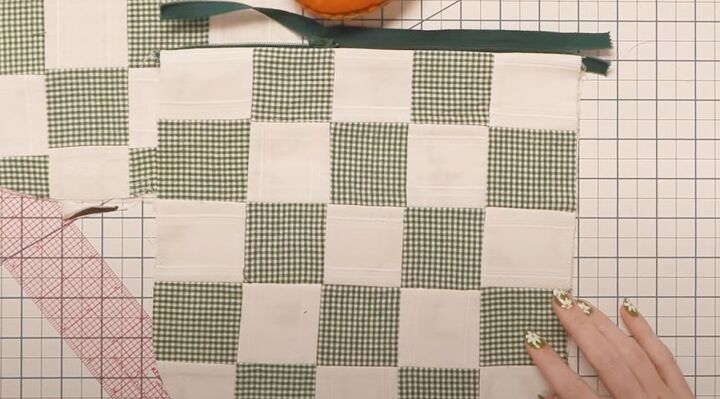
4. Join vertical strips
Sew the vertical pieces together, right sides facing, in a checkerboard design. Align the seams and open them flat as you sew.
When you have one set of pieces joined to make a single piece of fabric, cut the main pattern piece from them.
Repeat steps 3 and 4 to make the second pattern piece.
5. Add interfacing and optional pocket
Cut two pieces each from the interfacing and lining.
I added a horizontal phone pocket to the lining at this point, attaching it as I would a patch pocket.
Press all the seams open on the main pattern pieces. Iron interfacing on to the wrong side of each main part.
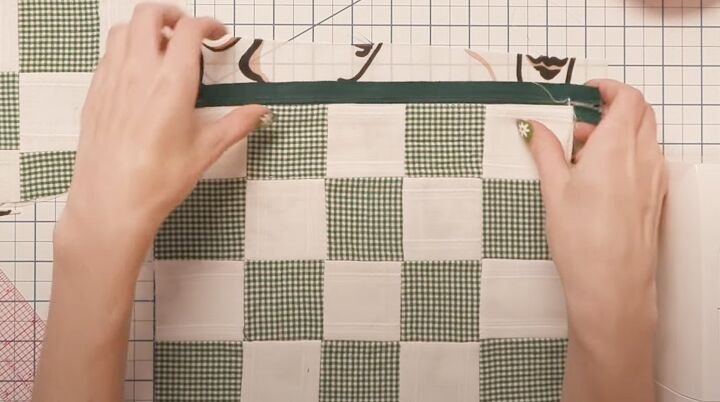
6. Attach zipper
Stitch the zipper to the right side of one lining piece.
Sew a piece of the main fabric face down to the zipper and lining, as close to the zipper teeth as possible.
Top stitch it on the right side so the fabric doesn't catch in the zipper.
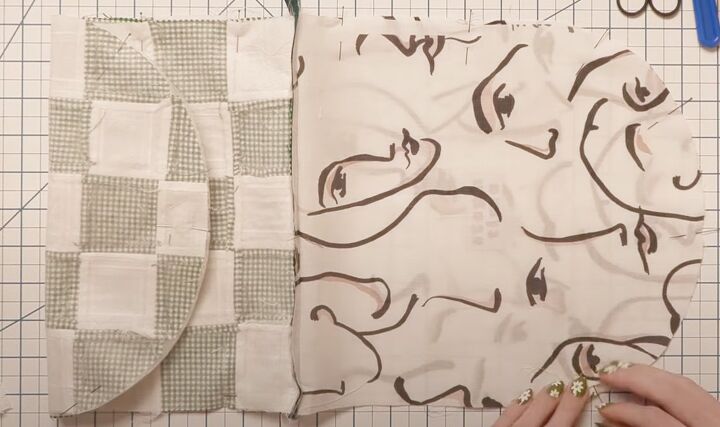
Place the zipper face up on to the right side of the other piece of lining.
Place the other main pieces on top, so the main sections are together with right sides facing.
Sew all the layers together close to the zipper teeth.
Turn the pieces to the right side, open them out and top stitch the other side of the zipper.
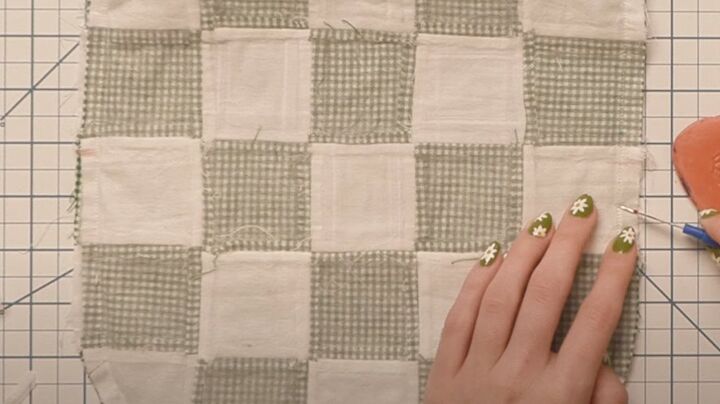
7. Sew edge seams
I hadn't decided at this stage to add straps. So, I sewed the fabric pieces together around the edges and did the same with the lining pieces, leaving a small opening to turn the bag right side out.
If you want straps, complete steps 8 and 9 first and come back to this step afterward.
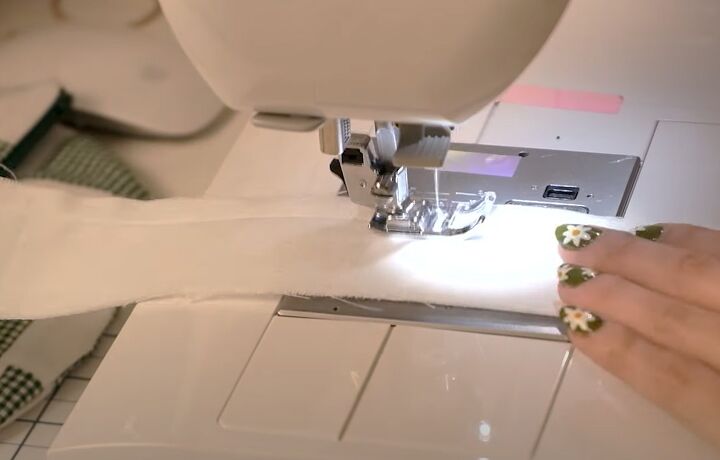
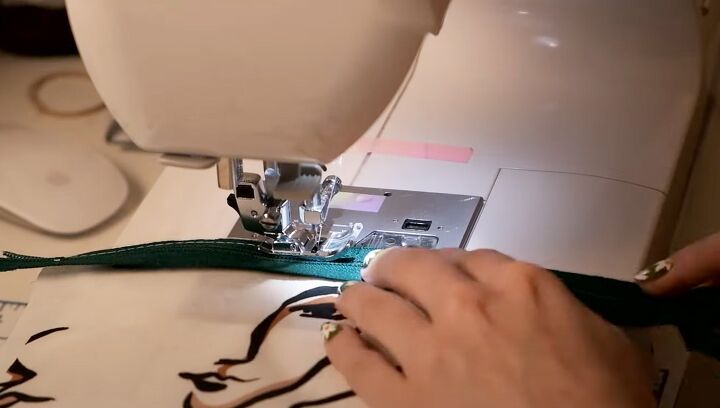
8. Make straps
Cut a 2 inch strip from white gauze and interfacing for the long strap and sew them together, right sides facing, along one short edge and both long edges.
Trim the corners, turn the strip right side out and press it flat.

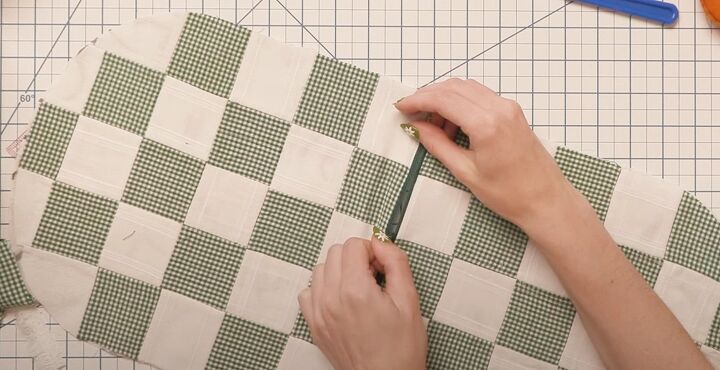
Make a second shorter strip, sewing along the long edges only. After turning it to the right side, fold it in half and thread the D ring on to it.
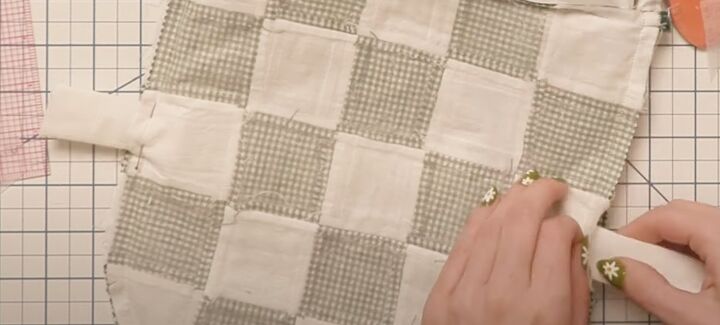
9. Attach straps
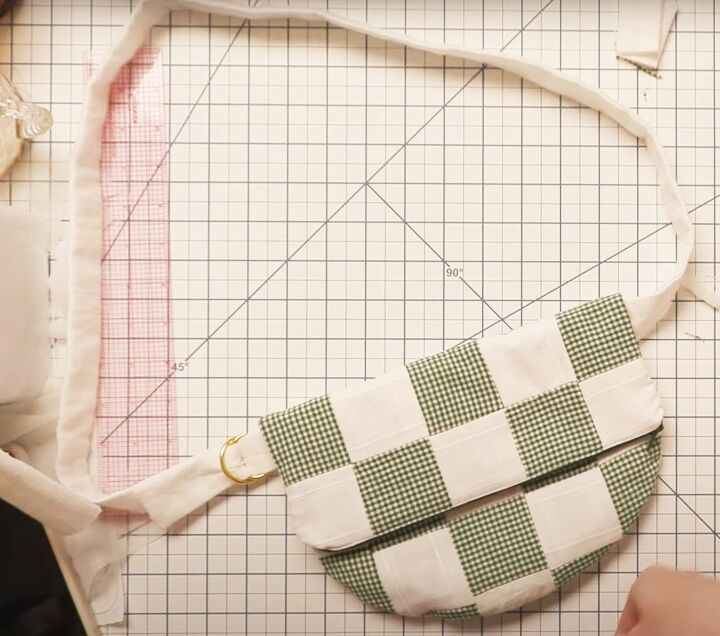
Because I'd already sewn the side seams, I turned the bag inside out and clipped around the curves.
I had to unpick the stitches on the main pieces where I wanted to attach the straps.
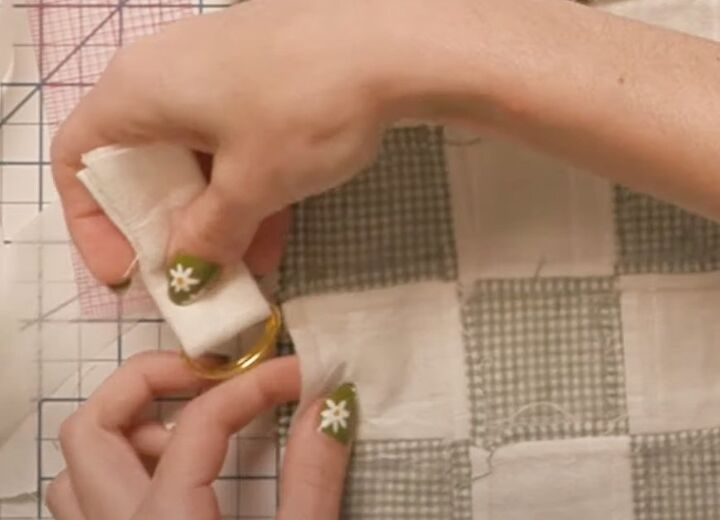
Push the strap with the D ring inside the bag on one side, inserting the D ring first, and pin it in place.
Insert the longer strap into the other side, closed end first, and sew both straps securely in place along the seam line.
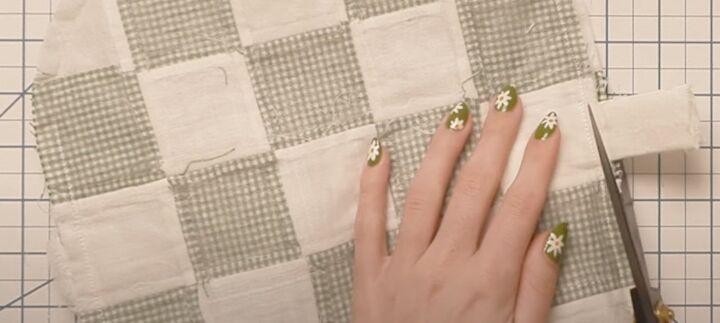
10. Finishing
Trim the ends of the straps flush with the raw edges of the bag.
Turn the bag right side out and close the opening in the lining. Push the lining inside the bag, zip the bag up and thread the long strap through the D ring.
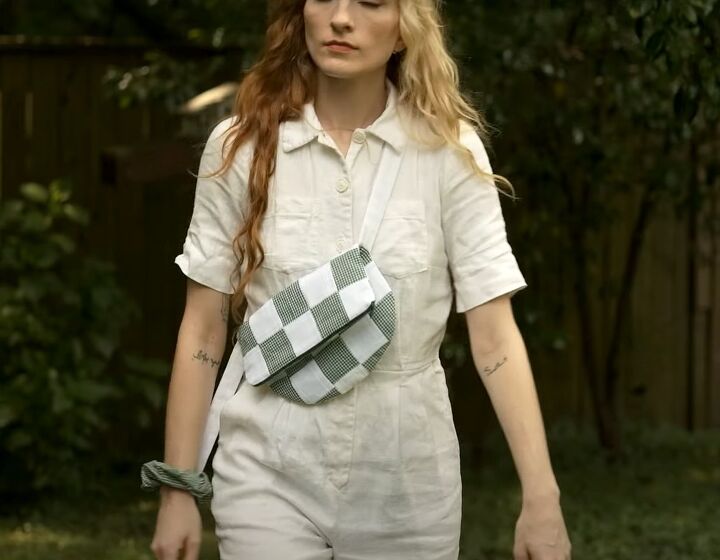
DIY clutch purse
This DIY clutch was super easy to make and is the perfect project to learn how to make a clutch bag.
It could have a completely different look depending on the fabric you use. It would make a great gift too!
If you enjoyed this tutorial, leave a comment down below.
The author may collect a small share of sales from the links on this page.


Comments
Join the conversation