How to Make a Super-Cute DIY Faux Fur Coat For Snowy Winter Days

In this tutorial, I'll show you how to sew a DIY faux fur coat. If it’s cold where you live and the snow keeps falling, what could be better than learning how to make your own fur coat?
I was inspired to make this by all the snow falling here in Canada (it even got down to -13°F), which is horrible! So, I wanted to make something super cute, super soft, and super warm at the same time.
I found some pink faux fur fabric at my local thrift store and used an old floral bedsheet for the lining. This faux fur coat sewing pattern and step-by-step guide will have you cozy and warm in no time. Let's get started!
Tools and materials:
- 1 yard faux fur fabric
- 1 yard lining
- Scissors
- Sewing machine
- Pins
- Tailor’s chalk
- Pattern tutorial
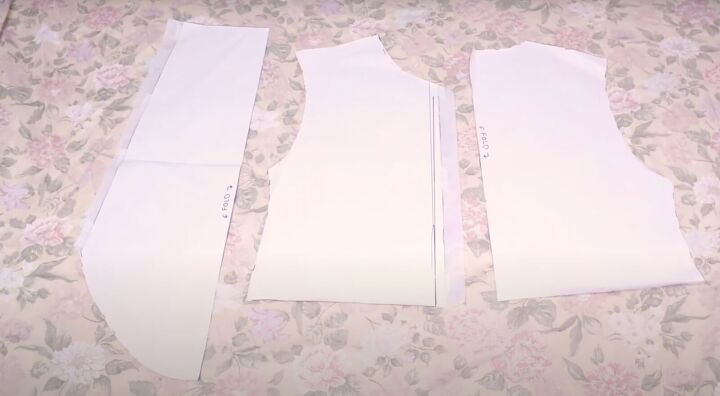
1. Make the pattern
To make the pattern, you can follow the jacket portion of my previous tutorial on how to make a Chanel-inspired tweed suit, or simply trace your own jacket.
If you’re using my pattern, add 1 inch to the button plackets and sleeves.
You’ll also need to add facing to the front pieces that are 5 inches wide.
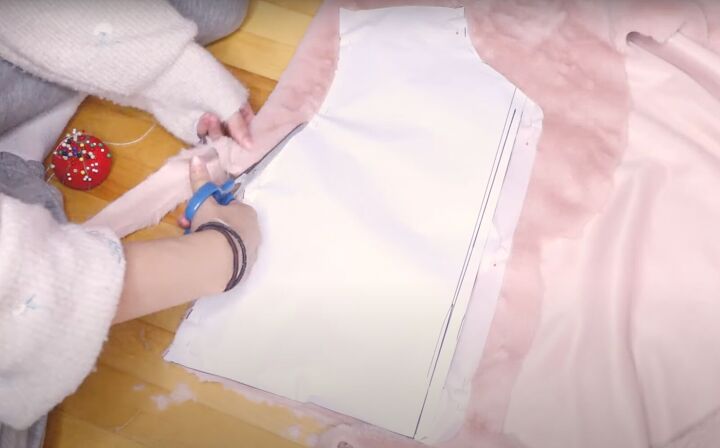
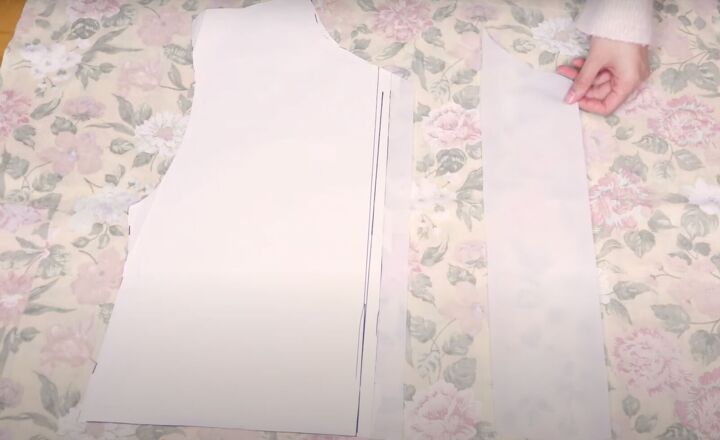
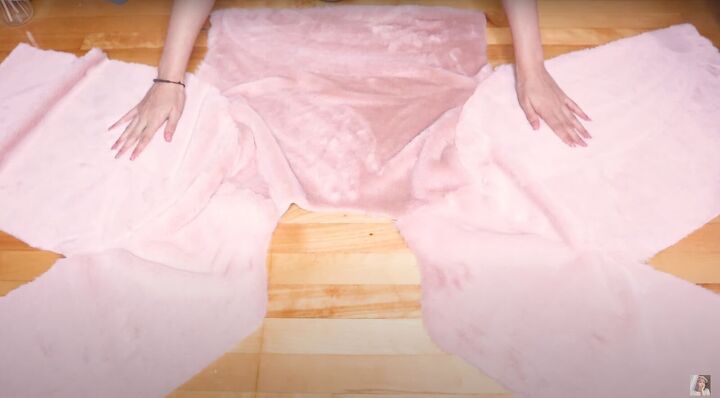
2. Cut the pattern
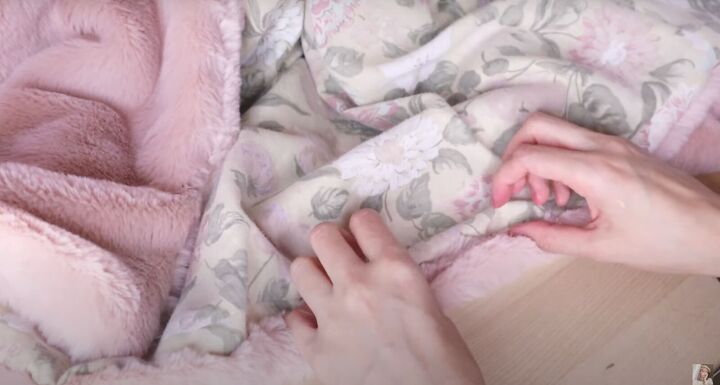
Lay the pattern pieces on the faux fabric. Pin in place. Warning: faux fur sheds lots of tiny little hairs everywhere so make sure to have a vacuum nearby to clean up your space.
Cut the pattern pieces on the lining as well.
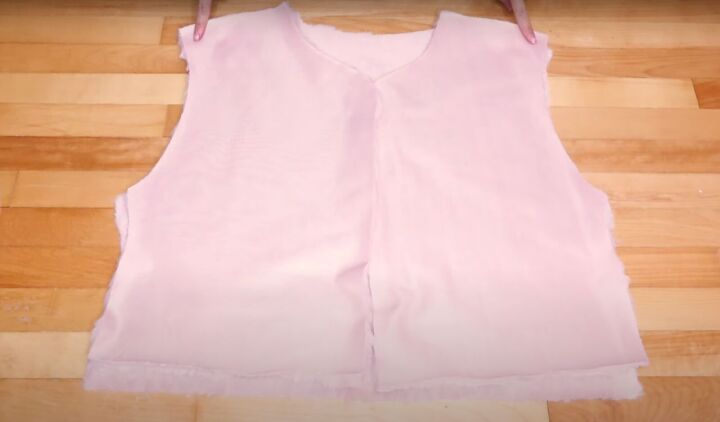
3. Sew the shoulder seams
Lay the back piece right side facing up. Lay the two front pieces right sides facing down. Pin the shoulders together. Sew the shoulder seams with a ½-inch seam allowance.

4. Sew the sleeves
Open the jacket and pin the top center of the sleeve to the shoulder seam.
Pin the rest of the sleeve down until you reach the end. Do the same for the other sleeve.
Sew both sleeves.
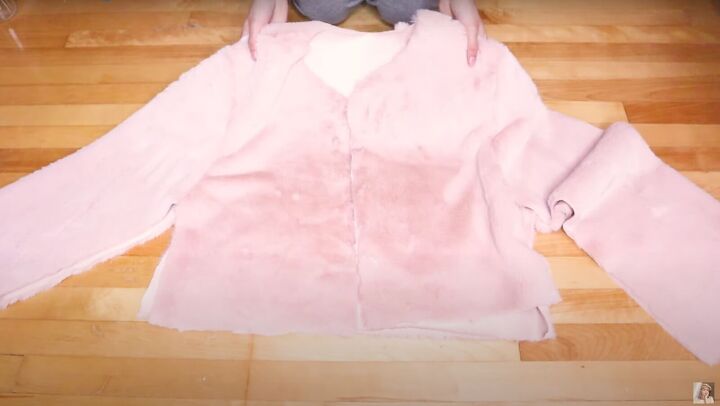
5. Sew the sleeves and side seams
You can really see it coming together already! Flip the jacket around and sew the inner seam of the sleeves and the side seams.

Try on the jacket to see the fit.
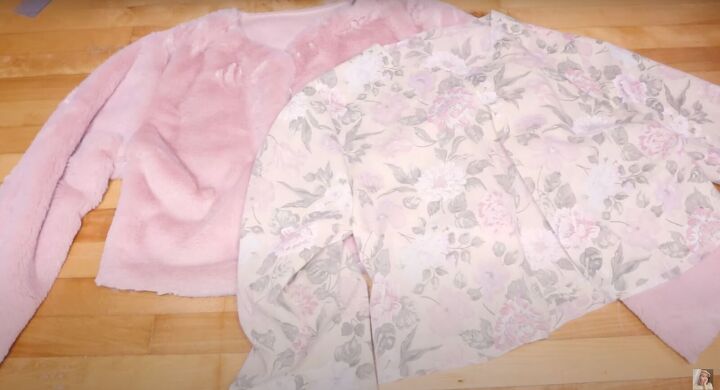
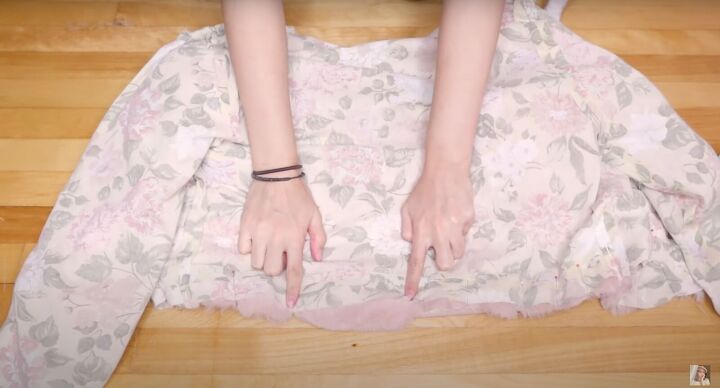
6. Make the lining
Once you’ve adjusted the fit, sew the lining to match the fit.
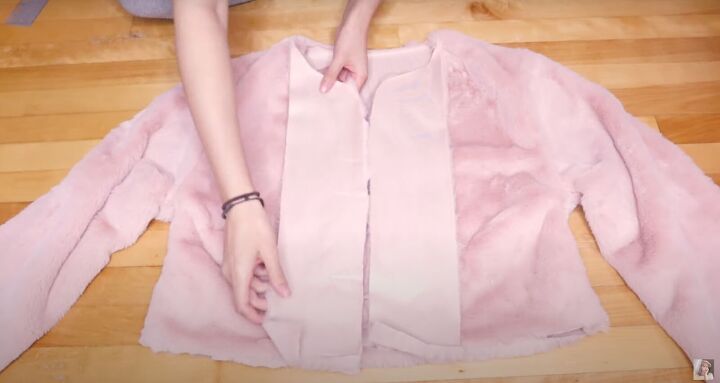
7. Add the facing
Lay the jacket down right sides facing up with the front panels up. Lay the facing down so their right sides are together.
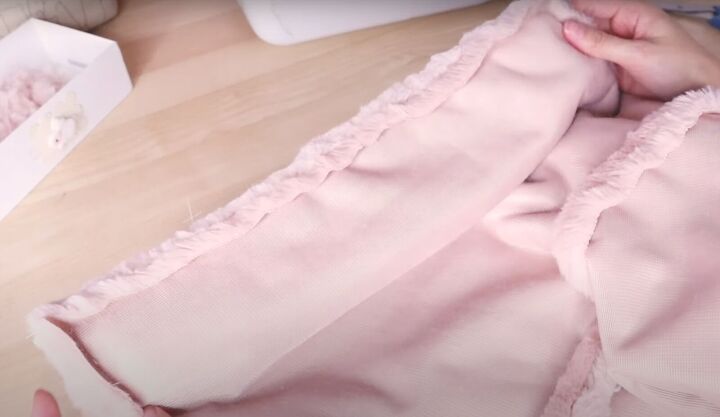
8. Attach the lining
Then place the lining, right sides facing in on top. So the layers from the inside out are jacket, facing, and lining - all right sides together.
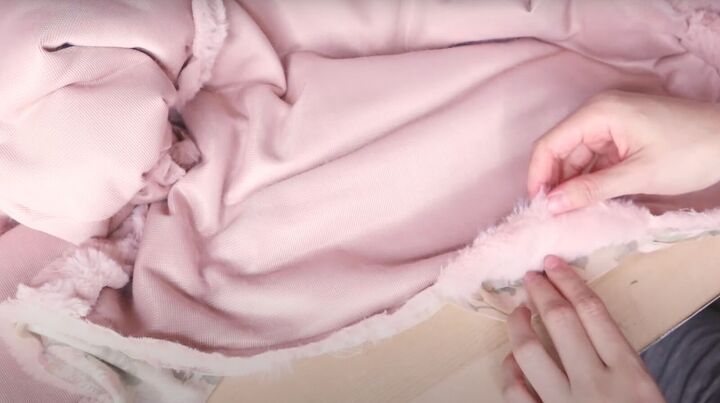
Pin everything together. Sew the bottom, front opening placket, and neckline. Keep an opening at the back unsewn to be able to flip the jacket inside out.
The front panel will be very bulky.
9. Turn the fabric
Place your fingers in the opening and turn the coat inside out.
Once it’s flipped, sew the opening closed.
Sew the facing down to the front panel. It might be easier to hand-sew because of the bulkiness.
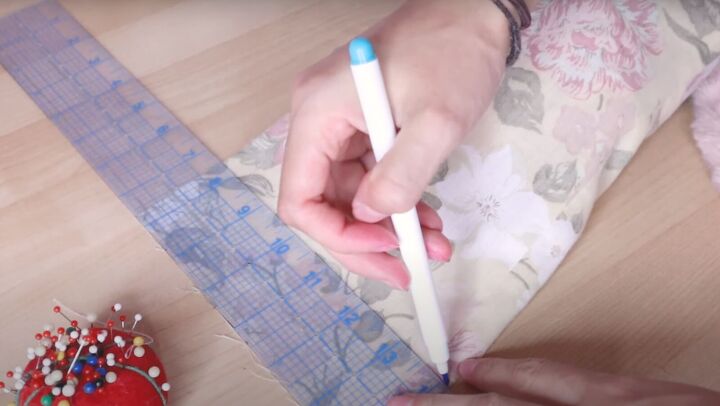
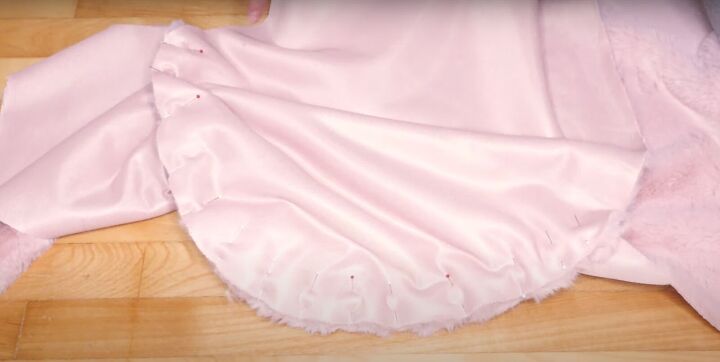
10. Adjust the cuffs
Check the sleeve length for the ideal length for you. Use the ruler to mark the spot.
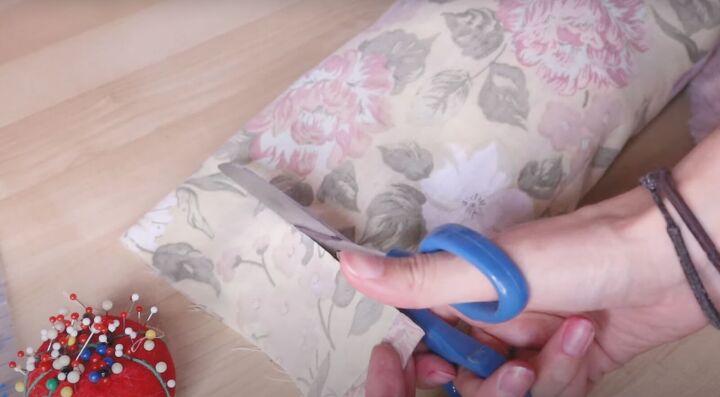
Trim off the excess from the lining only.
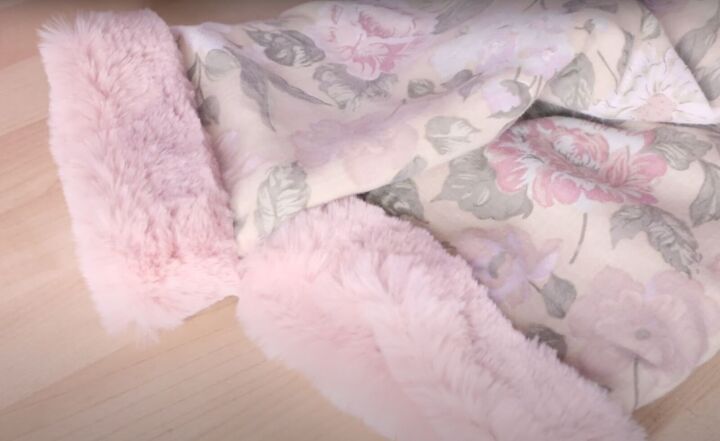
Fold the faux fur towards the wrong side of the sleeve. Hand-sew the cuff.

DIY faux fur coat tutorial
How cozy and pretty is this cute DIY faux fur coat? Please let me know in the comments if you made this, what you think of this tutorial, and what you think of the final result. Keep warm!
The author may collect a small share of sales from the links on this page.


Comments
Join the conversation
SO cute! You're a much better seamstress than I am, though! Perhaps I'll become inspired! Thanx for sharing!