How to DIY Super Glam Summer Orange Nails

Summer calls for vibrant, happy colors, so in this tutorial, I’m going to show you a great summer orange nail design.
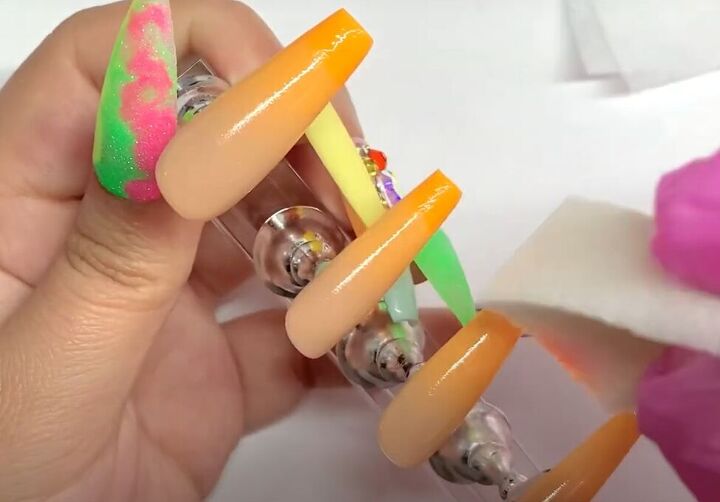
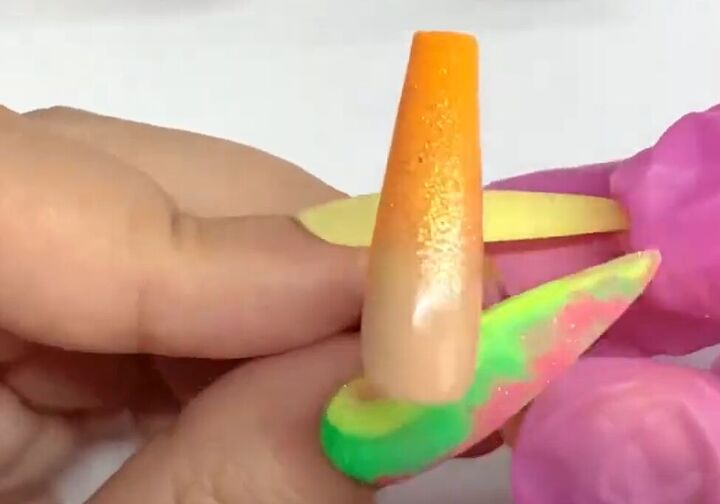
I’ll demonstrate the orange nail design on a set of press-on nails, but you can certainly do this on your own nails as well.
Tools and materials:
- Nude gel nail polish
- Glittery bronze gel polish
- Bright orange gel polish
- Black gel polish
- Clear gel base coat and top coat
- Press on nails (optional)
- Assorted nail polish brushes
- Small makeup sponge
- Mixing paper
- Nail glue
- Assorted rhinestones
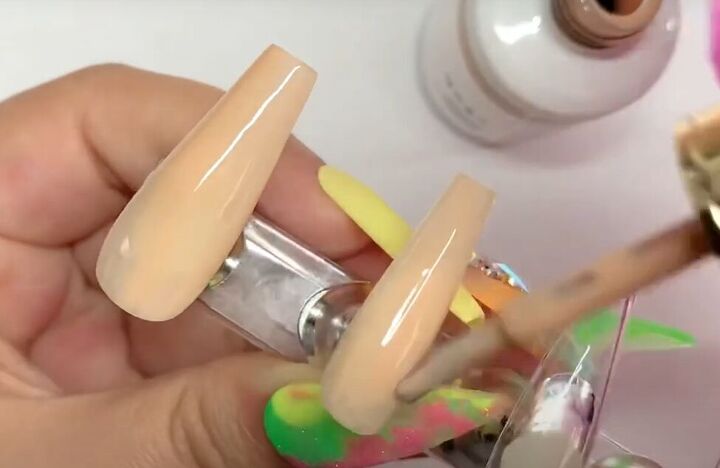
1. Start with your base coat
For your base coat, apply two coats of gel nail polish in a soft nude shade.
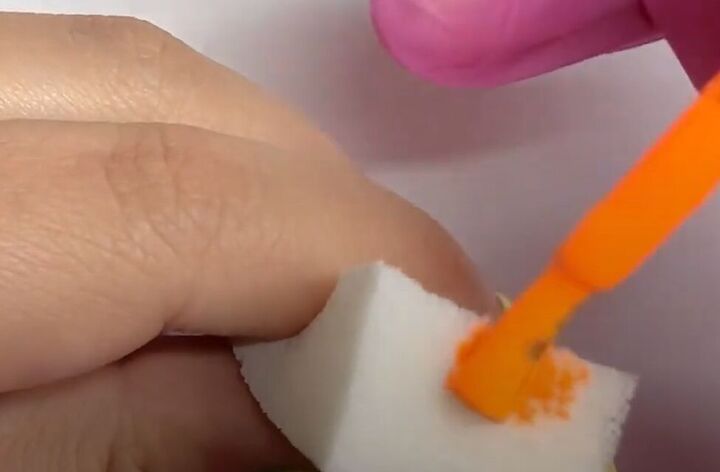
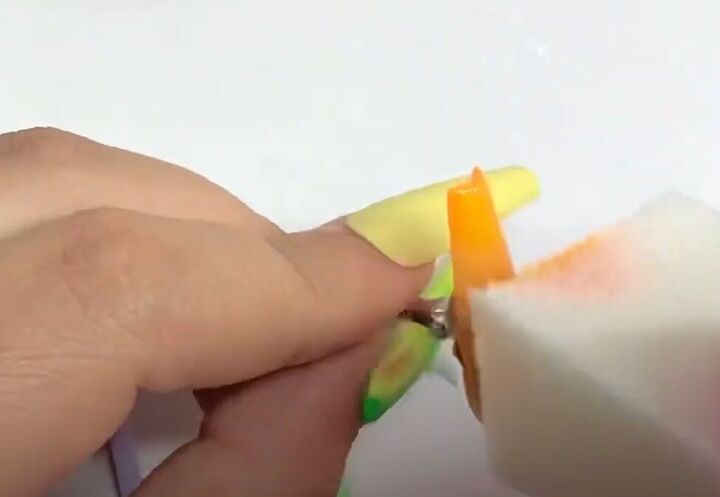
2. Create an orange ombre coat
Apply bright orange gel polish to the end of a small makeup sponge.
Now, tap the sponge on the end of your nails, to transfer the bright orange polish.
Continue using your sponge to blend the orange from the tips of your nails, down to the cuticle end of your nails.
You will need to do several coats of this application to get the full effect of the ombre design.
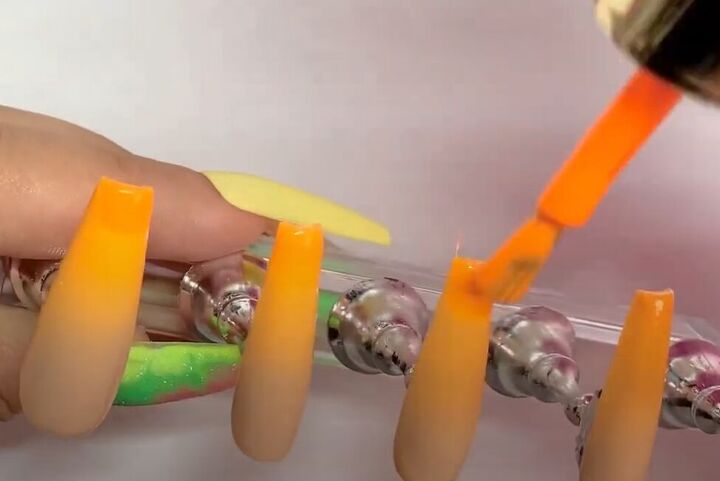
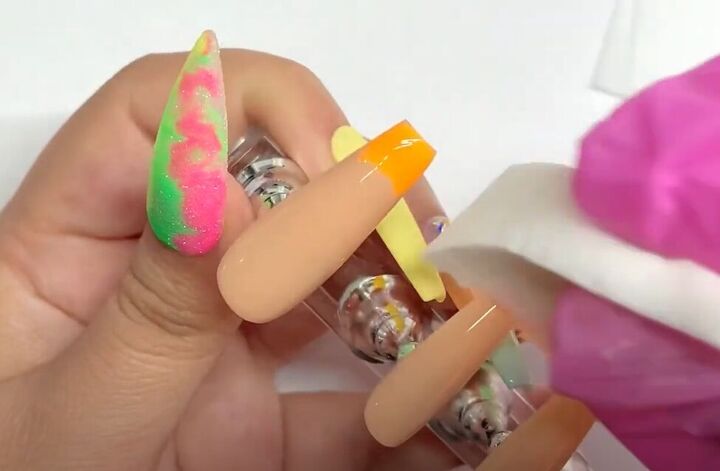
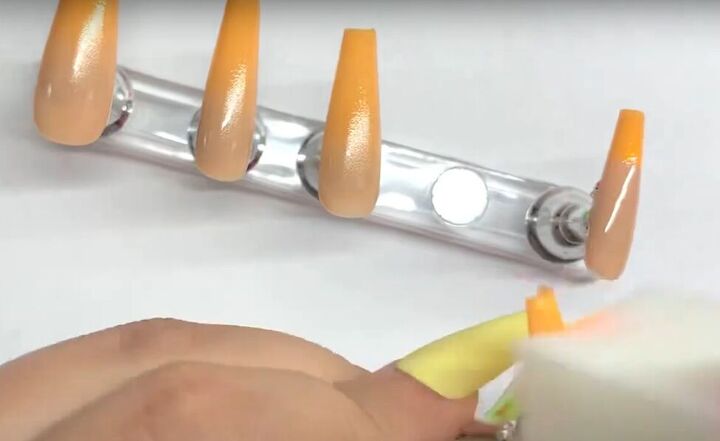
3. Apply one more coat
Using the regular nail polish brush, apply one more coat of bright orange gel polish to the tips of your nails.
Lightly blend it in with your sponge.
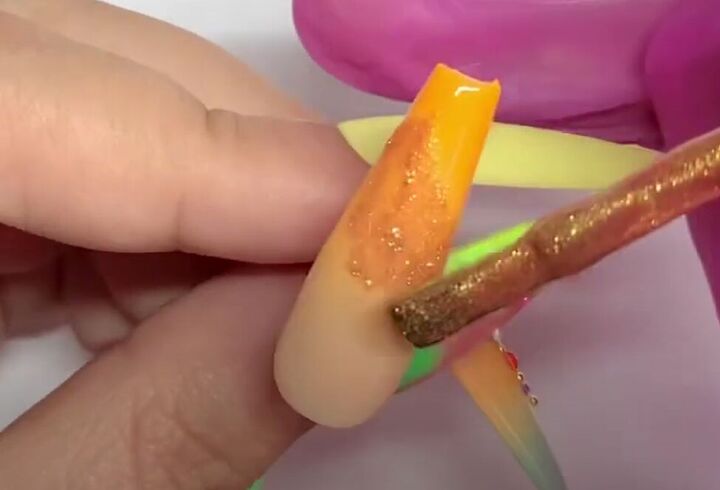
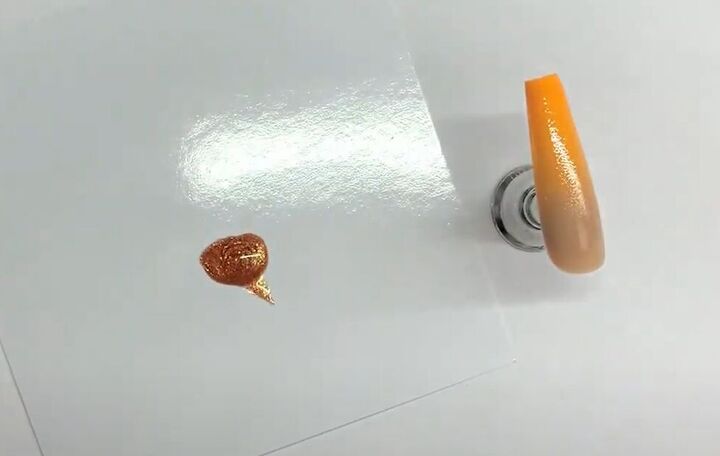
4. Add glitter
Using a shimmery bronze nail polish and the regular nail polish brush, apply some polish to a diagonal area in the middle of your nail.
Tap it with a sponge to blend it out.
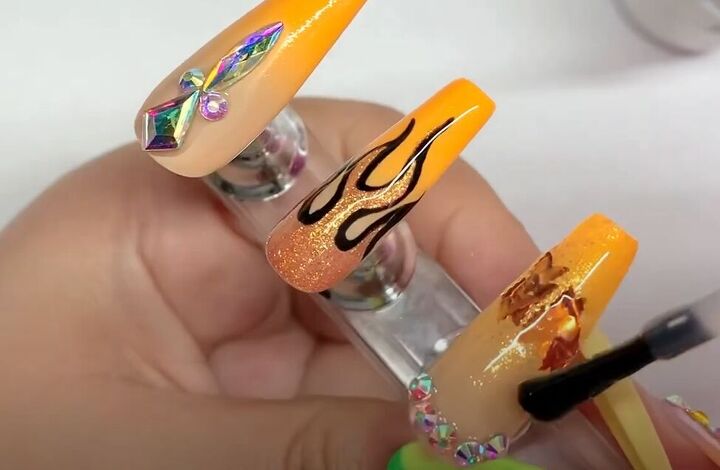
5. Create a flame design
On another nail, put a bit of the same shimmery bronze polish onto some mixing paper.
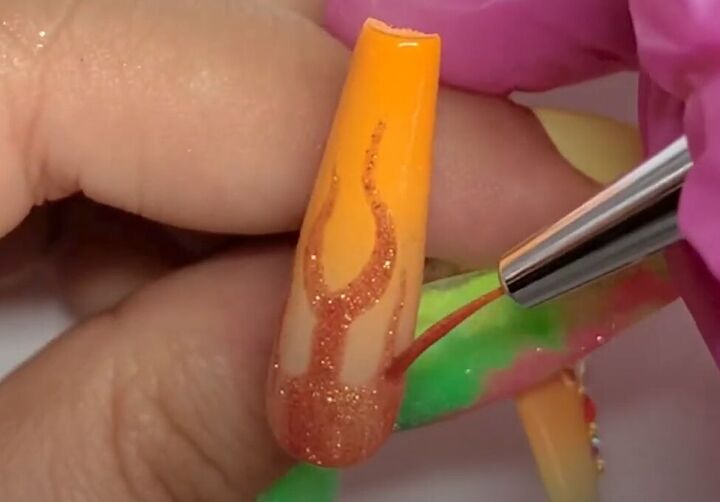
Use a thin nail brush to draw a flame over your ombre-coated nail.
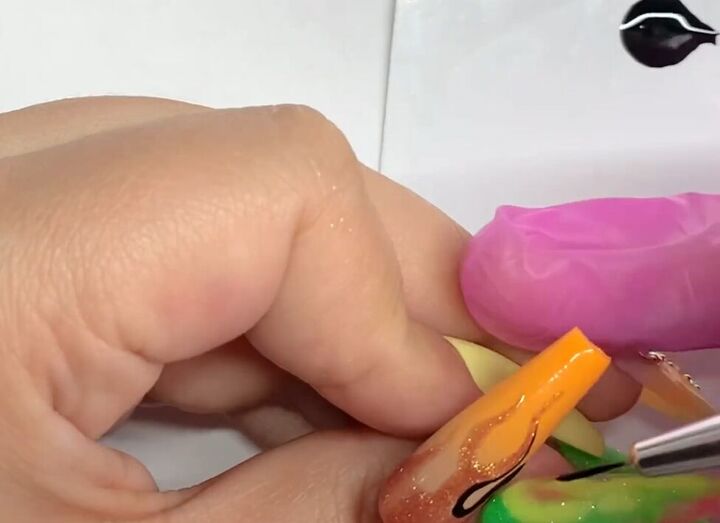
Now use black gel polish from your mixing paper, with a very fine brush, to outline your flame.
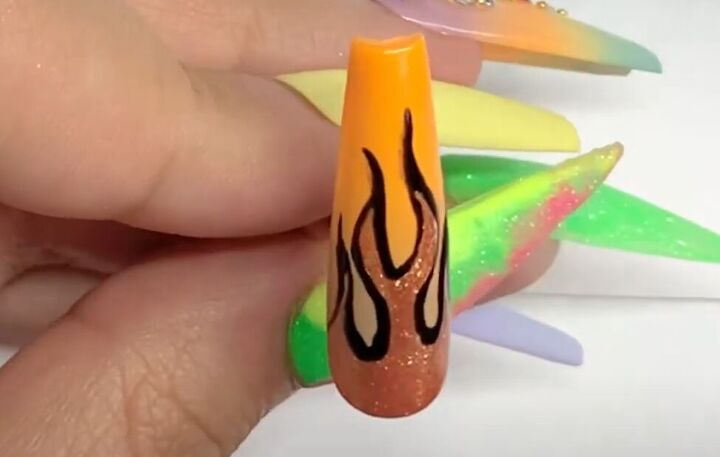
That’s a dramatic design!
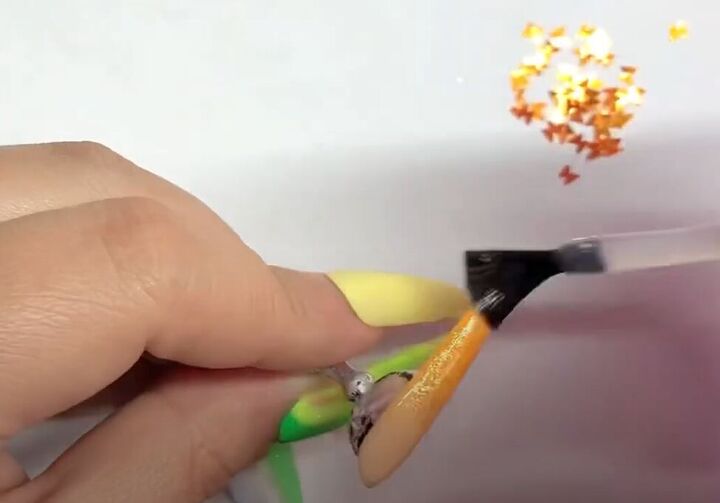
6. Add more detail to your ombre glitter
Apply a thin coat of clear gel base coat to your glittery ombre nail. This thin base coat will act as nail glue.

Use a wax pencil or tweezers to apply small, shiny gold butterfly nail appliques (or other shapes of your choice).
Don’t be afraid to layer the butterflies on top of one another.
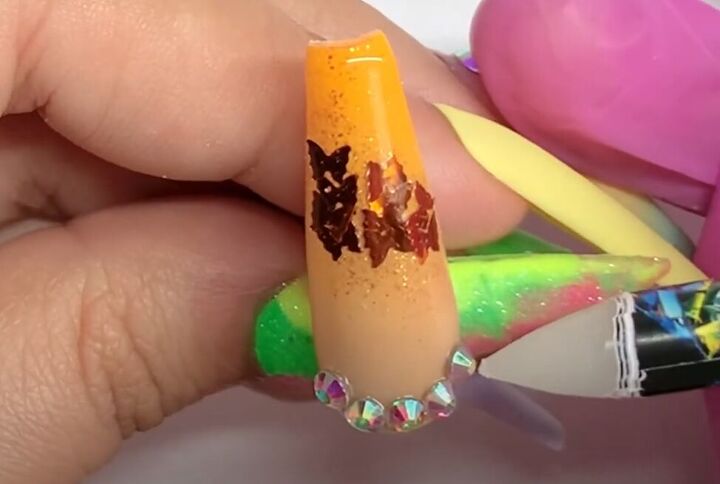
I added some rhinestones to my butterfly nails as well.
If you need to, spray a little nail glue dryer over your rhinestoned nails.
7. It’s bling time!
Now let’s take it up a notch with some larger rhinestones!
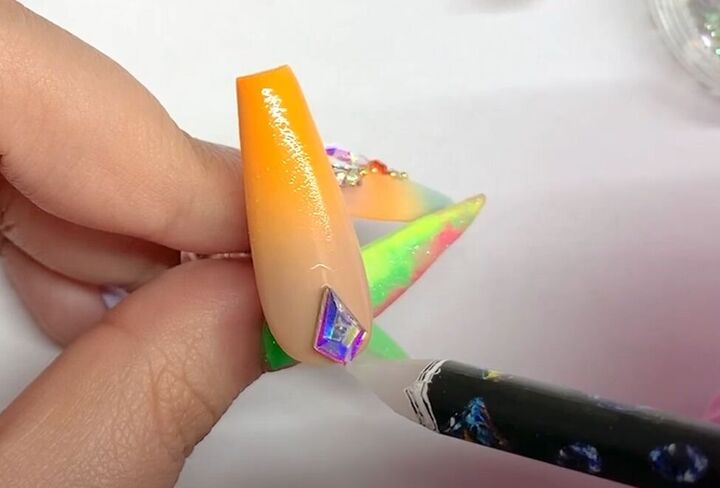
Apply some nail glue to your glittery ombre nail, and add some small rhinestone gems down the center of your nail.
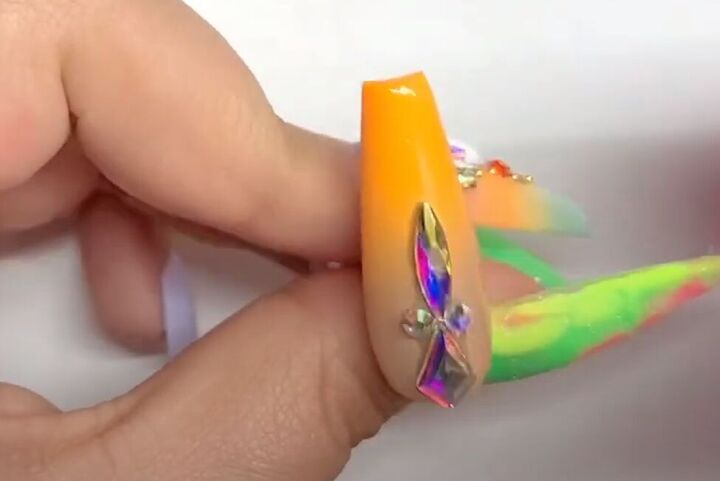
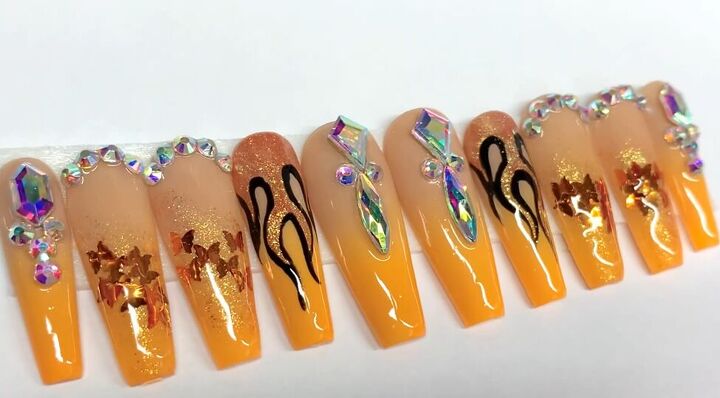
Here is my rhinestone nail design.
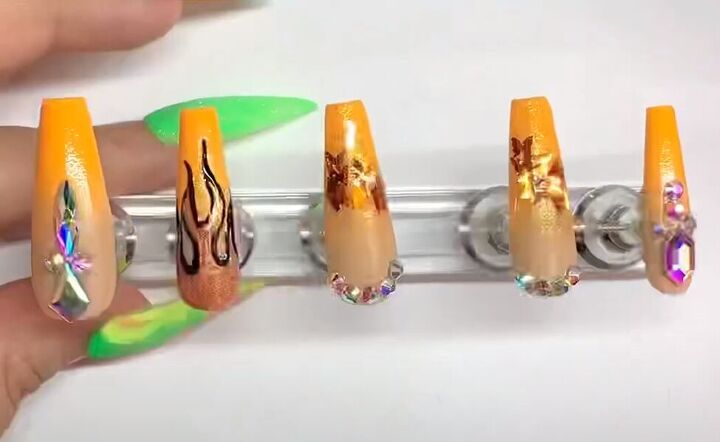
Here is my full set of summer orange ombre nails for one hand.
Over the ombre base, I’ve got one flame, two butterflies with gems, and two rhinestone designs.
8. Finish your nail art
Finish up with a generous application of clear gel top coat.
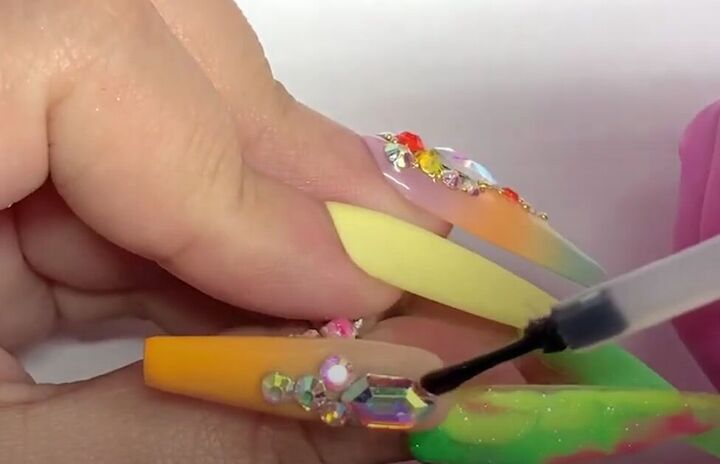
When applying the top coat to your rhinestone nails, apply it around the stones, not over them.
Cure your nails for two minutes.
Make a matching set for your other hand, and you’re ready to press-on your gorgeous bright orange summer nails.
Leave a comment to let me know how you like this summer nail art design, and if you tried it yourself.
Check out my post on How to DIY Cute Pink Ombre Nails at Home.
The author may collect a small share of sales from the links on this page.


Comments
Join the conversation