How to DIY Cute Spring-Summer Orange Nails

Hey guys. I can’t wait to show you these gorgeous spring summer orange nails. I love bright and fun nails, especially for the warmer seasons.
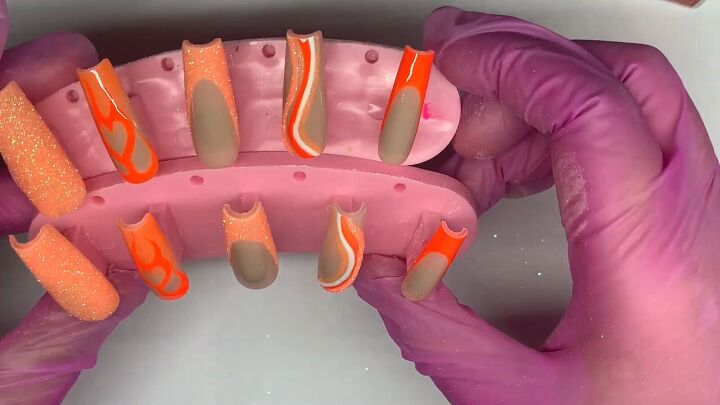
This look has a lot of variety and texture. Each nail has a slightly different design, which gives the look a lot of character.
Tools and materials:
- Long Sculpted Square Full cover nails
- Neon orange gel polish
- Creamsicle gel polish
- White gel polish
- Nude gel polish
- Orange nail glitter
- Long detail brush
- Medium detail brush
- UV lamp
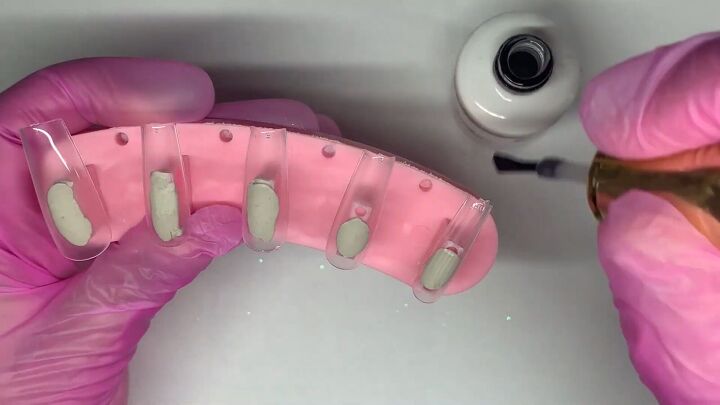
1. Base coat
To start off, apply a base coat to all of your nails. I am using some long sculpted nail tips.

2. Base color
For my base color, I’m using a beige color called cozy cashmere. It’s one of my favorite nude colors.
Apply this color to all the nails except for the thumb nail. Once that first coat is done, go ahead and add a second coat.
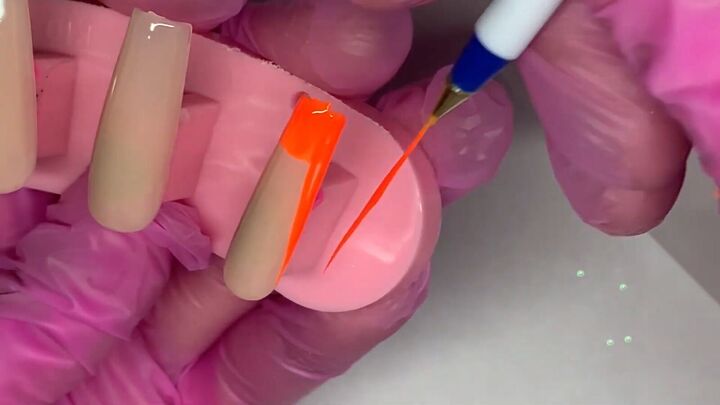
3. Neon orange
Now you can go ahead and apply your color. I’m using this really fun neon orange because I think it’s a great color for spring and summer nails.
Apply some of the color to the tips of your nails. Put some of the color on a mixing paper and use a very long detail brush to draw in your French tips.
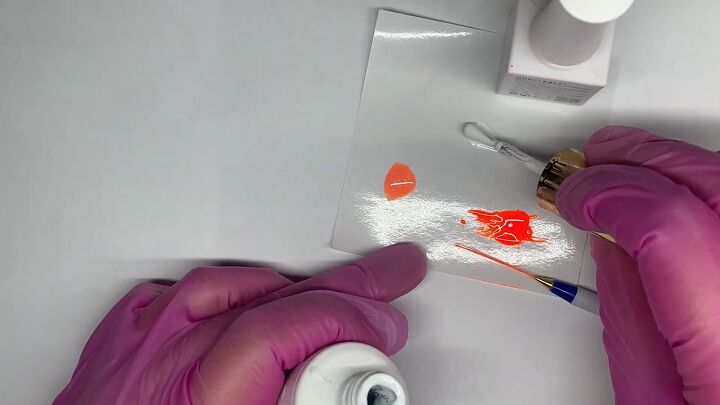
4. Creamsicle
The next color I’m using is Creamsicle.
Add that color to your mixing paper. Put some white on your mixing paper as well. The white I’m using is called baby powder.
You’re going to be using a combination of these colors to create a swirl on the nail.
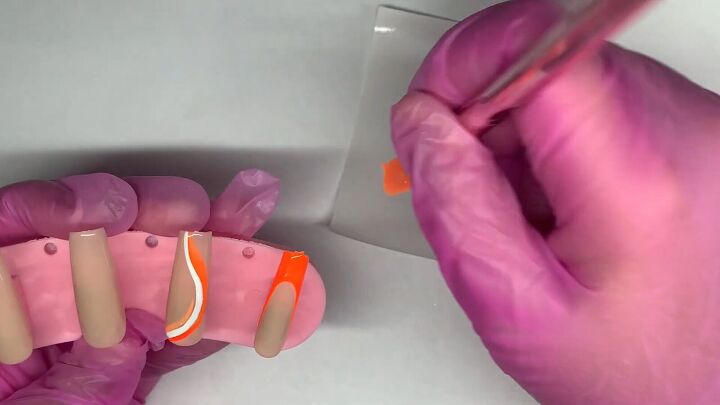
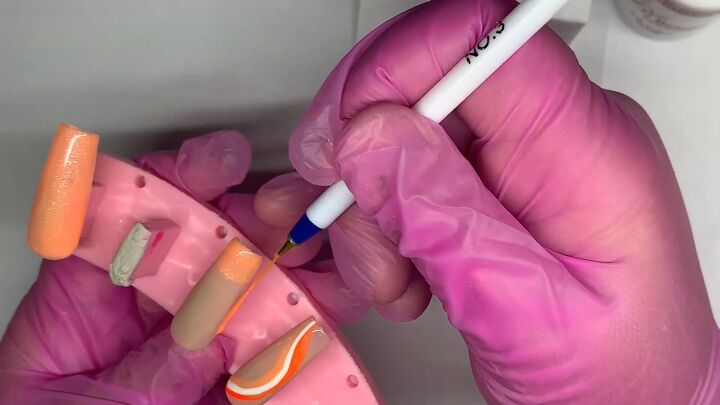
5. Create swirl
Use a shorter detail brush to create the swirl on your nail. I started with a neon orange swirl and then added a white swirl next to it.
Then I added two Creamsicle color swirls. I added one next to the white and a second on the other side of the neon orange
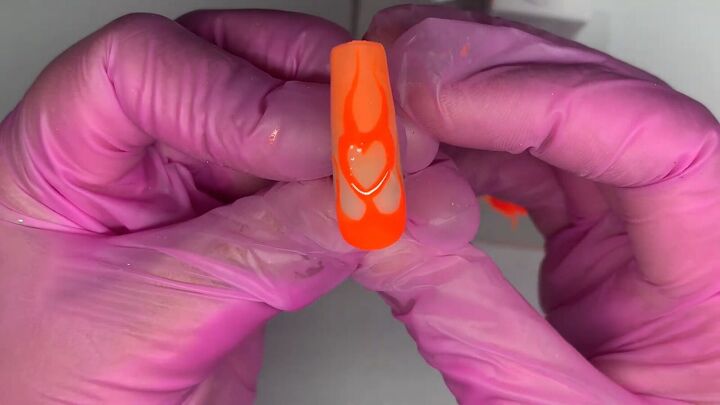
6. Ombre with flaming heart
For the index finger we’re going to create an ombre effect using a sponge. Take a small sponge and deep it into the neon orange.
Then, starting at the tip, create the ombre effect by laying the color on heaviest at the top and letting it fade to the base coat towards the bottom of the nail.
Apply a topcoat to all of the finished nails.
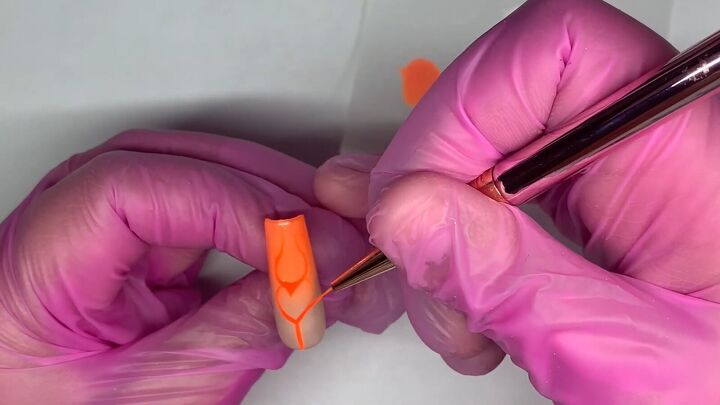
Then we’re going to add a design to the ombre nail.
We’re going to make a flaming heart. Using the neon orange, start painting a vertical line up from the center of the bottom of the nail.
Have that line extend out into a heart shape with some flame-like lines going from the top of the heart to the tip of the nail.
Take your time with this part so you can get the details to look just how you want.
You can also add some flames at the base of the nail, beneath the heart, around the vertical line. Add some topcoat once you’ve finished.
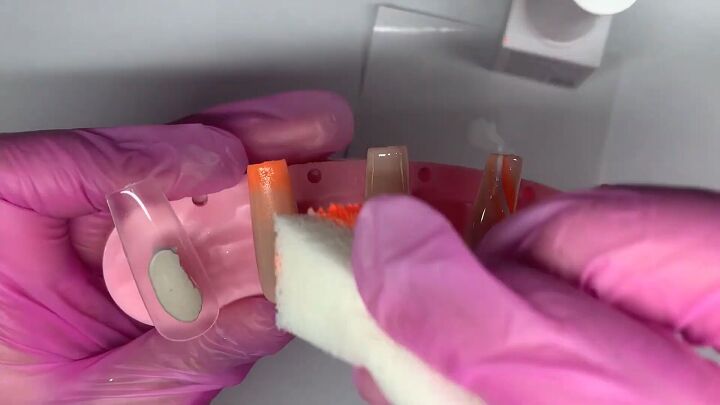
7. Orange glitter
For the thumb nail, apply the Creamsicle color to the entire nail.
Don’t cure that because we’re going to be putting a glitter overlay on top of that nail. Then use the Creamsicle to create a French tip on the middle fingernail.
Don’t cure that either because we’re going to be applying glitter to that as well.
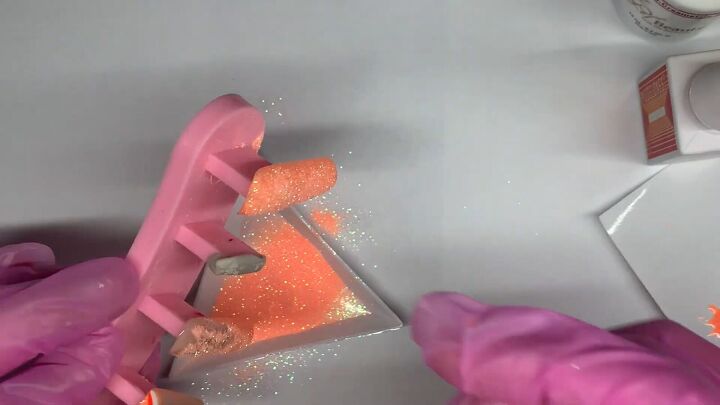
Sprinkle your orange glitter over the wet nail polish. Make sure everything is well coated with the glitter.
Once you’ve added the glitter to all the wet spots on your nails, you will cure that in your UV lamp for a minute.
8. Final steps
After a minute under the UV lamp, take your nails out. Make sure to get off any excess glitter. Then you’re all done!
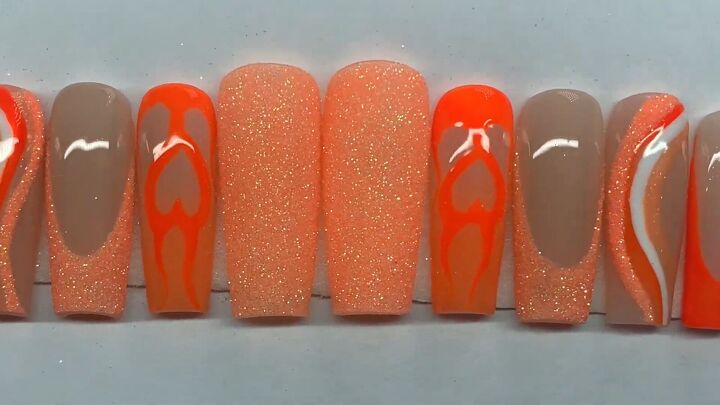
DIY spring summer orange nails
How gorgeous do these nails look? I hope you guys like them as much as I do.
Please leave me any questions or comments you have in the comments section.
Check out my post on How to DIY Cute Pink Ombre Nails at Home.
The author may collect a small share of sales from the links on this page.


Comments
Join the conversation