How to DIY Cute Spring Flower Nails

In this nail tutorial, I’m going to show you a spring flower nails design.
We’ll be using various techniques including ombre and sugar coating and we’ll also be adding some fun nail flowers and rhinestones. This nail design will be sure to bring a smile to your face so let’s jump on in!
Tools and materials:
- Base coat
- Nail polishes (pale pink, bright pink, blue)
- Cosmetic sponge
- Top coat
- Glitter
- Nail flowers
- Rhinestones
- Nail adhesive
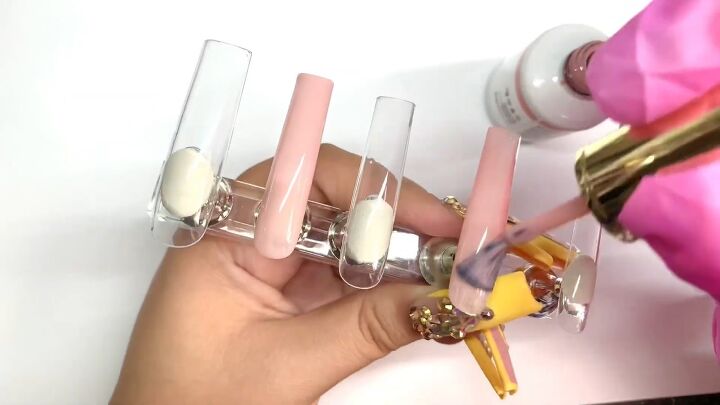
1. Apply base coat
Apply a pale pink colored nail polish for the base.
I'm going to be applying this to the index finger, ring finger, and middle finger.

For the thumb and pinky finger, I’m going for a bright pink shade.
The nail polishes I’m using are very highly pigmented, so I don’t need to apply two coats of polish (you can apply two coats, though, if your polish is less pigmented).
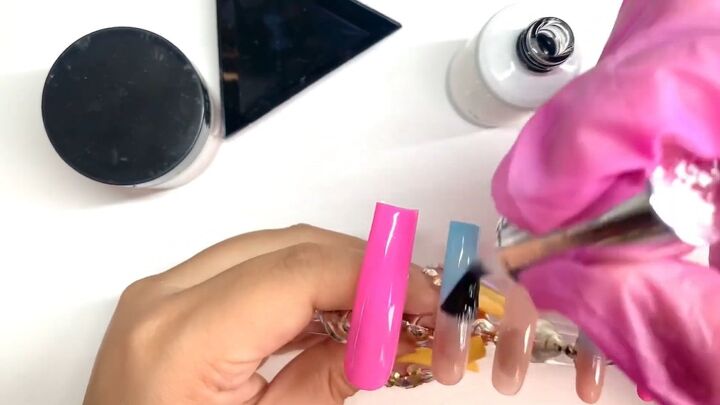
2. Create an ombre effect
I decided I wanted to ombre the index finger and the ring fingernail, so I went in with a really beautiful blue color.
I'm applying it to the very tips of the nails and I'm going to ombre it out with my cosmetic sponge.
You essentially want to tap the bottom of the blue polish so that it blends in with the pink and creates a seamless look.
I repeated this process so that after I’ve blended out the blue polish, I apply more blue polish to the top of the nail and tap that with the sponge again, although a little less than the first time.
Continue until you are happy with the intensity of the color.
For a more in-depth tutorial on how to create an ombre effect, check out How to DIY Cute Pink Ombre Nails at Home.
3. Apply top coat
Once I’m done with the ombre, I'm going to go ahead and apply a thin layer of matte top coat to the ombre nails.
Apply a shiny top coat to the middle fingernail. Cure the nails when done.
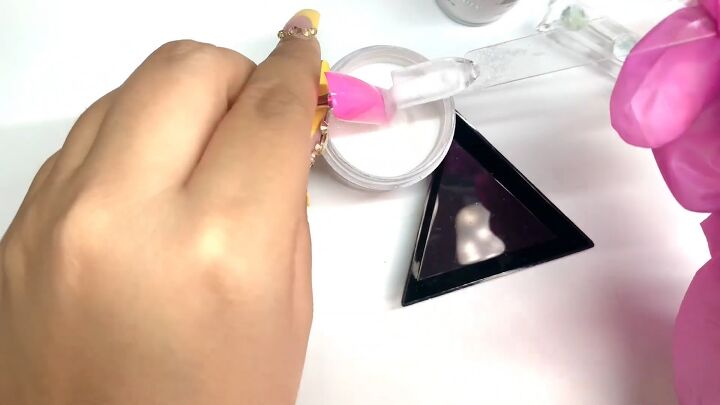
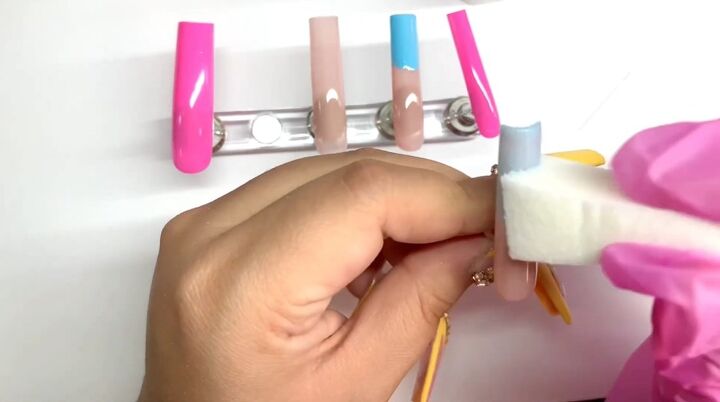
4. Apply glitter
Next, apply the same top coat over the thumbnail and the pinky nail, but don’t cure it when done because we’re going to sugar these nails.
What I mean by that is we’re going to pour acrylic glitter on top of them. Make sure the nails are fully coated with this glitter.
Once done, cure the nails and then take a fluffy brush and brush off the excess glitter.
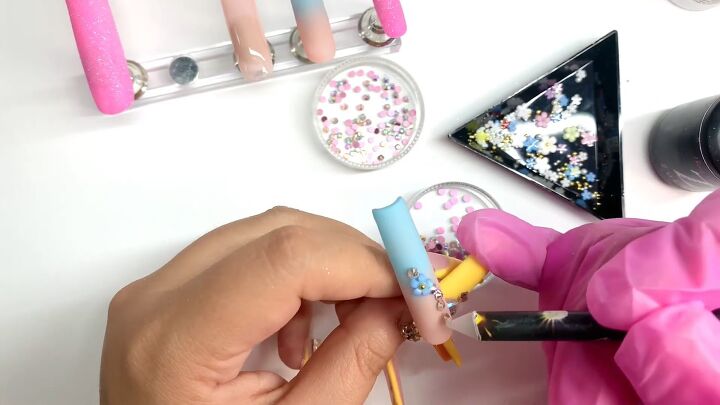
5. Add nail art
Place some nail adhesive on certain parts of the two ombre nails. Then place the flowers and rhinestones on top in whichever design you want.
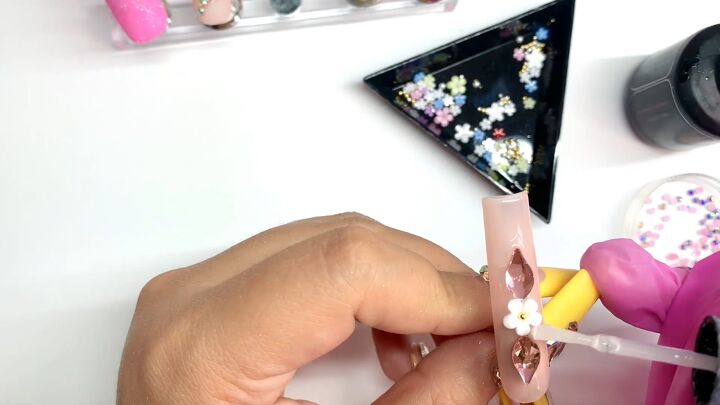
On the middle nail, I placed some larger rhinestones and flowers.
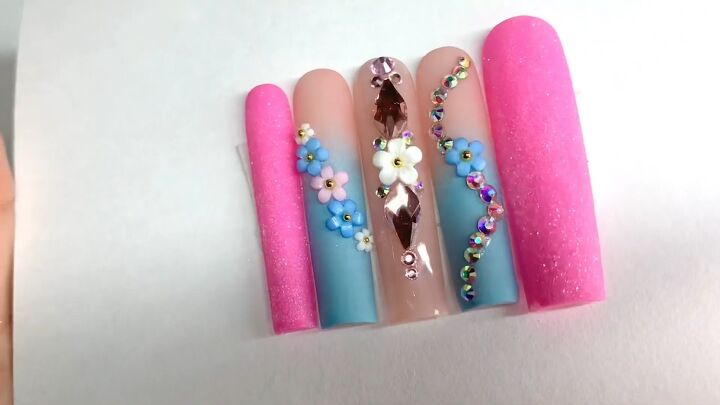
DIY spring flower nails
Here are the finished nails and I absolutely adore them. The bright pink nail varnish with the sugar coating is just gorgeous.
The ombre effect on the index and ring fingers looks smooth and seamless and the pink and white flowers tie in with the background colors.
The large rhinestones on the middle finger add some fun bling to the look.
Which nail is your favorite? Leave a comment down below.
The author may collect a small share of sales from the links on this page.


Comments
Join the conversation