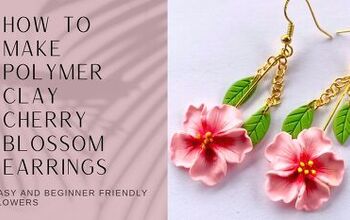
How to DIY Cute Blossom Earrings for Spring

If you love working with polymer clay, check out this tutorial for making polymer clay flower earrings.
These blossom earrings would make a unique gift and they’re perfect for spring!
Tools and materials:
- Purple, pink, brown, white and yellow polymer clay
- Tissue blade
- Dotting tools
- Roller
- Soft pastels
- Nail sander
- Liquid polymer clay
- Five in one tool
- Needle tool
- Cookie cutters
- Varnish
- Pasta machine
- Jump rings
- Earring posts
- Pliers
- Super glue
- Extruder tool
- Paper towel
- Small paintbrush
- Rubbing alcohol
- Cotton swab
- Jewelry drill
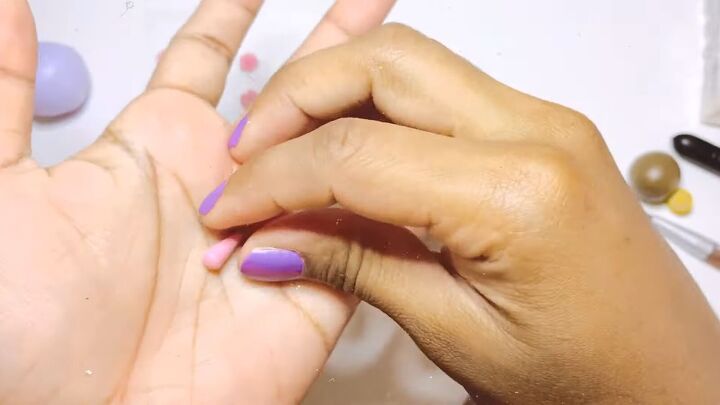
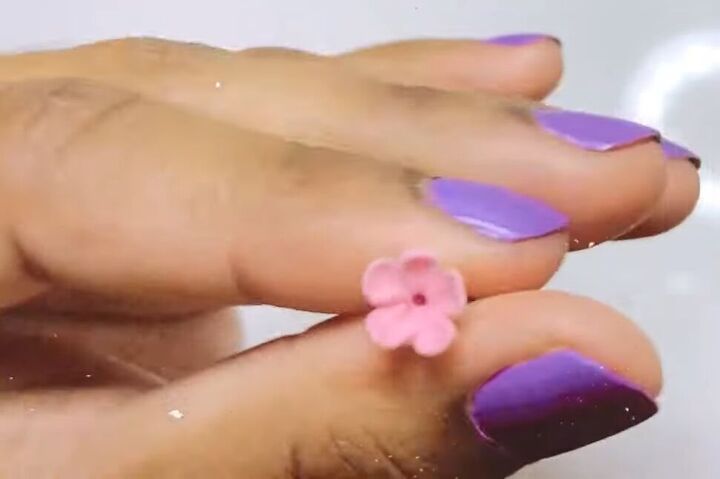
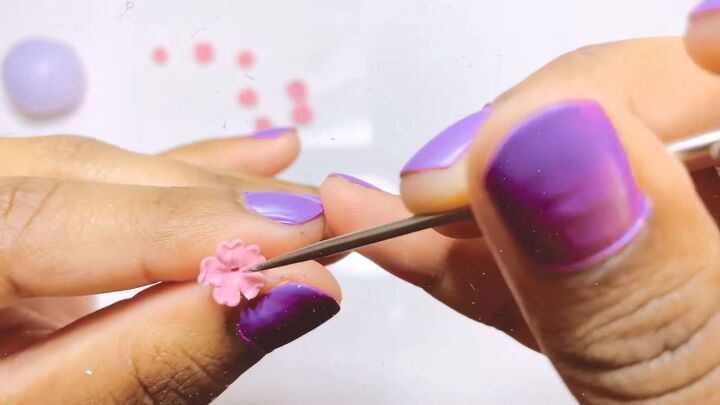
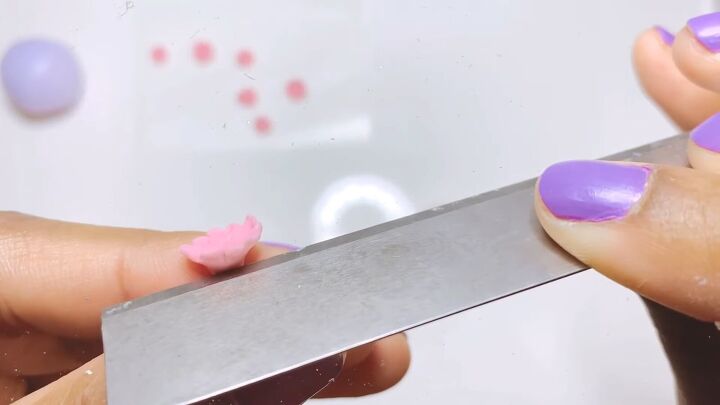
1. Make pink petals
Use a small piece of pink clay to create a teardrop.
Keep the top of the teardrop fairly flat. Section it into 5 equal parts with your sheet blade.
Next, extend the lines on the sides of the teardrop.
Now, use the dotting tool in a rolling motion to push out the clay to create flatter petals.
Keep working on it to make fairly equal petals.
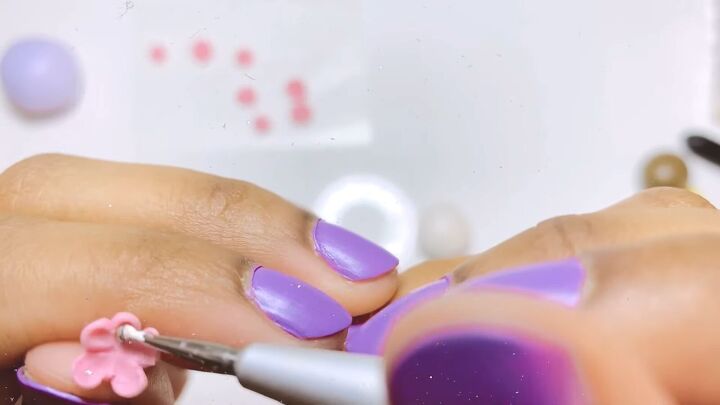
Then make a shallow hole in the middle.
Next, use the needle tool to create a dent at the top and middle of each petal.
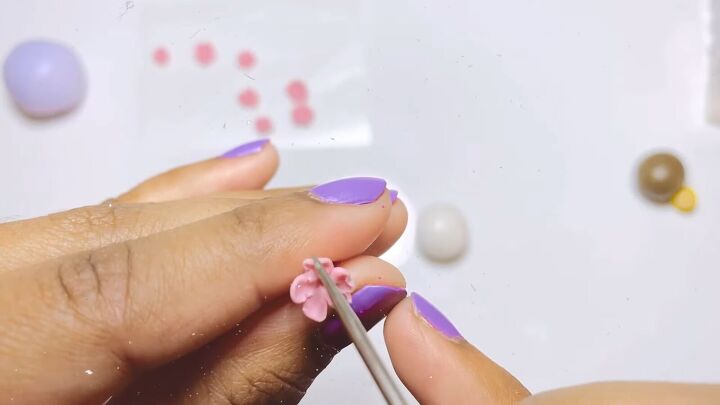
Use the same tool to make some scoring on each petal for texture.
Finally, cut the excess clay as close to the base of the flower as possible.
Continue this technique to make both white and pink flowers.

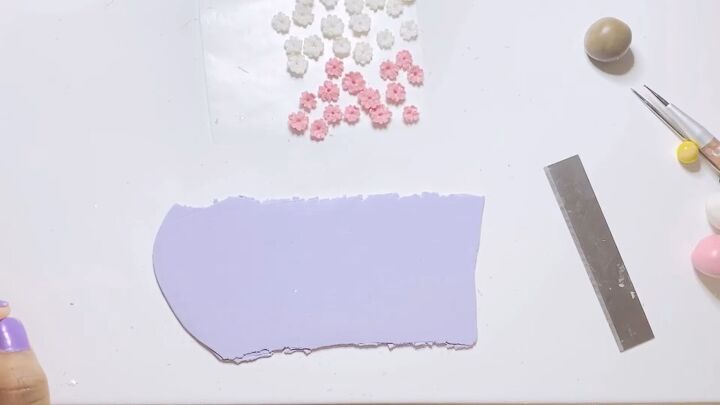
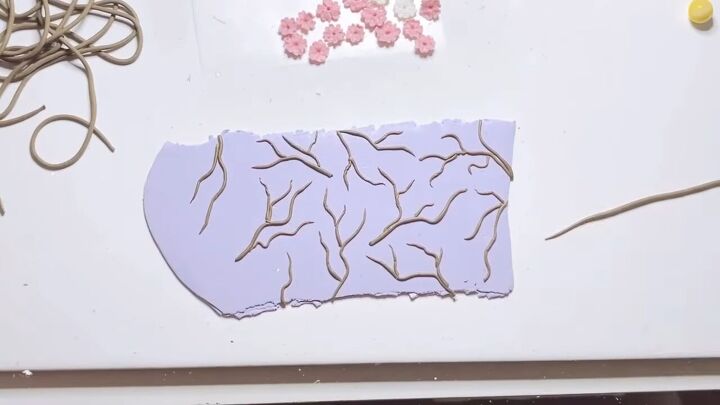
2. Make background pieces and branches
Once you have a bunch of white and pink flowers, flatten a piece of the purple clay in the pasta machine on the 4th biggest setting for the background color.
Put the brown clay through an extruder tool to make the thin pieces for the branches.
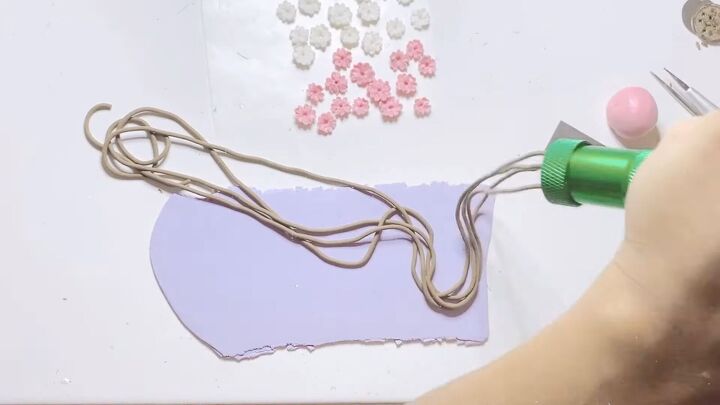
My ropes of clay were still too thick for the branches. If that’s the case for you as well, thin them out with your fingers and begin placing it on the background color.
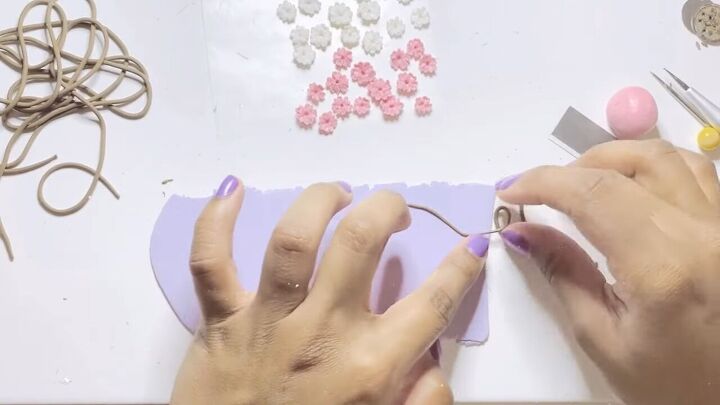
Continue to free hand a branch pattern, lightly pressing them on to the purple base, maneuvering them into place with your dotting tool and cutting off the excess.
3. Attach the flowers to the base
After the sheet is covered with branches, begin placing your flowers. Be sure to push the flowers slightly so they will stay attached.
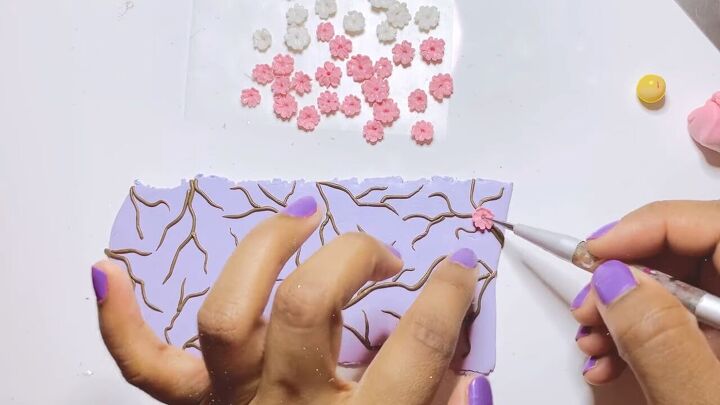
You might run out of flowers, so just make more as you go.
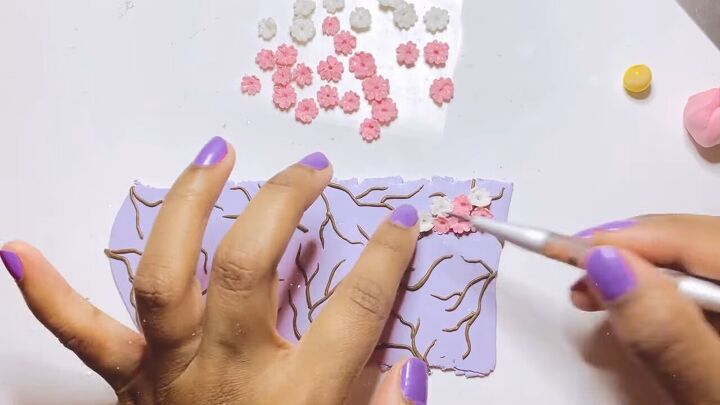
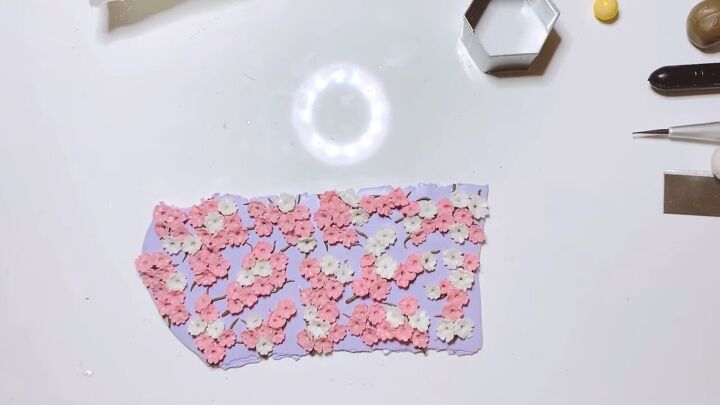
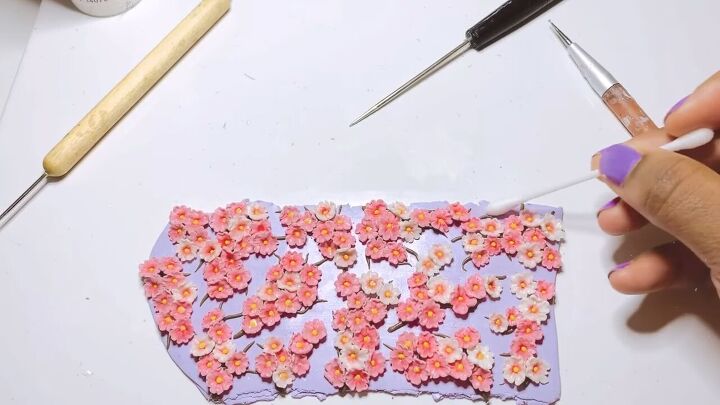
Finally, cover the whole sheet with flowers:
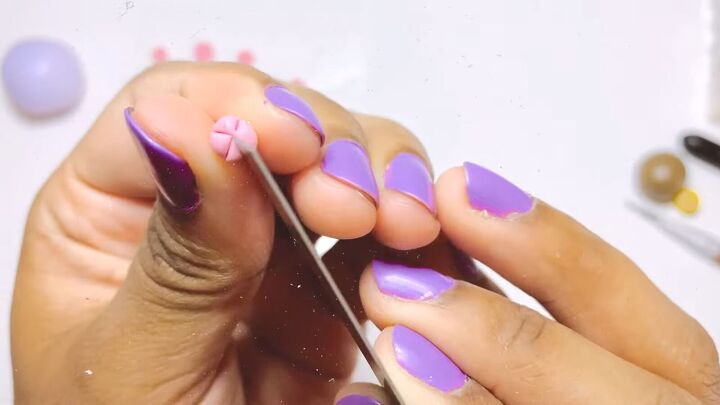
4. Shade the flowers
Use your blade to shave off some red and white pastel colors onto a paper towel.
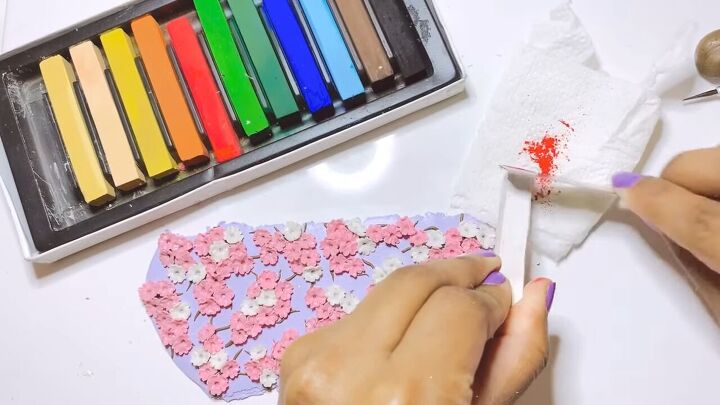
Then combine them for a nice pink shade using a small, dry paintbrush.
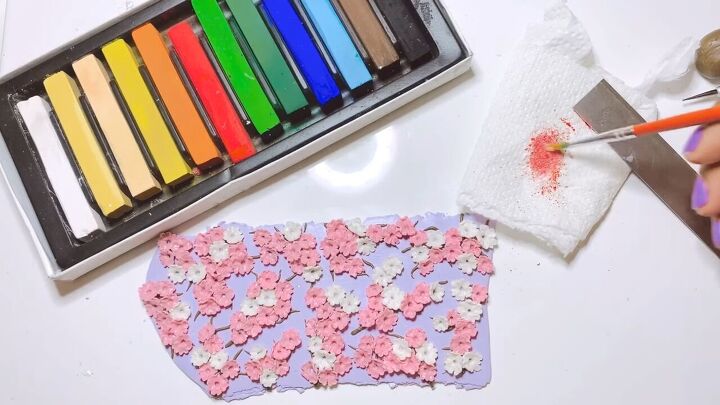
Now apply the shading to the middle of the flowers.
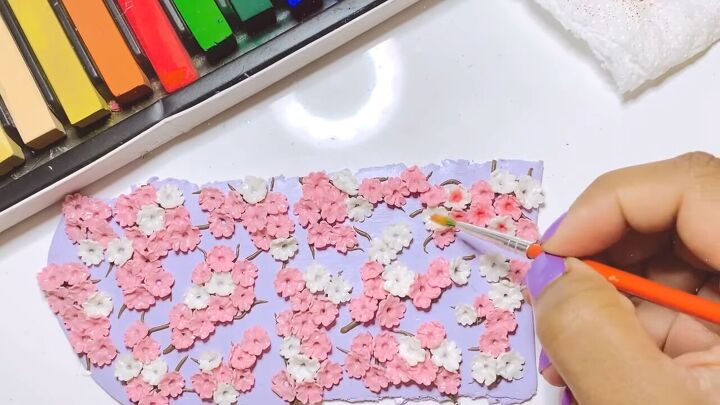
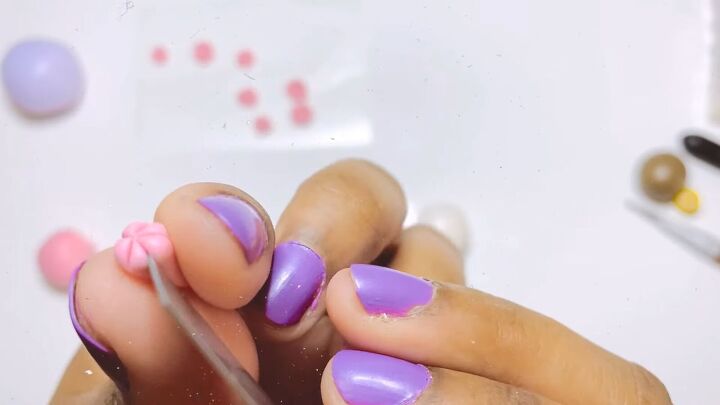
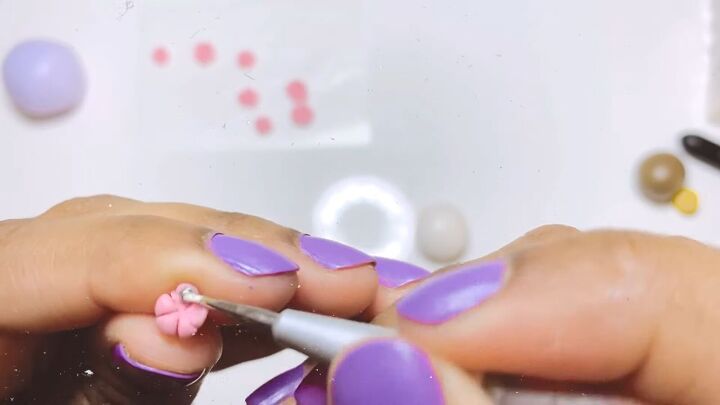
5. Add pistils to the centers
Create tiny yellow balls of clay.
Squirt a bit of liquid clay adhesive on the side and pick some of it up with the needle tool to apply it to the center of a flower.
Then attach a yellow ball to the adhesive. Repeat for each flower.
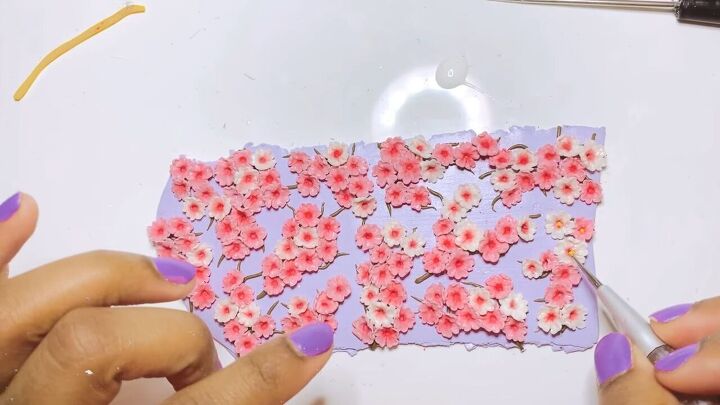
Once all the pistils are attached, use a cotton swab dipped in rubbing alcohol to pick up any lint from the clay.
6. Cut shapes and bake
Next time I would cut the shapes first before attaching the branches and cherry blossom flowers!
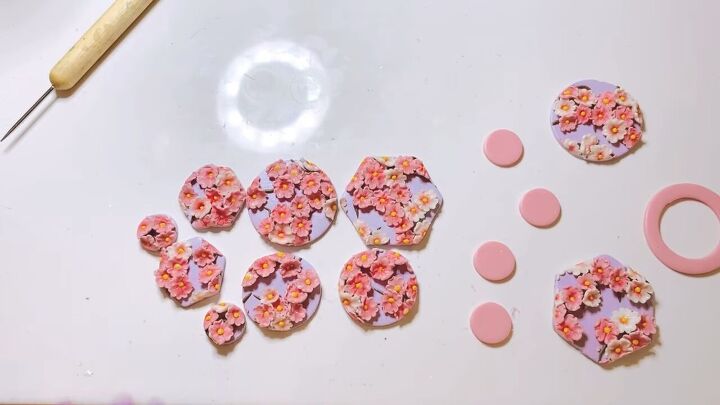
Using a cookie cutter, carefully cut out shapes from the flower slab.
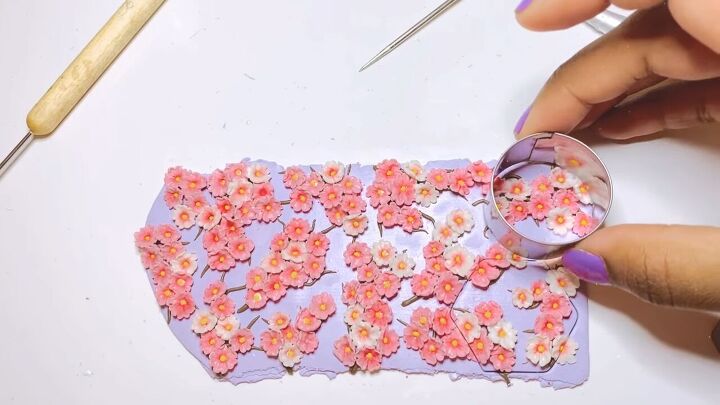
It’s starting to look really beautiful!
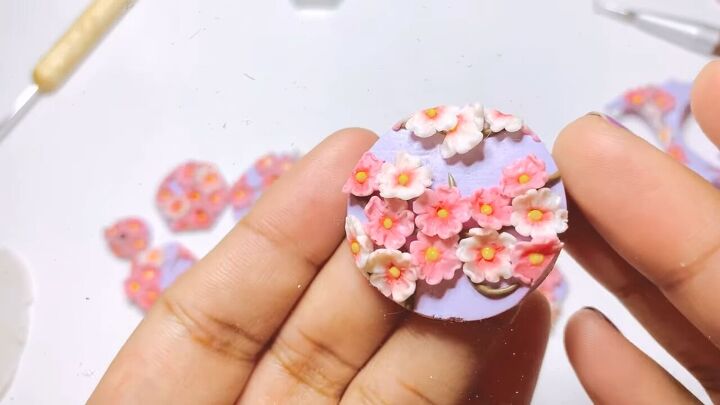
Feel free to fill in any larger gaps with more flowers. I made some plain pink circles and hoops to add to the earrings later.
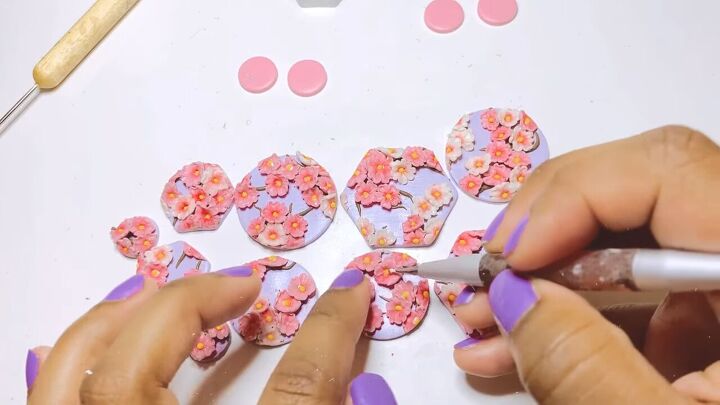
Then, bake your pieces in the oven for about an hour at 225 degrees fahrenheit.
If this is your first time working with polymer clay, I recommend testing out some extra pieces first until you find the ideal temperature and time for your oven.
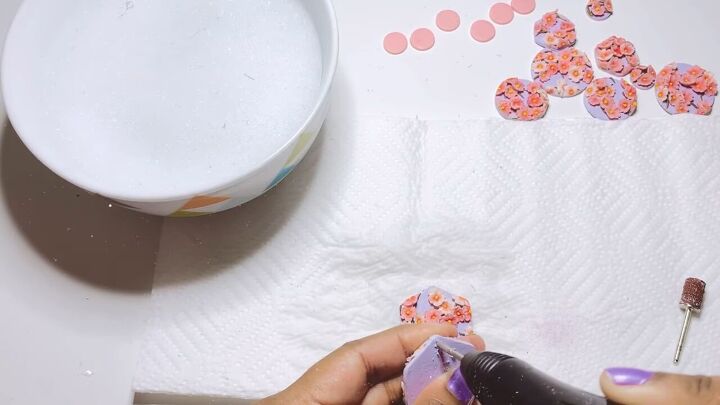
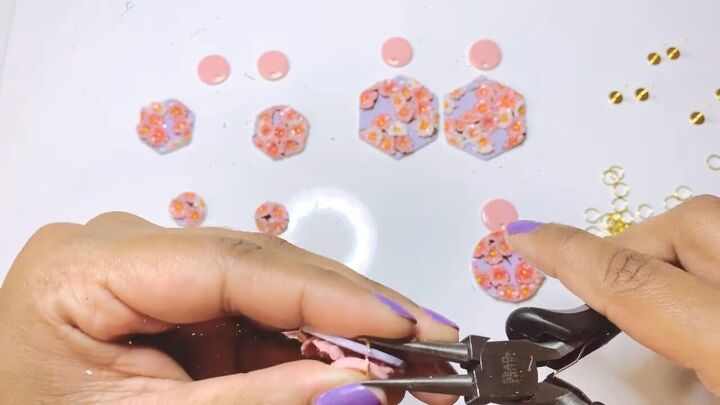
7. Sand your pieces and drill holes
Wet your shapes and use a nail sander to sand the edges.
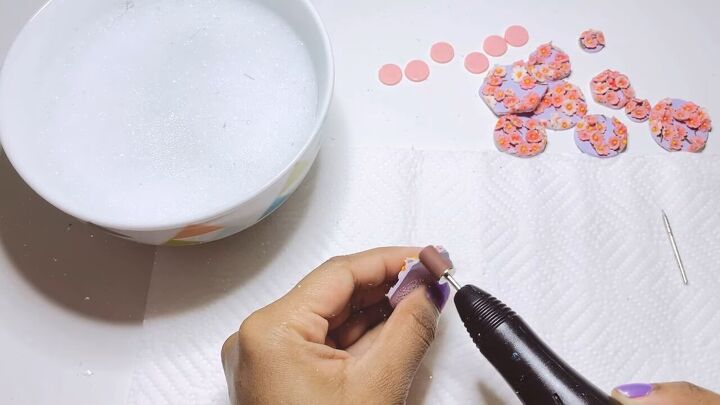
Then, drill the holes for the jump rings.
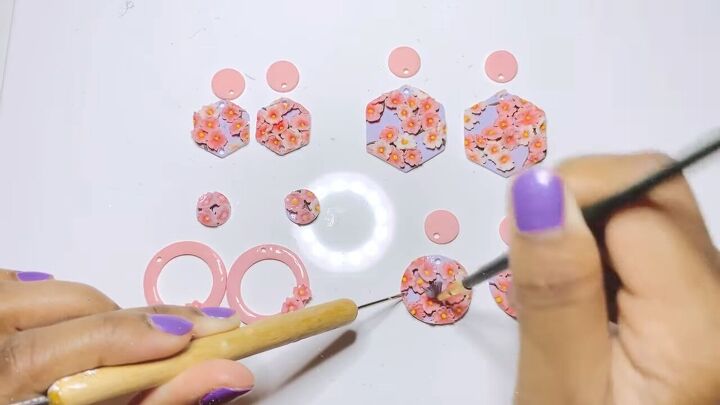
8. Glaze
Hold each shape gently in place with a needle tool while using a small, soft paint brush to apply glaze.
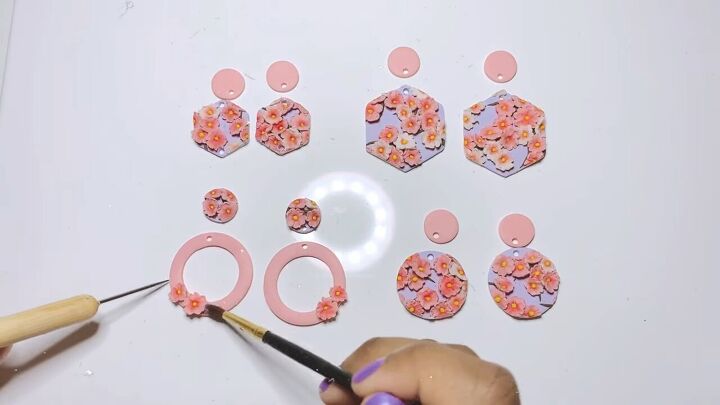
Make sure you cover all the nooks and crannies with glaze.
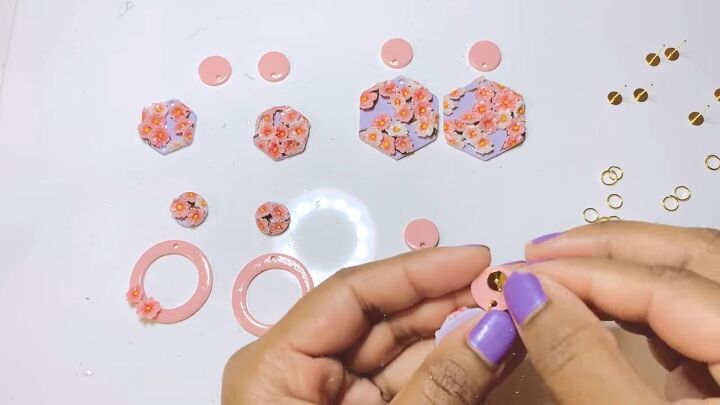
9. Attach earring hardware
Assemble all earring pieces with jump rings, opening and closing them with pliers.
Then, use super glue to attach the earring posts to the back side of the shapes.
Here is the final result of these adorable, polymer clay flower earrings:
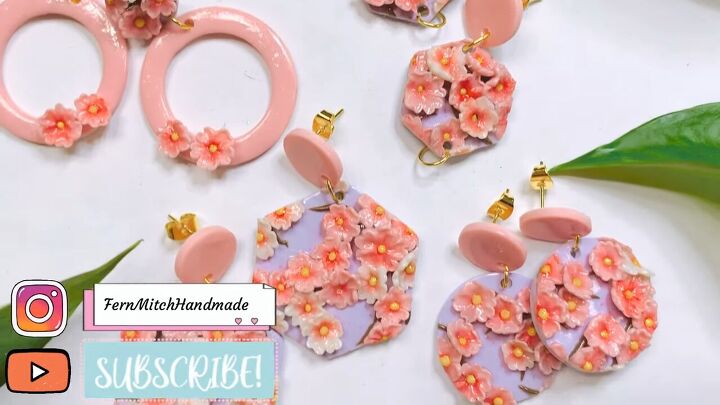
DIY blossom earrings
I hope you enjoyed this blossom earrings tutorial! They would complement a feminine, spring outfit or make a lovely gift.
If you liked this tutorial, leave a comment and check out how to make these monstera leaf earrings next.
The author may collect a small share of sales from the links on this page.


Comments
Join the conversation