How to DIY Cute Blossom Earrings

Learn how to make these gorgeous, polymer clay blossom earrings in honor of spring and the cherry blossom festival!
Just follow along with my step-by-step tutorial for these DIY polymer clay earrings.
Tools and materials:
- Tissue blade
- Dotting tools
- Roller
- Light pink, green and yellow polymer clay
- Soft bristled paintbrush
- Pastel colors
- Liquid polymer clay adhesive
- Circle cutters
- Five in one tool
- Needle tool
- Pasta machine
- Pliers
- Eye pin wires
- Tweezers
- Utility knife
- Earring hardware
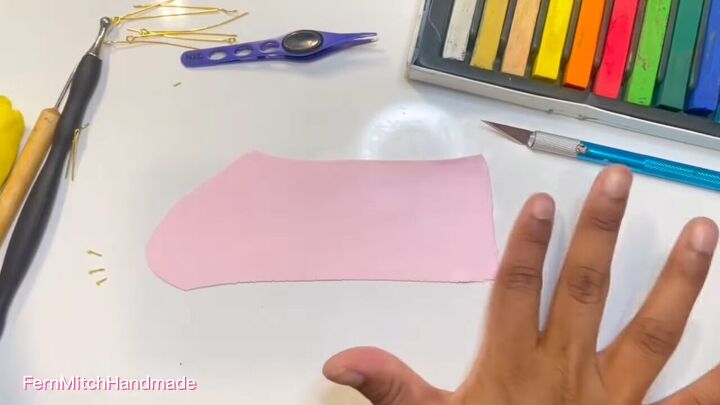
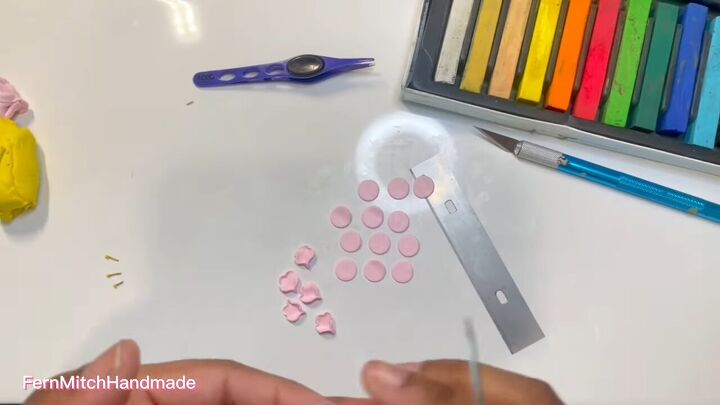
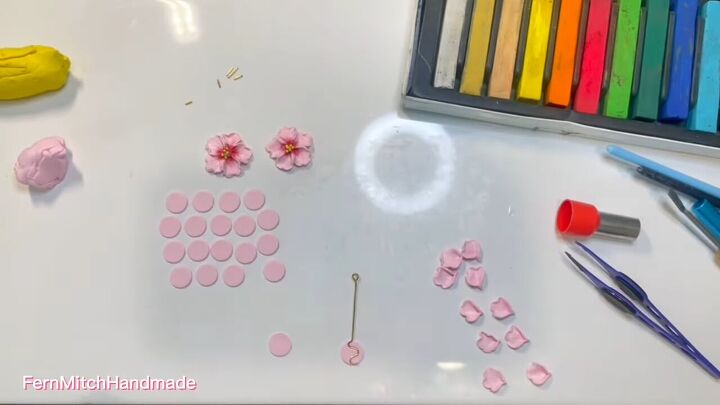
1. Flatten pink clay and make circles
Flatten a section of pink clay at a medium thickness in the pasta machine.
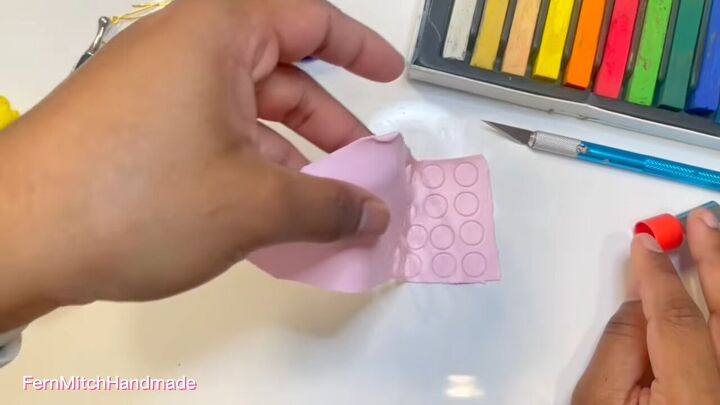
Next, use your circle cutter to cut out about 20 light pink circles for the petals and the base of the flowers.
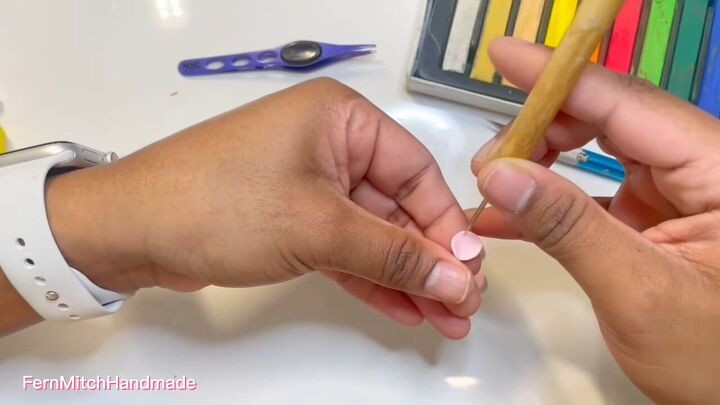
2. Make petals
Now, take one of the circles and lightly pinch it at the bottom.
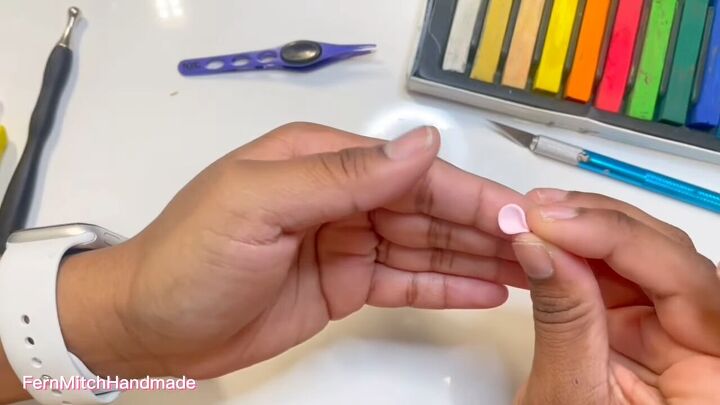
Then, using a mid-size ball tool, give the top of the petal some stretch by gently rolling it there.
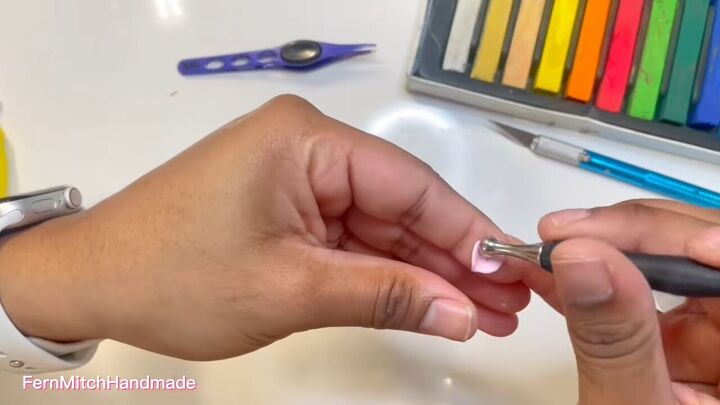
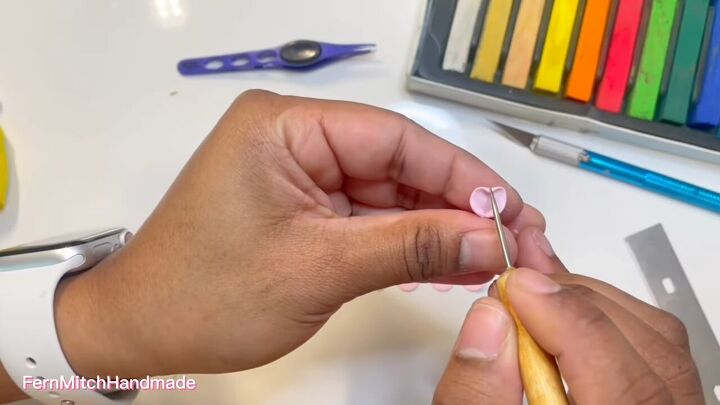
Next, score the middle of the petal from the base outward with a needle tool for an organic looking texture.
Use the needle tool again to pinch some small ruffles on the perimeter of the petals. Some can go inward and some outward.
Repeat this process to make a total of 5 petals for each flower earring.
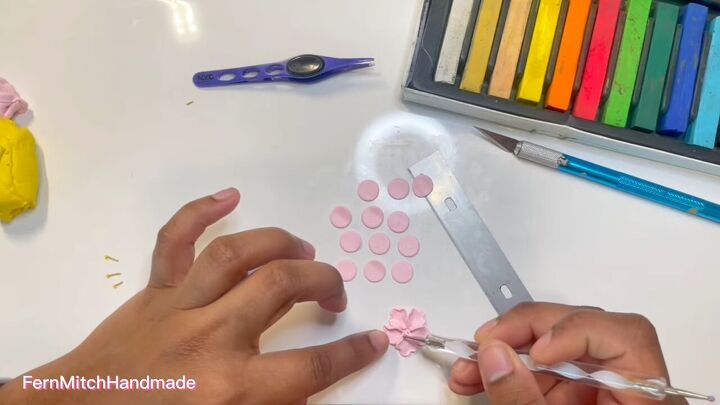
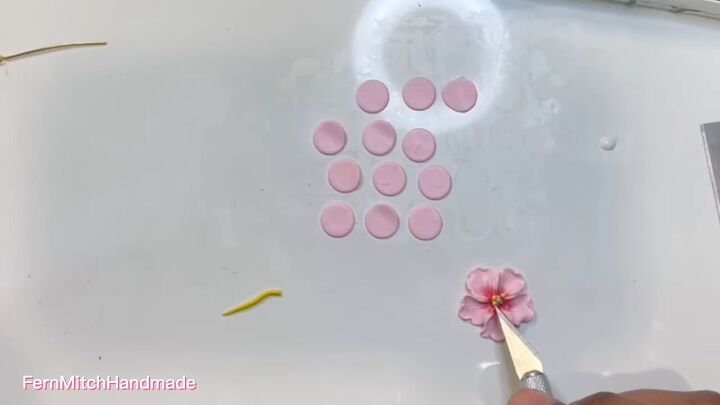
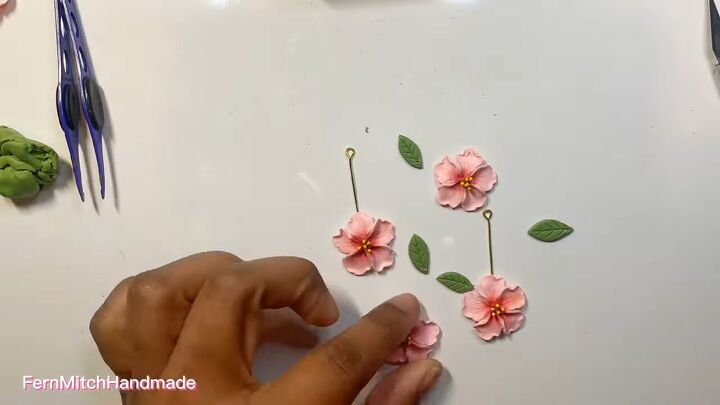
3. Assemble the flowers
Start with one of the plain pink circles that you didn’t turn into a petal to use as the base.
Use a small ball tool to gently pick up each petal and lightly press each around the base.
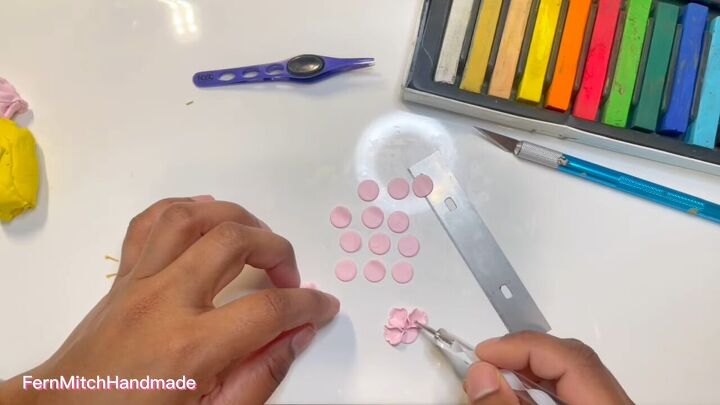
Once each is in place, use a small ball tool to lightly blend the joints of each petal together at the center.
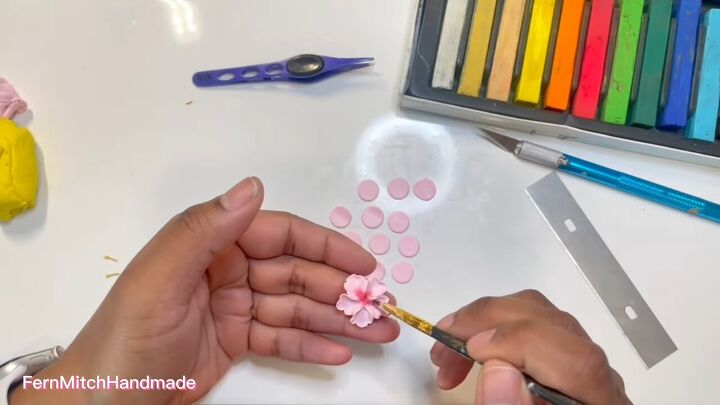
4. Add color in the center of the flower
Next, with a small, soft bristled paintbrush, add a bit of red pastel color to the center of the flower.
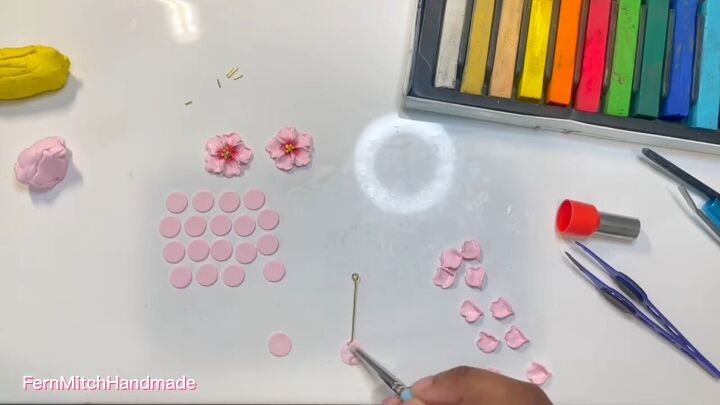
5. Add wire pieces at the center of the flower
Put a dot of clay adhesive in the center of the flower.
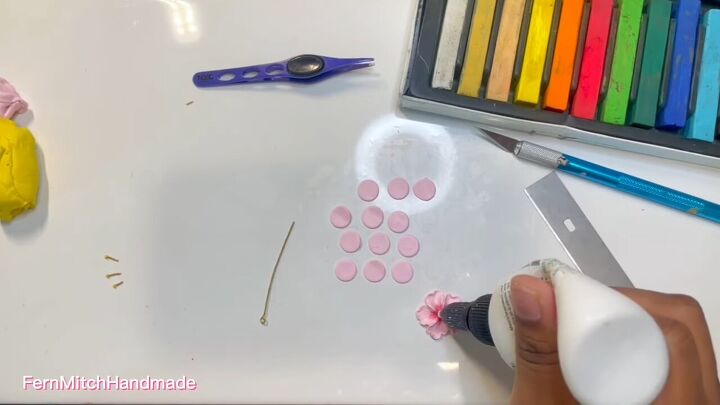
Cut about 5 pieces of thin wire and place them in the glue using a pair of tweezers. Push the wire slightly into the glue.
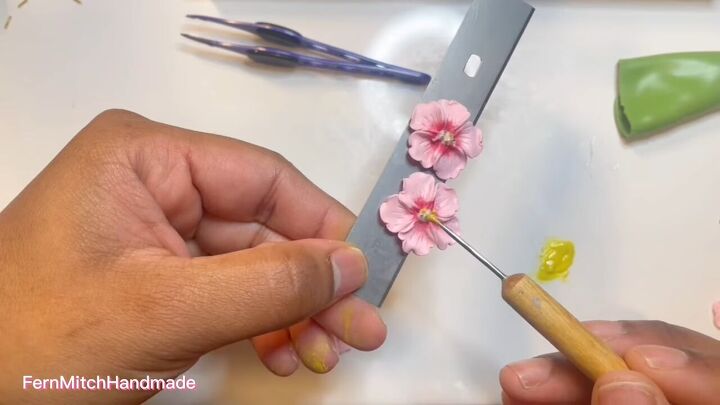
6. Add yellow balls
Roll tiny balls of yellow clay. Add a generous amount of adhesive to each wire to attach a yellow ball to each.
Use your blade or tweezers to assist in transferring the balls.
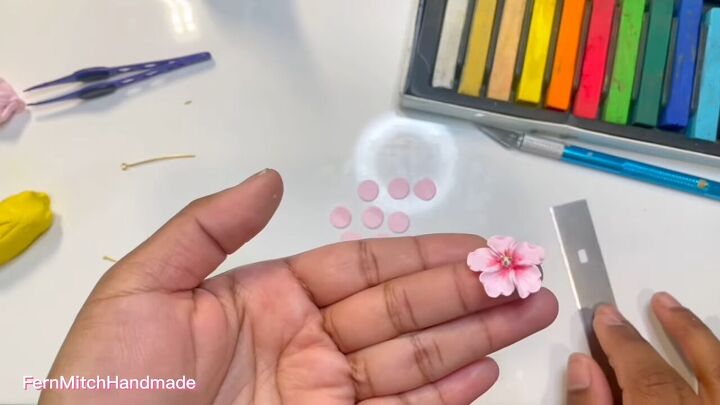
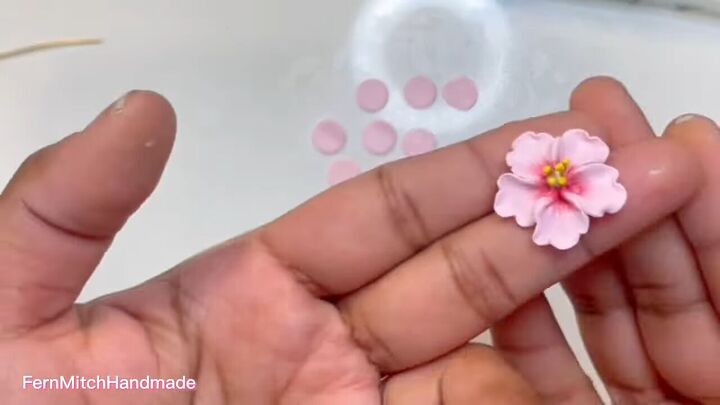
Here’s a closer up look at the center of the cherry blossom:
For an alternative way to create the center of the flower, see the video at 5:05 -6:10.
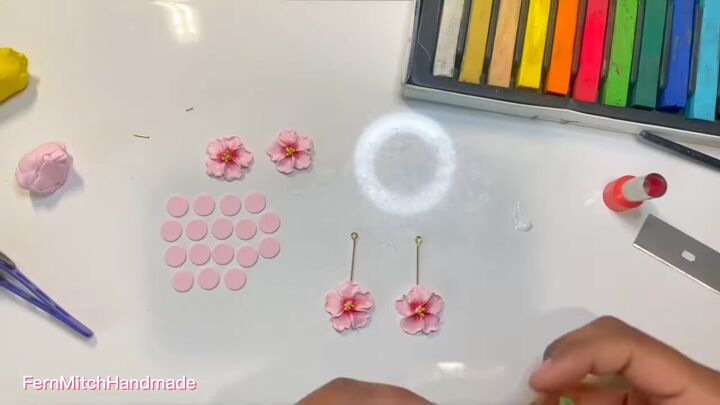
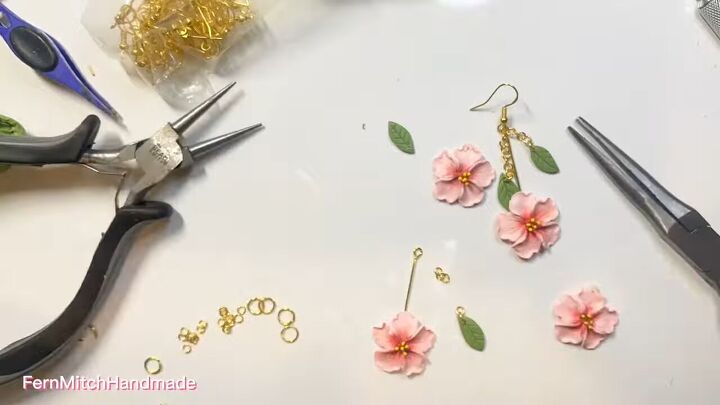
7. Attach eye pins
Use pliers to alter the shape of the eye pin, as seen below. Then embed the eye pin into a plain pink circle.
Cover the embedded end with a generous amount of adhesive, spreading it on with a small paintbrush.
Make 2 of these, then attach your flowers to the adhesive.
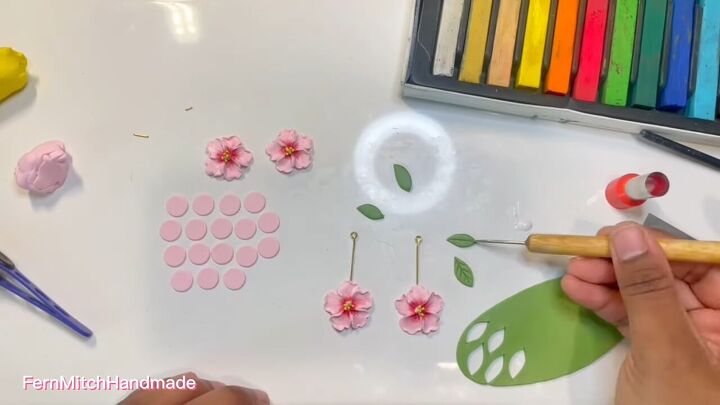
8. Make leaves
Flatten a piece of green polymer clay in your pasta machine.
Then, use a utility knife to cute out leaf shapes. Add veins to the leaves using a needle tool.
9. Bake
Bake the flowers and leaves in the oven at 275 degrees fahrenheit for about an hour.
10. Attach earring hardware
Let the clay pieces cool off completely.
Then drill holes in the leaves to add the earring hardware. Use pliers to help you open the jump rings and hold each piece.
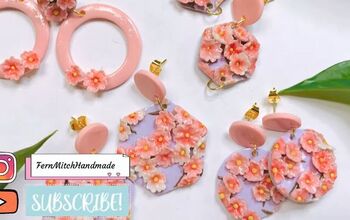
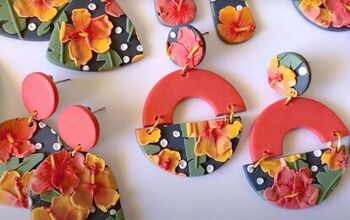
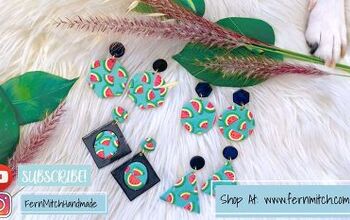
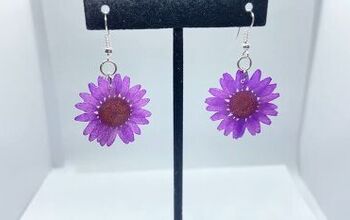
Here’s how a few variations of these polymer clay flower earrings turned out:
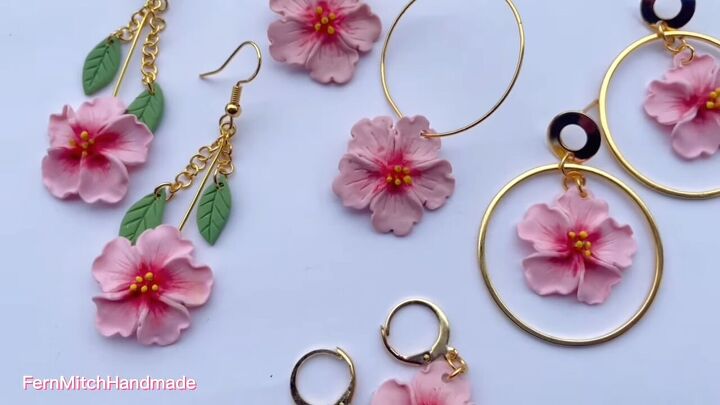
DIY blossom earrings
Have you ever been to a cherry blossom festival? Comment down below.
These blossom earrings are just perfect for spring! Do you love them as much as I do?
For all the flower lovers, check out my post on How to DIY Cute Pansy Earrings From Polymer Clay.
The author may collect a small share of sales from the links on this page.


Comments
Join the conversation