How to DIY Cute Resin Flower Earrings

In this tutorial, I will teach you the secret to making resin flower earrings.
So, whether you are a beginning UV Resin jewelry maker or you have been doing it for a while, you will walk away with some fabulous flower dangle earrings to show off.
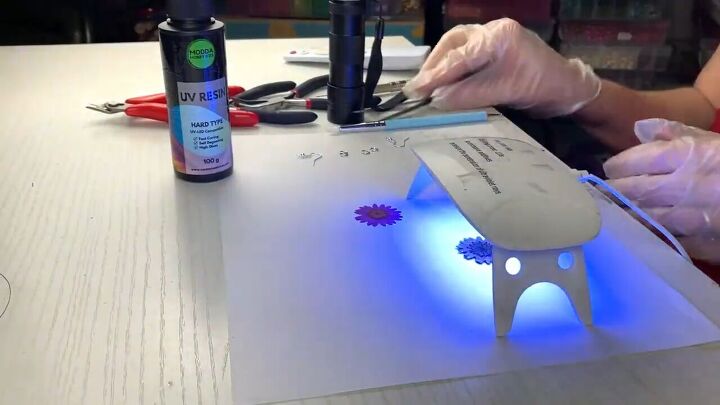
Tools and materials:
- Round nose pliers
- Long nose pliers
- Silicone tool
- Tweezers
- UV flash light
- UV resin light
- Hand drill
- UV resin
- Hand drill
- Dried real daisies
- 4 jump rings
- 2 fish hook earrings

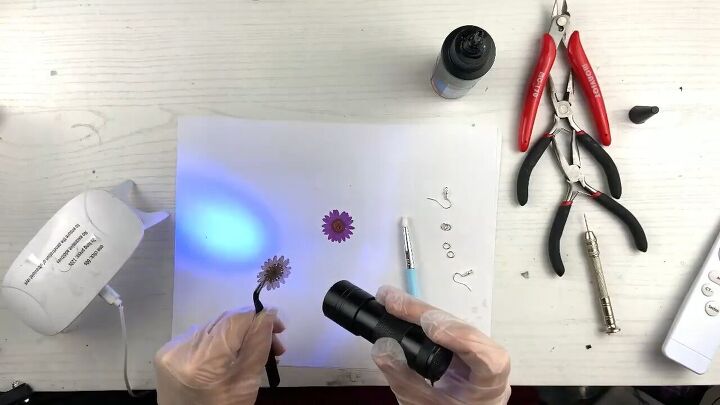
1. Pick up your first flower
Start by picking up the dried flower gently, making sure that you are not squeezing the petals but holding the tip of the tweezers in the center of the flower.
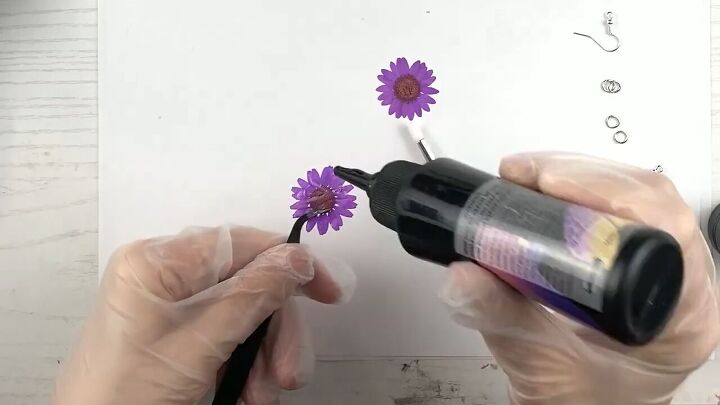
2. Apply UV resin and spread
Then, apply a small amount of the UV resin in a line across the flower.
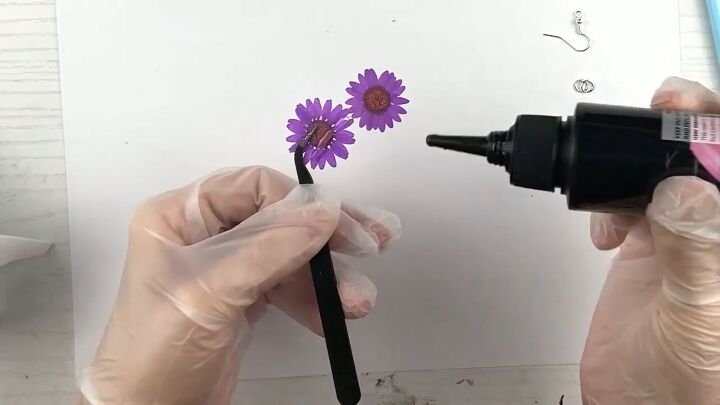
Then, use a silicone tool or a toothpick to carefully spread the UV resin over the flower.
Make sure that you do not cover the tweezers with resin because then they could get stuck.
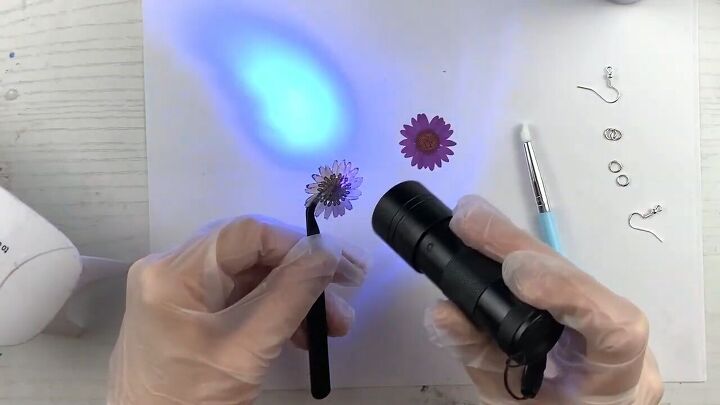
3. Flash dry with a UV flashlight
Now, you could put the flower directly under a UV light, but for this I prefer using a UV flashlight.
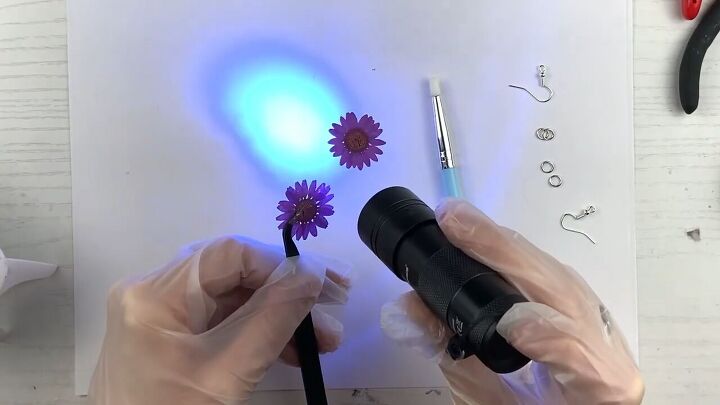
By holding up the flower in this way, you can avoid drips, which is not the case for the regular UV light.
Usually you would dry it for 1-2 minutes but do this for just enough time so that the resin doesn’t drip.

4. Repeat on the other side
Gently flip over your 1st flower in the tweezers and repeat the resin process.
Then, flash dry it with the UV flashlight like before.
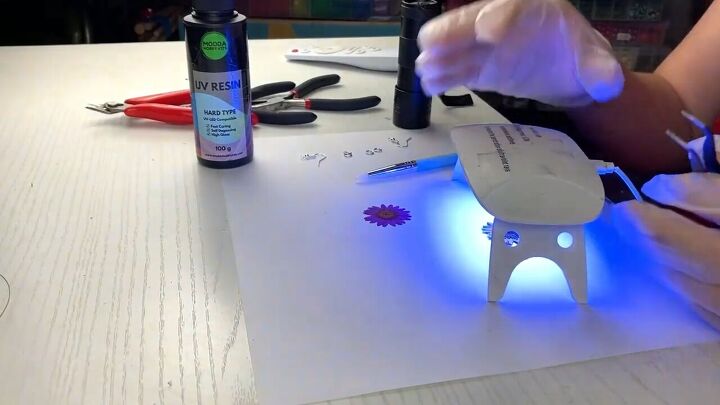
5. Dry flower 1 completely
Now use your UV light to finish drying the 1st flower for about 30 seconds.
Then, flip the flower over to dry the other side for another 30 seconds.
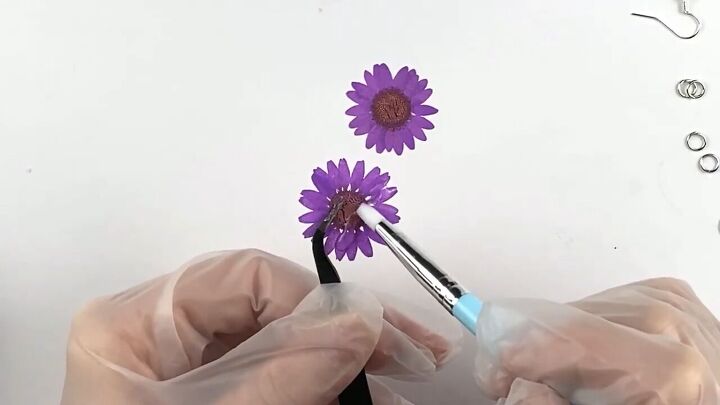
6. Add another layer of resin
Once the flower is dry, add another layer of resin to both sides in the same way as before.
Don’t forget to treat the other side as well.
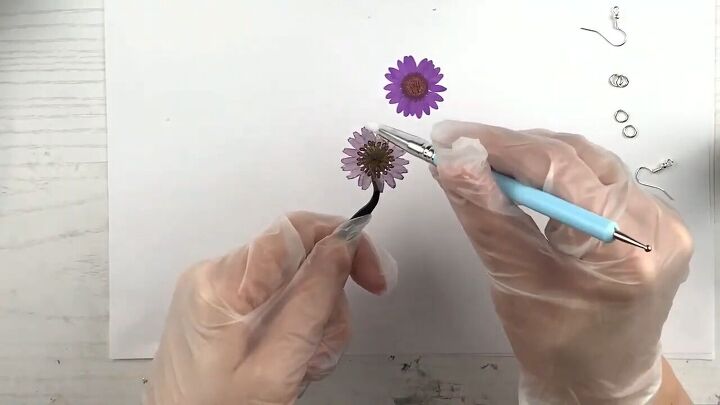
Then, fully dry the flower with your UV light.
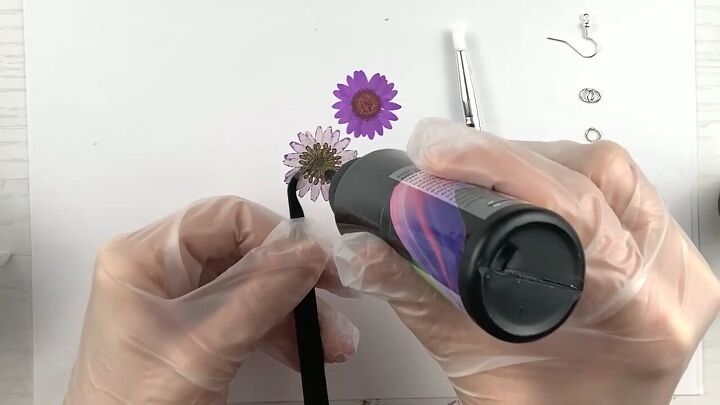
7. Add 1-2 more layers of resin
Now that the flower is dry on both sides, add 1-2 more layers of resin on the back.
The idea is to make the earring sturdier without making the front look plastic-y.
This time, hold your tweezer as far back as possible to cover the flower all at once.

Then dry it with the flashlight and the lamp, as before.
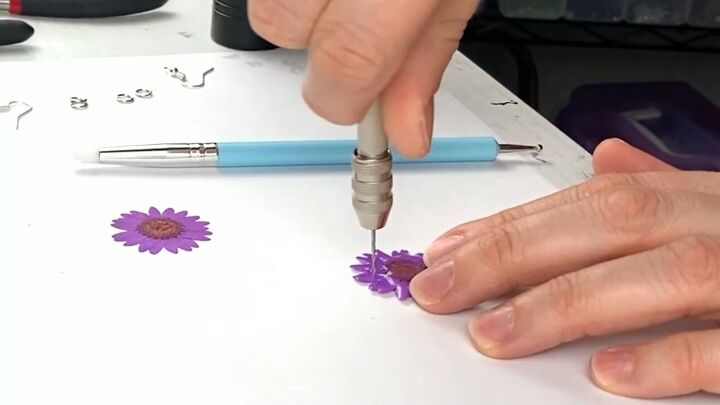
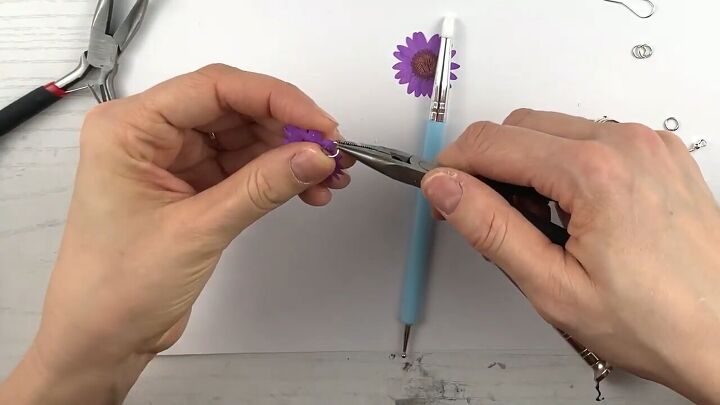
8. Make a hole in the flower
When the back of the flower is dry, make a hole using a hand drill tool.
Find a strategic spot on the front of the flower, place the point in the petal and spin it. Do this patiently so that you don’t damage the flower.
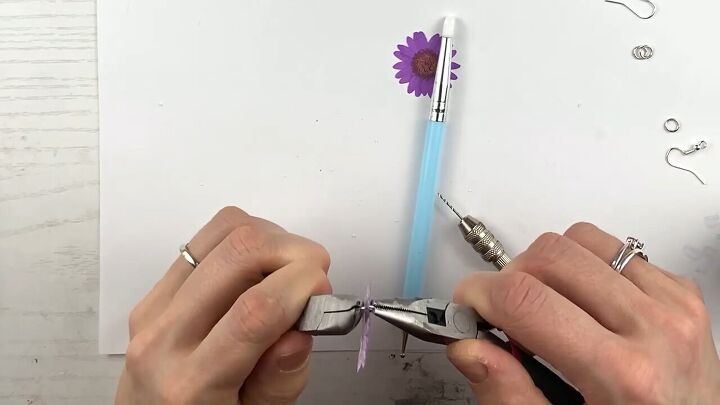
9. Attach the 1st jump ring
Using two pairs of pliers, hold and open your first jump ring.
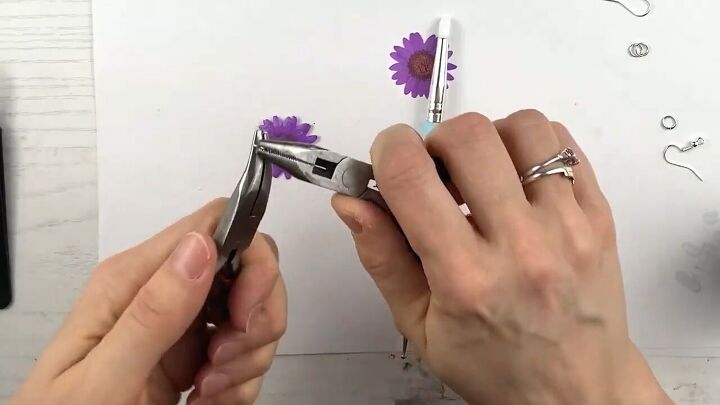
Then thread the open jump ring through the hole that you made in the flower.
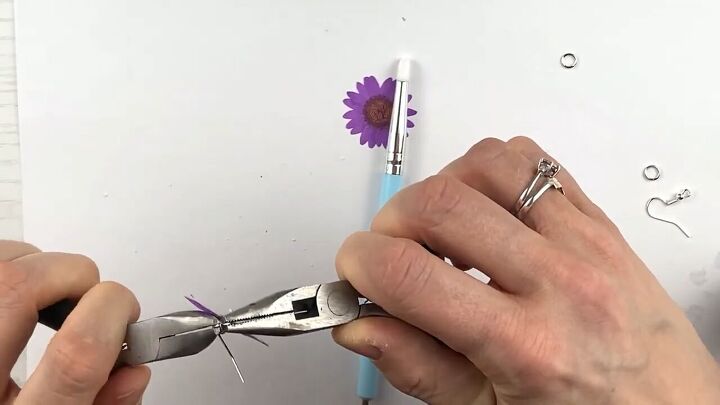
Next, squeeze the jump ring closed so that it doesn’t detach from the flower.
10. Attach the 2nd jump ring and earring hook
Now, attach the 2nd jump ring to the earring hook.
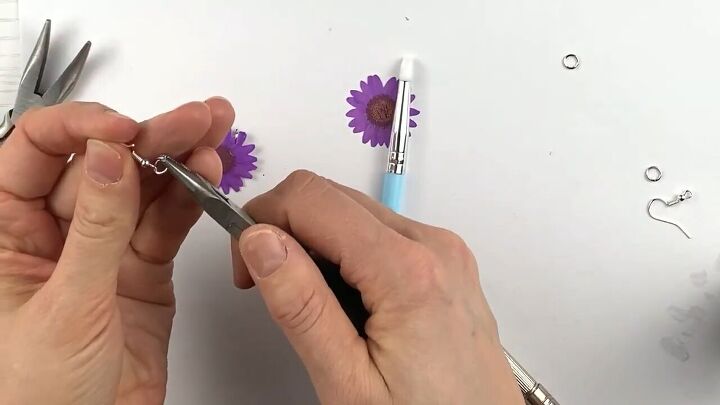
Next, attach the 2 jump rings and squeeze the 2nd ring closed.
Repeat the entire process for the 2nd flower. Here is the final result for our flower dangle earrings:
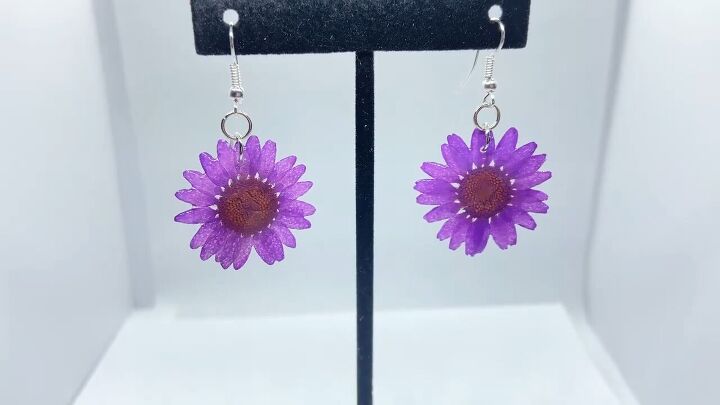
DIY resin flower earrings
What do you think of these resin flower earrings? Will you make them for yourself or a friend?
If you’re looking for more jewelry ideas, check out my post on How to DIY a Cute Resin Bracelet.
The author may collect a small share of sales from the links on this page.


Comments
Join the conversation