How to DIY a Cute Resin Bracelet

Follow along with this step-by-step tutorial to make this unique resin bracelet in just 10 minutes. It would make the perfect gift for a friend or to keep for yourself. Let’s get started!
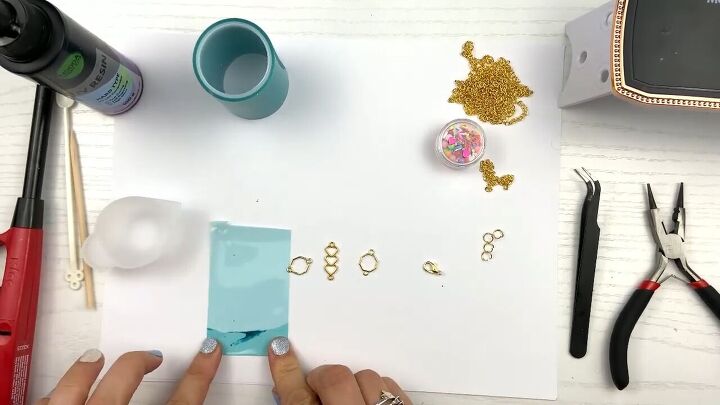
Tools and materials:
- Cardboard/paper working surface
- Protective mask and finger tips
- UV tape
- Wood toothpick tool
- UV resin
- Long lighter
- Bent tip tweezer
- Light
- 3 Bezels
- 8 Polymer Embeds
- Rubbing alcohol
- Jewelry pliers
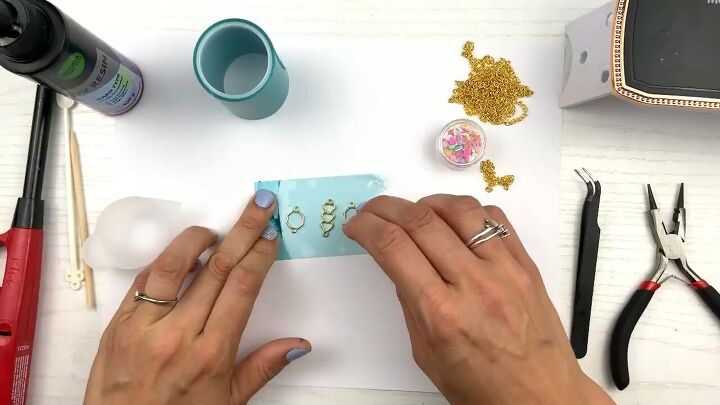
1. Secure your bezels
Start by taping down your 3 bezels. Work on top of some cardboard or paper to protect the surface from the resin.
Cut a piece that’s a few inches long and fold one end over so that you have a place to put your finger.
Stick the bezels on with some space between each piece. Make sure they are really on there securely by tapping them down on all the edges. This will ensure that the liquid resin stays in place.
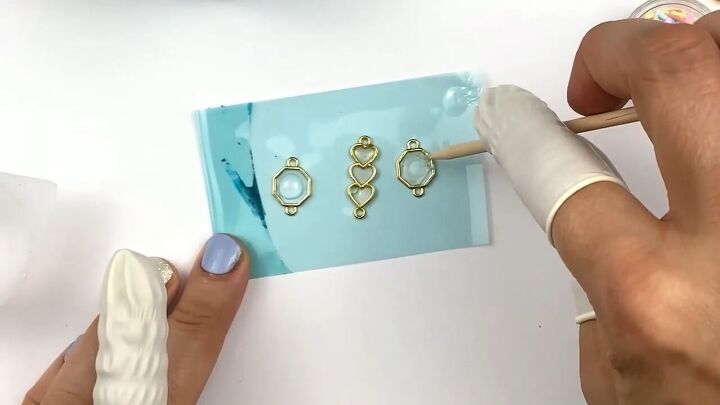
2. Adding the first drops of resin
Put on your mask and finger tips for protection from the resin.
Now, squeeze just a drop into each shape of the bezels. The hearts are particularly tiny, so those only need a very small drop.
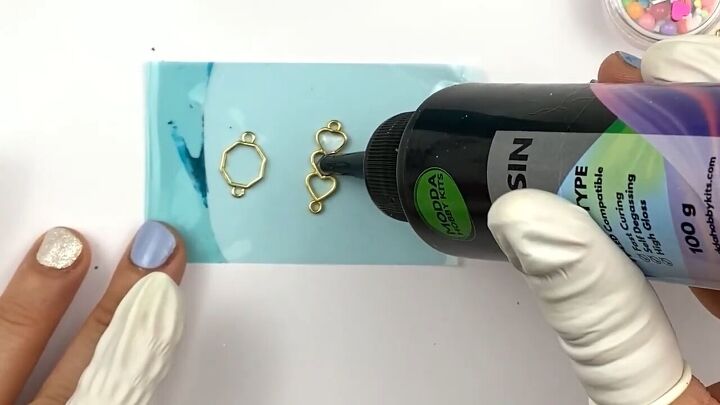
If you squeezed a bit too much in, use a small wooden toothpick tool to scrape some out.
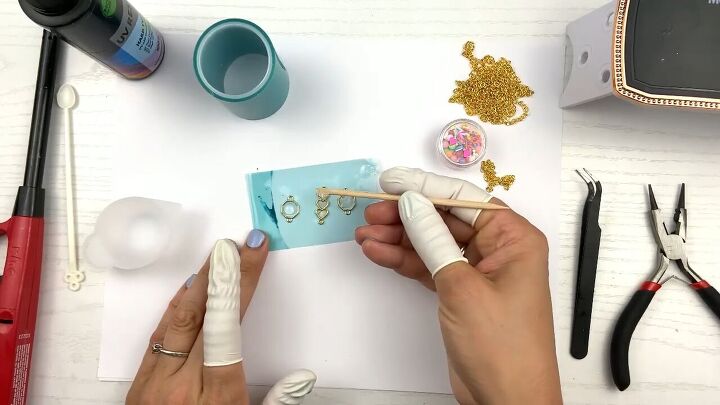
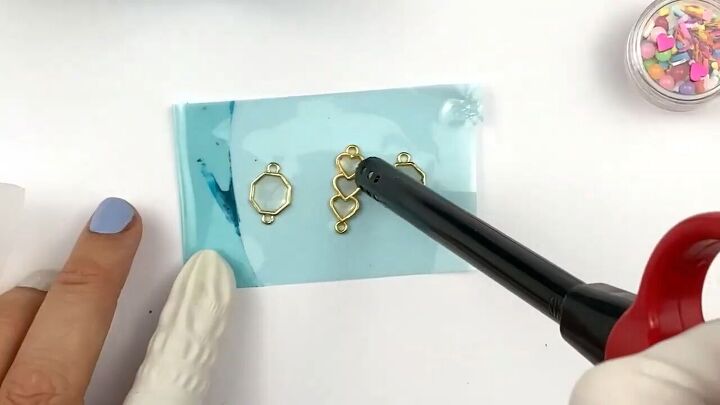
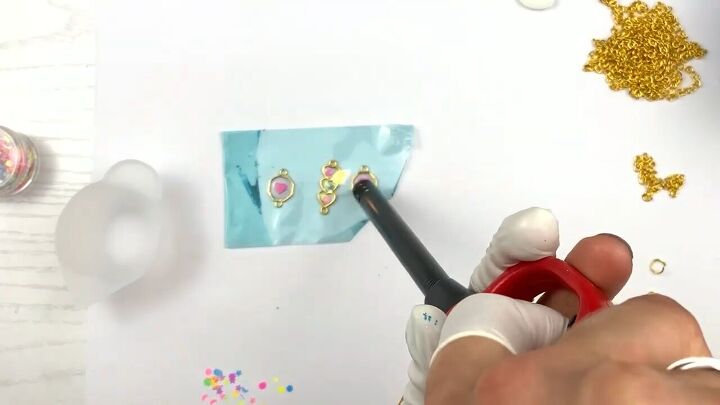
3. Spread the resin and pop bubbles
Then go around the edges with the toothpick to spread the resin evenly.
Use a long lighter to pop any bubbles. The bubbles tend to hide near the edges, so look out for them.
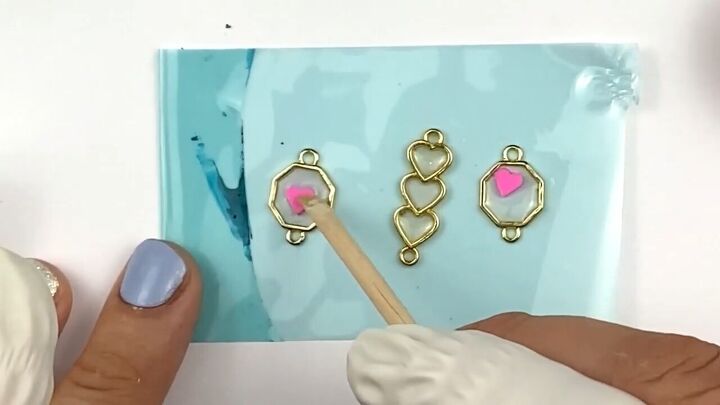
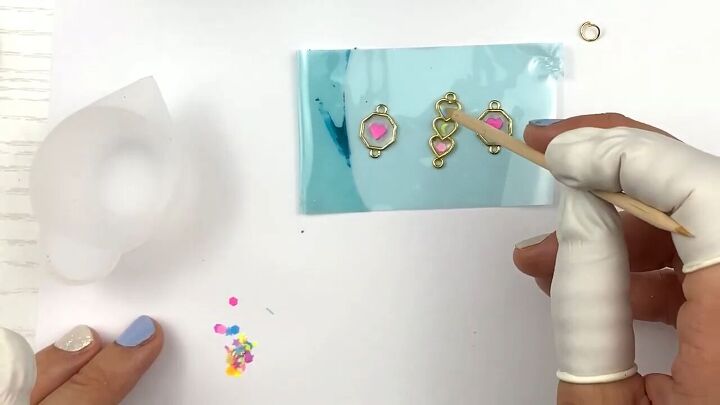
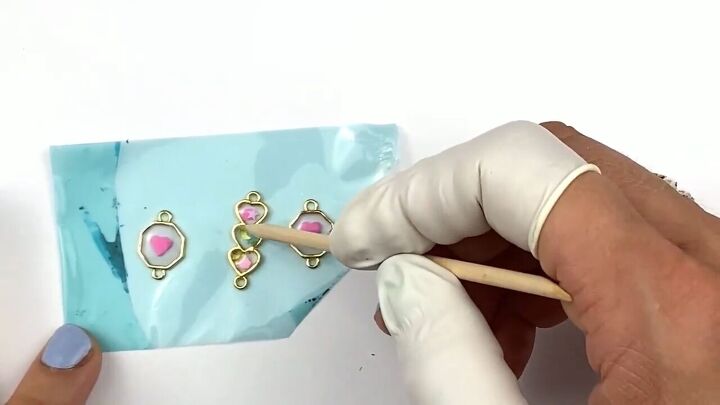
4. Insert embed decorations
Using a bent tip tweezer, pick up your embeds and place them inside the resin in the bezels.
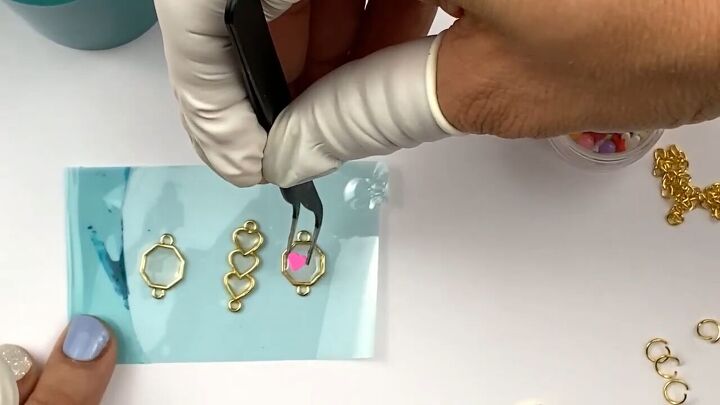
Move them in place using the toothpick.
For smaller pieces, pour the embeds on the work surface, dip the toothpick in resin and use that to grab those tiny parts.
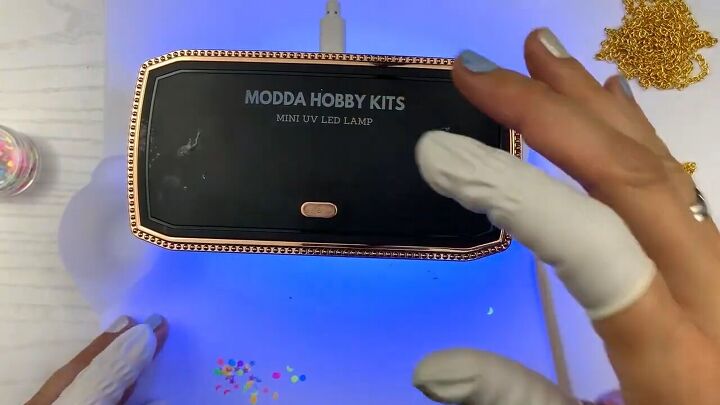
5. Dry them
Since the bezels are so small, you can dry them all at once for 60-90 seconds using your UV LED light.
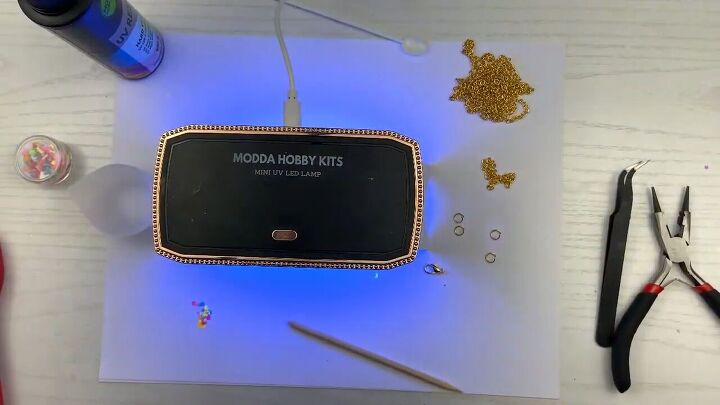
Now, flip the tape over and dry again for another 60-90 seconds so that the light reaches the other side too.
6. Add more resin
Next, add more resin to cover the embeds, without overflowing the bezels. You can always add more resin but it’s hard to take some away.
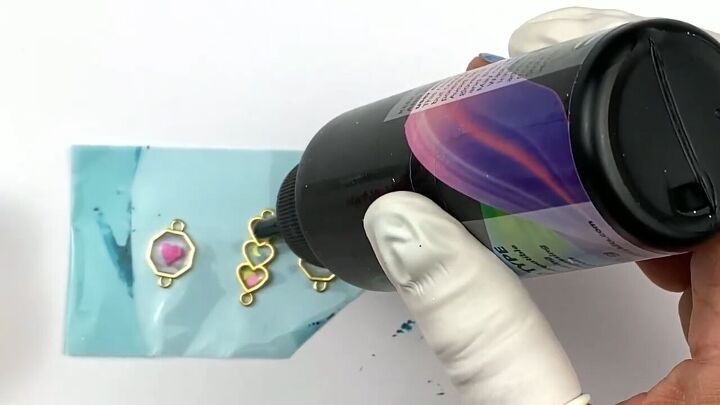
Use the toothpick to make sure the resin reaches all the edges. If it doesn’t, then you need to add more.
Use the lighter again to remove bubbles.
7. Dry
Put the pieces under the UV light for another 60 seconds.
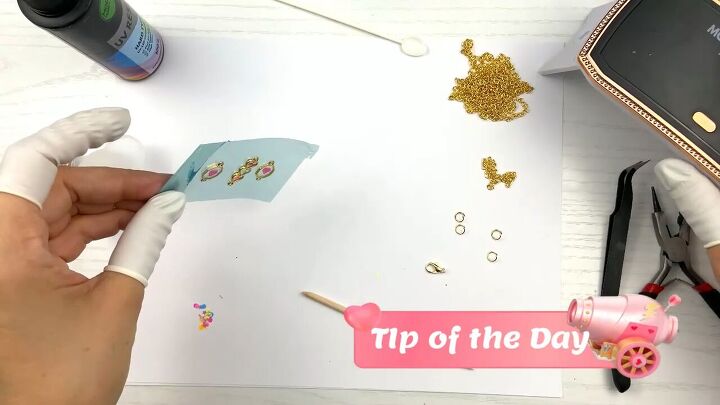
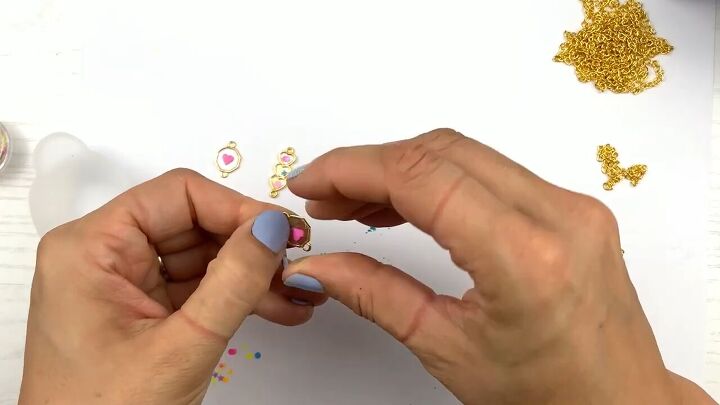
8. Remove the bezels
These DIY resin charms are starting to look so cute! Now that the resin has completely dried, remove the bezels from the tape.
If there is any tape leftover on the pieces, use rubbing alcohol and a napkin to remove it.
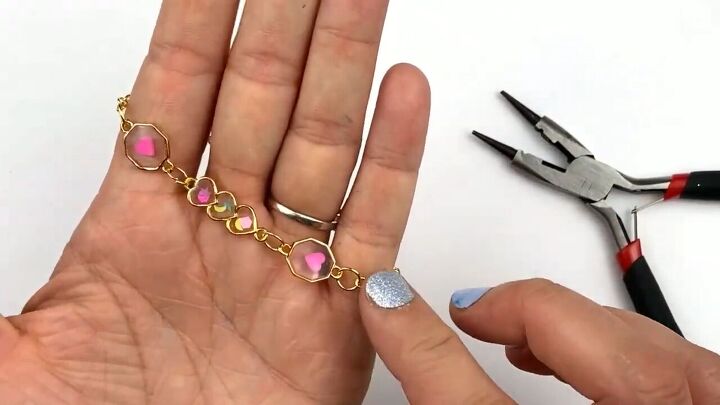
9. Attach the bezels
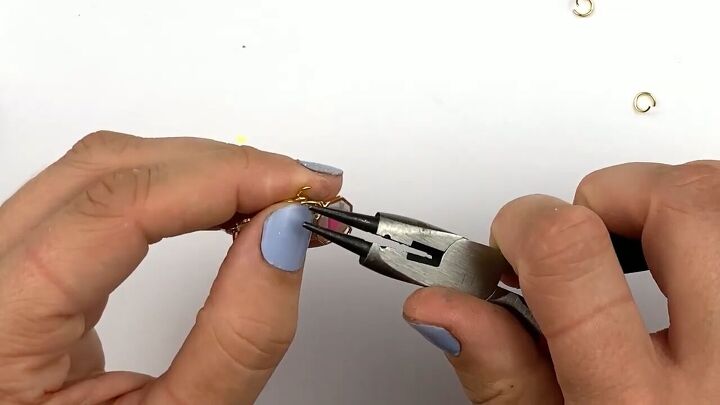
Using a jewelry plier, attach a jump ring to one of the bezel pieces. Then close up the jump ring.
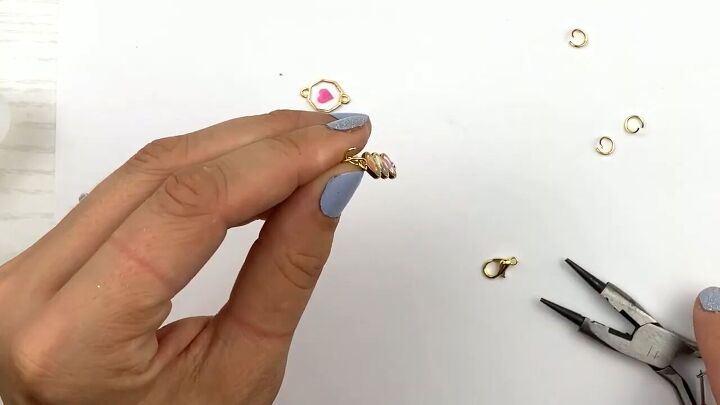
Attach this first bezel to another jump ring and the second bezel.
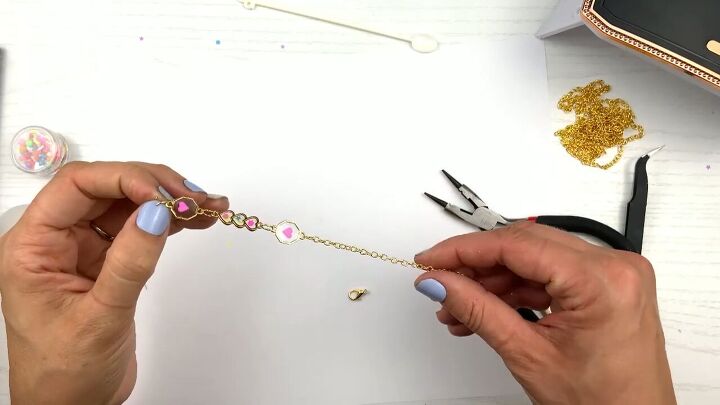
10. Add the chain
Now, add jump rings to the outer sides of the bezels on either side, then just attach the chain pieces to those jump rings.
Make sure to squeeze each jump ring tightly so the bracelet will stay intact.
11. Add a clasp
Lay the bracelet out to find the middle of the chain.
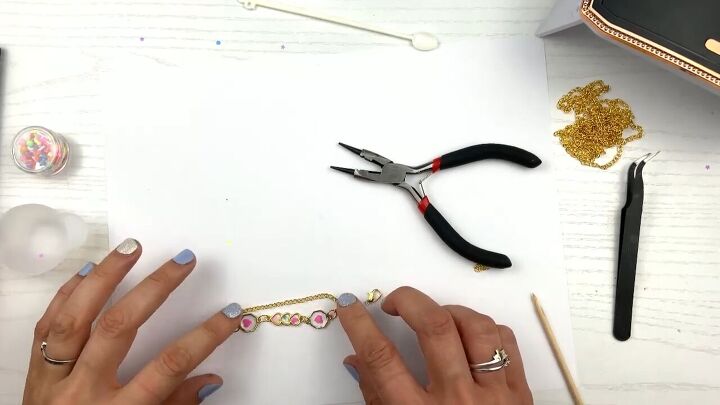
Now cut the chain in half.
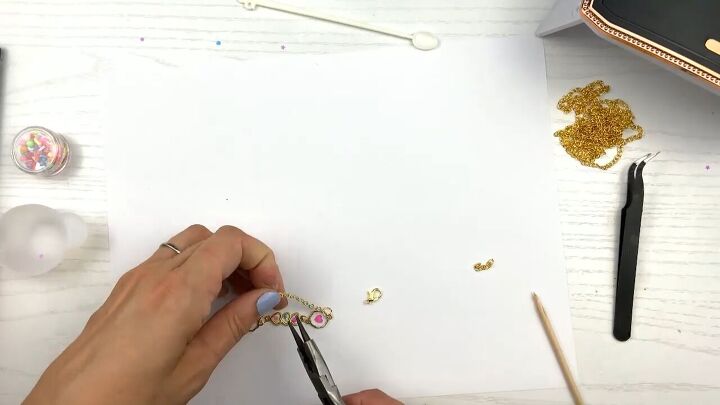
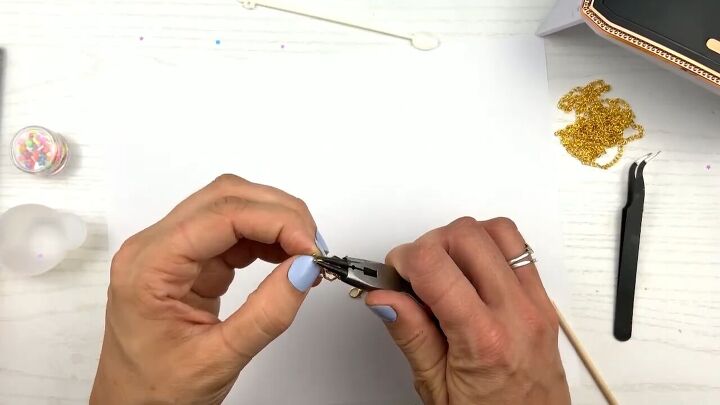
Then, on one side, add another jump ring and the clasp after it.

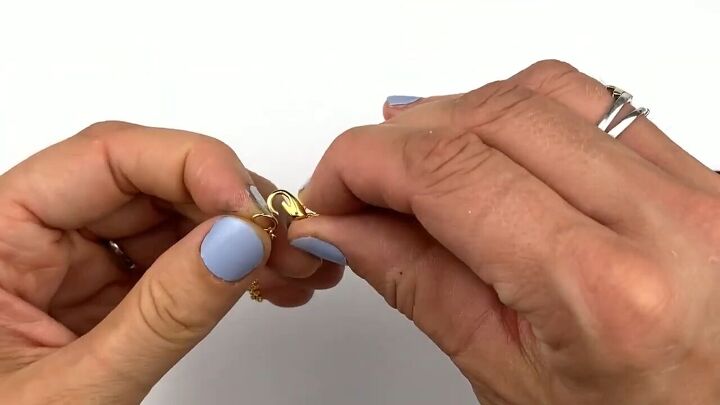
When you close up the jump ring, make sure the two sides are touching each other face to face.
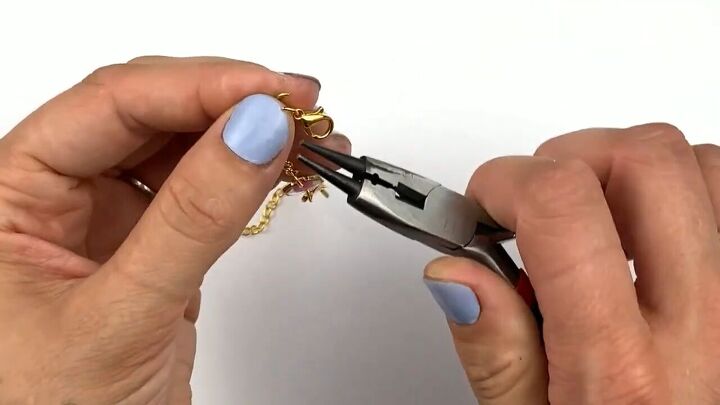
Then, attach a final jump ring to the other side where the lobster clasp will connect.
And now you have this cute, dainty, DIY resin bracelet!
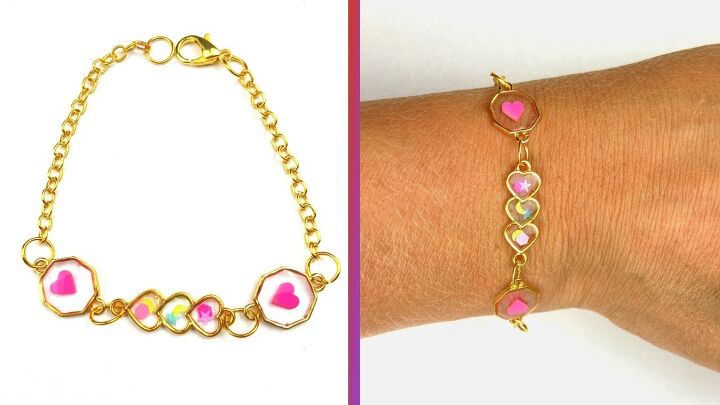
DIY resin bracelet
Now you’ve seen how quick and easy it is to use UV resin! I love how cute this bracelet is.
Let us know in the comments below if you would try this UV resin tutorial.
The author may collect a small share of sales from the links on this page.


Comments
Join the conversation