How to DIY a Cute and Easy Beaded Bracelet

In this tutorial, I'm going to show you how to make easy beaded bracelets.
These two-strand easy DIY bracelets with beads are so fun and fabulous and super simple to make! Let's get started.
Tools and materials:
- Beading wire (.3mm)
- Clam shell bead tips
- Pliers
- Beads
- Jump rings
- Clasp
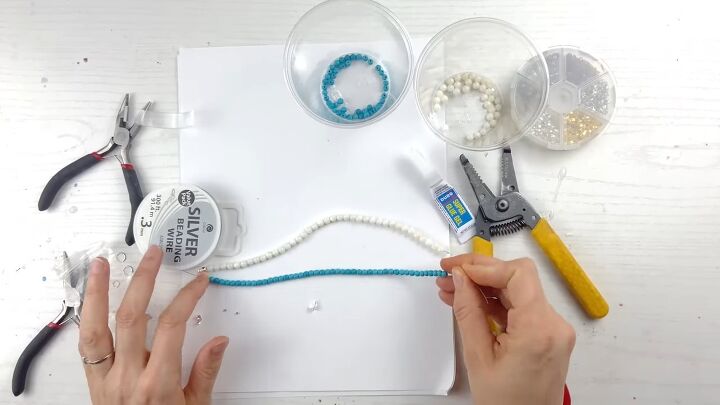
1. String two wires with beads
String your beads on a string of .3mm beading wire. You need to make two strands that you can combine.
I made mine 8 inches, but you can decide how big you want your bracelets.
Make sure both strands are the same length, and that the beads (if different) should be as close in size as possible.
If not, it could throw off the entire bracelet.
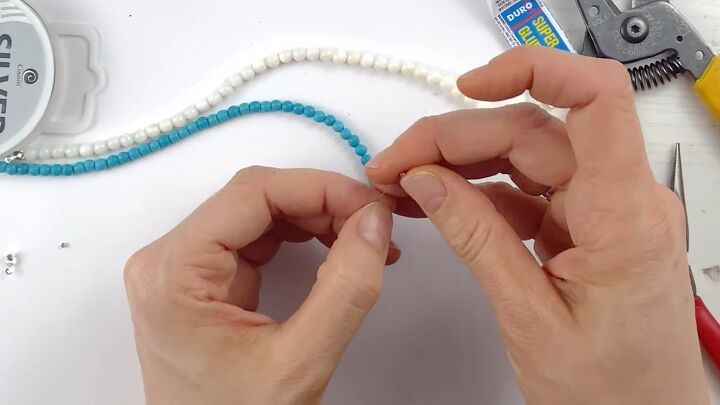
2. Slide on the bead tips and crimping beads
Slide on the cham shell bead tip and then a crimping bead on one side.
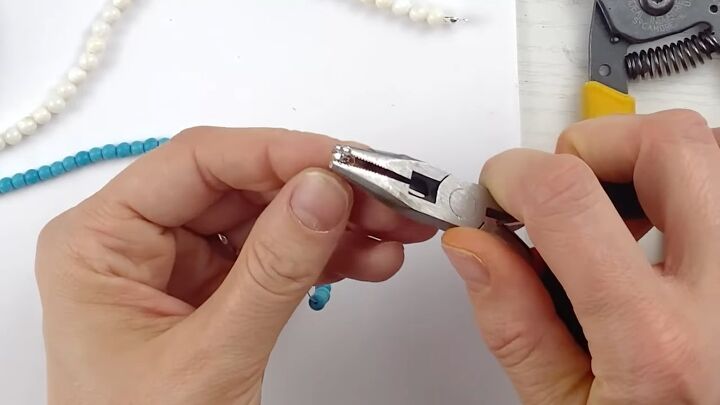
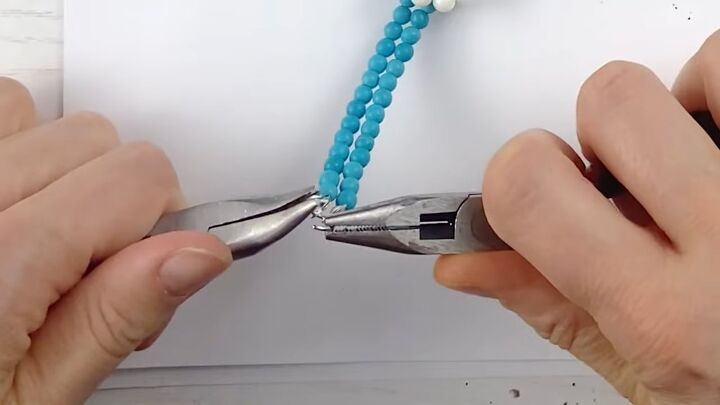
3. Press the bead
Press the bead with pliers. Make sure your crimping bead isn't too tight or too loose on the last bead.
If it's too tight, there will be kinks. If it's too loose, there'll be gaps.
I recommend adding it on with your bracelet set in a U-shape, so you know you didn't add it too tight.

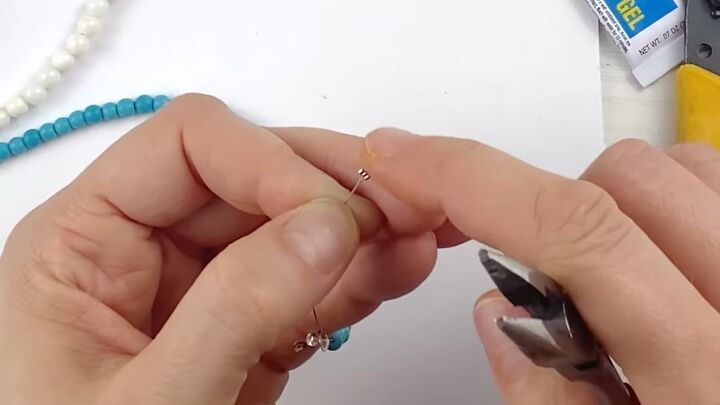
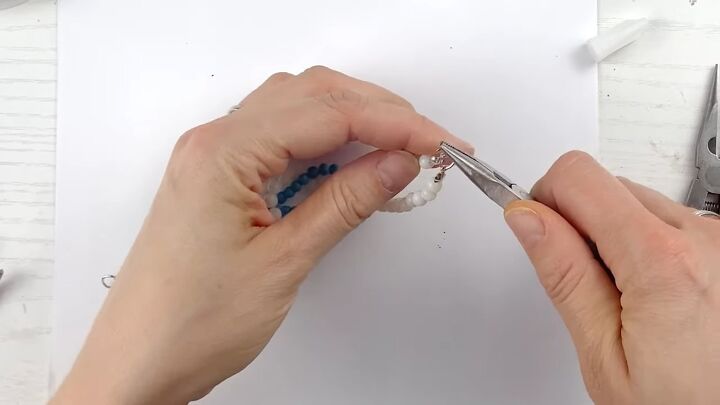
4. Close the bead tip
Bring the clamshell bead tip up and around the crimping bead.
Add a dab of gel super glue and then close it up.
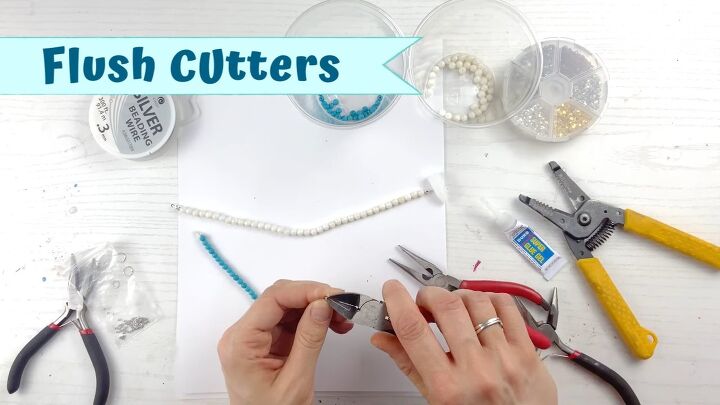
5. Cut off the excess wire
Cut off the excess wire with flush cutters. Do this step for each of the strands.
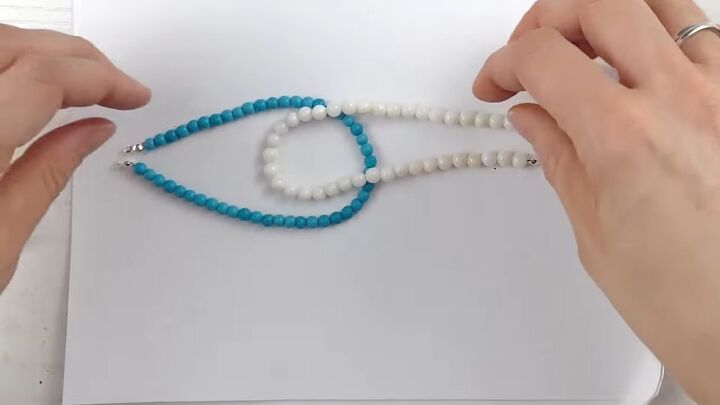
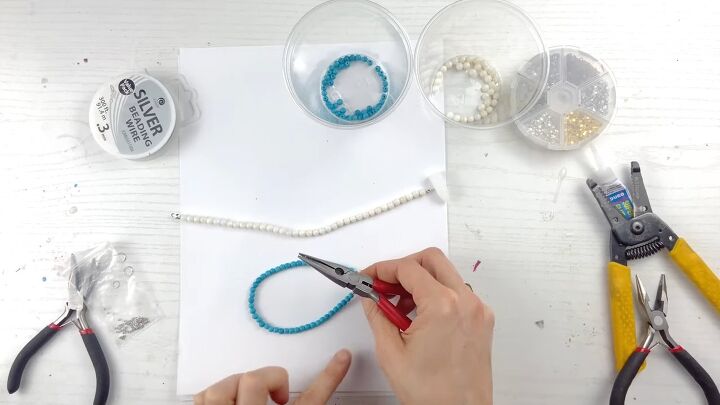
6. Overlap the strands
Place your two strands so they overlap in that U-shape.

7. Bring the ends of the bottom strand under the top
Take the end of the bracelet that's on the bottom (in my case, it's the blue one) and place it underneath the bottom of the U of the strand on top.
Repeat for the other end of the same bracelet.

Make sure they're equal in length.
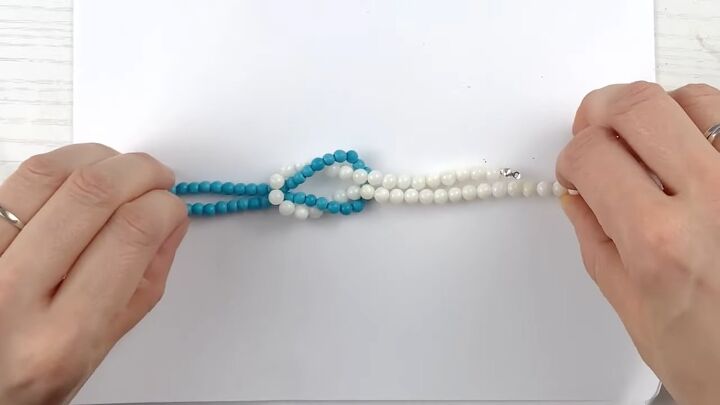
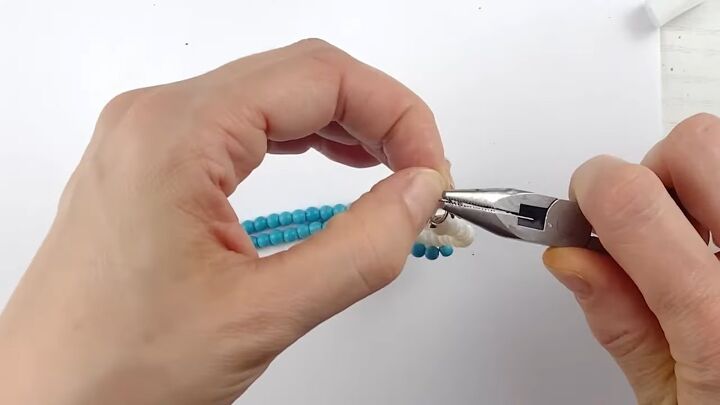
8. Attach both ends of the bracelets to the jump rings
Open a jump ring and place it through both ends of the bottom bracelet. Close it up.
Make sure both sides of the jump ring are touching and there's no gap or crossing.
Do the same thing for the top bracelet.
9. Attach the clasp to the bracelet
Attach a jump ring to your clasp and close it up on whichever side of the bracelet you pick. It doesn't matter which.
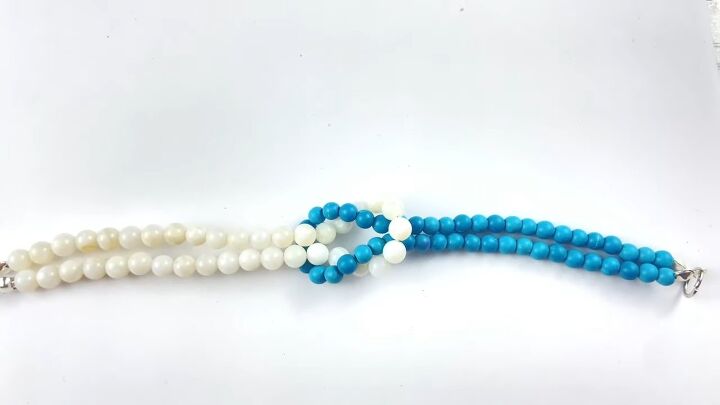
Easy beaded bracelet
Here's the finished bracelet! These easy-to-make beaded bracelets are so gorgeous and so much fun!
Let me know what you think about this easy DIY in the comments below!
Next, check out my post on How to DIY Adorable Knot Earrings.
The author may collect a small share of sales from the links on this page.


Comments
Join the conversation