How to DIY a Cute Resin Dragonfly Pendant

Follow along with this step-by-step tutorial to see how I used this stamping technique to make a stunning dragonfly pendant necklace.
You will then be able to make your own resin jewelry even if you are a beginner!
Tools and materials:
- UV resin
- Mica powder
- White acrylic paint
- Small dragonfly stamp
- Pendant mold
- 3 jump rings
- 1 lobster clamps
- 16½-inch chain
- Round-nosed pliers
- Long-nosed pliers
- UV resin light
- Safety gear (gloves, mask, respirator)
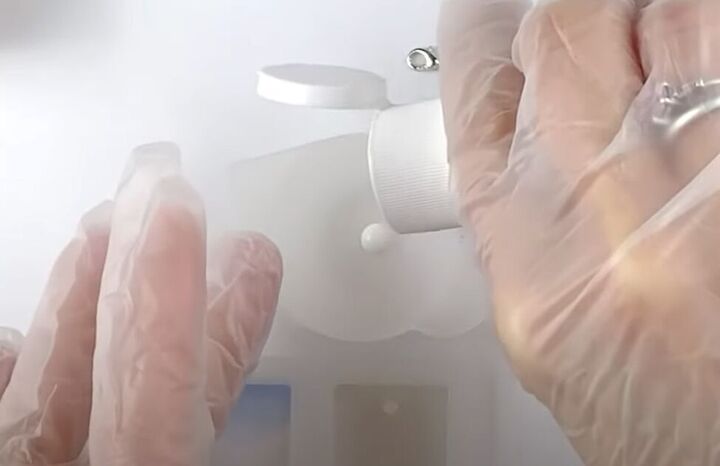
1. Start with acrylic paint
Shake your acrylic paint to make sure it’s well-blended, and squeeze just a dab of it into a small bowl.
I used white acrylic paint for my background because I thought it would make the dragonfly design really pop, but you can choose any color background you want.
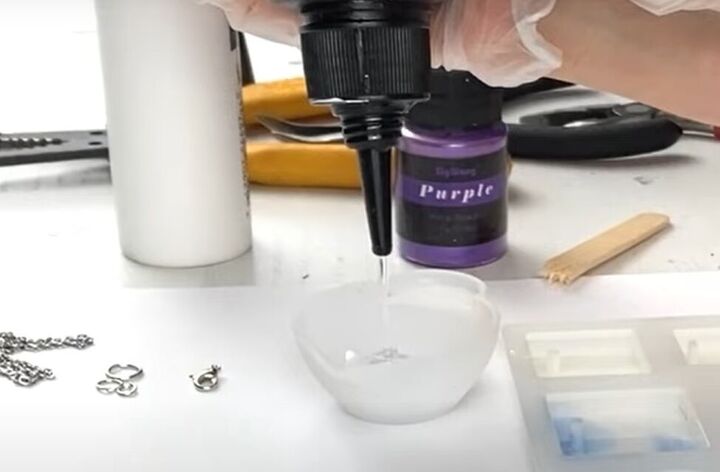
2. Add UV resin
Squeeze enough UV resin into the bowl to make enough to fill about half of your mold.
Mix the paint and resin until well combined.
3. Fill your mold
Pour the resin mixture into your mold, filling it about half way.
Use a small popsicle stick to make sure the resin goes right to the edges and corners of your mold.

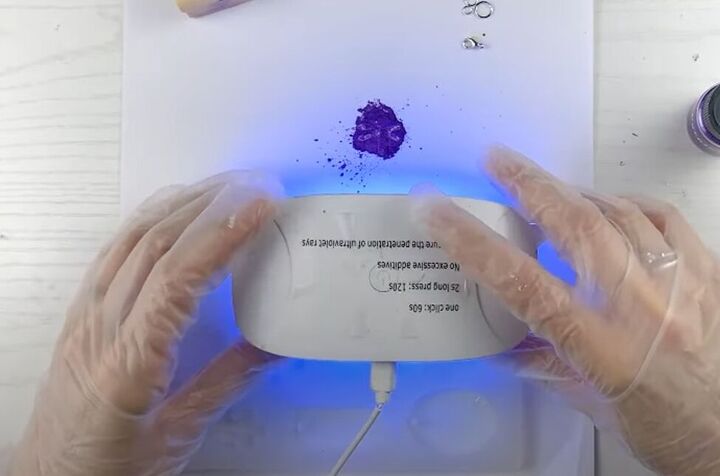
4. Dry the first layer
Use a UV resin light for about 2 minutes to dry that first layer of resin on the top.
Then flip over your mold and dry the bottom for about 2 minutes as well.
You will know that it is completely dry when it is hard to the touch.
Tip: Do not use a colored mold, because the UV light will not penetrate it to dry the bottom.
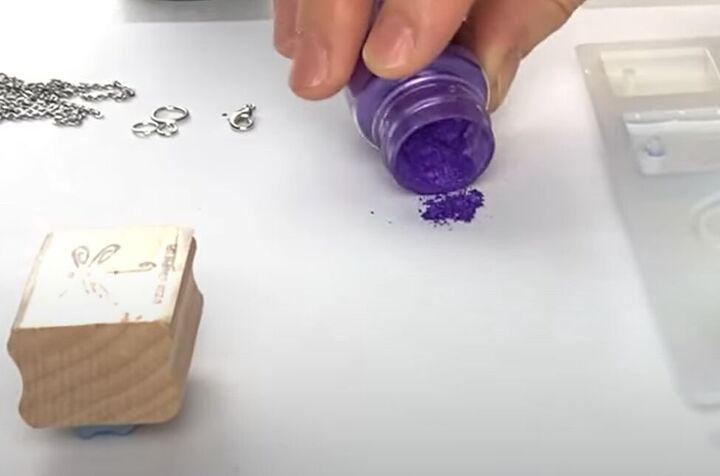
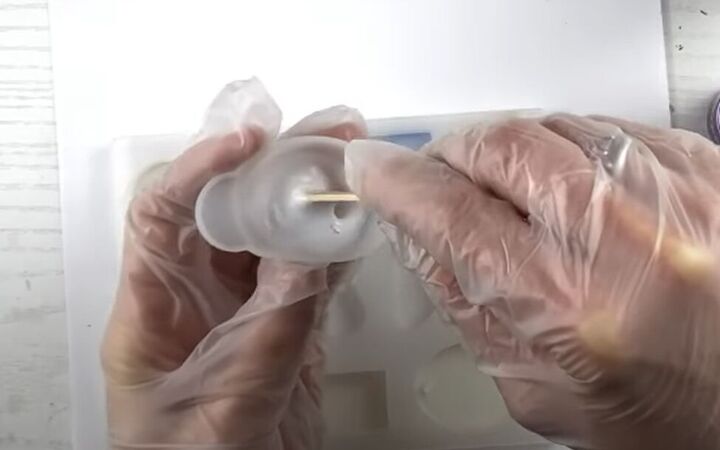
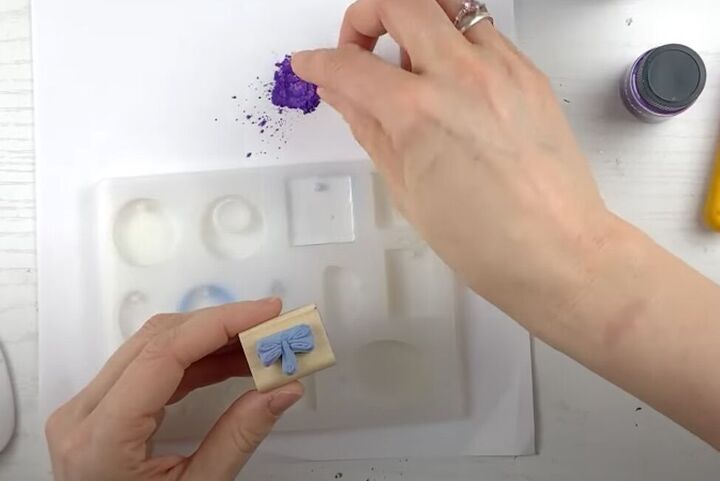
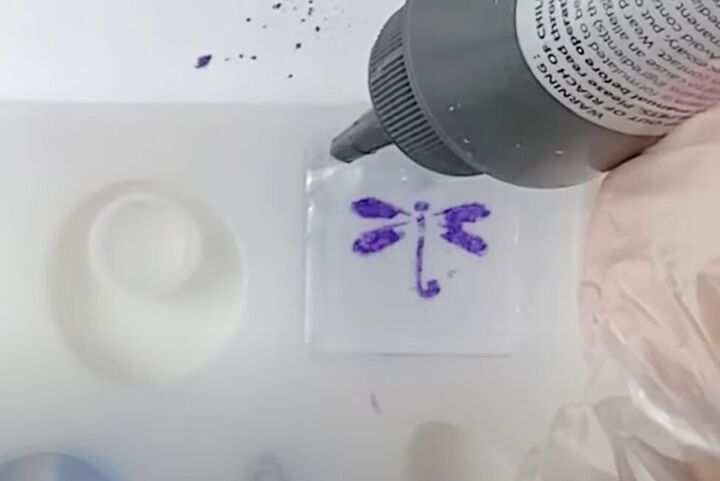
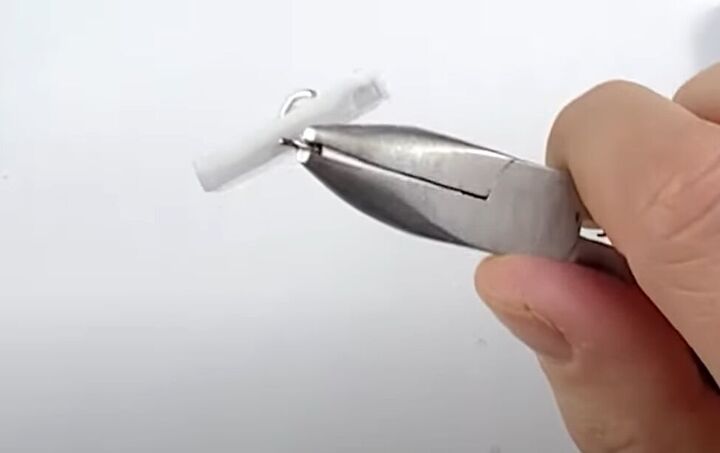
5. Stamp your dragonfly design
Pour a little mica powder in your color of choice onto your work surface.
Spread it around so that it covers a surface at least as big as your stamp.
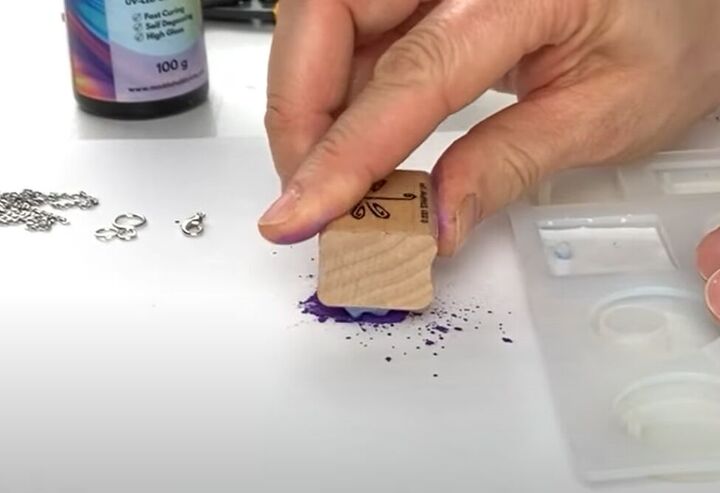
Press your stamp into the mica powder, and then tap your stamp to remove any excess loose mica powder.
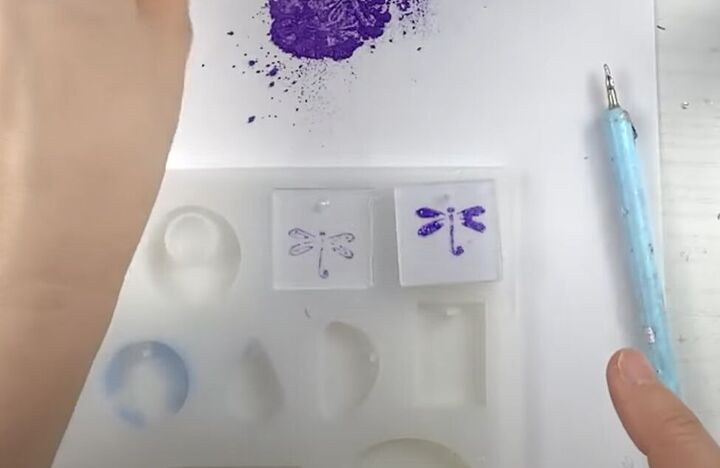
The first stamp I made, on the right, was without tapping off the excess powder, and it’s really too much powder.
The stamp on the right is perfect, when I tapped off the excess powder before stamping.
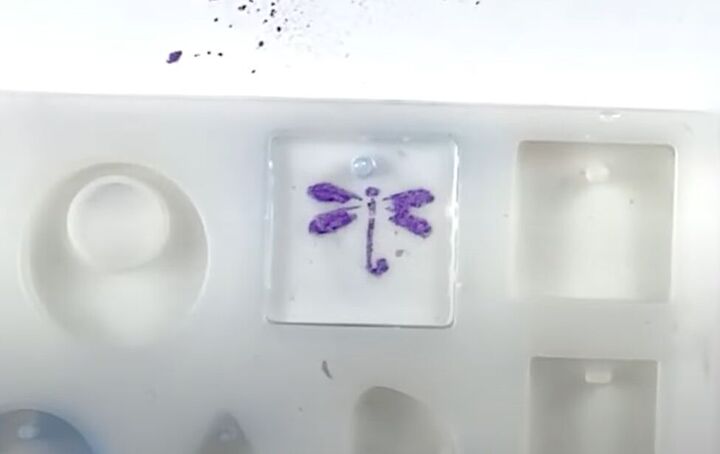
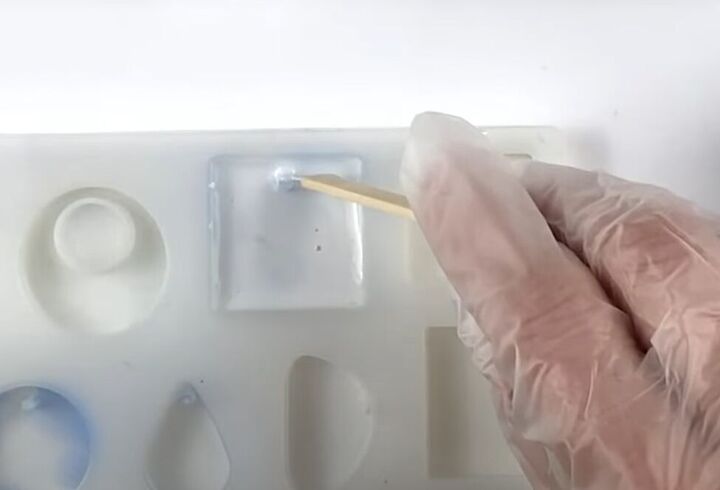
Then, press your stamp onto your fully-hardened resin.
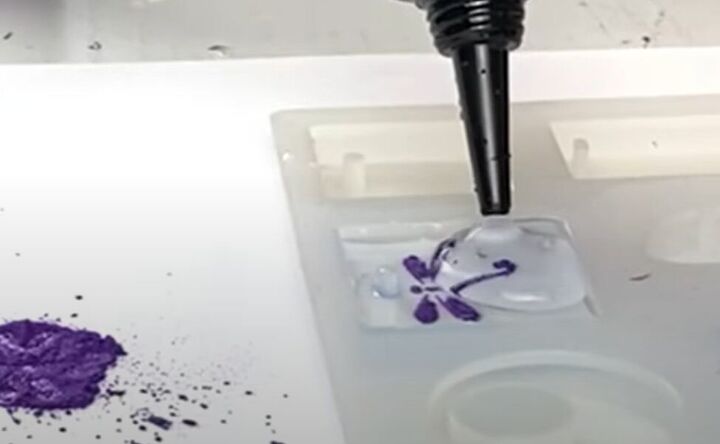
6. Add a second layer of resin
When you add your second layer of UV resin, you don’t want to pour it directly on your mica powder design, because it will ruin the design.
Squeeze the resin into one corner of your mold, and let it naturally spread across the mold.
If necessary, squeeze a bit of resin into the other corners of your mold, to make sure you have a complete, even layer.

7. Remove bubbles
Use a small, sharp tool to remove any bubbles in your resin.
8. Dry the top
Dry the top of your pendant with the UV resin light.

9. Remove the pendants from the mold
Here are all four stamps I made, using different placements, and some practice to get just the right amount of resin on my stamp.
10. Turn your pendant into a necklace
While your pendant is still hot, open a jump ring and insert it through the hole of the pendant. Then close the jump ring.
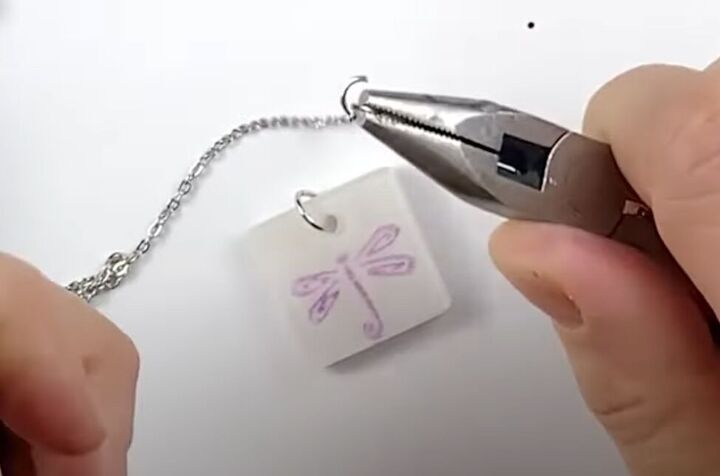
Now, attach a medium-sized jump ring to the first link of your chain.
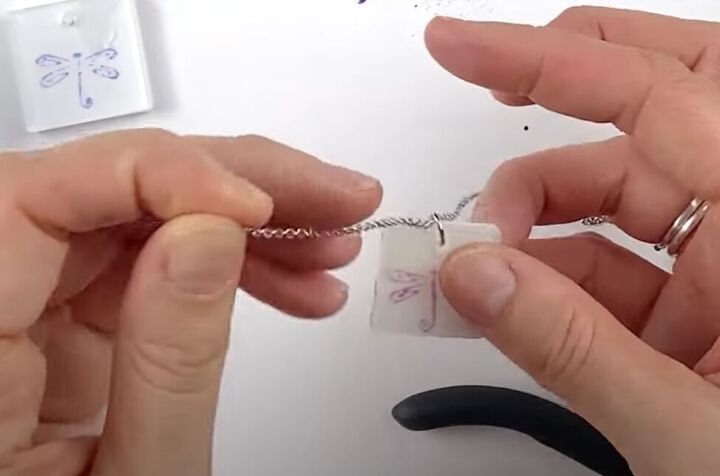
Put your chain through the pendant jump-ring.
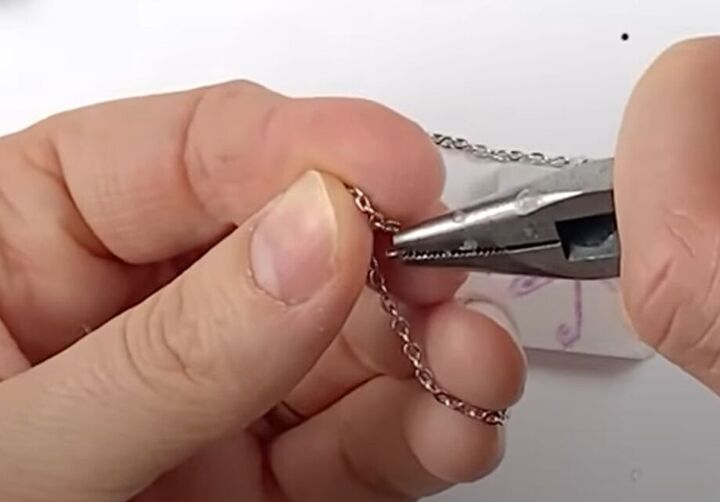
Add a small jump ring to the last link on your chain, and attach a lobster clip to that jump ring.
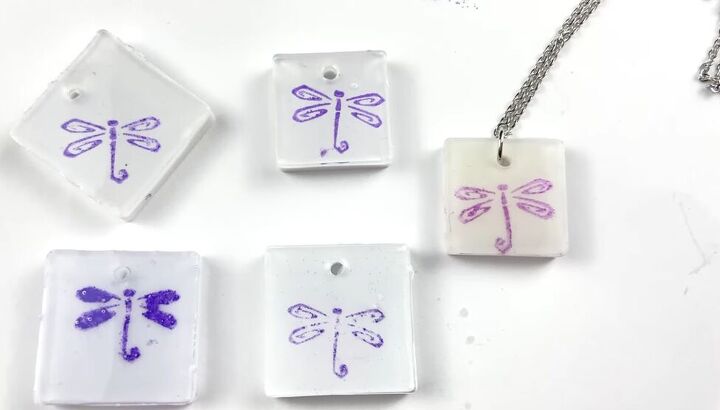
DIY dragonfly pendant
And that’s how easy it is to make a cute stamp pendant and necklace!
I hope you give this stamp technique a try, and leave a comment to let me know how it worked for you. Also, tell me what stamp design you made!
Check out my post on How to DIY a Cute No-clasp Necklace in 5 Minutes.
The author may collect a small share of sales from the links on this page.


Comments
Join the conversation