How to Make DIY Resin Pendants With Pretty Decorative Foil Designs

In today’s tutorial, I’m going to show you how to make a pendant with resin and foil. It’s absolutely gorgeous and I always get so many questions about it, so I thought, why don’t I teach you to make your very own DIY resin pendant? So put your gloves on and let’s get started!
Tools and materials:
- Gloves
- Epoxy resin
- Epoxy hardener
- Measuring cups
- Wooden craft sticks
- Glossy black acrylic paint
- Decorative foil
- Resin molds
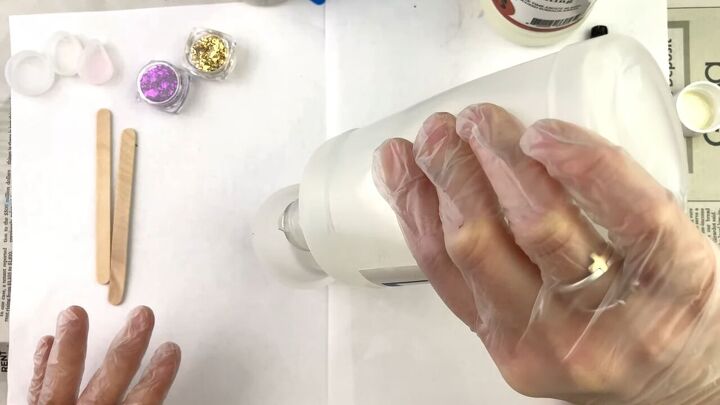
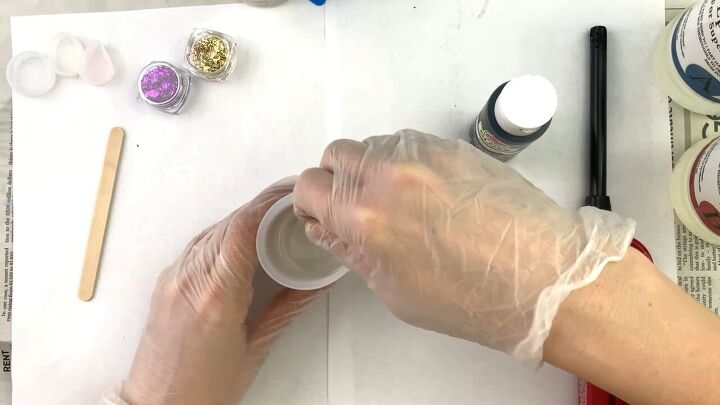
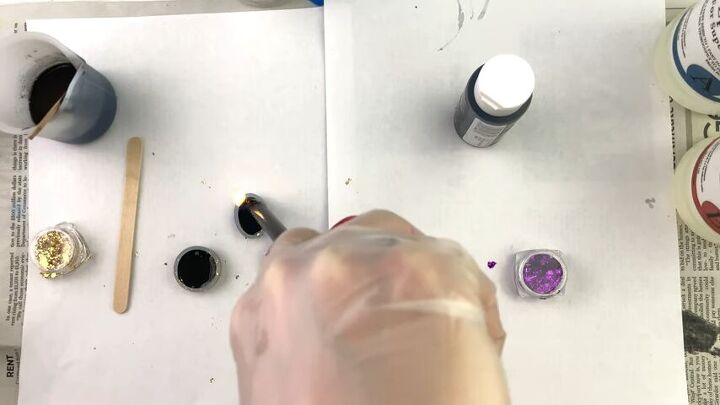
1. Mix your resin
To start, we have to mix your A & B resins (epoxy resin and epoxy hardener) together. A good rule of thumb is to use a 1:1 ratio, so use your measuring cup to make sure you’re pouring equal amounts.
I’m using about 1 fl. oz of each, but I plan on making other projects so you won’t need this much.
The two steps have very different consistencies, so be careful that you don’t overmeasure while pouring.
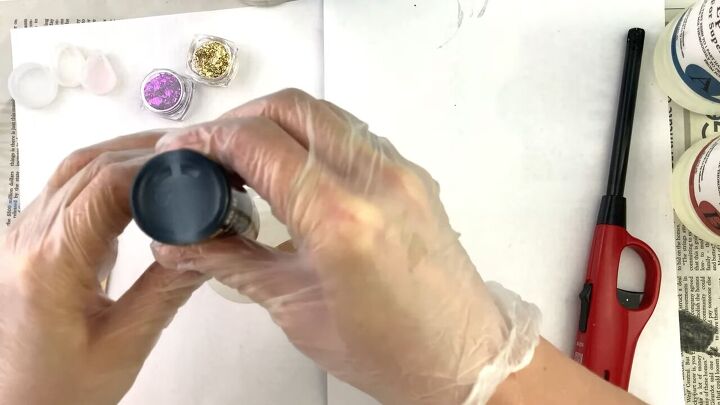
2. Stir together
Use one of your craft sticks to slowly stir the resin for 1-3 minutes. Don’t stir too quickly or you’ll make a lot of bubbles.
3. Add acrylic paint
The more paint you add, the darker it will be, so keep that in mind. Your mixture will be ready when there isn’t any visible chunkiness. After it is thoroughly mixed, set your resin aside for now.
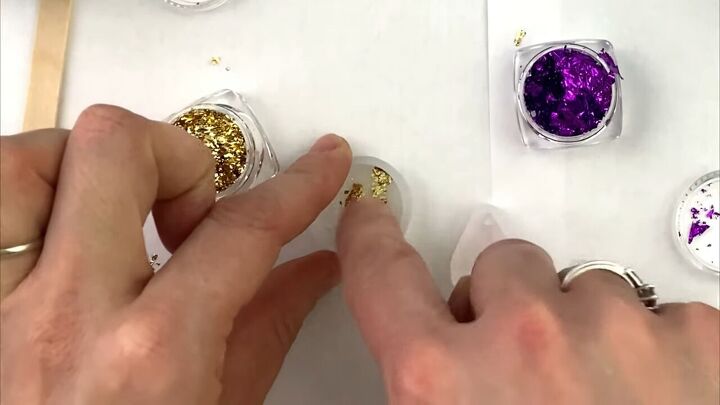
4. Apply foil to your resin molds
Take a pinch of the decorative foil and smear it into the mold with your finger. You’ll want to press it down pretty hard, but don’t worry about it sticking to the mold as it’s actually going to stick to the resin.
You can put it on the side of the molds as well as, again, it’s going to stick to the resin and can make a very pretty edge.
Really play around with the designs you’re doing - whether you add a lot of foil or just a little, it’s going to come out pretty just the same!
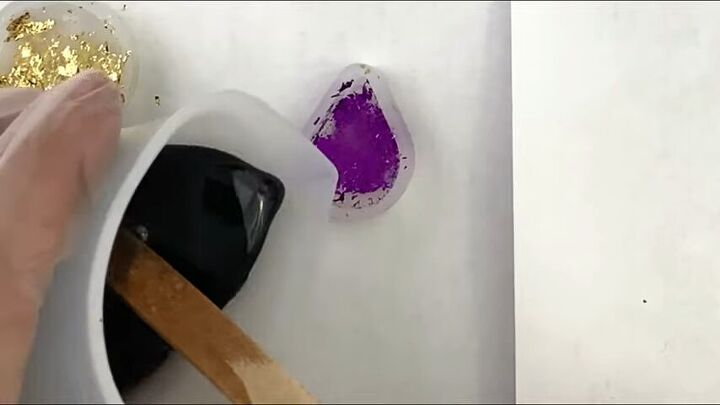
5. Pour the resin into your molds
Pour the resin very slowly into your molds so you don’t overfill it.
Tip: if your resin has any bubbles in it, you can use a lighter to get rid of them before pouring.
6. Let it sit for 24 hours
After 24 hours, your resin should be hardened and ready to de-mold!
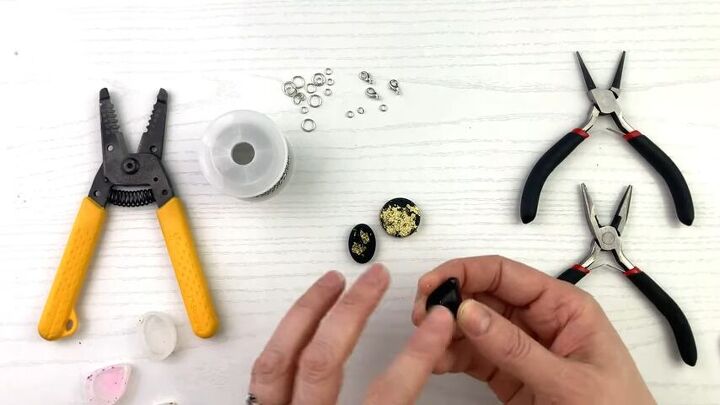
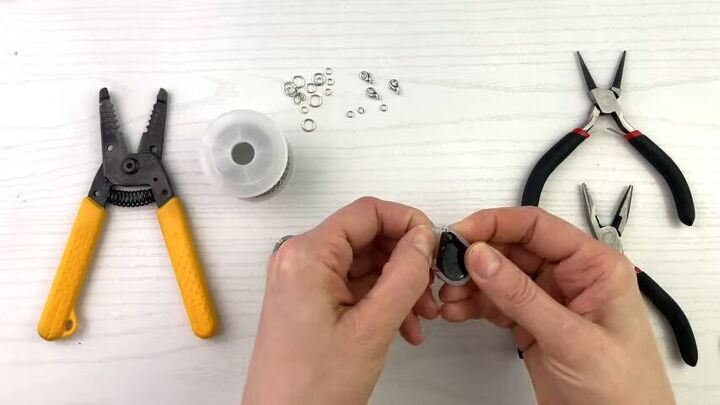
7. Sandpaper
After you de-mold, wet some sandpaper and sand the pendant to get a smoother surface and you’re done!
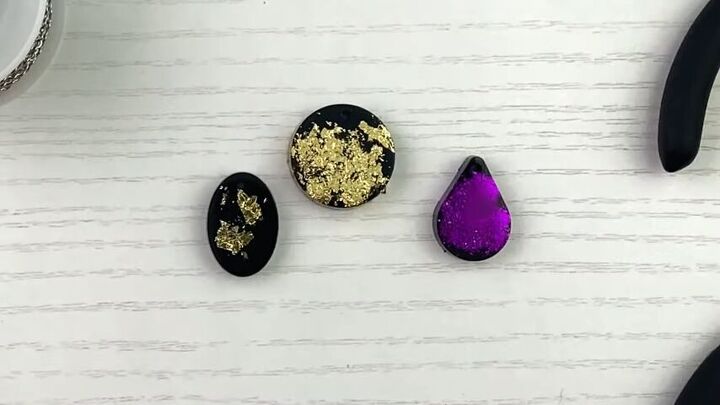
Here are the finished pendants!
DIY resin pendant tutorial
Now you know how to make epoxy resin pendants. Let me know down below which pendant was your favorite and if you plan on trying this tutorial out on your own!
The author may collect a small share of sales from the links on this page.


Comments
Join the conversation
Very nice! Plan to make some, but how best to make hole for necklace chain?
How do you do the link attachment for the
chain ? Beautiful pendants but most of all I loved that you prayed for us. I did not expect that🙏🌹. God bless you💗