How to DIY a Cute Beaded Pendant Necklace

Here, I'm going to show you how to make a circle pendant necklace.
If you’re into jewelry making, this is a gorgeous beaded pendant to add to your jewelry collection. Let’s begin the DIY!
Tools and materials:
- 20 gauge wire
- Beads
- Focal bead
- Chain or cord
- Lobster clasp
- Wire cutters
- Round nose pliers
- Chain nose pliers
- Bent nose pliers
- Chain or cord
- Jump ring
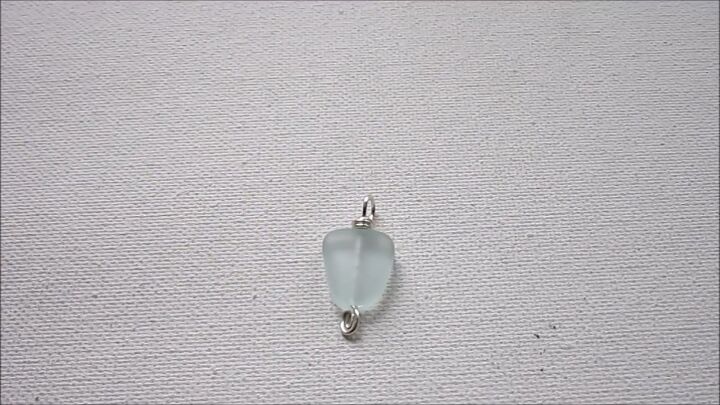
1. Wrap the pendant
Take your large focal bead and make it into a bead dangle. To see how to do this, check out my post on How to Make a Pretty Necklace Pendant.
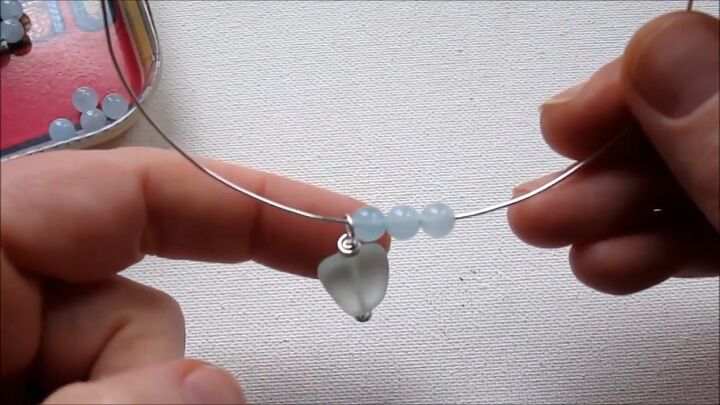
2. Slide beads onto wire
Cut 8-10 inches (20-25cm) of wire. Then slide your focal bead onto the wire and bend it.
Proceed to slide on all the beads that you want to make the circle as large as you'd like. This could vary for you depending on your bead size or depending on the size you want your final pendant to be.
I’m going to put five on each side. We’re bending the wire to hold the beads on, if the wire were straight out, they would slide off.

Pull the wire into a circle and see if you’re happy with the size of it. Add more beads if you would like the circle to be bigger.
I'm using all the same color beads for my pendant, but you could switch it up and use different colors if you like.
If you want, you can use a ring mandrel or some other circular object to make sure your circle is perfect. But you can really just use your hands and do it freestyle.
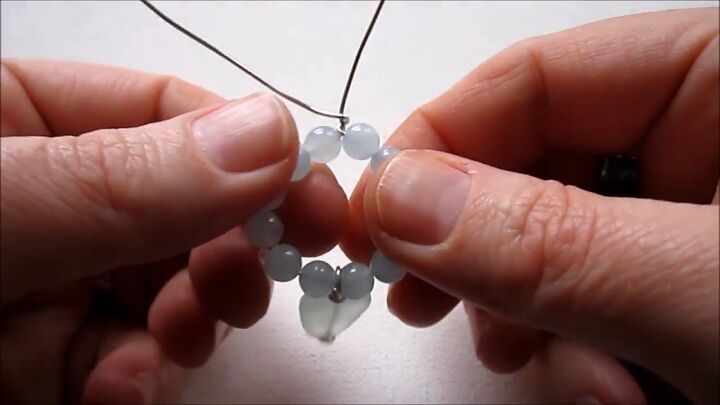
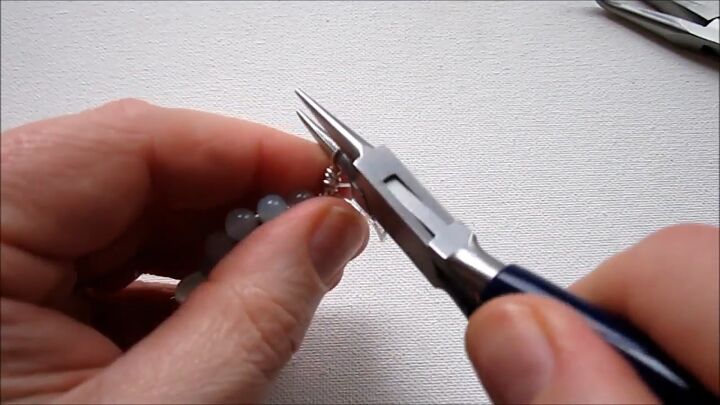
3. Twist the top wires
Twist the top wires that are crossing each other. Go all the way around once. Make sure that your focal bead is hanging in the middle.
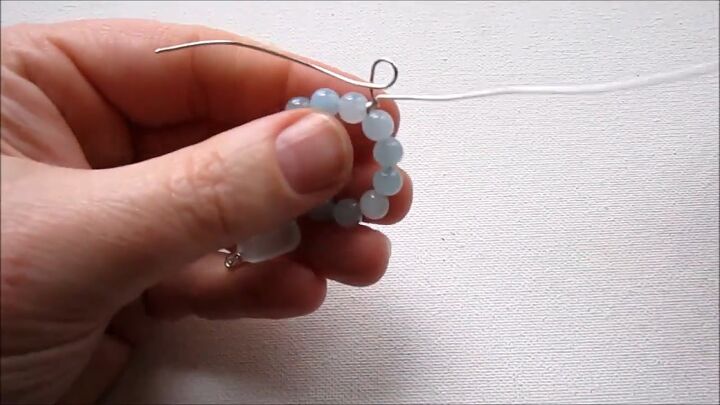
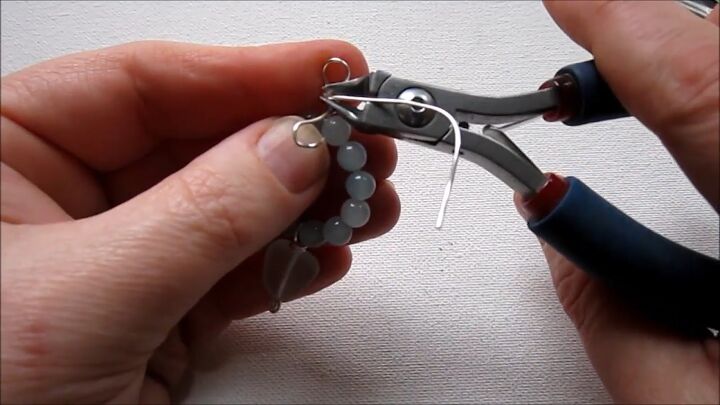
4. Make a loop
Now you have these two straight wires that come out, and we want to make a loop on the top.
Grab the round nose pliers, and hold one of the wires about a quarter of an inch (0.6cm) above the twist you just made. Twist the wire around the pliers to form a loop.

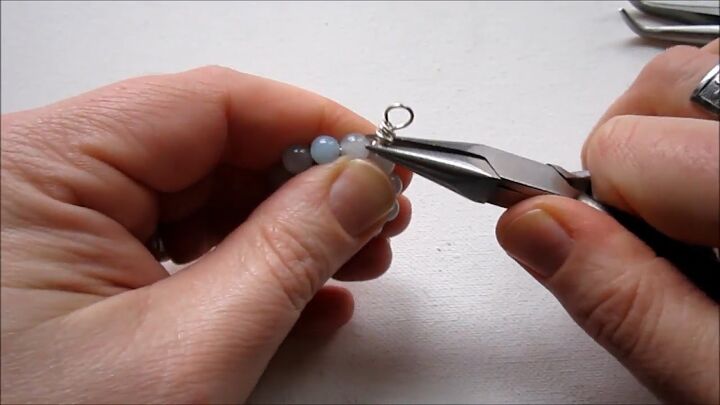
5. Wrap the loop
This loop is off-center, and we want it to be centered on the top of the pendant, not off to the side.
So hold that loop in your chain nose pliers and bring the wire around it once. While you do that, just straighten up the loop, so it is centered in the middle on the top.
Go around two more times and use your bent nose pliers to help you wrap.
Then, with the other wire, we're just going to go around a couple of times too.
If your loop gets misshapen at all, you can always just put your round nose pliers back in and form it back into a circle.
6. Trim off excess
Trim off the excess wire by making a flush cut with the wire cutters.
To do this, have the back, flat side of the wire cutters toward your work and make a cut.
Come in with your chain nose pliers, and make sure the ends of the wire are not poking out.
Now the pendant is complete. If you wanted to slide it onto a cord, then you would want to make sure that the loop is perpendicular to the cord.
To do that, you could just use your chain nose pliers and twist it so it’s at the right angle.
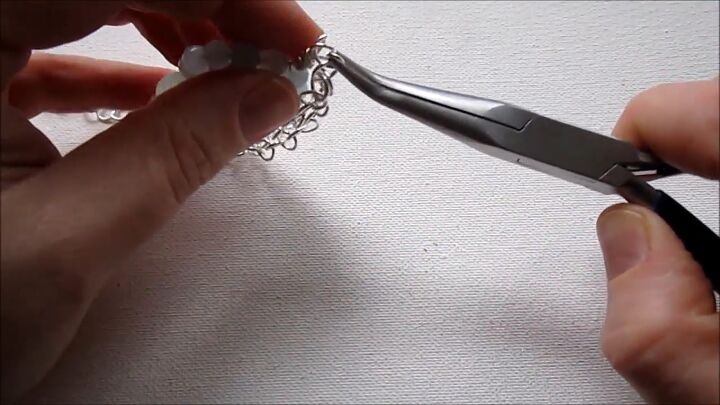
7. Attach to a chain
If you want to attach it to a chain (like I’m doing), simply find the middle of the chain, use a jump ring, and attach the pendant.
Then close up the jump ring.

DIY beaded pendant necklace
And that is the completed necklace!
It's pretty simple, and you can customize it by using all kinds of different beads. You could use larger beads, you can make a bigger circle, or you could try it without the focal bead and just have a simple, pretty circle. There are so many varieties that you can try.
I hope this tutorial has inspired you to give this circle pendant necklace a try. Let me know how you get on in the comments.
The author may collect a small share of sales from the links on this page.


Comments
Join the conversation