How to DIY a Cute 90's Choker Necklace

Fellow jewelers, I’m excited to say that the ’90s are back. I love 90’s jewelry and 90’s accessories, especially the choker necklace.
In this tutorial, we’re going to be making a DIY choker that looks just like a choker from Forever21, so let’s get started.
Tools and materials:
- Round nose pliers
- Long nose pliers
- Cutter tools
- Chain
- Beads or a pendant
- Magnetic or regular clasp
- Tiny jump rings
- Head pin
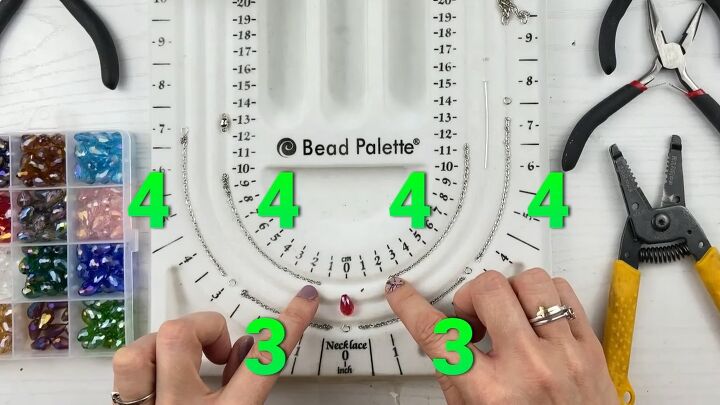
1. Cut out your chain
From your spool, cut out four pieces of chain.
Four of them should be 4 inches long and two should be 3 inches long.
These are the sizes I decided on for me, but you may need to adjust it to size according to who you’re making it for.
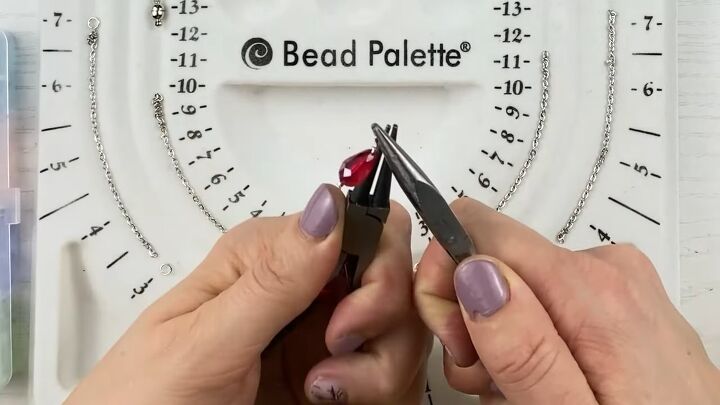
2. Place the head pin on your bead
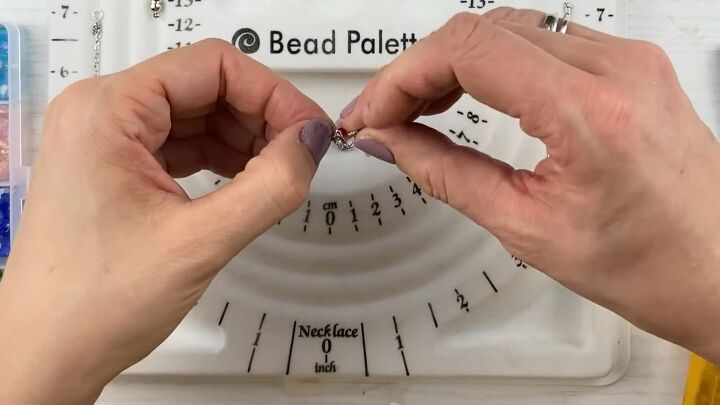
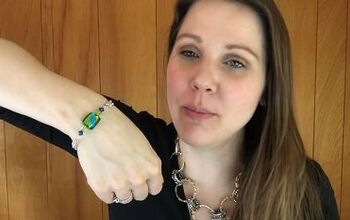
Next, we’re going to be making the pendant (the bead) that’s going to hang down.
You can buy a ready-to-use pendant if you don’t want to make one.
Since the hole on the bead I’m going to use is too big, and the headpin will just slip out, I’m going to slide a crimping bead onto the headpin.
Then put your head pin through the bead and it’ll stop at the crimping bead.
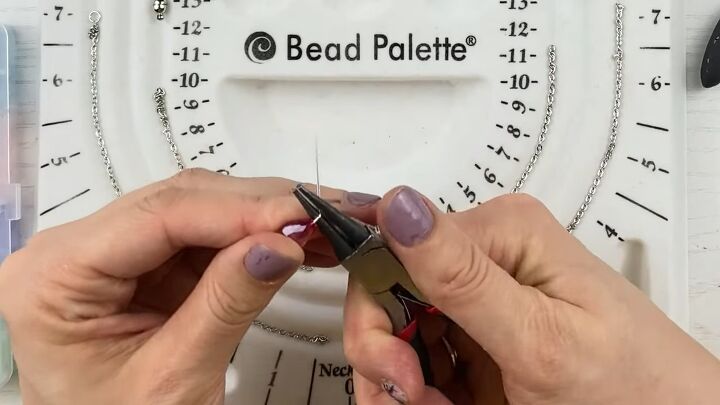
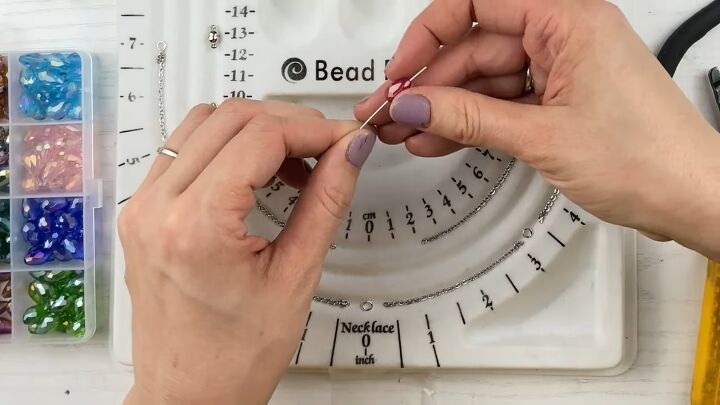
3. Bend the wire
You can do a simple loop with the remaining length of the pin, but I want to make it a little bit fancy, so I’m going to make a wrap.
To do this, start by bending the wire at a 90-degree angle.
Then bend the wire over the pliers.
Headpins are a tougher wire than an 18 or 20-gauge, so it can be harder to bend and wrap than a regular wire.
If your fingers aren’t as strong, I don’t recommend this technique.
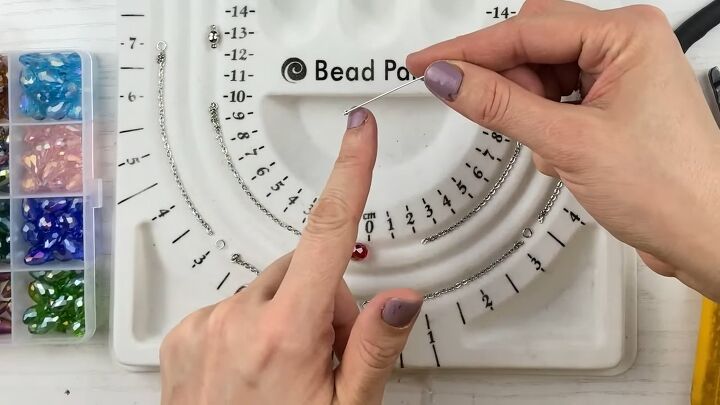
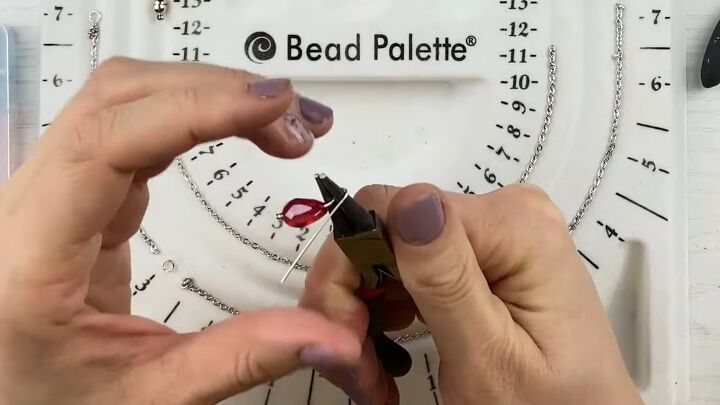
Finally, bend your wire underneath the wire.
It should look like a lady with a scarf.
4. Twist the wire around the loop
Hold the loop with snub nose pliers, then grab it at the end and start twisting it around the loop.
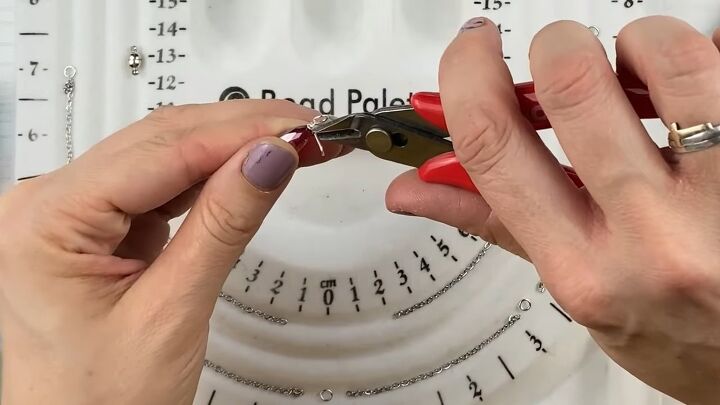
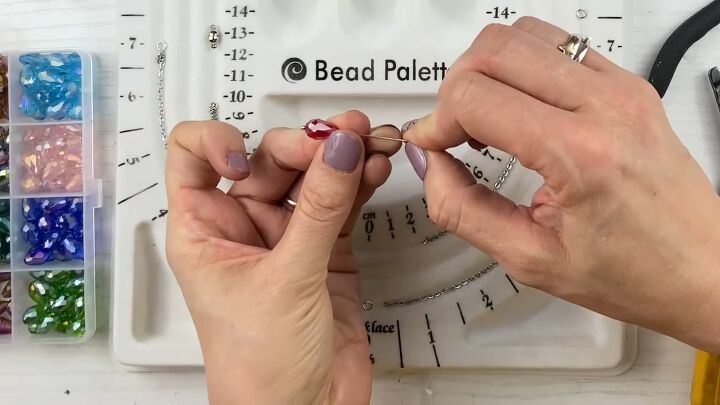
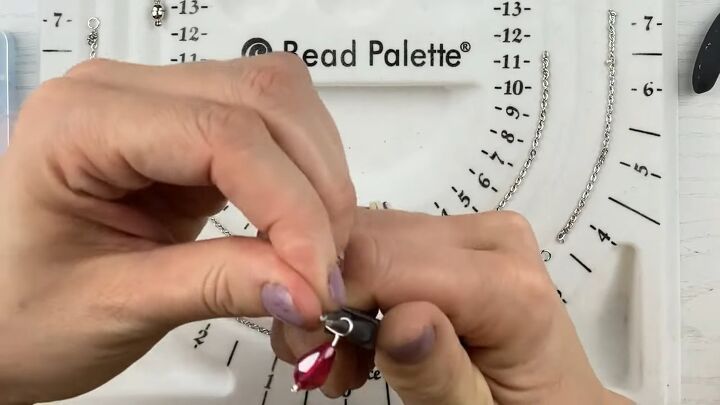
5. Cut the excess wire
Use close-cut clippers to cut as close as you can without cutting the loop.
6. Push the wire down
Squeeze and push in that wire. That’s all for the pendant!
Now, let’s assemble.
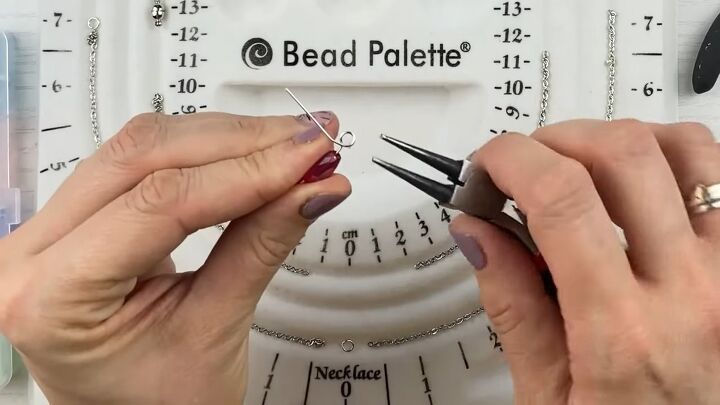
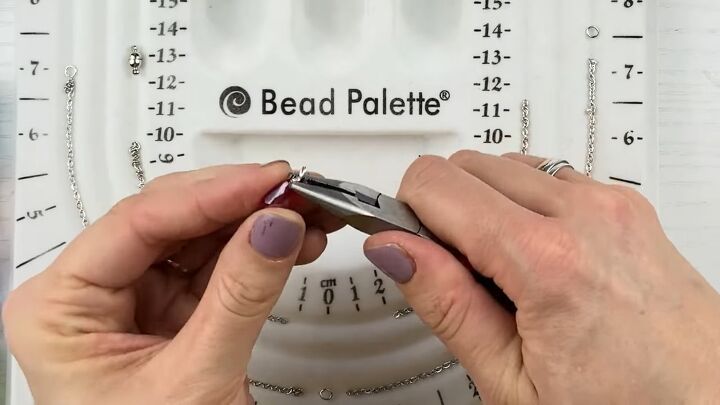
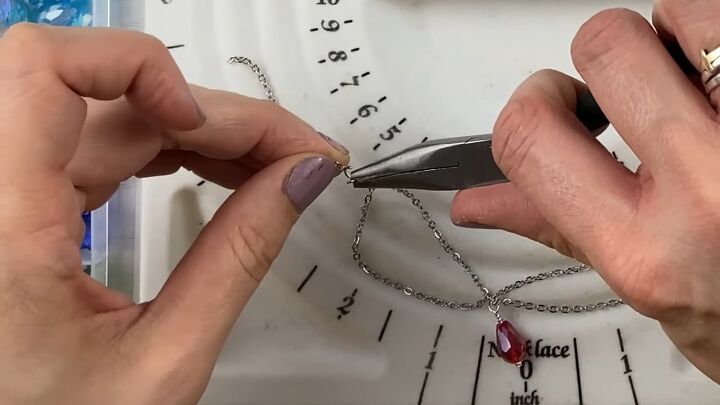
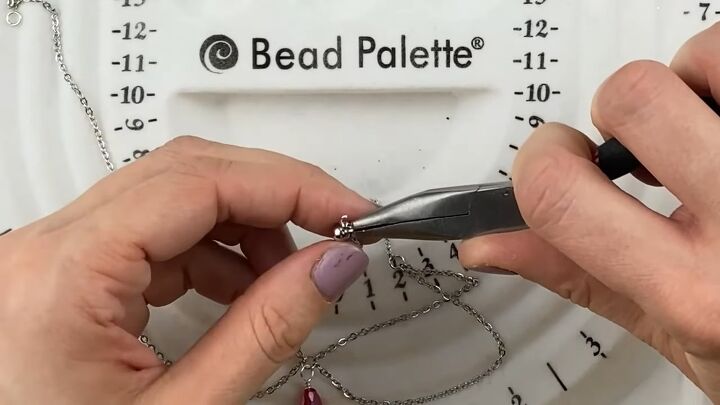
7. Attach the pendant to the middle ring
Let’s assemble the middle piece first because we’ll need to connect a few things there.
Start by opening it up and placing the pendant on it.
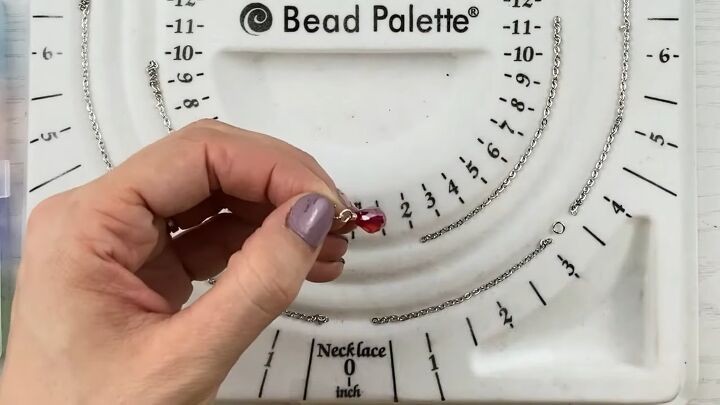
8. Attaching the chains to the middle jump ring
Put the chain that’s going to dangle down on first, which should be the 4-inch chain.
Then, attach the chain that is going to go around your neck, which is the 3-inch. So the 3-inch chain should be above the 4-inch chain on one side.
Repeat with the 3-inch and 4-inch chains on the other side.
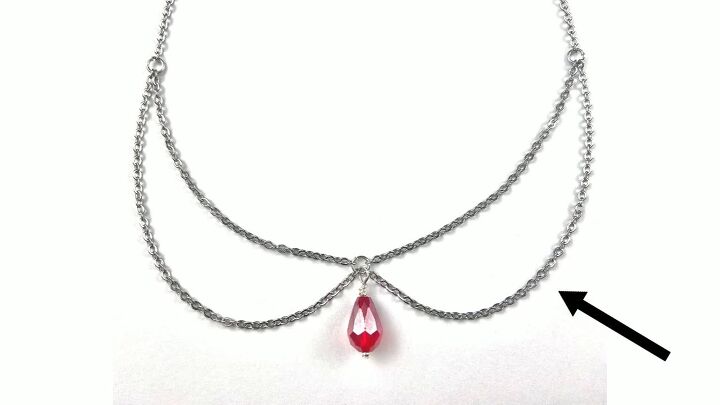
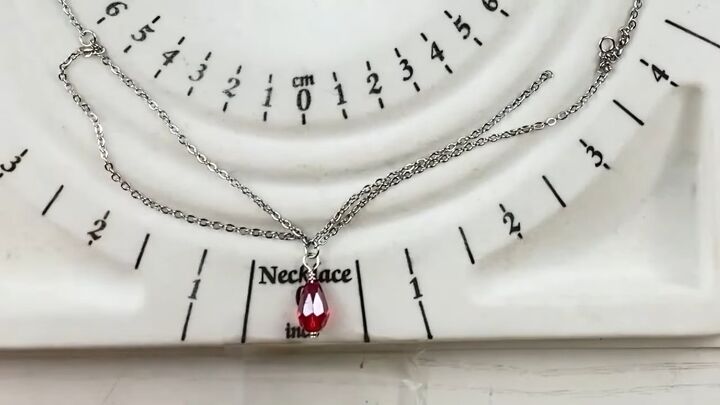
Here’s a visual of what we’re making. Everything needs to be in the right order otherwise it will get twisted and won’t look nice.
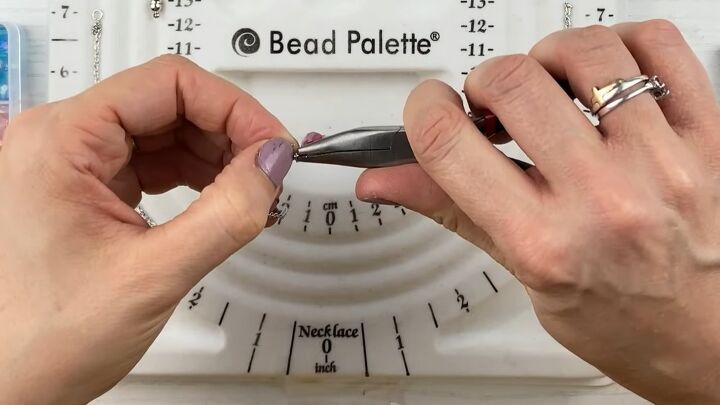
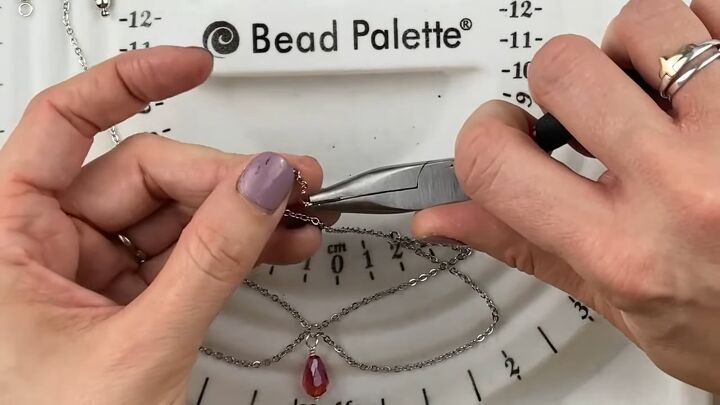
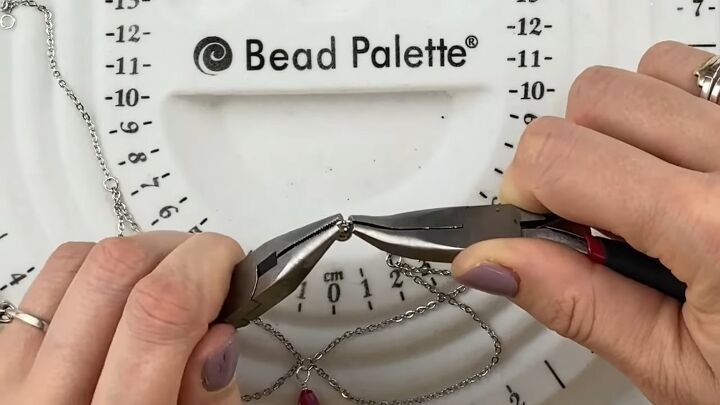
9. Close the ring
Close up the jump ring with pliers.
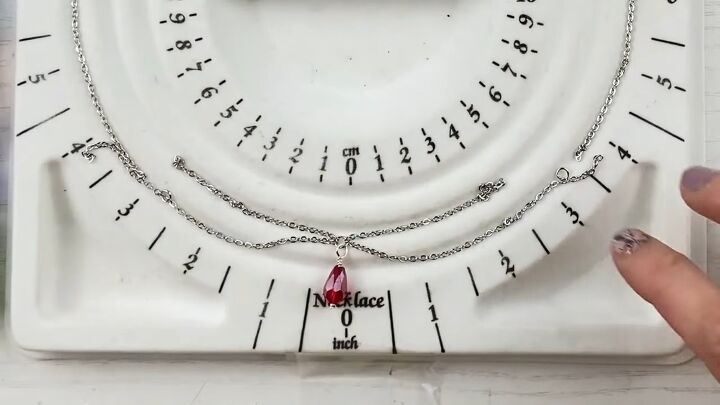
10. Straighten it out
Go ahead and straighten out the necklace so you can see what you’re working with.
If it’s in the wrong order, you can undo the jump ring and restart it again.
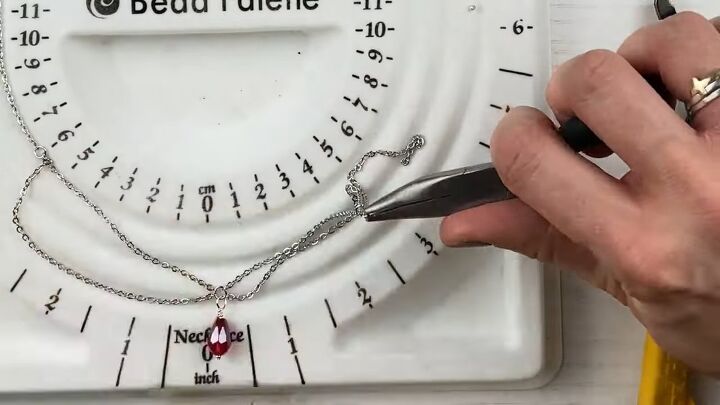
11. Connect the chains to a jump ring on both sides
Open your jump ring. You need to put three chains through on each side, so make sure you do it in the right order.
Start with the one that dangles down, the 4-inch, and then put on the 3-inch which is the one that will go on your neck.
Finally, place one of the unattached 4-inch chains on the jump ring. This one will reach behind your neck.
Here’s what this should look like.
Repeat on the other side.
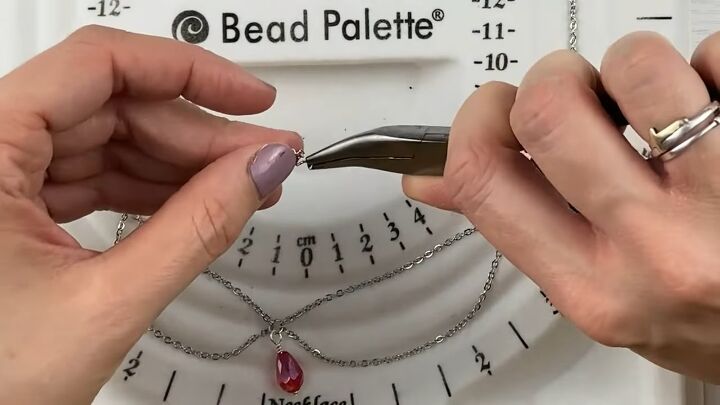
12. Attach a jump ring to one the end of the necklace
Open a new jump ring and put it on the end of one side. It doesn’t matter which side you do first.
13. Attach the clasp
Open the clasp and attach one side to the jump ring.
Then close up the jump ring.
Make sure there’s no gap, otherwise your necklace will fall apart.
14. Repeat on the other side
Attach a jump ring and the clasp to the other side.
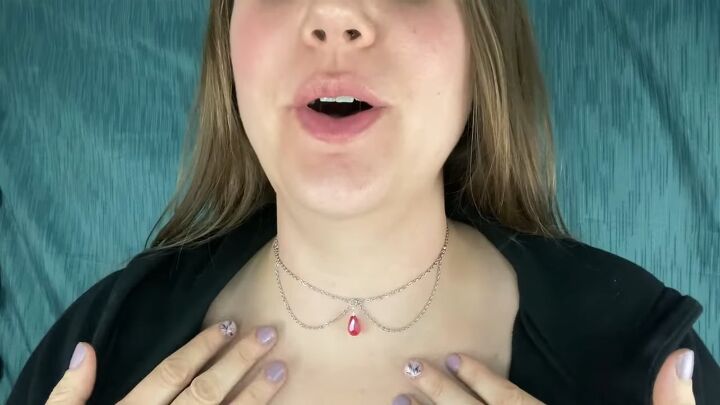
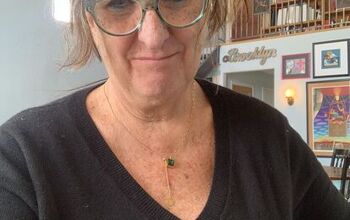
90’s accessories: DIY choker
Here’s the finished DIY choker necklace! This looks like a Forever21 choker and I love it! It feels like the 90’s all over again.
Let me know what you think about this choker down below.
The author may collect a small share of sales from the links on this page.


Comments
Join the conversation