How to Make a Super Cute Chain Bracelet

Welcome jewelers! This might be my favorite bracelet style by far! It’s super easy to make and it looks amazing on.
Follow along to learn how to make this multi chain bracelet for you (and for your friends, who will undoubtedly ask you to make one for them).
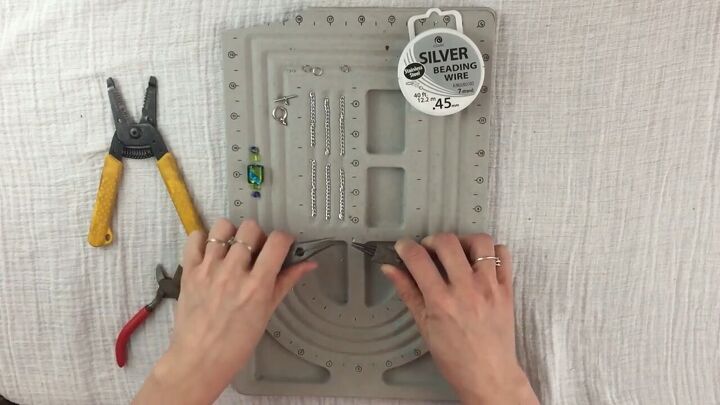
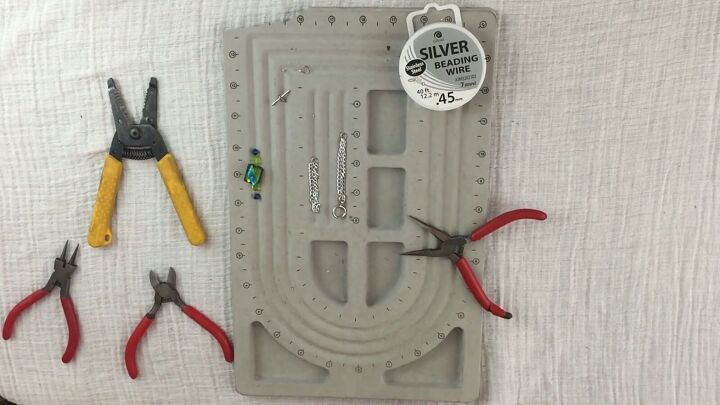
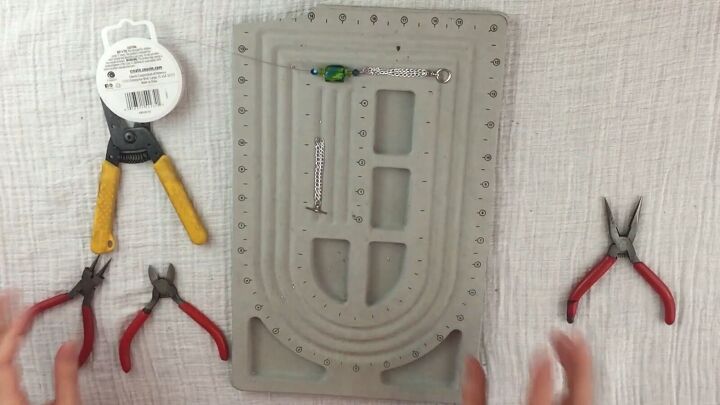
Tools and materials:
- Long nose pliers
- Round nose pliers
- Jewelry cutter tool
- Electrician cutter tool
- Silver beading wire (.45)
- 1 large bead
- 4 small beads
- 6, 2” pieces of chains
- Toggle clasp
- 4 split rings
- 2 crimping beads
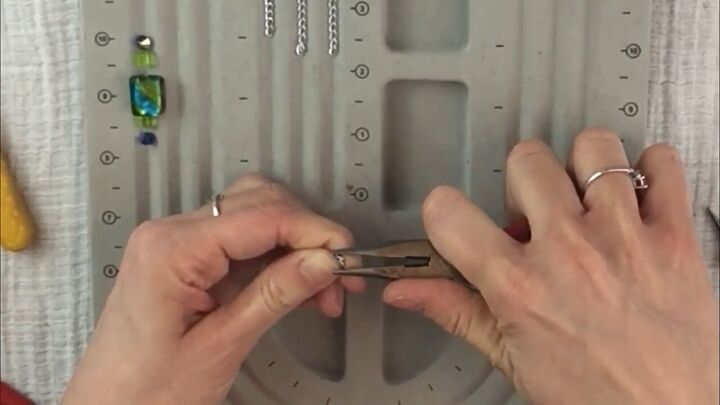
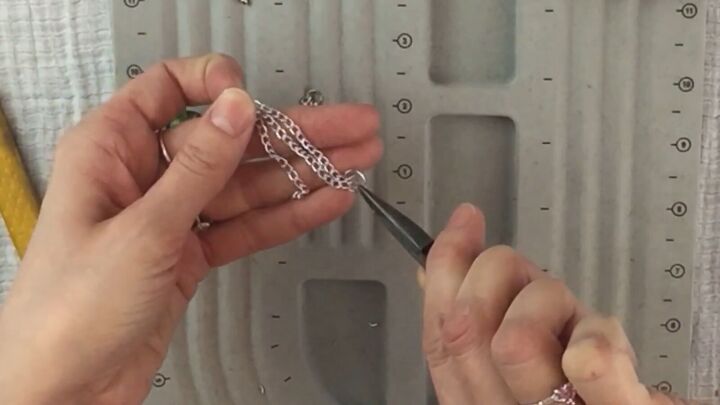
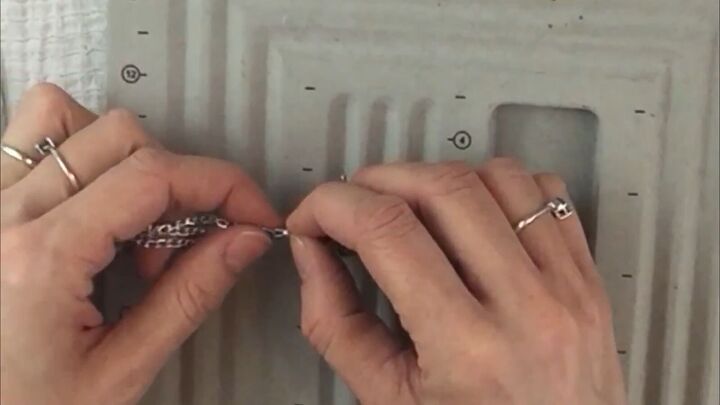
1. Attach chains to the split rings
Open up your first, split ring.
Then attach 3 chains to the split ring. Close the ring with your long nose pliers.
Make sure there’s no gap because the chains could fall off.
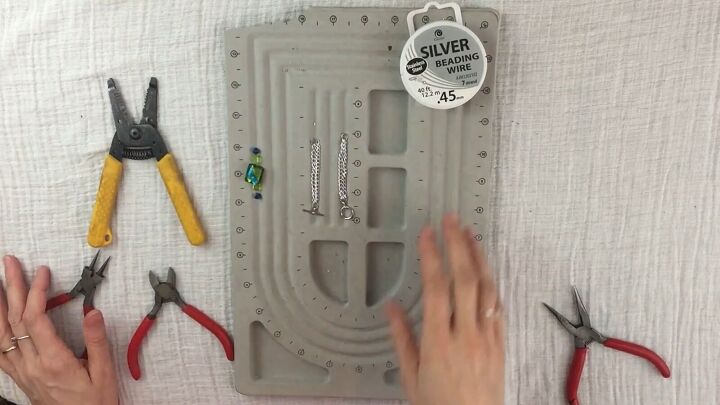
Here’s what you should have so far:
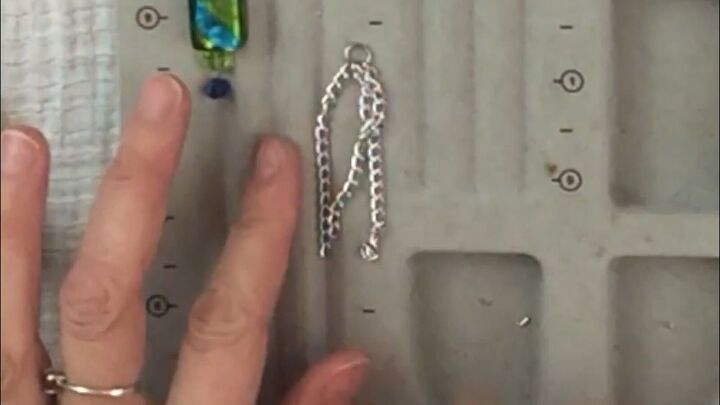
Repeat with the next 3 chains on another split ring.
2. Attach the clasp to a split ring
Take a split ring, open it up with pliers and put one set of chains through.
Make sure the chains are in the right order so that they don’t criss cross.
Next, put the toggle clasp through and close up the split ring.
Again, make sure there is no gap. You can see how it’s coming together:
Repeat the same process for the other group of chains and the toggle part of the clasp.
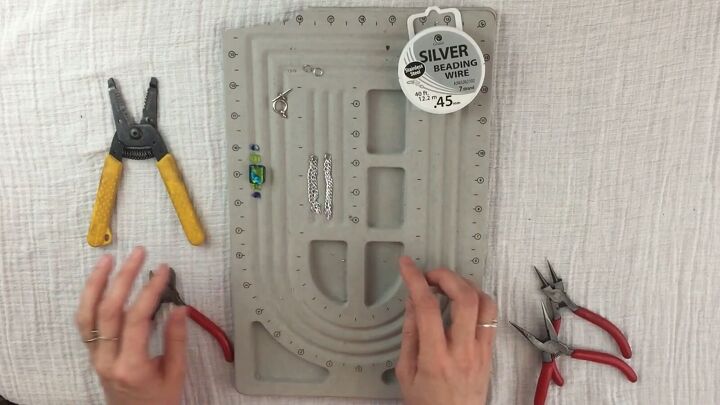
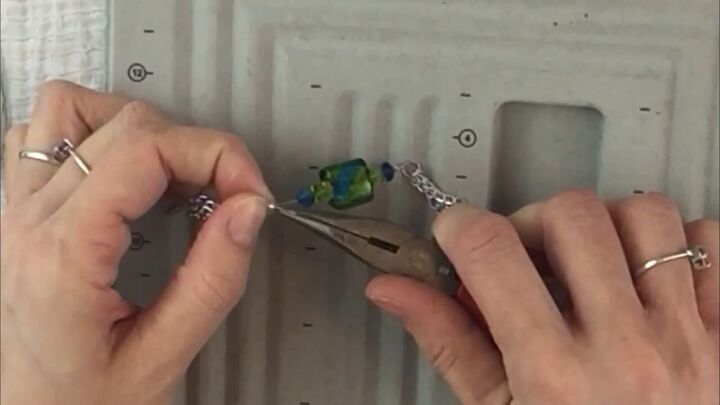
3. String the beads on the wire
Before cutting the wire, simply string the beads on the wire in the order that you want them.
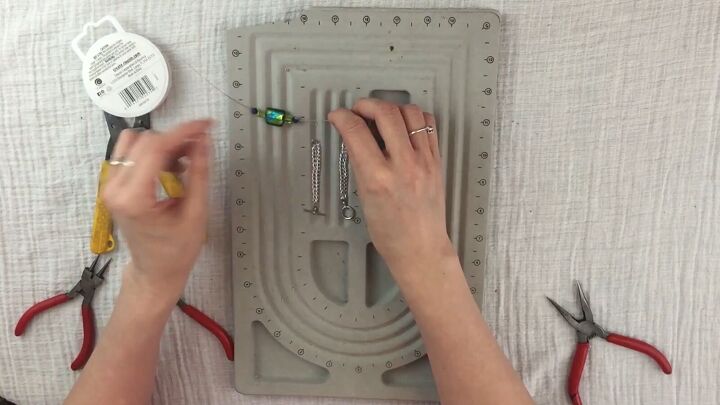
Next, add a crimping bead to the end and attach one of your chain groups (it doesn’t matter which one), putting the wire through the split ring.
Now, bend the wire around the split ring, add the crimp bead and crimp it down with your pliers.
Leave the extra wire and put it through the bead. Make sure the end doesn’t stick out from the bead.
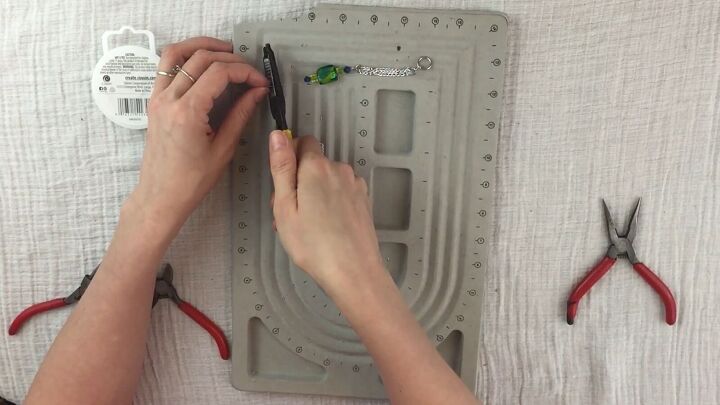
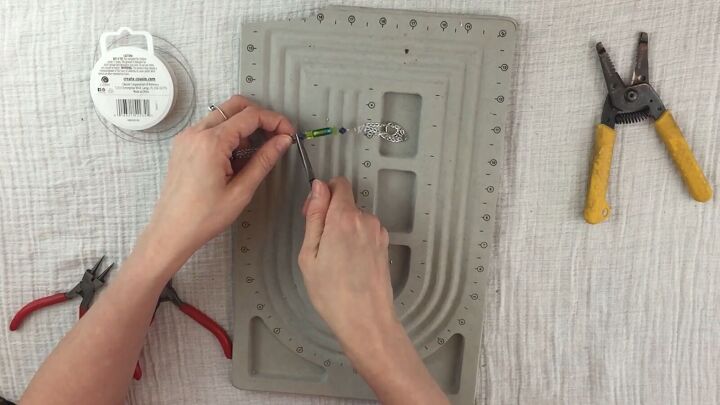
4. Cut the wire
Use your electrician cutter tool to cut the wire, leaving a bit extra just in case.
You’ll need enough room to put another crimping bead on there followed by the chain and clasp.
5. Complete the other side
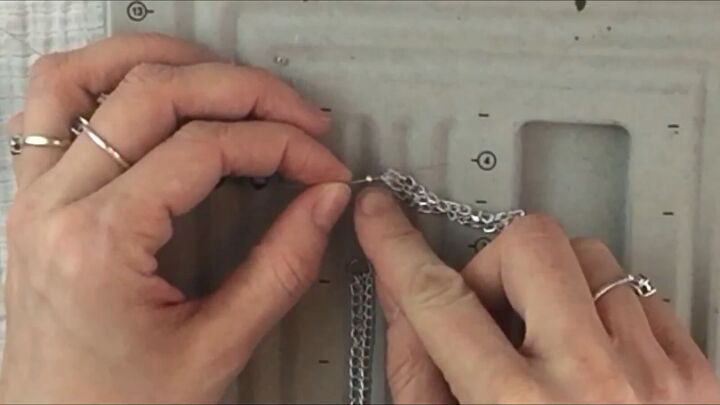
String on the other crimping bead, followed by the split ring. Put the wire around the split ring, as we did earlier.
6. Prevent a gap in the bracelet
To avoid having a gap between the pieces, take your pliers to grab the end of the wire.
Gently pull the wire while holding the chains steady with your other hand. Wiggle the wire gently if it seems stuck.
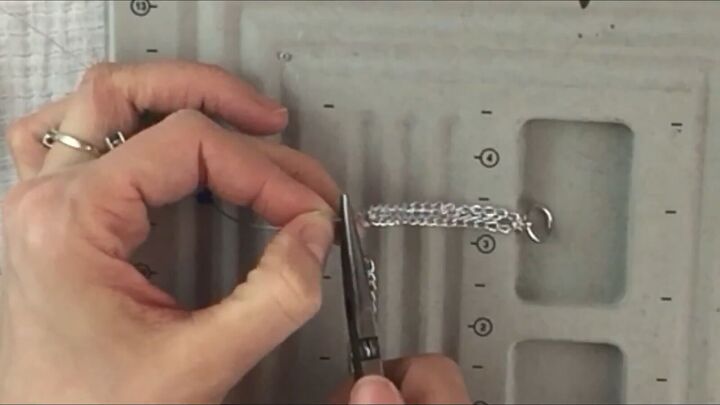
7. Crimp the last crimp bead
Now that everything is in place and there is no gap, use your pliers to crimp the last crimp bead.
If you end up with a long piece of wire, you can cut some of it before hiding the end through the adjacent bead.
And here you have your gorgeous, DIY beaded chain bracelet!

How to make a chain bracelet
I hope you loved this tutorial for how to make a triple chain bracelet!
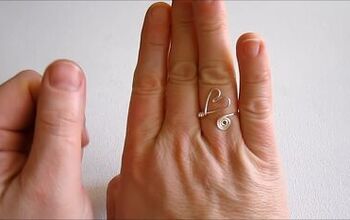
If you’re looking for more creative, DIY jewelry, check out my post on How to DIY a Cute 90's Choker Necklace. Bye for now!
The author may collect a small share of sales from the links on this page.


Comments
Join the conversation