3 DIY Rhinestone & Feather Choker Necklaces That Look Super Cute

Today, I’ll be teaching you how to make your very own rhinestone chokers. I’ve created three different styles that are great for the holiday season or just for your day-to-day style, including a feather choker. Want to know how to make your very own DIY choker? Keep reading!
Tools and materials:
- Crystal panel
- Ribbon
- Scissors
- Glue
- Fastener clasps
- Jump rings
- Extension chains
- Lobster clasp
- Measuring tape
- Pliers
- Rhinestone trim
- Feather trim
- Wrapping wire
DIY crystal panel choker
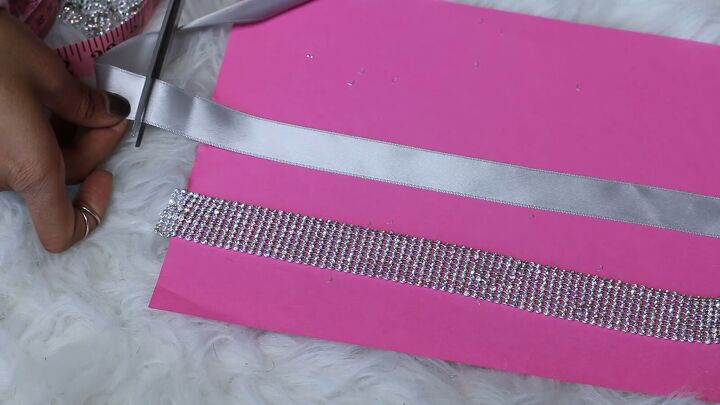
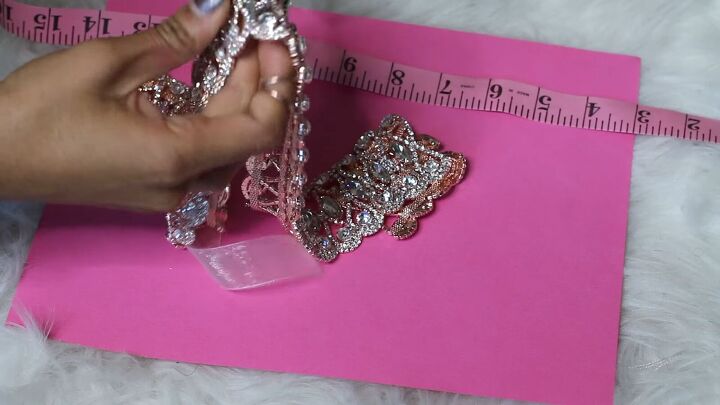
1. Cut crystal panel and ribbon to the desired length
First, cut the crystal panel to the desired length. In most cases, this is going to be somewhere between 11-12 inches for the average neck size. Then, cut the ribbon to follow, but cut the ribbon just a little bit longer.
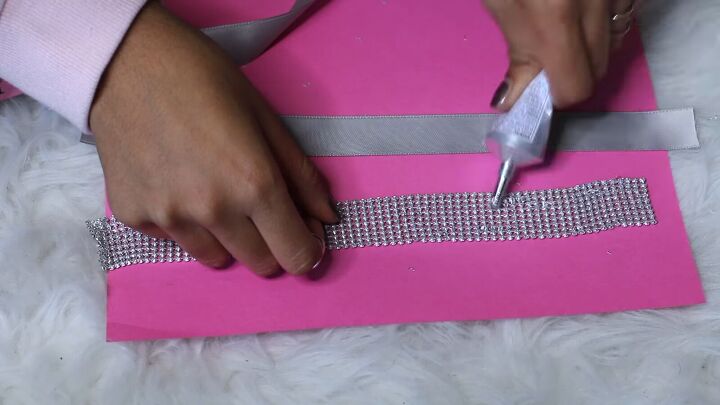
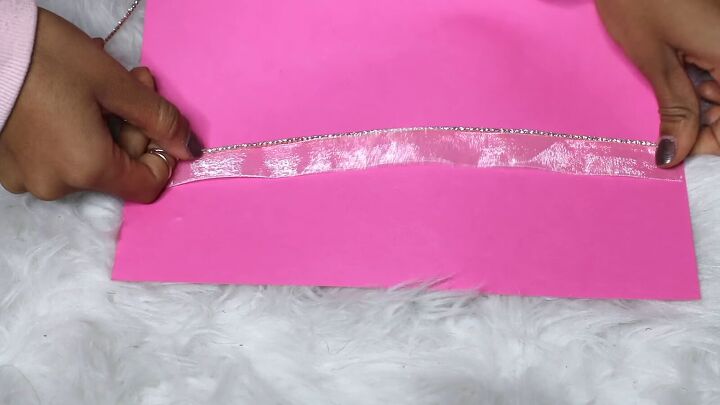
2. Apply glue to the crystal panel
Next, apply glue to the crystal panel. Try not to add too much glue because you don’t want it to seep through the ribbon.
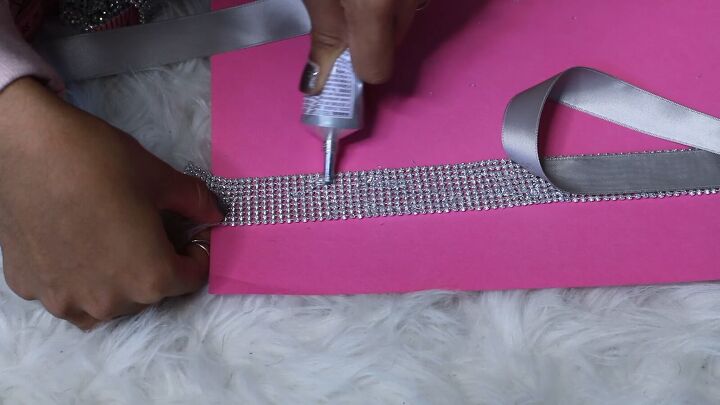
3. Apply the ribbon to the panel
Apply the ribbon to the glue and crystal panel. Once it’s glued, add more glue as necessary. It can get a bit messy, so just be careful and try to make it as neat as possible. Take your time.
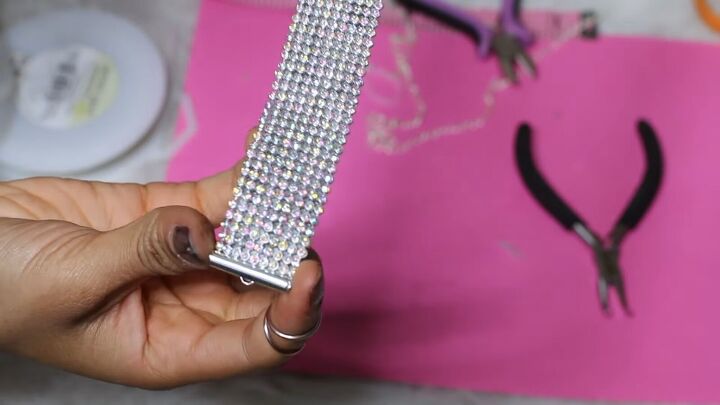
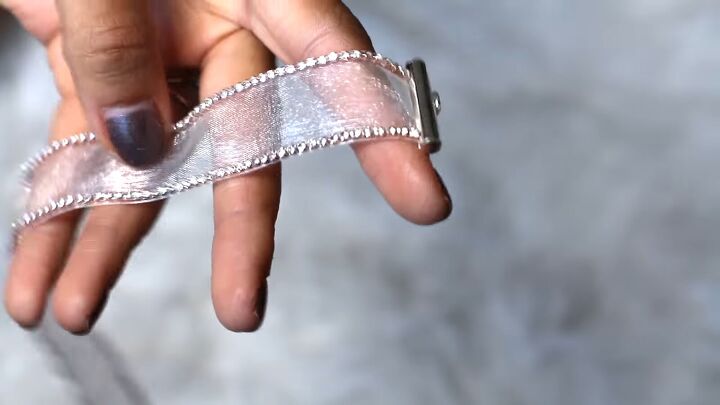
4. Attach fastener clasps
Next, I attached a 1-inch fastener clasp to both sides of the choker.
5. Attach jump ring and extension chain to clasp
Cut enough for the extension chain which is usually about two inches. Then, attach a large jump ring to the extension chain and hook it onto the fastener clasp.
Then, attach the small ring to the hook and lobster clasp to the other side.
Once you connect the large ring to the clasp at the other end, you’re done.

Here’s the finished DIY rhinestone choker!
DIY feather choker
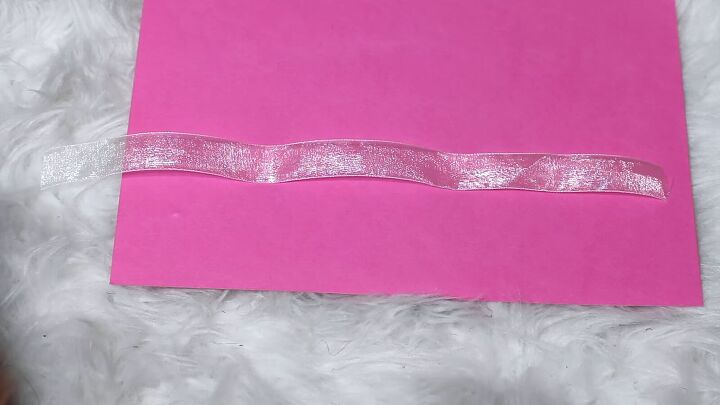
1. Cut ribbon
Cut your ribbon to the desired length again.
2. Apply rhinestone trim
Apply the rhinestone trim along the edges using your glue.
3. Add closures
Add closures in the same exact way as you did in the first choker.
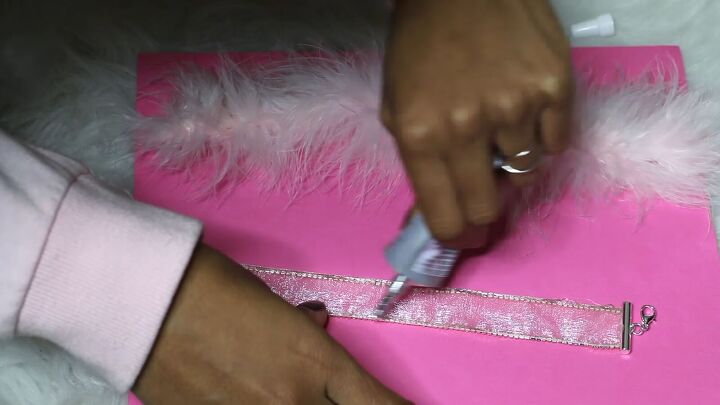
4. Attach feather trim to choker
Cut the feather trim to match the size of the choker. Add glue to the bottom of each side, just the edges because this glue can be very messy.
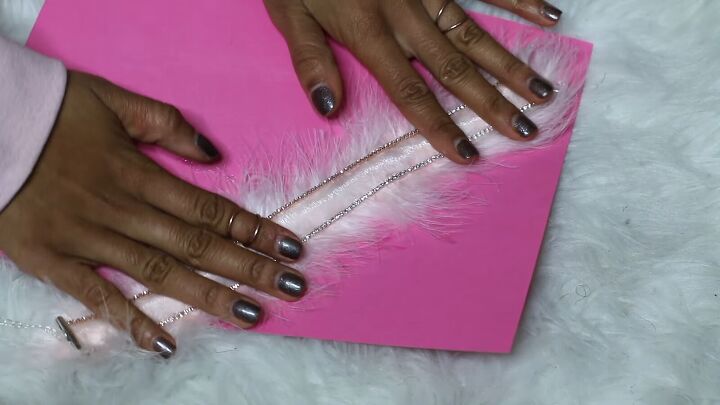
Then, attach the feathers to the choker and cut off any excess.

Here’s the finished feather choker! This choker was definitely cute before the feathers as well and you can totally leave it like that if you prefer.
DIY rhinestone choker
1. Cut rhinestone trim
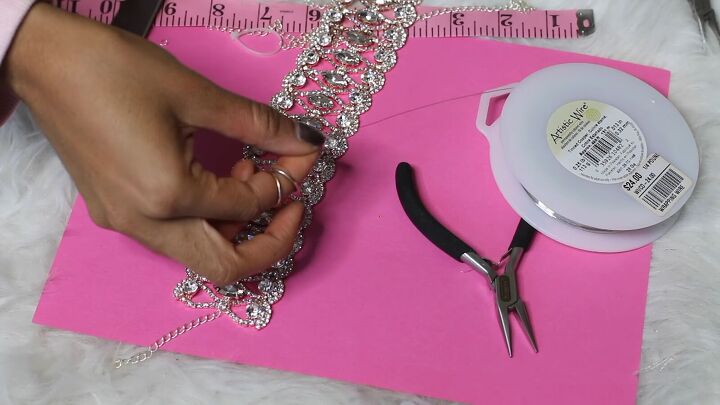
Cut your rhinestone trim to the desired length, which is about 12 inches, as always.

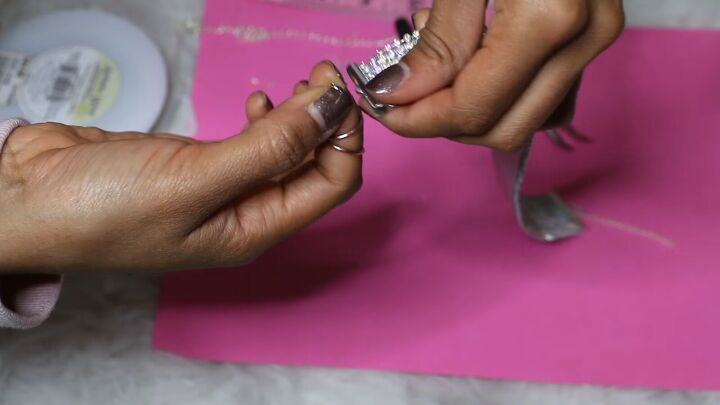
2. Add jump ring and extension chain
Then, I added a large jump ring and extension chain.
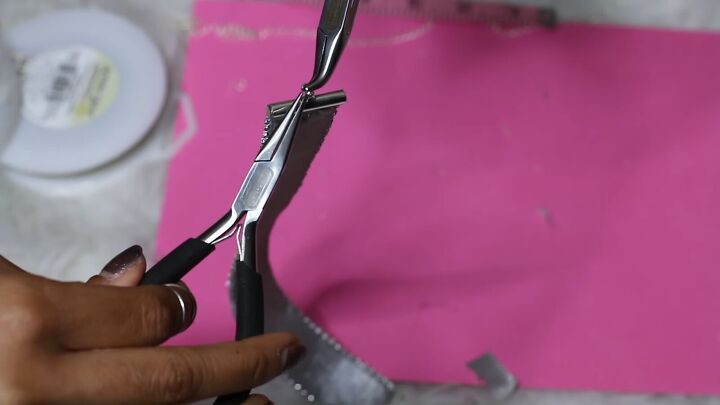
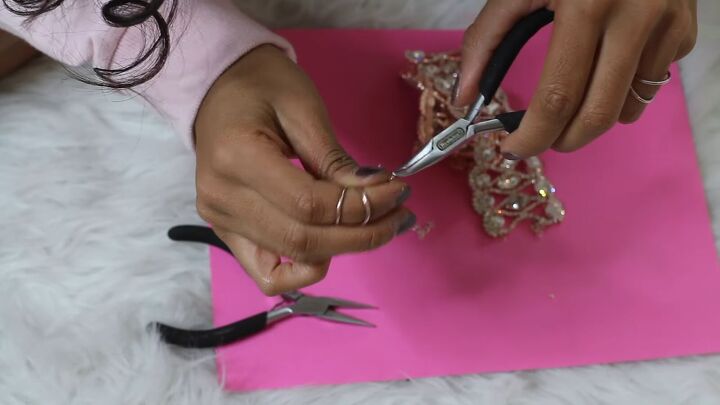
3. (Optional) Reinforce the jump ring
This is optional, but I completely reinforced the jump ring using wrapping wire for this particular trim. I don’t want the jump ring moving around, so I used the wrapping wire to keep the jump ring in place.
4. Add additional closures and wire to the bottom portion
I added another set of hooks and chains to the other side of the choker.
Since this is a heavier choker than most, you want to make sure it’s going to feel secure and tight around your neck without a gap in the front.

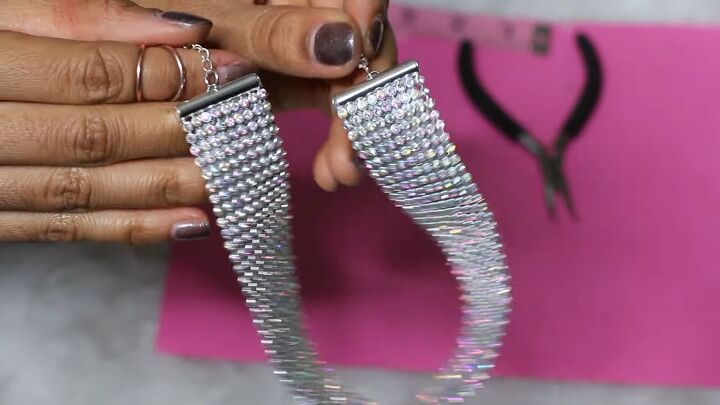
Here’s the finished choker!
DIY rhinestone and feather chokers
These DIY choker necklaces are some of my new favorite chokers. Let me know which one is your favorite down below!
The author may collect a small share of sales from the links on this page.


Comments
Join the conversation
These are exquisite!!!
I like just the last choker best.