DIY Jewelry Tutorial: How to Make a Pretty Necklace Pendant

In this tutorial, I will show you how to make a simple wire-wrapped bead pendant necklace.
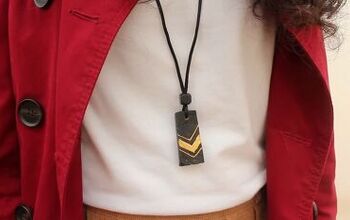
Once you’ve mastered how to make a simple dangle pendant, you can express your personal style and creativity in how you wear them.
Try wearing one at a time or combining a few for your own unique look! You can vary the type and length of your chains, and the size and style of your dangle beads!
Tools and materials:
- Wire cutter
- Chain-nose or flat-nosed pliers
- Round-nose pliers
- Bent-nose or any other second pair of pliers
- Crimping tool
- Assorted beads, drilled top to bottom
- Chain or cord
- Wire or a headpin that fits through bead hole
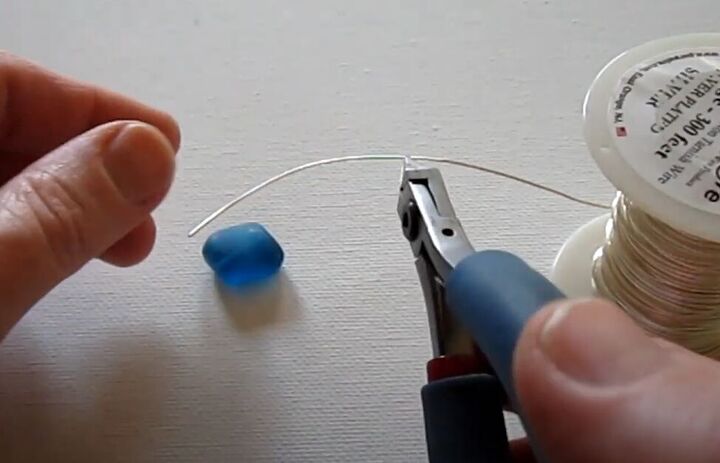
1. Cut the wire for wire-wrapping
You will use the wire to make a headpin, so if you already have a headpin, you can skip this step.
Use the back side of your wire cutters to make a flush-cut in your wire, cutting the wire a couple of inches longer than the length of your bead.
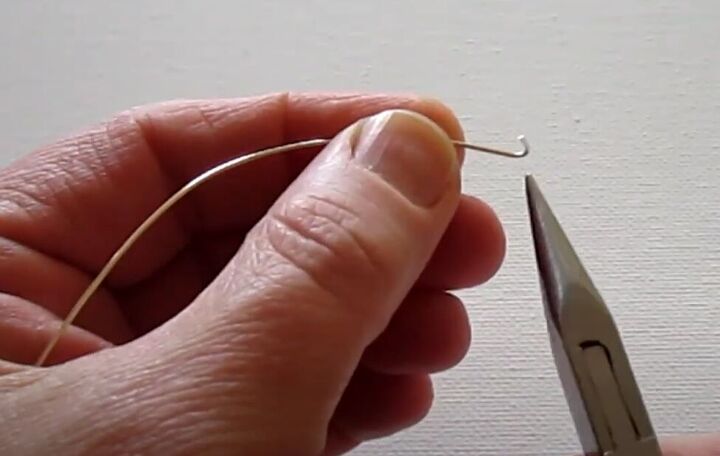
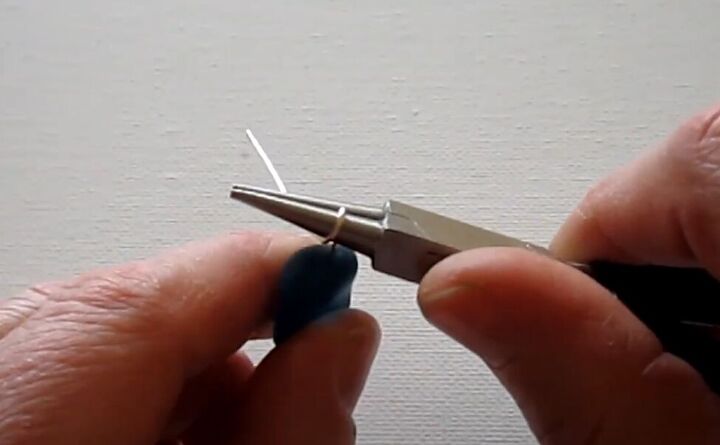
Use your chain, or flat-nose pliers, to bend the end of the cut wire.
2. Wire-wrap your bead
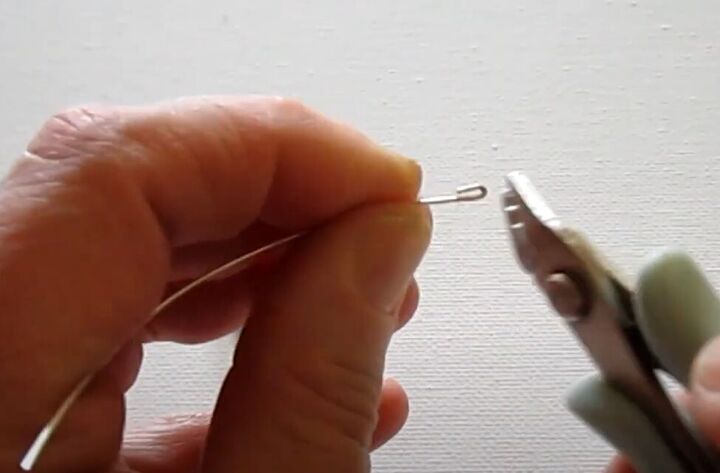
Flatten the bend into a loop using your crimp tool.
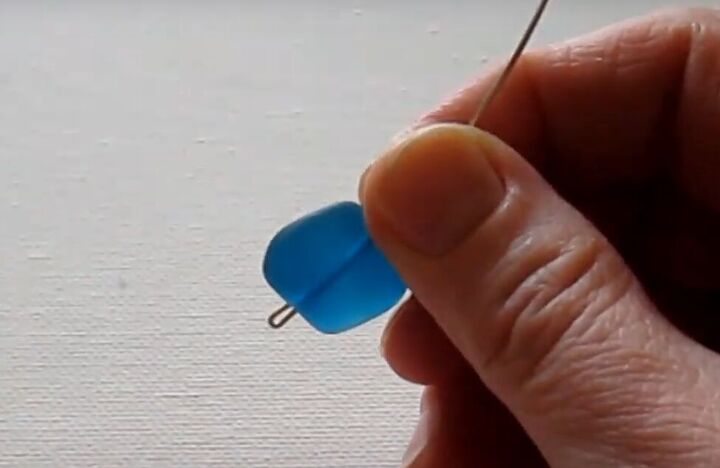
Slide your bead onto the wire and make sure the looped end of your wire or your headpin holds the bead on the wire.
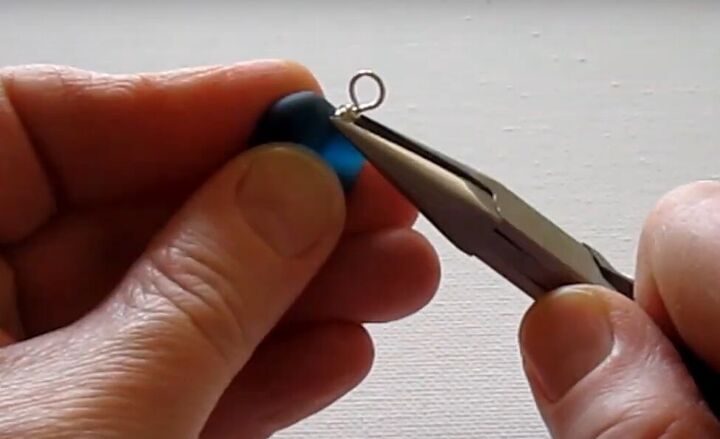
With your round-nose pliers, grab the wire about ¼-inch above the bead, and wrap the wire once around one barrel of the pliers.
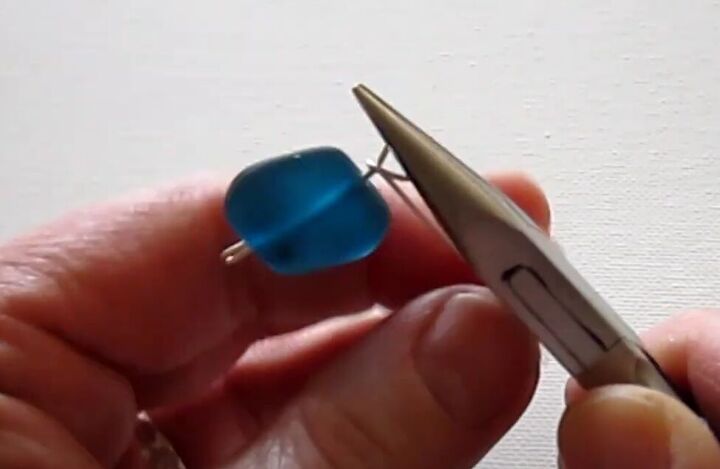
The loop you have just created is off-center.
To center it, hold the loop in your chain-nose pliers. Wrap the wire around the loop once, and while doing so, pull the bead out to one side to center it relative to the loop.
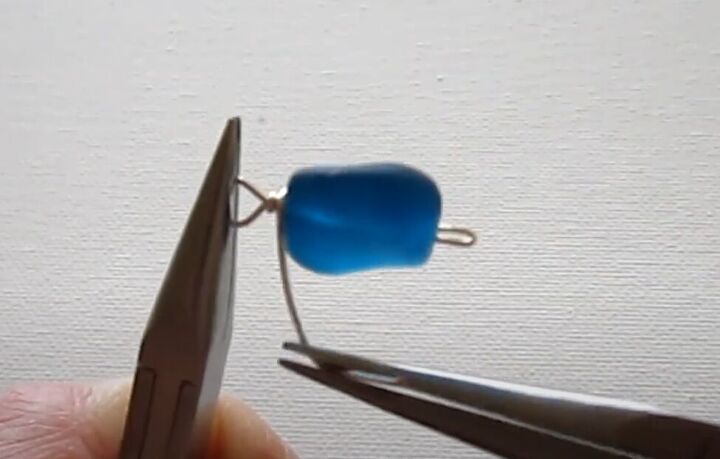
Now, use your extra pair of pliers to wrap the wire around the lop two more times, keeping your wraps straight and tight.
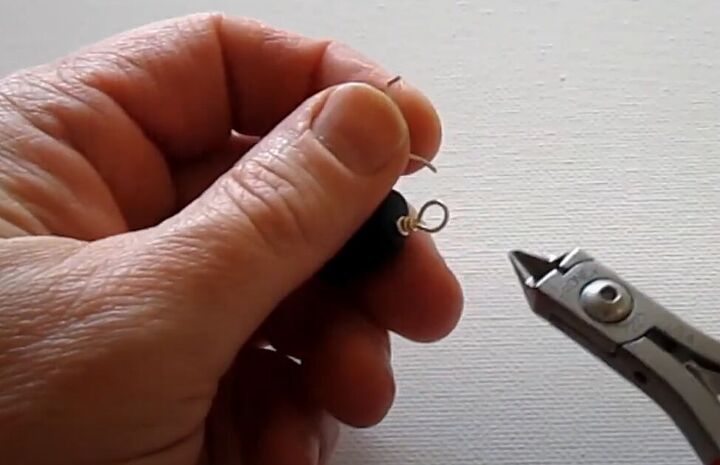
Flush-cut off the excess wire.
Use your chain-nose pliers to make sure the wrapped wire is nice and secure and no wire is poking out.
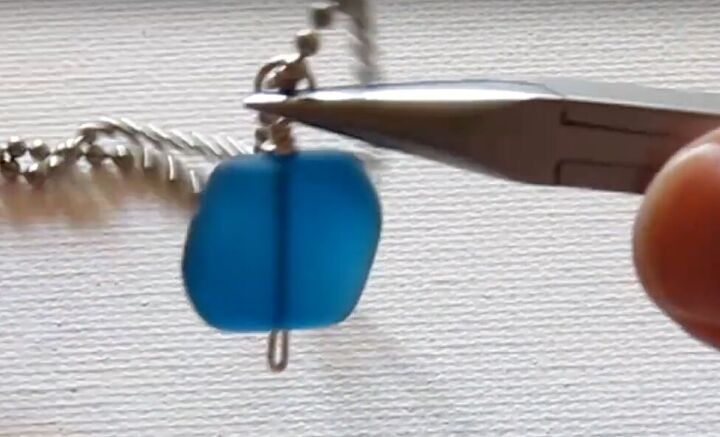
3. Slide your bead onto your chain and adjust
Slide your wrapped bead onto your cord or chain.
If you find that the bead isn’t hanging correctly, use your chain nose pliers to twist the wrapped wire above the bead until it’s hanging the way you want it to.

If you want the option of putting your dangle bead on different cords and chains, you could add a jump ring to the wire loop that allows for different chain and rope thicknesses to fit through it.

You can also add more than one dangle bead to a single chain.

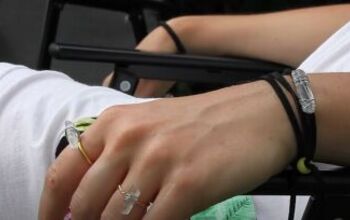
DIY necklace pendants
And of course, you don’t have to limit these necklaces to dangle beads. You can also use charms, or old keys – anything decorative that you’d like to display in your necklace.
And then, wear as many of your necklaces at once as you want!
Try out this wire-wrapped necklace technique yourself and let me know how you liked it by leaving a comment.
The author may collect a small share of sales from the links on this page.


Comments
Join the conversation