DIY Halloween Jewelry: How to Make Cute Witch's Broomstick Pendants

I have a great DIY Halloween jewelry tutorial to show you. We are going to be making a gorgeous copper wire pendant in the shape of a witch's broomstick.
If dressing up on Halloween for you means staying suave and stylish, this witch pendant is a charming piece to have.
Tools and materials:
- 16 gauge wire
- 26 gauge wire
- 28 gauge wire
- Ruler
- Pliers
- Hammer
- File
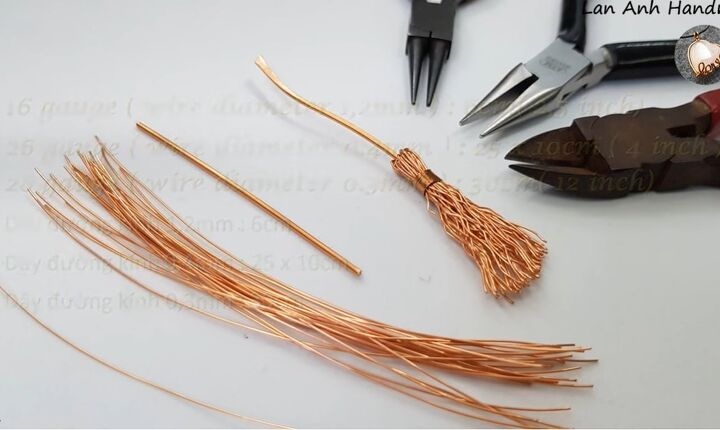
1. Cut the wire
Start by cutting the wire to size.
You will need 6cm (2.5 inches) of the 16 gauge wire, 25 pieces of 10cm (4 inches) of 26 gauge wire, and 30cm (12 inches) of 28 gauge wire.
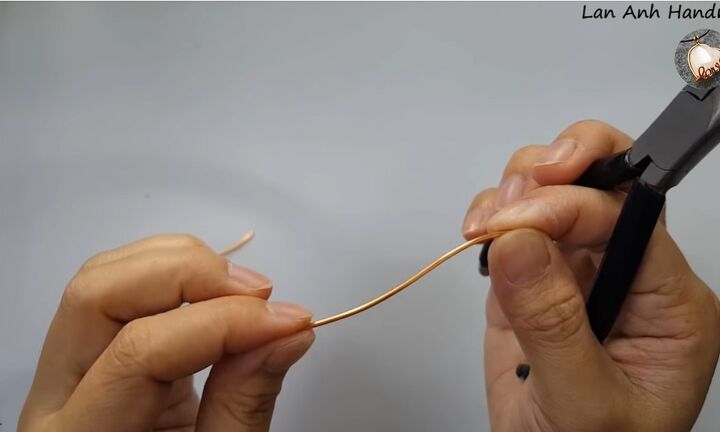
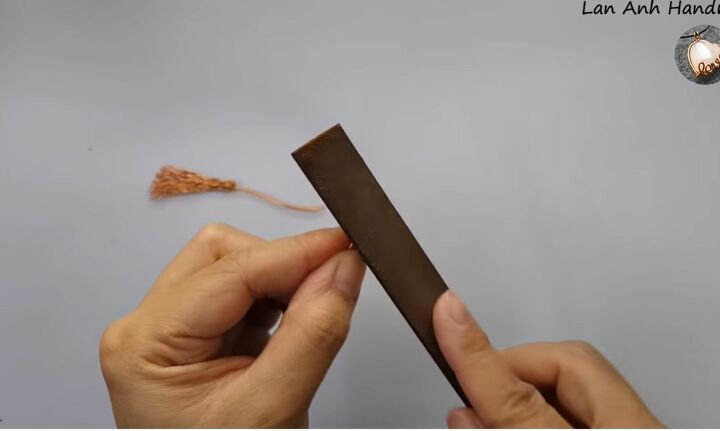
2. Bend the thick wire
Bend the 16 gauge wire with your hands and use your pliers to help you bend the ends of it so that you have a gentle curve. This will be the shaft of the broomstick.
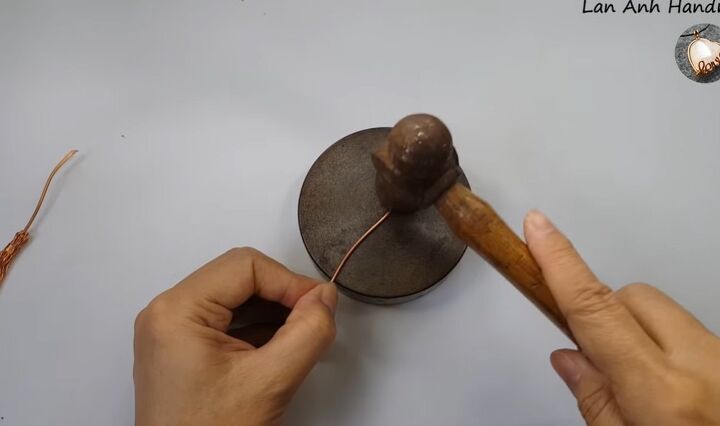
3. Flatten it down
Now use a hammer on top of a metal surface to flatten the piece of wire down.
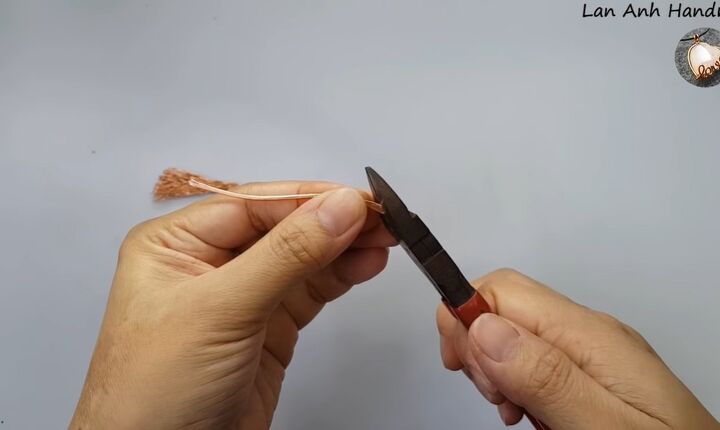
4. Trim the end
Use pliers to trim the end of the wire on a slant.
5. File the end
Then, file the end down to give it a smooth finish.
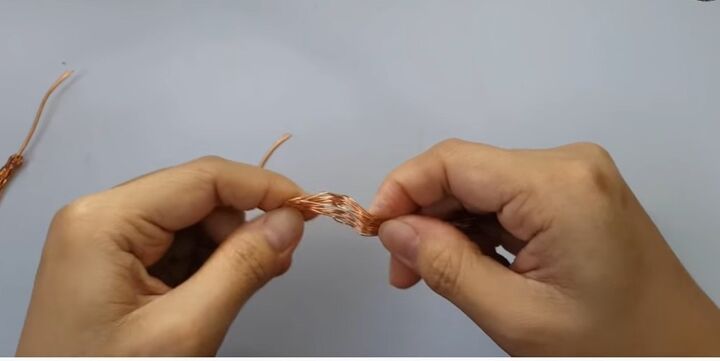
6. Bend the thin wire
To make the brush part of the broom, take the 25 pieces of 26-gauge wire and bend them in different places along the wire. This will create a crinkled effect.
You can start by doing this with all of the pieces held together, but you may then want to separate each piece out and bend it individually.
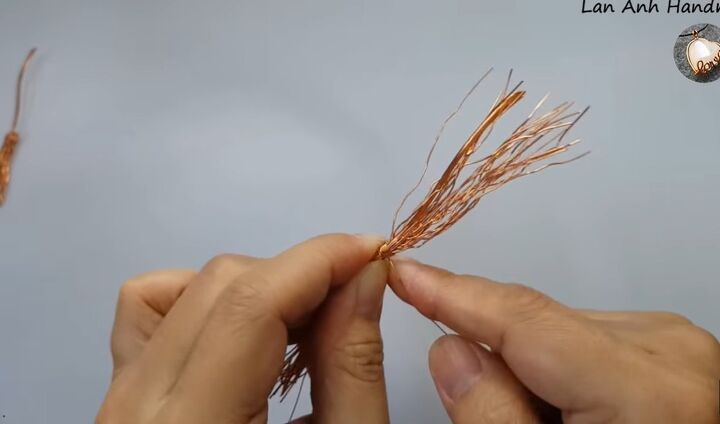
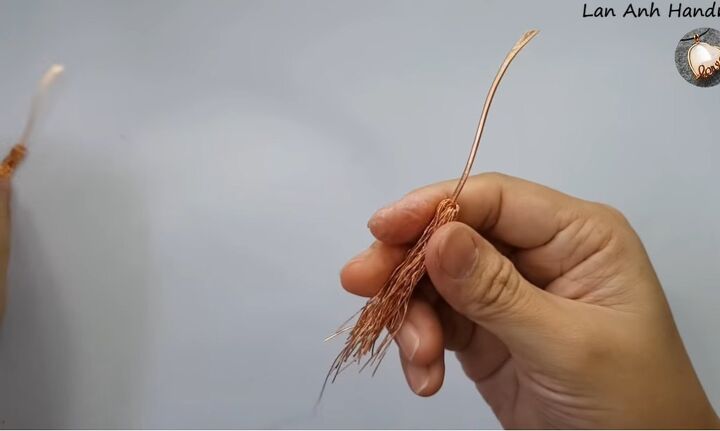
7. Wrap the 28 gauge wire around
Position the 25 pieces next to the thicker piece. Fold the 25 strands in half and then place the thicker wire next to the center on one side.
Then, take the 28 gauge wire and wrap it around the middle of the thin pieces. Continue wrapping until you have used about a third of the wire.
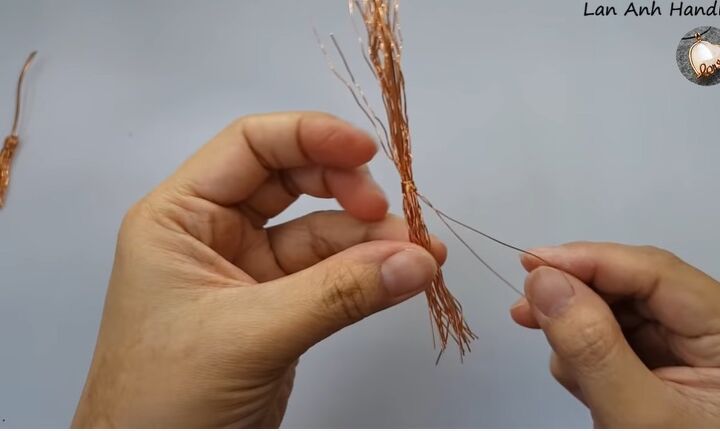
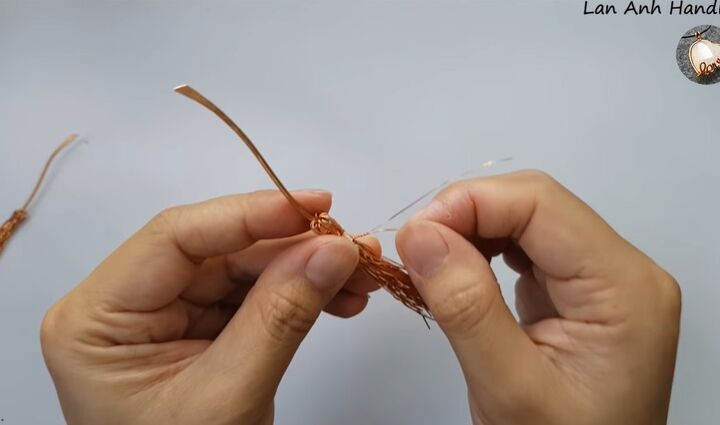
8. Seal it off
Take one of the thin wires out from the broom and wrap it with the 28 gauge wire to seal it off.
9. Bring down the top part
Bend the top part of the broom down so that it will fall above the wire you just wrapped. Press it at the top so it lies nice and flat.

10. Continue to wrap the wire
Continue to wrap the 28 gauge wire on top of the full brush. Wrap about 1cm below the top of the brush.
Wrap the wire downwards, one coil under the other, you don’t want the wire to overlap itself.
11. Seal the wire off
Once you’re happy with how the wrapping looks, take a strand of wire from the brush and wrap it a number of times with the 28 gauge wire to seal it off. Then cut both of these pieces with the pliers.
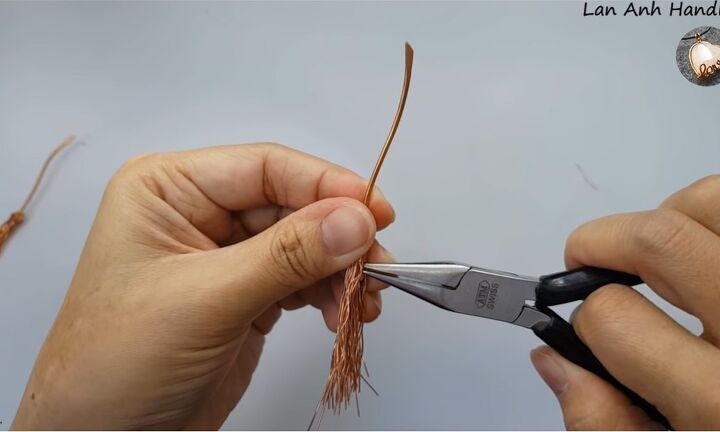
12. Tuck the wire inside
Use the pliers to poke this end piece into the inner section of the broom so it doesn’t show.
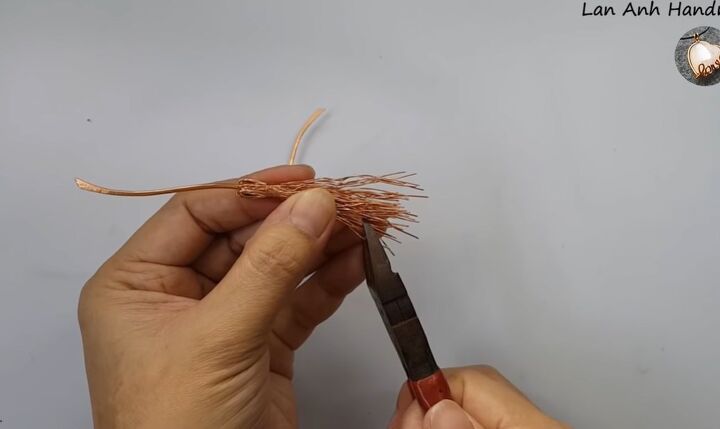
13. Cut and file the brush
Cut the bottom of the broom with the pliers to give it a cleaner finish. Then file the bottom off.
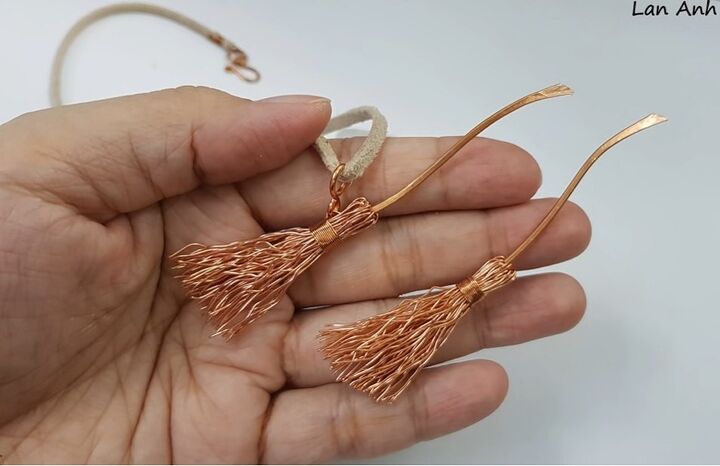
DIY Halloween jewelry
Here we have the witch's broomstick pendant! I finished it off by attaching it to a pendant and a necklace.
This copper pendant looks like a high-end jewelry piece that you can wear not just for Halloween but all year round.
The author may collect a small share of sales from the links on this page.


Comments
Join the conversation