How to DIY Cute Pink Ombre Nails at Home

Follow along with this nail tutorial to learn how to create pink ombre nails at home. You don’t need to be a nail expert to try this! Let’s get started.
Tools and materials:
- Acrylic nails
- Acrylic nail stand
- Clear gel base coat
- Light pink gel polish
- Hot pink gel polish
- Clear top coat
- Cosmetic sponge
- Nail wipe
- UV/LED lamp
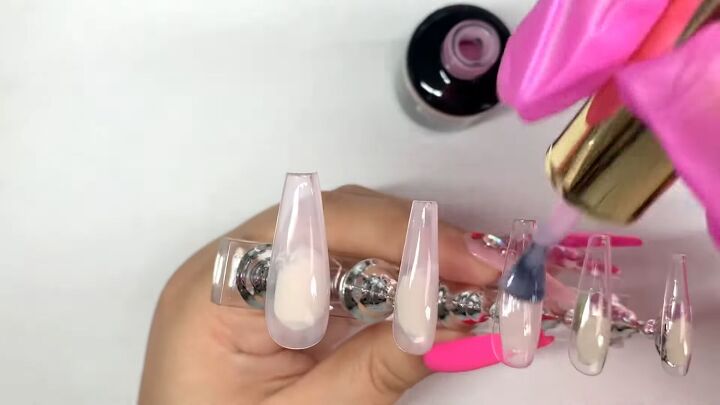
1. Apply a clear coat and a light pink base, then cure
Prep your acrylic nails by painting on a clear, base coat for gel polish. Let it dry. Then paint a thin coat of light pink polish on all of the nails.
This makes an excellent base for the ombre technique or even French tips.
Once you finish painting the 1st pink coat, cure the nails in a UV/LED lamp for 60 seconds.
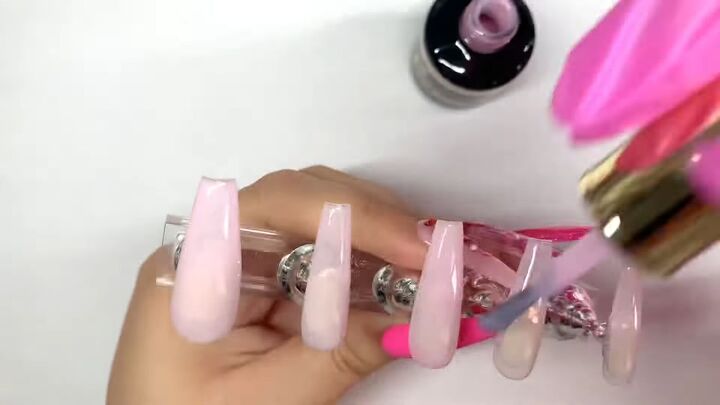
2. Paint a 2nd coat of pink, then cure
Go ahead and paint a thicker, 2nd coat of pink. Then cure the nails again for another 60 seconds.
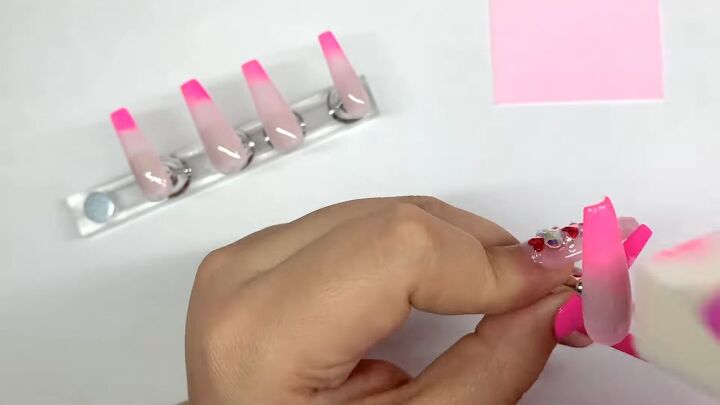
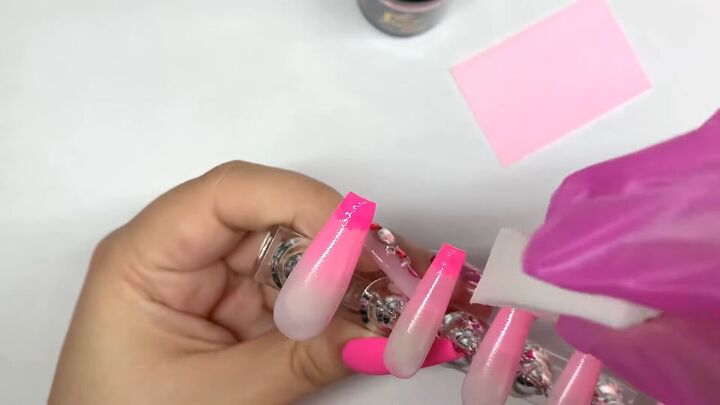
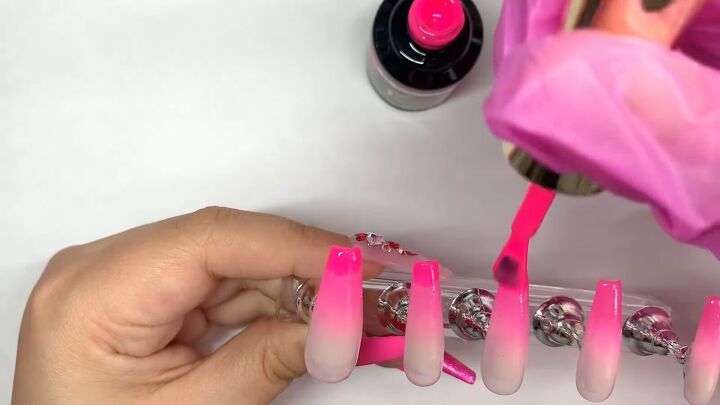
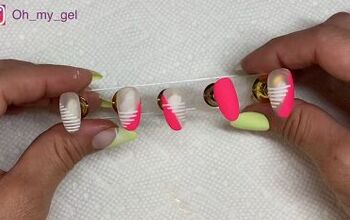
3. Apply hot pink polish with a cosmetic sponge
Take a cosmetic sponge wedge and rest it on a nail wipe for later. Paint a hot pink gel color on the highest point of the tip of the sponge.
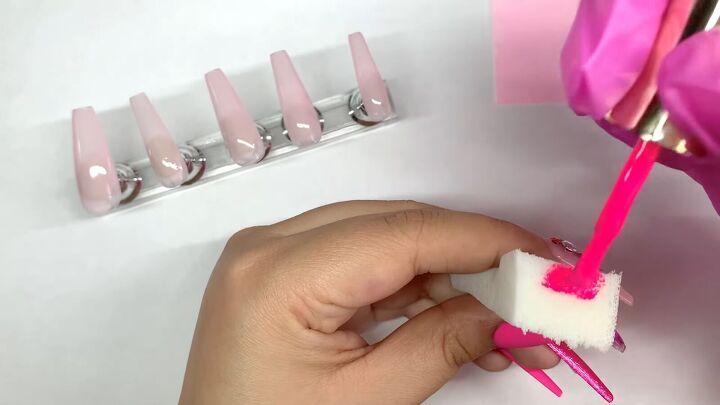
Then lightly pat the color on the very edge of the nails.
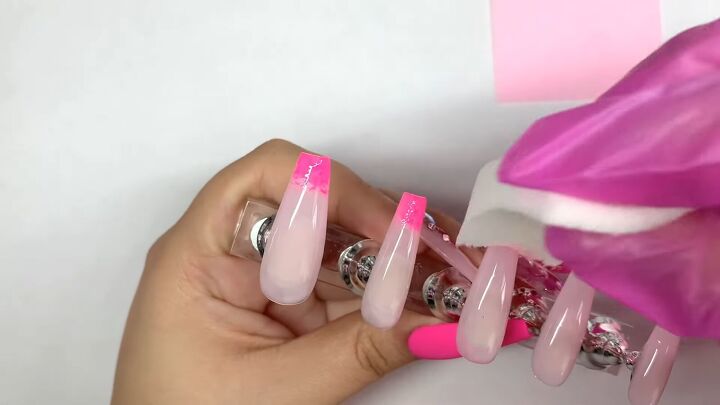
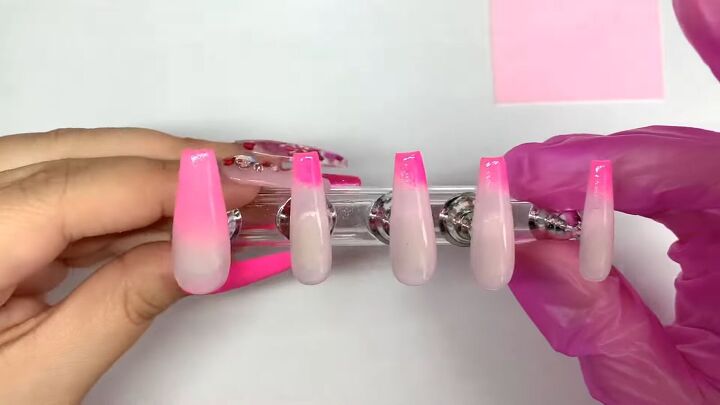
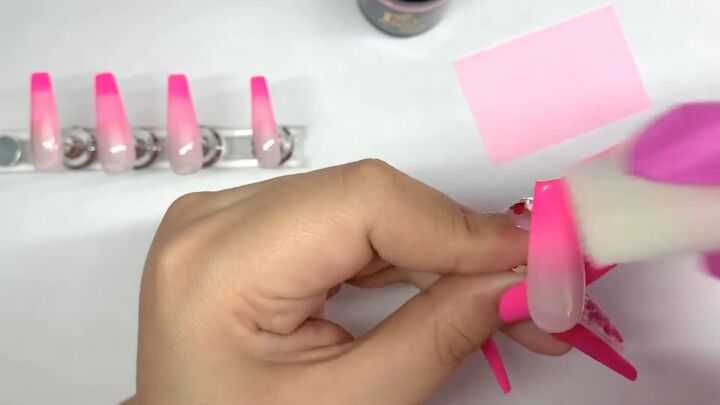
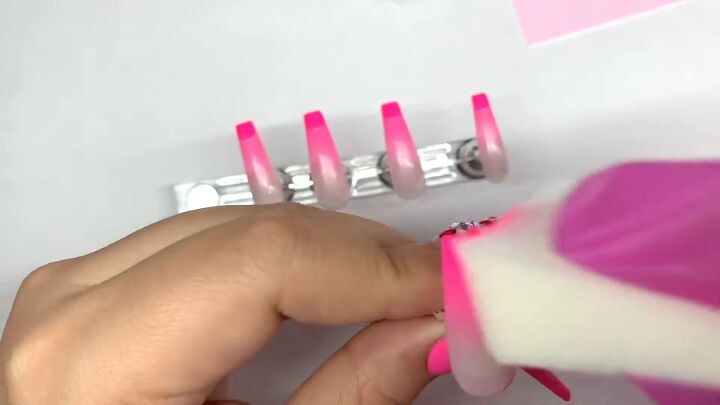
4. Blend and cure
Now, remove the thumb nail and, with the product left over on the sponge, dab at the transition to blend toward the top of the nail.
Just apply gentle pressure with the sponge against the nail so that you don’t smear the color.
Here you can see the difference before and after blending the transition:
Continue this process with all the other nails. Then cure for 30 seconds in the lamp.
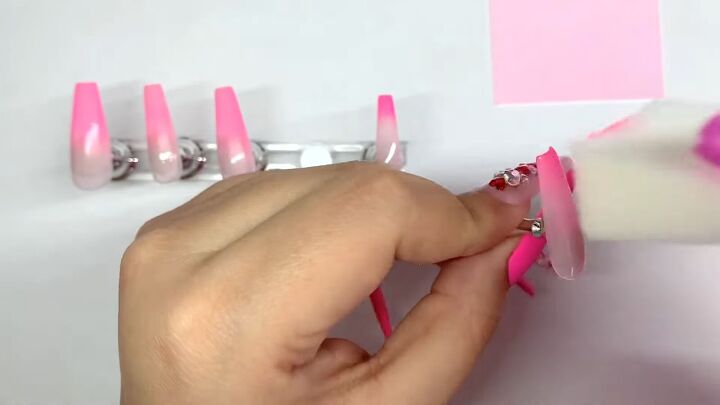
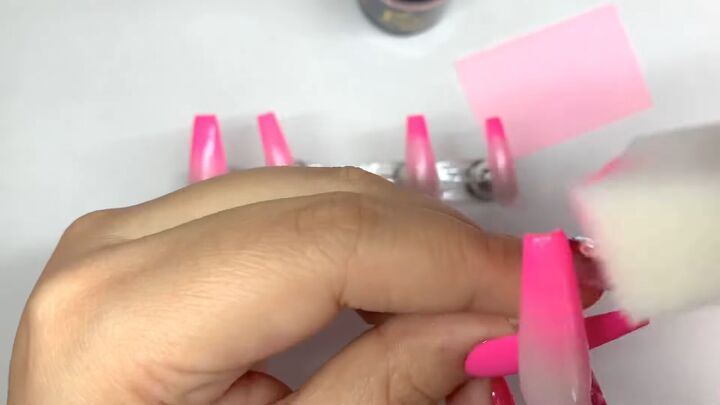
5. Apply a 2nd layer of hot pink
Now, add more of the hot pink polish to your cosmetic sponge.
Then dab the color at the tips of the nails.
6. Blend again
Then, like before, remove the thumb nail from the stand and gently blend the transition of the pinks with the sponge.
Continue this with each nail in a gentle, patting motion.
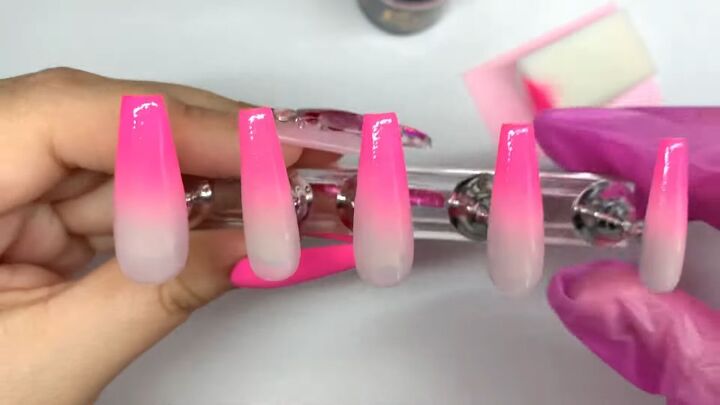
This is how your 2nd layer of hot pink should look at this point:
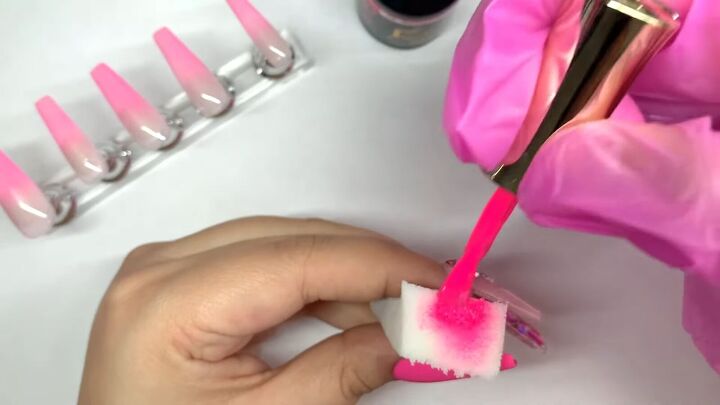
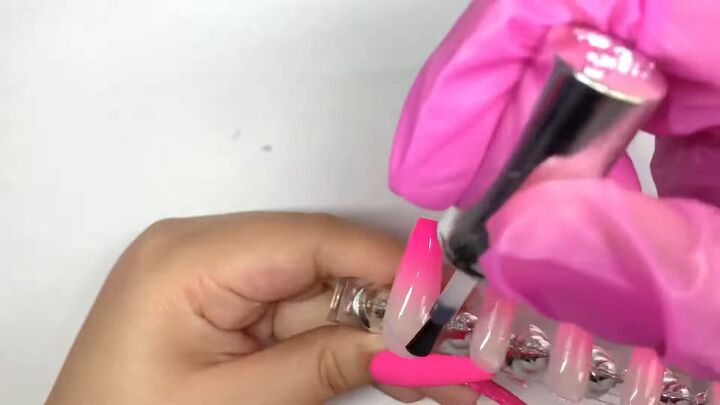
7. Apply a 3rd layer of hot pink, blend then cure
Now, take the hot pink polish, straight from the bottle on the brush. Paint on a 3rd layer of hot pink at the very tips of the nails.
Then, blend this final layer on each nail with the cosmetic sponge.
Make sure to keep that color at the tips of the nails, only blending slightly down the nail. Then cure the nails again for 30 seconds.
8. Apply a top coat and cure
Once dry, paint on a clear, gel top coat.
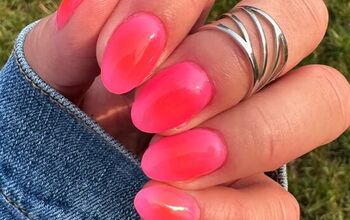
As you can see, the pink ombre nail effect looks so seamless! So don’t worry if you see dots while you’re in the process of blending because they seem to disappear with the top coat.
Then cure in the lamp for 2 minutes. Here are the final results of this pink ombre nail design.
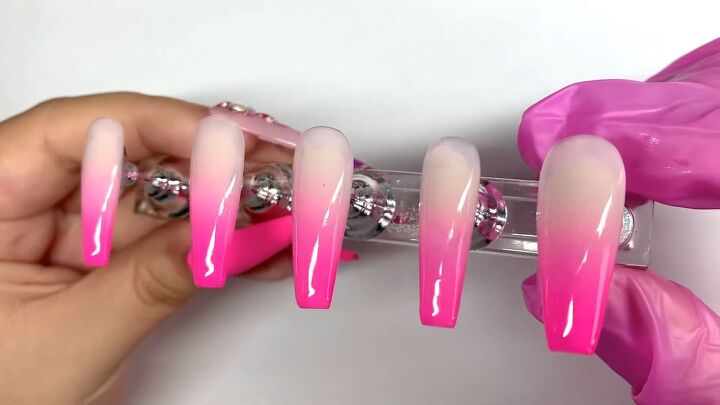
DIY pink ombre nails
These pink ombre nails look so professional but they are surprisingly easy to achieve at home!
Let me know how you get on with this design in the comments down below.
If you’re looking for more acrylic nail ideas, try this nude French tip tutorial.
The author may collect a small share of sales from the links on this page.


Comments
Join the conversation