How to DIY Cute and Easy Pink Dip Nails

Here, I’m going to show you a gorgeous pink dip nail design. I love ombre nail designs.
I’ve created them with gel polish in the past, and I really wanted to have a go at creating an ombre design with dip powder too.
So, that’s what we’re going to do today. Let’s get started!
Tools and materials:
- Dip powder (pink and orange)
- Clear dip powder
- Base coat and top coat
- Makeup brush
- Nail polish
- Nail activator
- Buffer
- Nail file
- Isopropyl alcohol
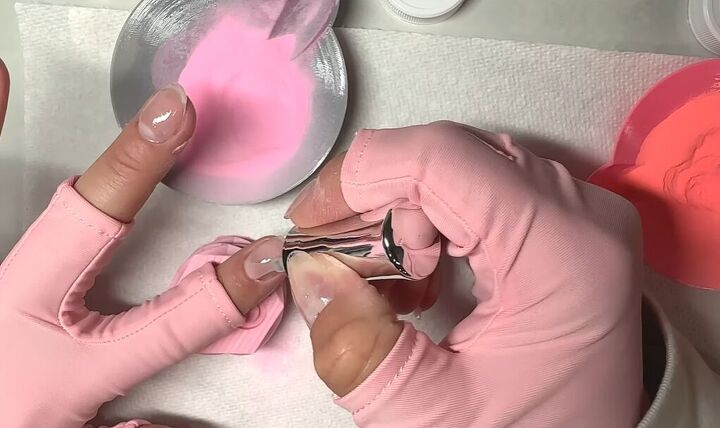
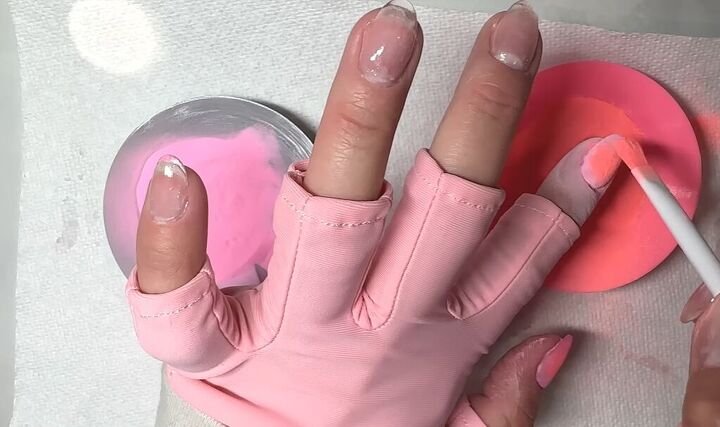
1. Apply base coat
Apply a base coat to your nails.
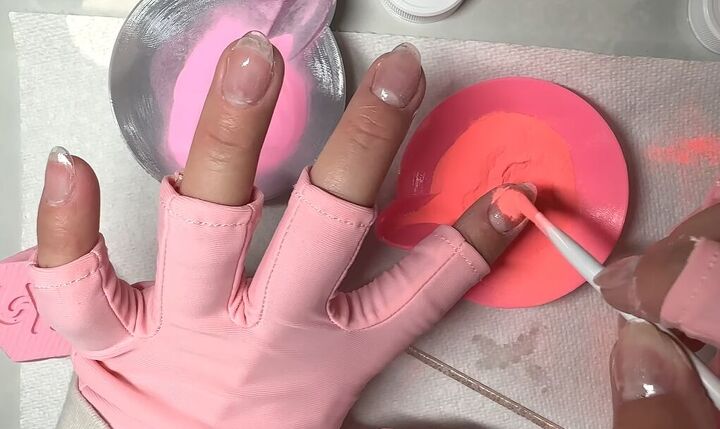
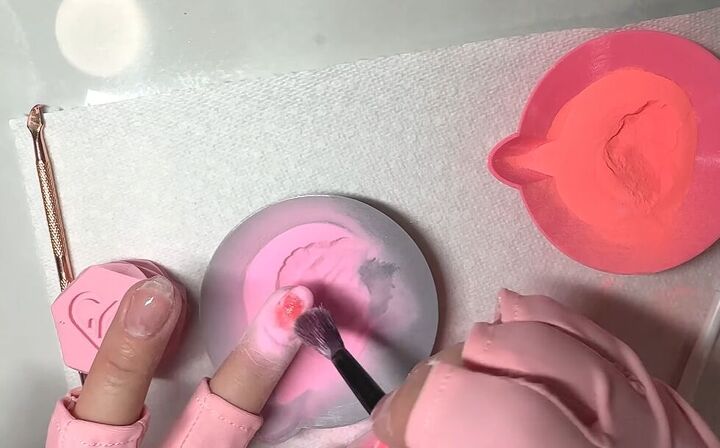
2. Add orange dip powder
Next, tap on some orange dip powder with a small makeup brush in the center of the nail.
Use a small makeup brush to give you the utmost precision.
3. Add pink dip powder
Then, tap the pink around the orange.
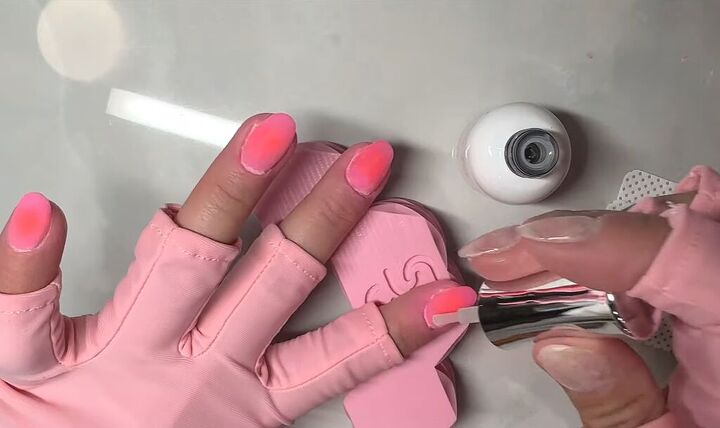
4. Apply nail polish
Apply clear nail polish on top.
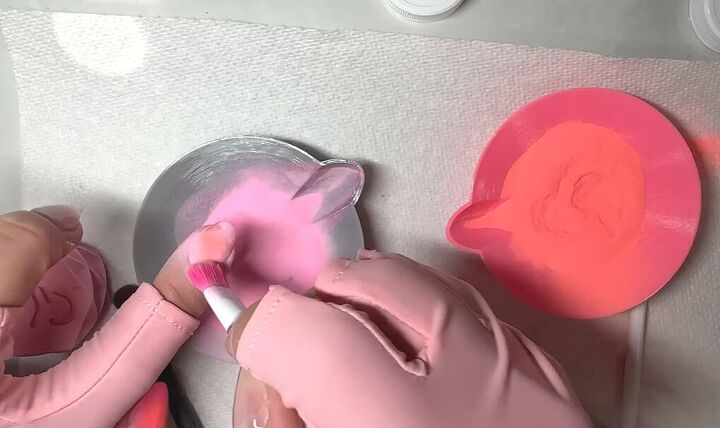
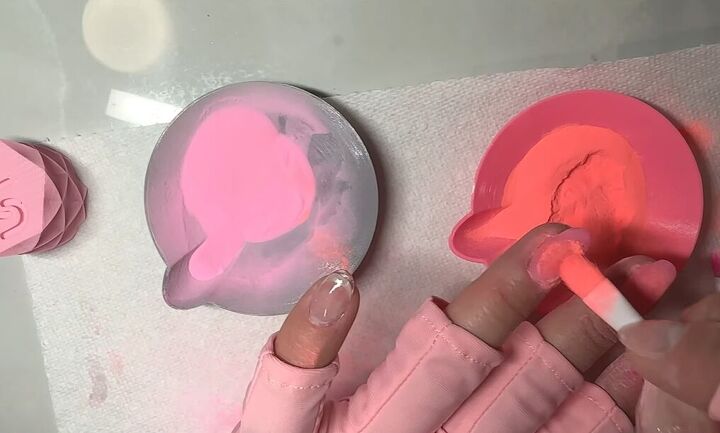
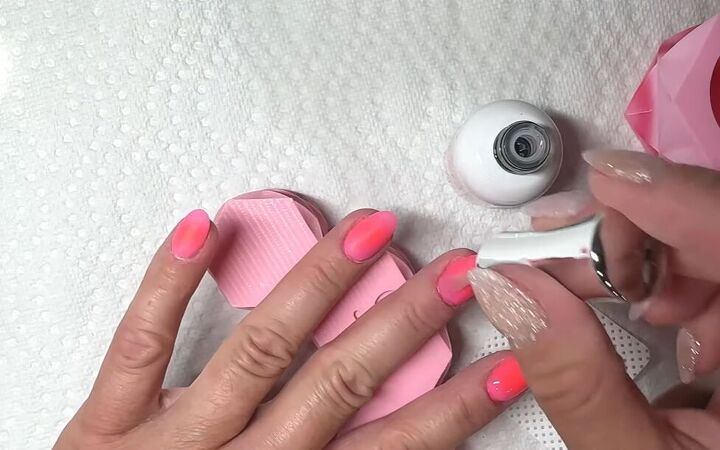
5. Add second layer of powder
For the second layer, first, go in with the pink dip powder and then tap a little bit of orange in the center.
When creating an ombre style, you always want to switch colors back and forth, as this really helps to make the blend a lot nicer.
Be sure to scrub the excess powder off after you’ve applied it.
6. Repeat
Repeat the same process for the rest of your nails.
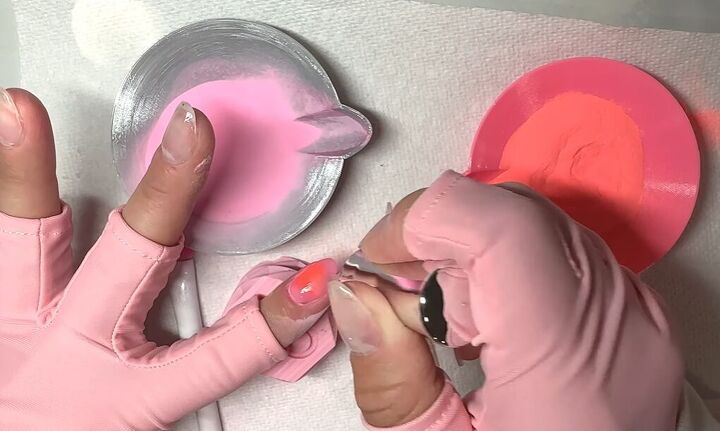
Be really careful when you're tapping the color that you want in the center. Depending on which way you turn your finger and how heavy-handed you are, you can end up tapping a little bit too much on the sides of your nails so it looks less of a circular type of ombre.
If the center color does go too far to the sides, then you’ll just have to scrub in the outer color a little bit more.
Scrub in both colors, as that will help make the colors pop and also create the aura ombre blend look that we’re going for.
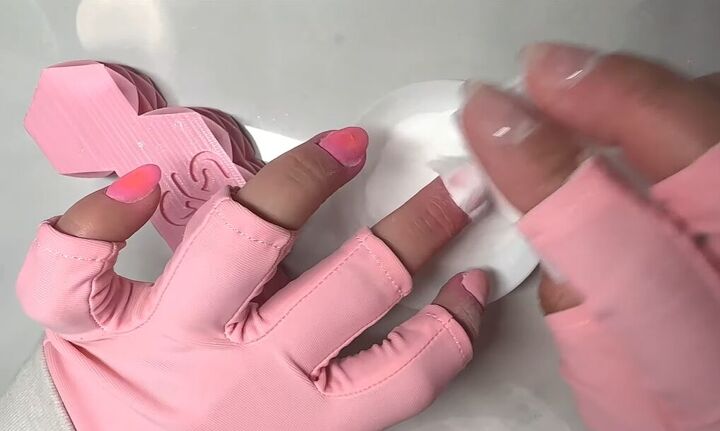
7. Add clear dip powder
Top every nail with clear dip powder because if you don’t top it with the clear, then once you buff your nails in shape, you could mess up some of the ombre design.
8. Activate nails
Proceed to activate your nails. This will fully harden them, and you’ll hear a hollow noise when you tap them.
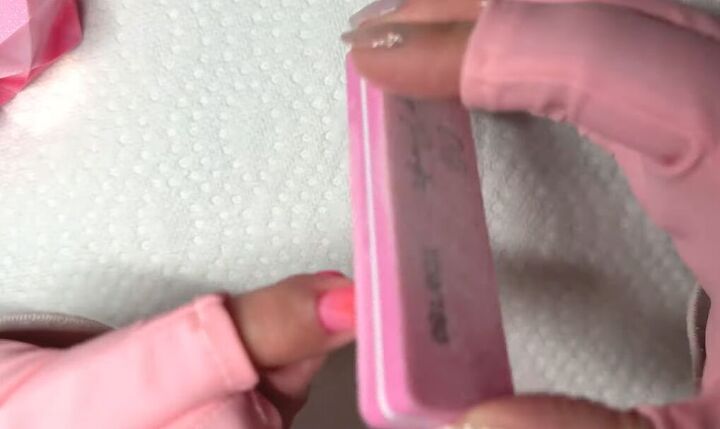
9. Shape and spray nails
Next, buff, file, and shape your nails.
Once done, spray your nails with isopropyl alcohol, which will clean off any dust or dirt that you had from your filing and shaping.
10. Apply top coat
Finish off by applying a top coat.
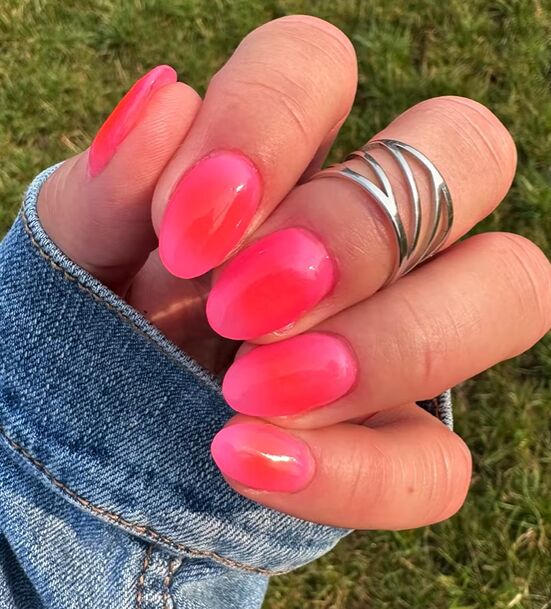
Pink dip nails
Here is the finished look. I love the ombre effect, with each of the two colors blending seamlessly into the other.
The colors are bright and popping, and I’m so happy with how they turned out.
For another ombre nail look, take a look at Easy Chunky Glitter Nails Tutorial.
The author may collect a small share of sales from the links on this page.


Comments
Join the conversation