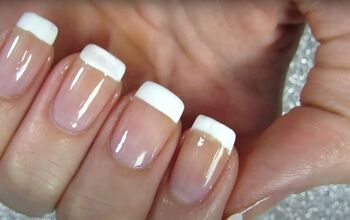
How to DIY a Cute and Easy Dip Nail Design

After seeing cute swoop designs with gel nails, I had to try this out with a dip powder version using only dip liquids and powders.
Follow along with this easy dip nail design to get the look.
Tools and materials:
- Protective gloves
- Hand rest
- Dip base coat
- Multiple dip cups
- Dip powder
- Pointed nail tool
- Nail brush
- Metal cuticle pusher
- Skinny masking tape
- Bronze foil dip
- Clear dip powder
- Lint-free wipe
- Electric nail file
- Alcohol spray
- Paper towel
- Top coat
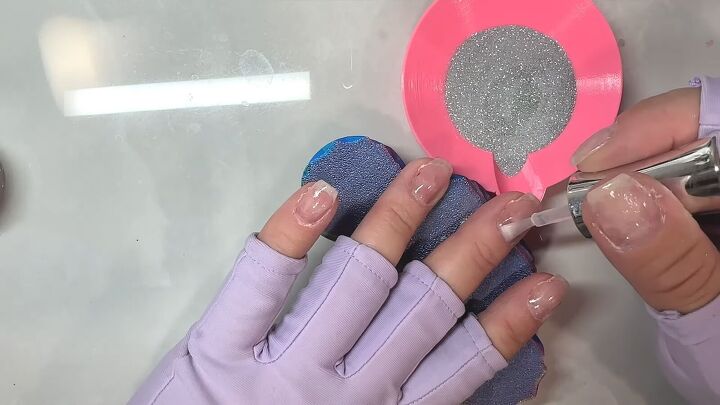
1. Apply dip liquid
Apply the clear dip base to your nails.
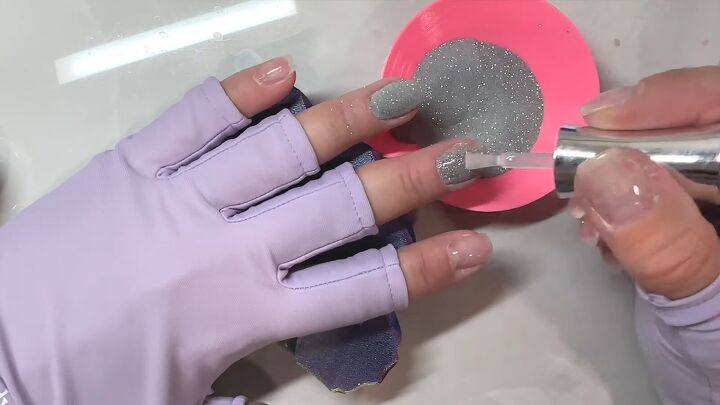
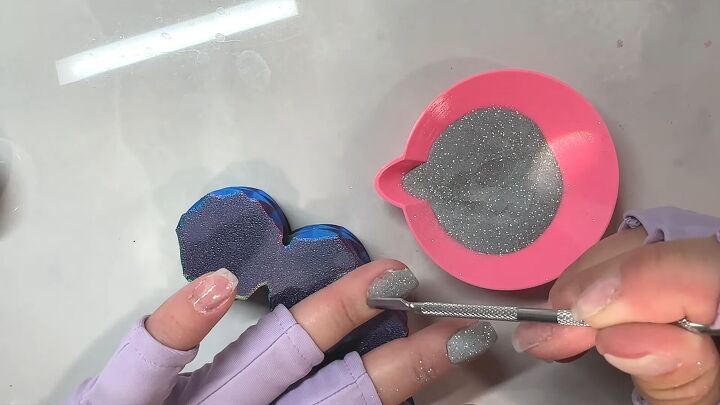
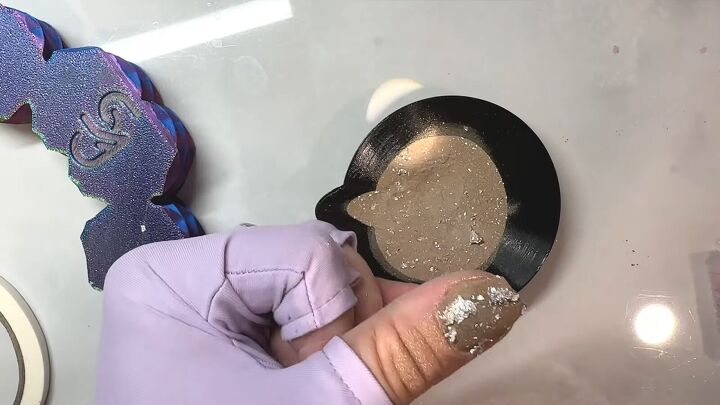
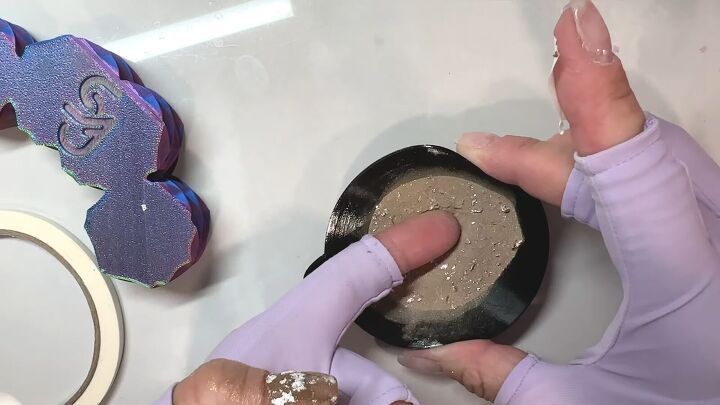
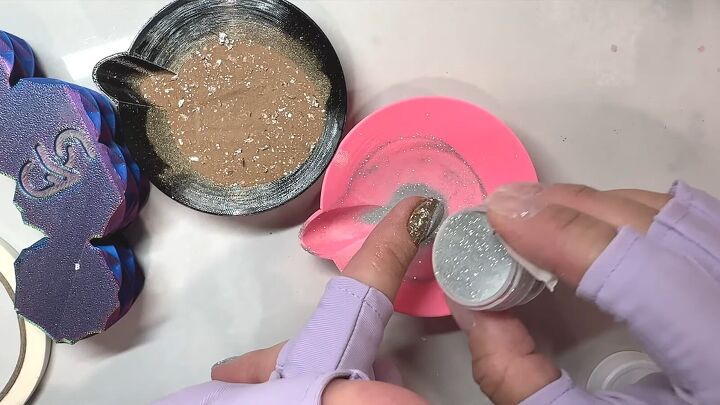
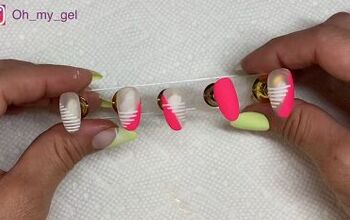
2. Dip your ring and middle finger nails into silver shimmer
Pour silver shimmery dip powder into a dip cup. Then dip each finger into the powder.
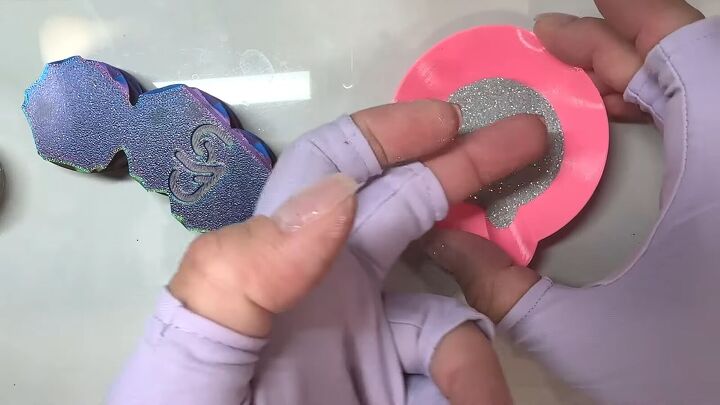
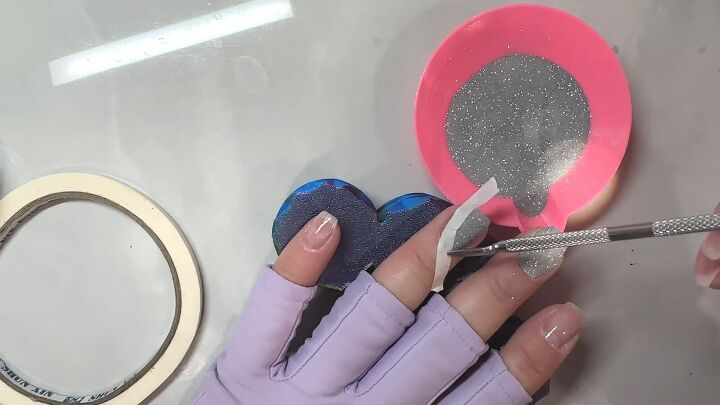
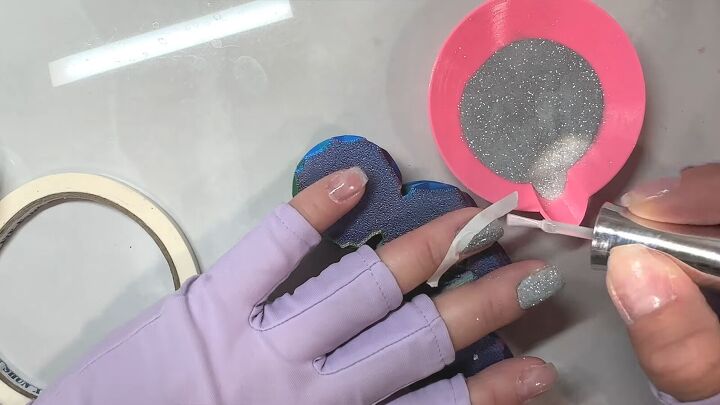
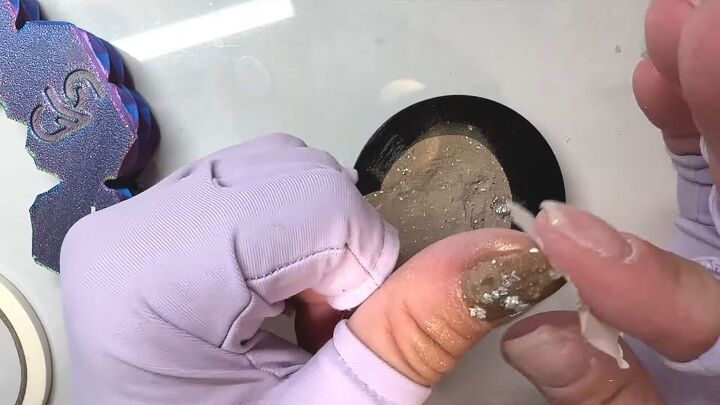
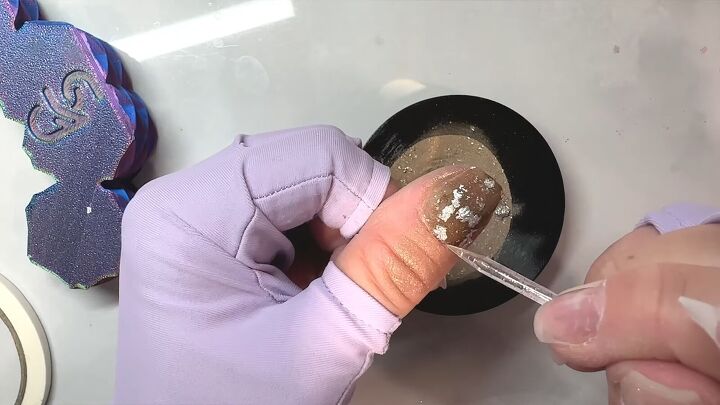
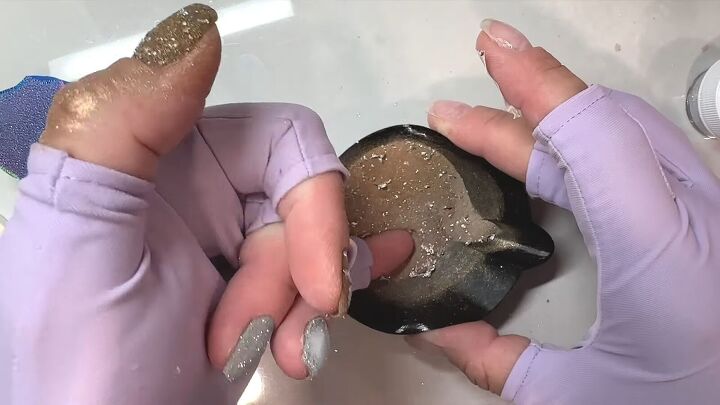
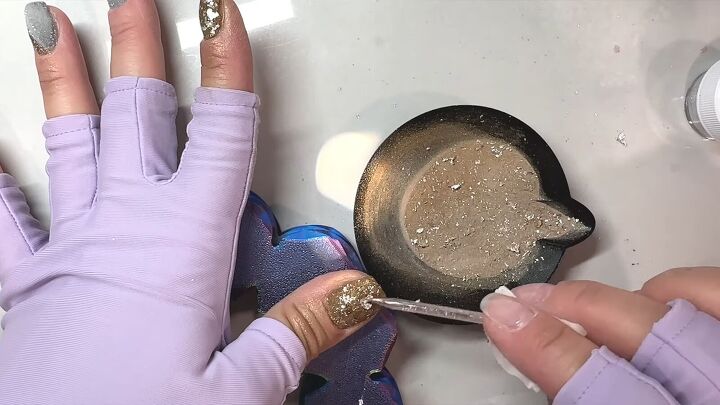
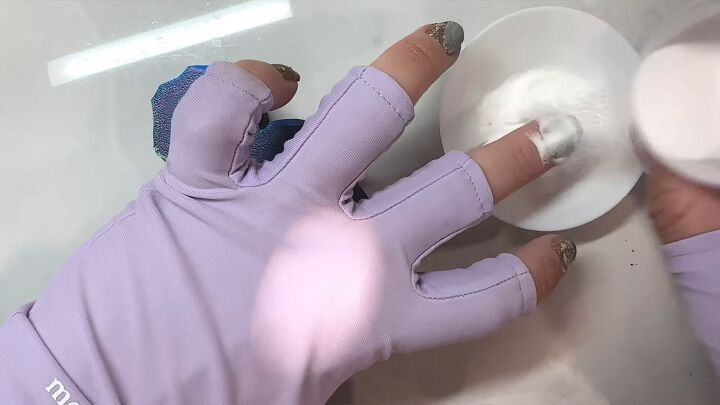
3. Clean up and fix
Tap off any excess powder or use a nail brush. Then use a pointed nail tool to clean the edges.
If you notice any gaps, apply another coat of clear polish and dip again.
Push your cuticles if needed.
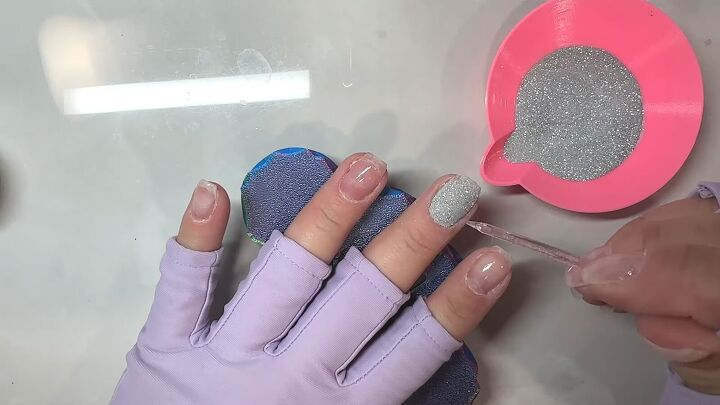
4. Make a swoop design on the ring finger nail
Rip off a piece of skinny masking tape and attach it to your nail to make a curved shape.
Apply clear polish on the other side of the tape.
Then dip your nail into the silver again.
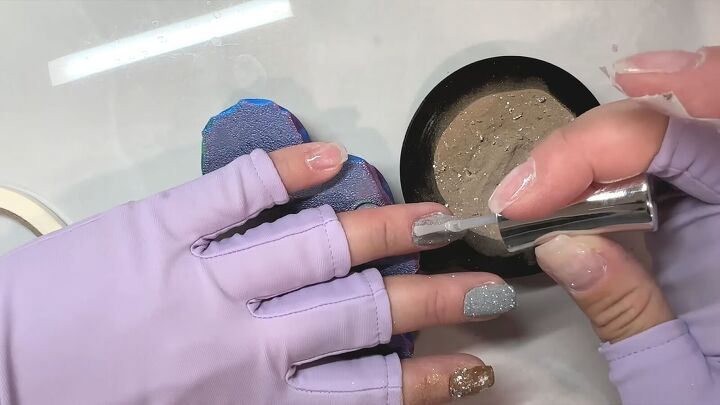
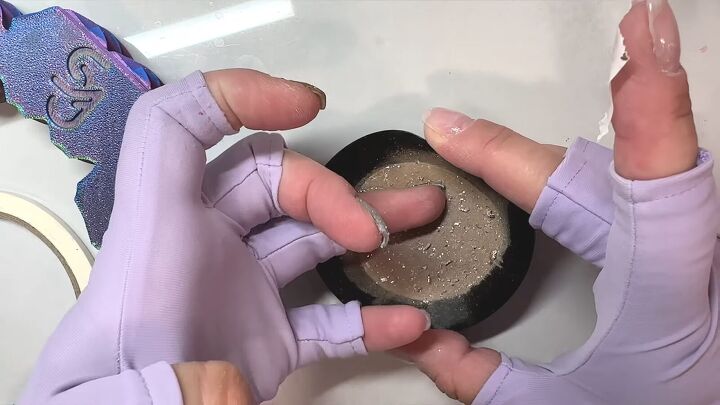
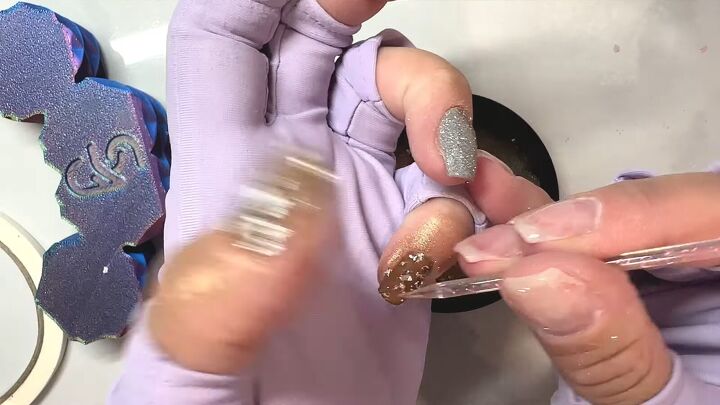
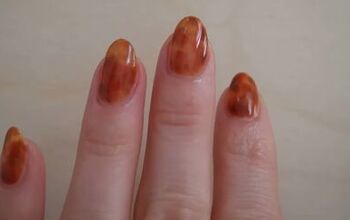
5. Apply gold foil dip to other nails
Apply a dip base to your thumb nail and dip it into the bronze foil dip, trying your best to keep it flat and pick up as much foil as you can.
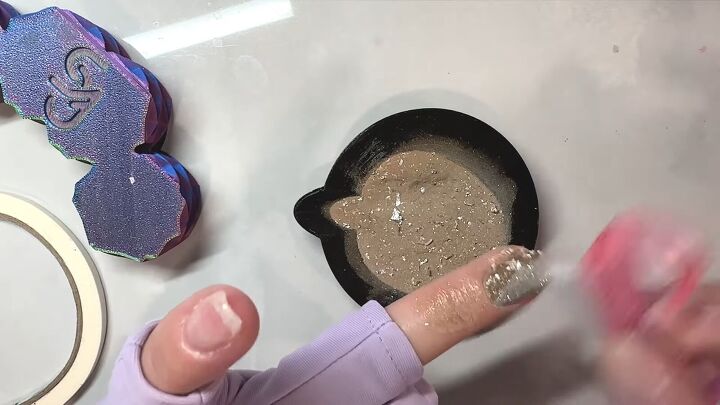
Use a piece of masking tape to press the foils down.
Clean the edges.
Repeat for your index finger.
6. Add foil powder to the swoop design
Go back to the swoop design on the ring finger. Paint clear polish on the skinny part that had the tape on it before.
Dip this into the foil powder.
Brush off any loose pieces.
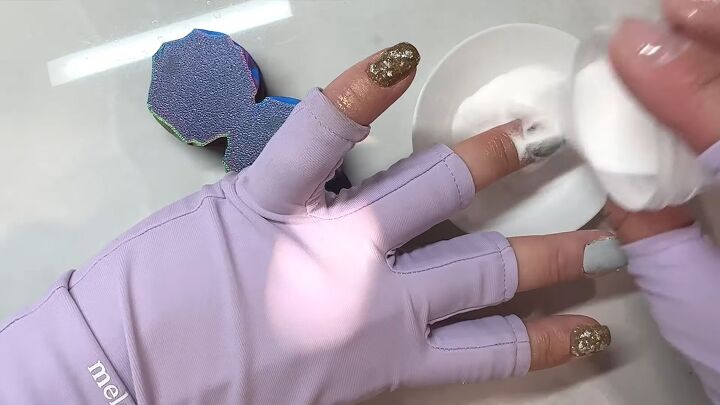
7. Apply the foil powder to your pinky nail
Apply a clear base to your pinky and dip it into the foil powder.
Use the pointed nail tool followed by a piece of masking tape to help push down the foil pieces.
8. Fix the swoop nail
If, like me, you got some of the foil powder on the silver section of your swoop nail, you can fix this now by applying clear polish to the silver section and adding another layer of silver powder.
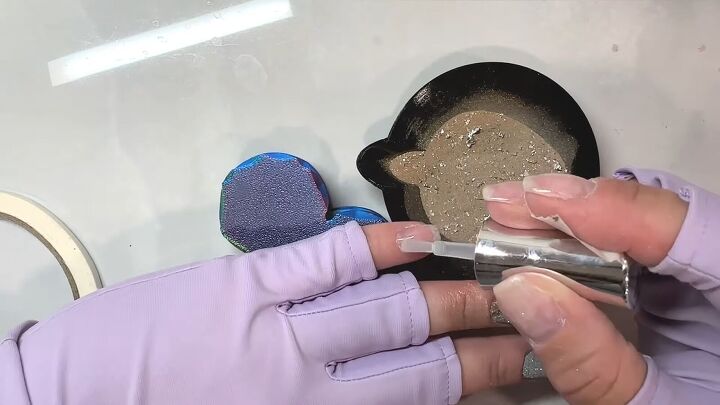
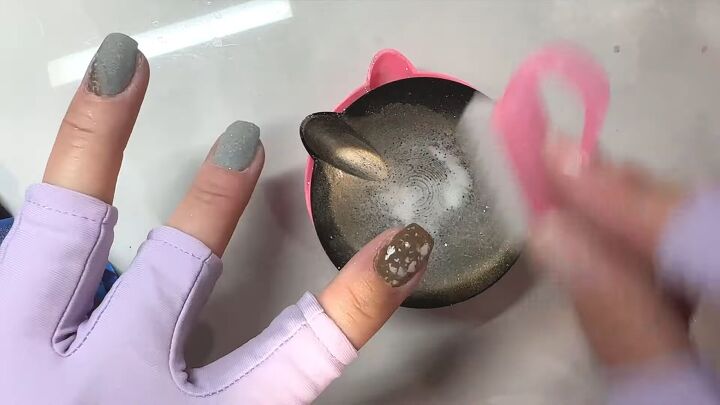
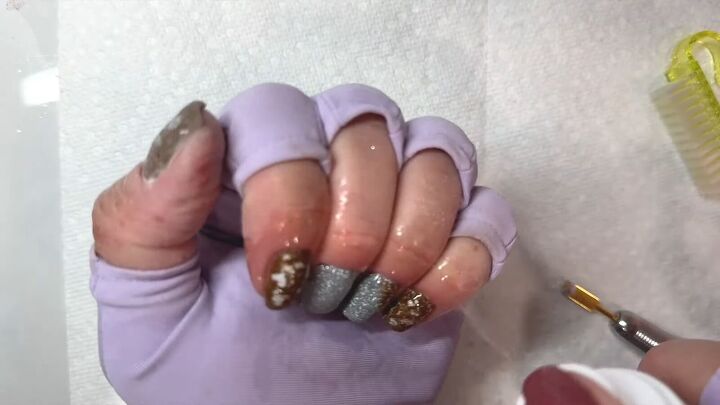
9. Add a 2nd layer to the foil dip nails then spot treat with more foil
Apply more clear polish and a 2nd layer of foil dip to the solid, foil dipped nails.
On this layer, try to make sure that you get as many foils as possible. Then gently press them down.
Next, take a little bit of clear base and dab it on those nails in places where you could use more foil. Apply foils individually to those areas.
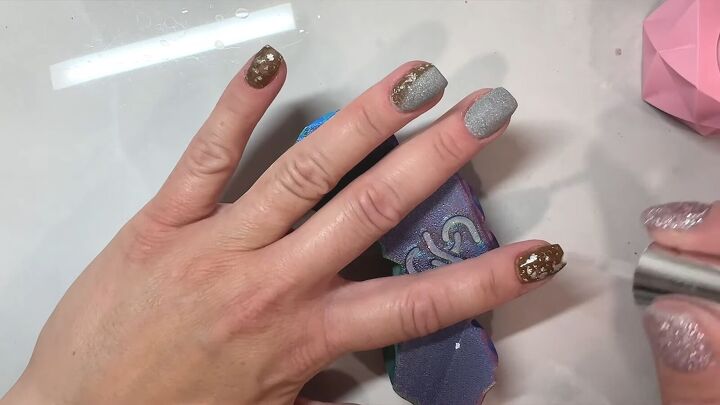
10. Apply clear dip powder to silver nails
Apply clear gel to the silver nails and dip them into clear dip powder to seal them. Tip: After each nail, wipe off the brush on a lint-free wipe.
11. Apply clear dip powder to the swoop nail
For this nail, first apply the polish to the foil side, then repeat for the silver side. Then cover the nail with clear dip powder.
12. Activate the nails
Once you’ve treated all the nails with clear powder, make sure the layers are completely dry before brushing off the excess powder.
Then apply a clear activator coat of polish to all nails.
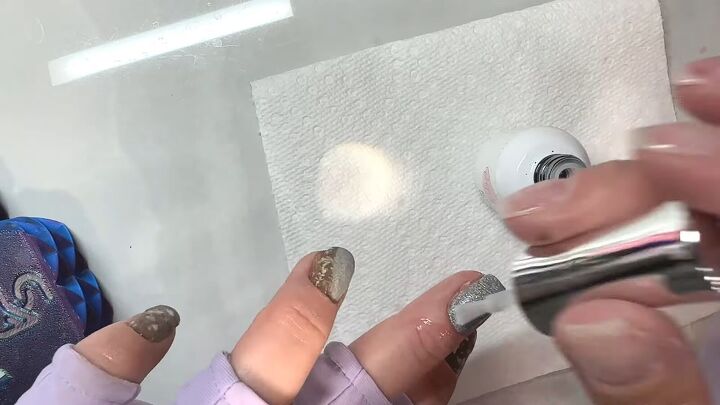
13. Finishing touches
File the nails once they are dry.
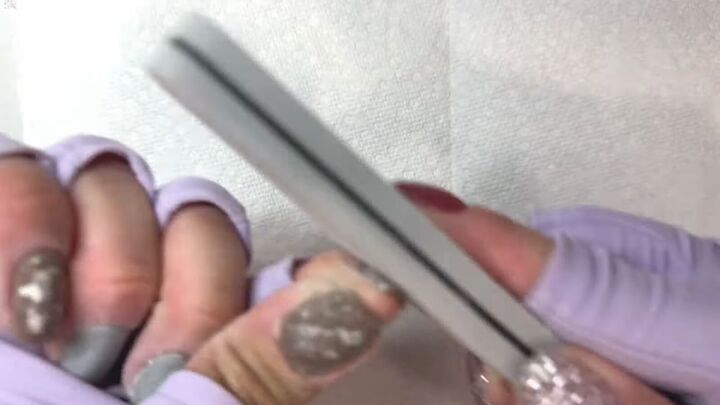
Then file and shape with an electric nail file.
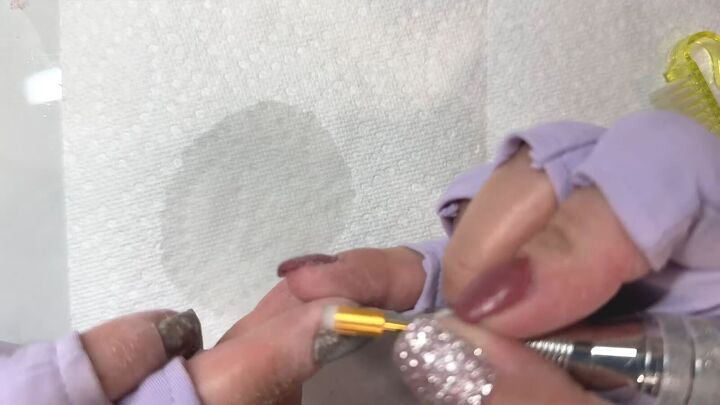
Apply alcohol spray and wipe the nails with a paper towel.
Then apply a clear top coat to the nails. Be sure to follow the directions of the specific top coat brand you have.
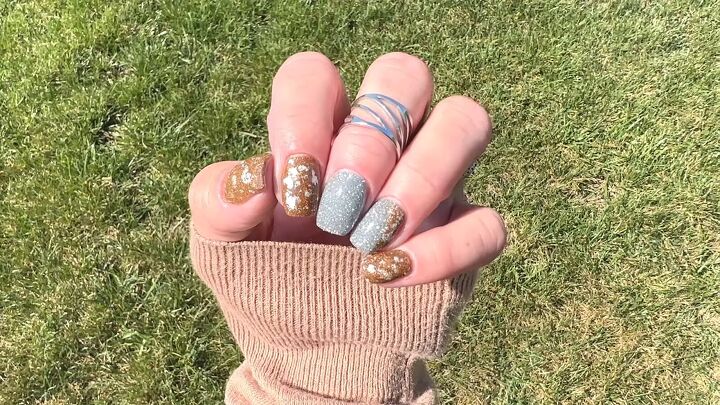
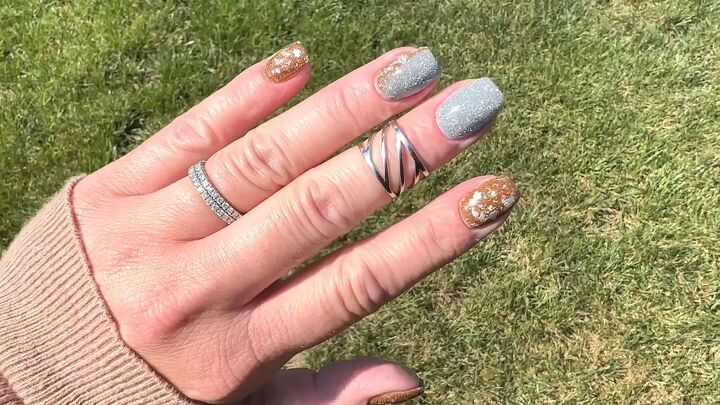
Easy dip nail design
Thanks for joining me on this easy dip nail design! Next up, learn how to DIY Hailey Beiber-inspired Halloween bat nails.
The author may collect a small share of sales from the links on this page.


Comments
Join the conversation