Barbie DIY: Cute and Easy Pink Nail Design

Follow along to create this gorgeous nail set with me using only gel polish. This is especially for you if you love pink nail designs.
Tools and materials:
- Nail set
- Clear gel base coat
- Nude-pink gel polish
- Hot pink gel polish
- Mixing palette
- Makeup wedge
- Bright pink gel polish
- Gel top coat
- Glitter gel polish
- Mixing paper
- Thin liner brush
- Pink nail glitter
- Pink nail rhinestones in various shapes/sizes
- Flower and butterfly rhinestones
- Rhinestone pickup tool
- Dappen dish
- Nail glue
- Nail lamp
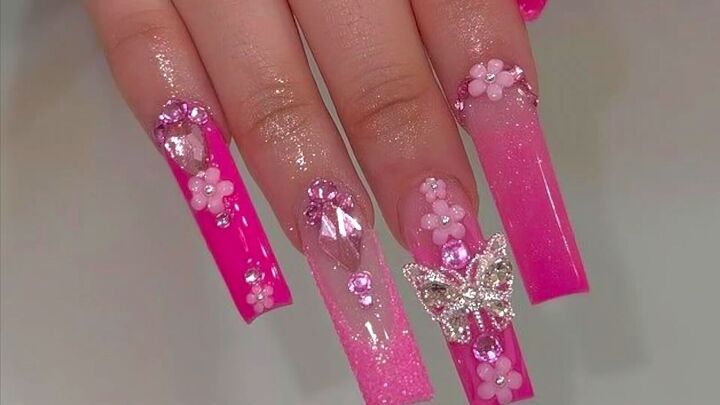
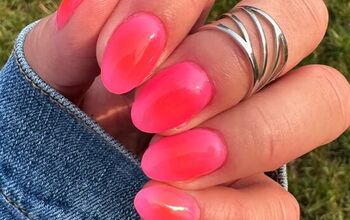
Here is our inspiration for today’s manicure from Pinterest.
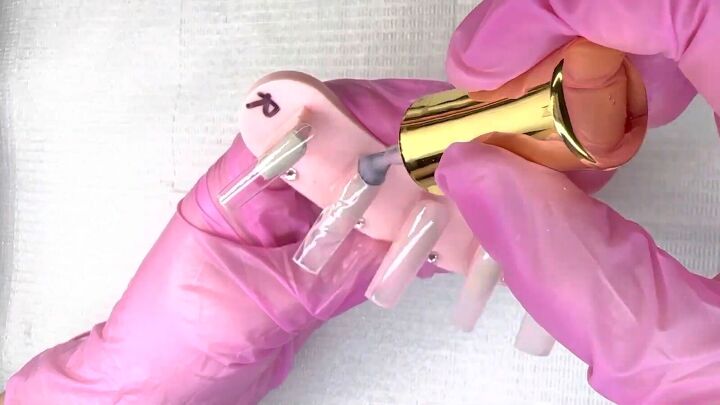
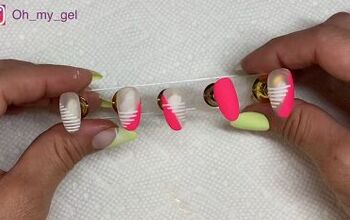
1. Paint a base coat
Since we’ll be using gel polish, start off by applying a thin layer of clear gel base coat on all the nails.

2. Apply nude-pink gel polish
Apply a nude-pink gel polish to all the nails except for the pinky nail.
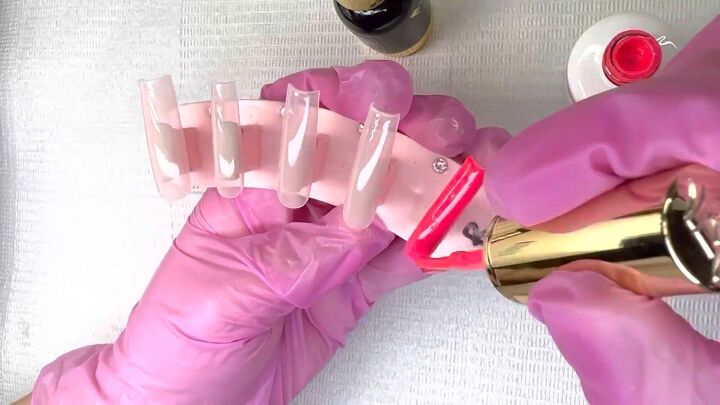
3. Paint the pinky nail
Next, paint the pinky nail with a hot pink shade of gel polish.
4. Paint a 2nd coat on the nude-pink nails
Paint another coat on the rest of the nails to make them more opaque.
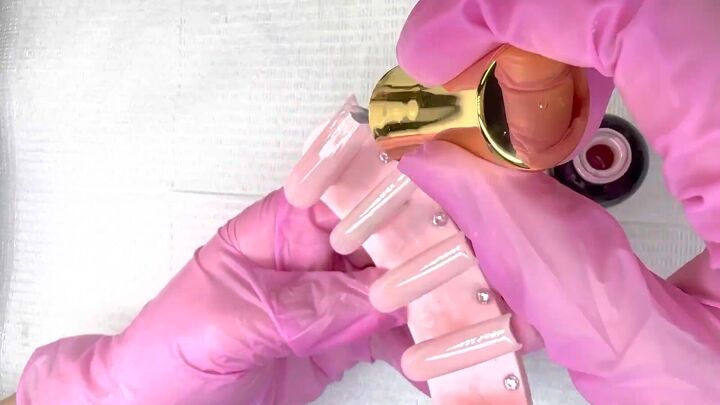
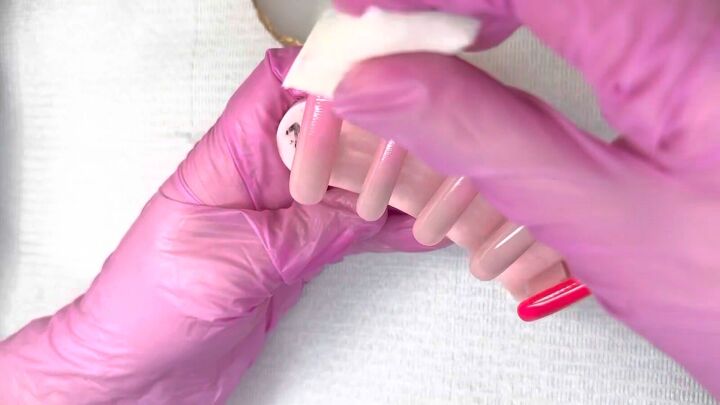
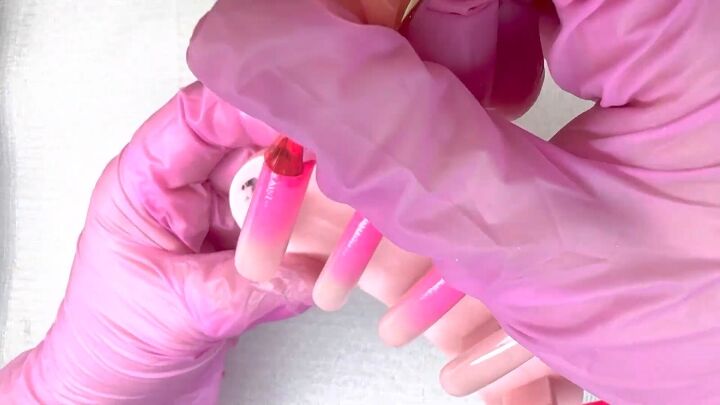
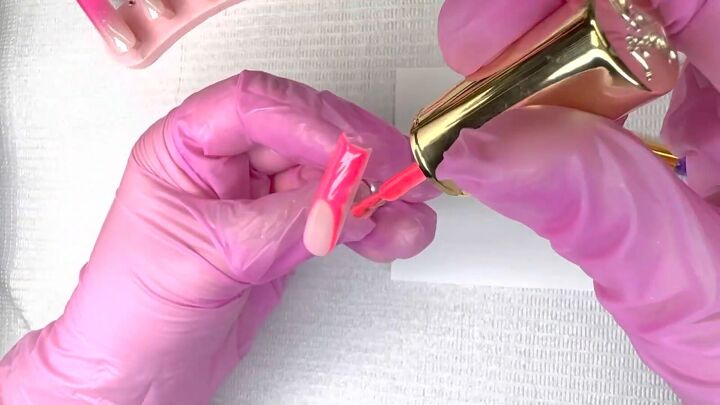
5. Create an ombre effect on the thumb, pointer and middle finger nails
Paint a bit of bright pink gel polish onto a makeup wedge.
Then dab it at the tips of the nude-pink nails.

Go over them another time, blending the bright pink color upward for a seamless transition.
Add more bright pink polish to the sponge and apply more, just to the very tips of the nails.
Now add the hot pink color to the sponge and dab it on the bottom third of the nails, on top of the bright pink shade.
Then gradually blend it upward.
Finally, apply some of the hot pink directly from the brush to the very tips. Then dab it slightly with the sponge.
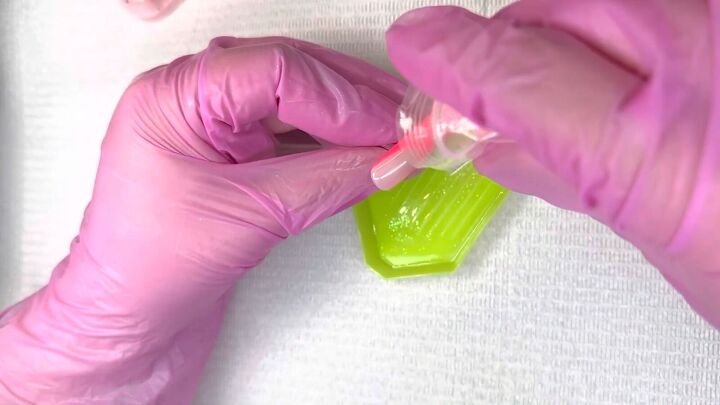
6. Apply gel top coat and a glitter coat to the ombre nails
Apply a layer of clear gel top coat to the ombre nails followed by a coat of glitter gel polish.
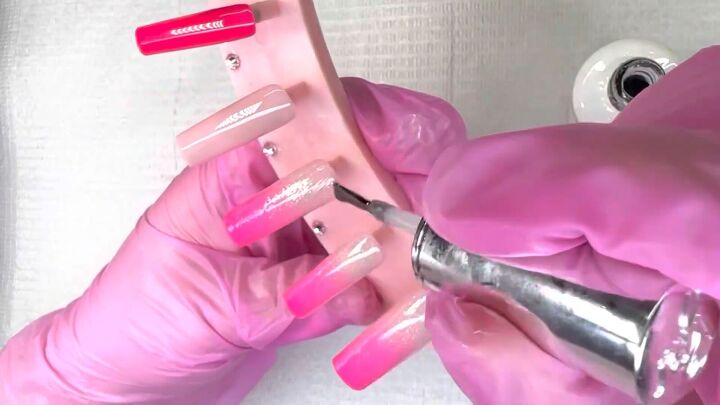
Paint the pinky and pointer finger nails with a top coat as well.
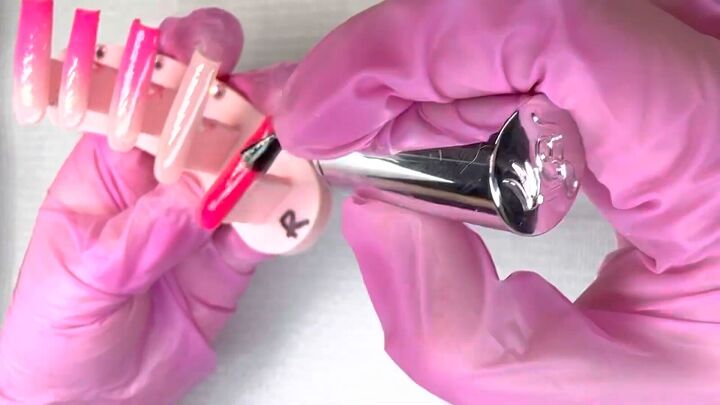
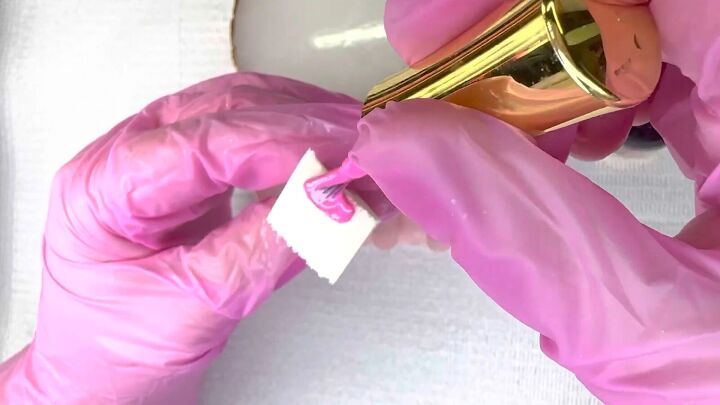
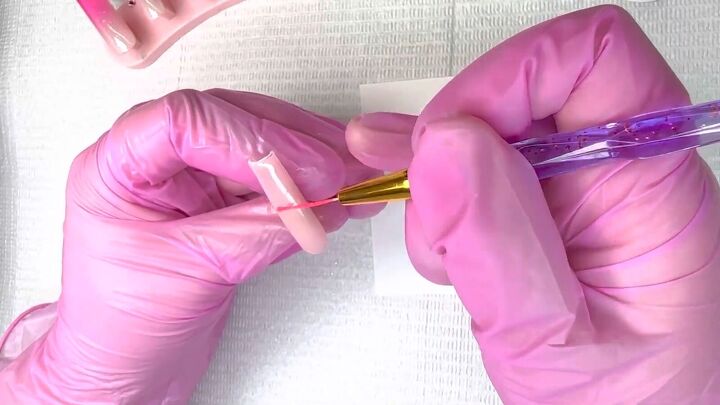
7. Make a French tip on the pointer fingernail
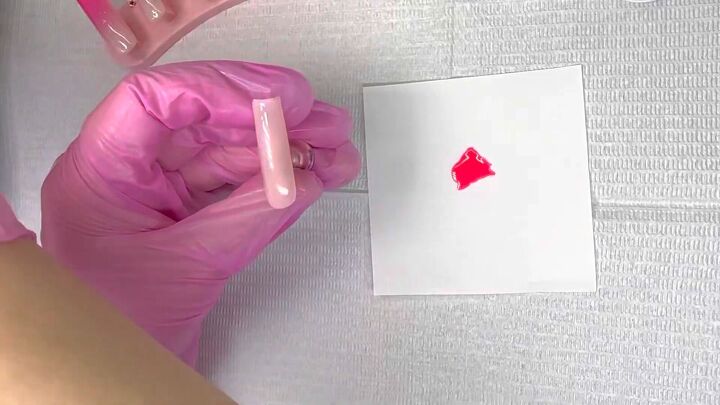
Paint a bit of the hot pink polish onto a mixing paper and remove the pointer fingernail from the stand.
Dip a thin liner brush in the hot pink and make a small mark about halfway down the nail.
Then, gradually draw in 2 lines to meet it, creating a smile shape.
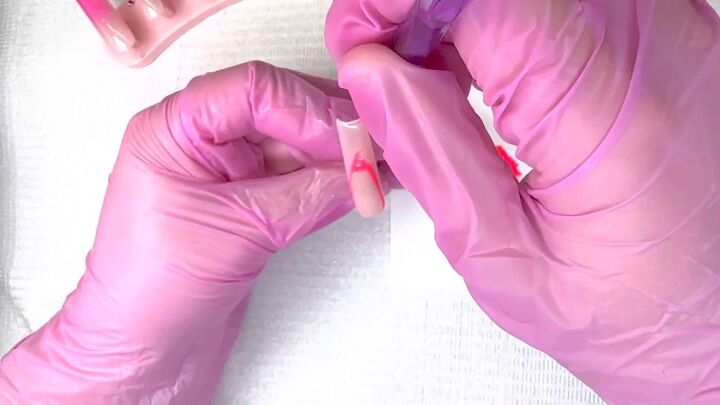
Rotate the nail as needed to fill in the shape to make it bulkier and symmetrical.
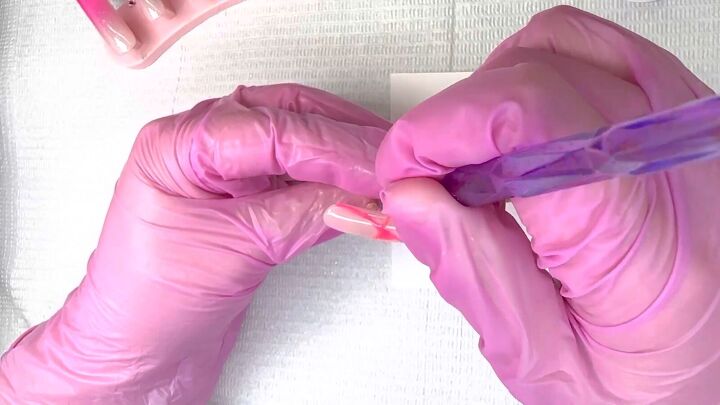
Then with the regular polish brush, fill in under the smile, toward the tip of the nail.
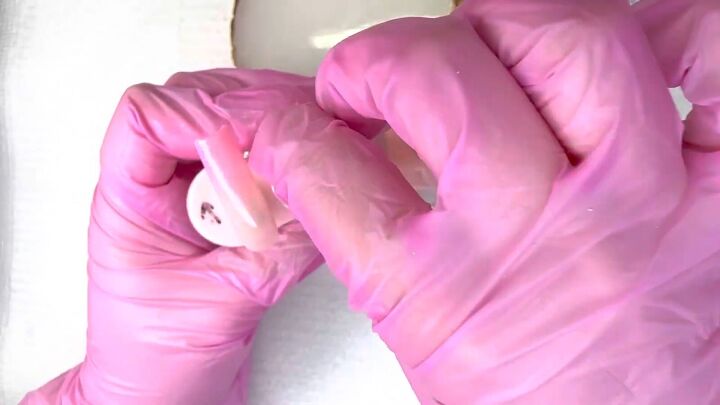
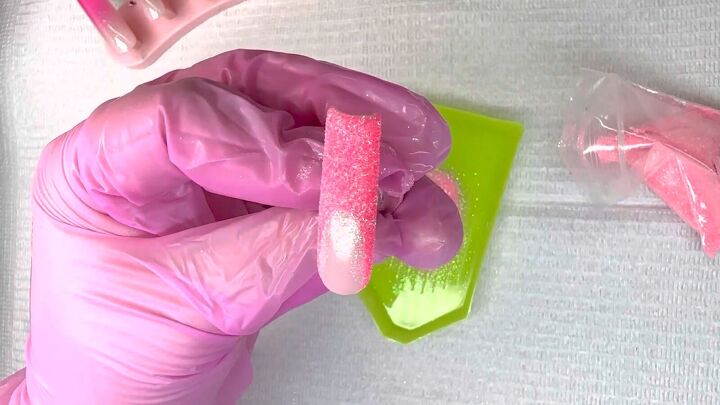
8. Add pink glitter
Next, shake pink nail glitter over the hot pink of the French tip nail.
Make sure all the hot pink is covered with glitter and tap off any excess.
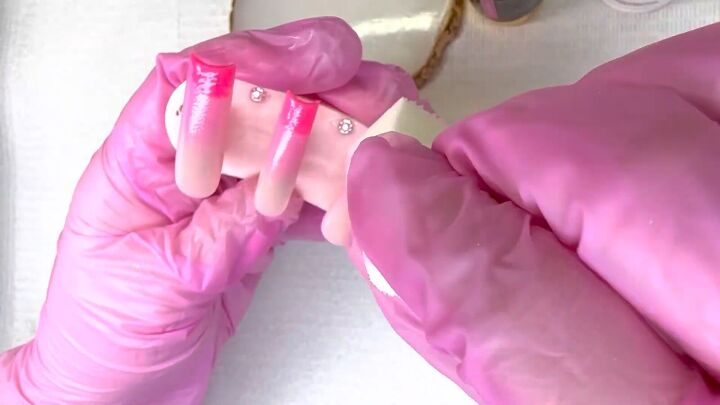
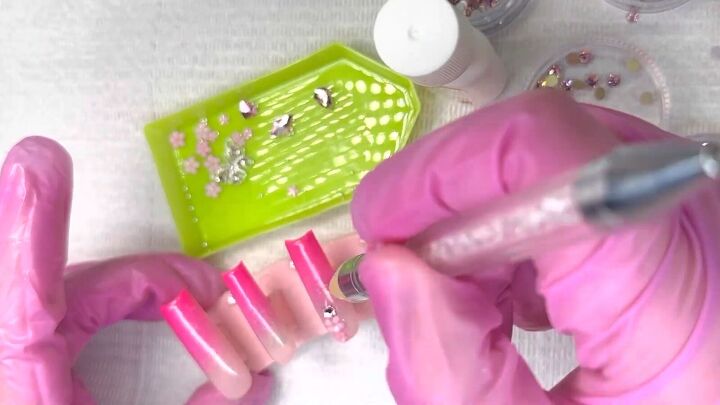
9. Add rhinestone bling
Apply nail glue where you want to apply a rhinestone and use a rhinestone pickup tool to lift it and put it in place.
Do this for 1-2 rhinestones at a time.
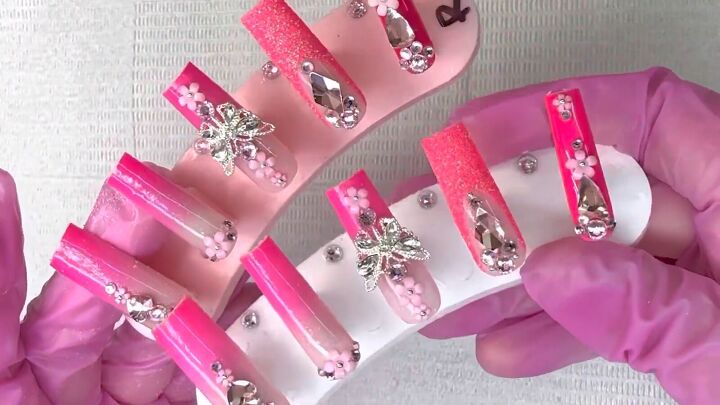
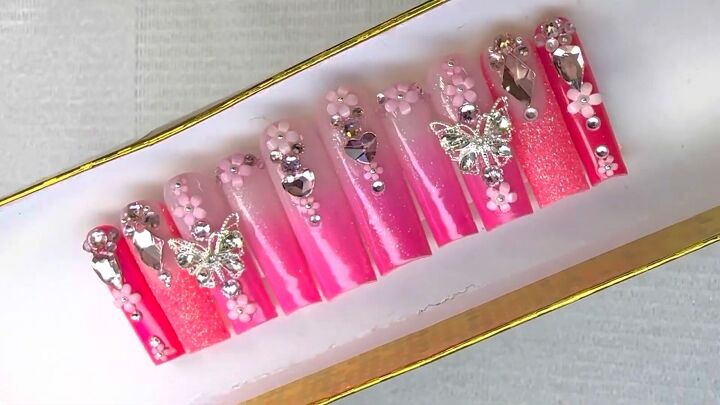
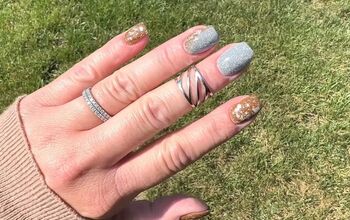
Once you’ve finished applying all of the rhinestone, they should look something like this:
For nail techs or nail DIY enthusiasts, I definitely recommend looking for inspiration online.
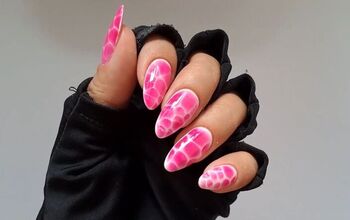
Barbie pink nail designs
I hope you loved this pink nail design! If so, leave a comment.
For another fun, pink look, try out these easy Barbie-inspired nails with me.
The author may collect a small share of sales from the links on this page.


Comments
Join the conversation