Easy Barbie Pink Nail Design Tutorial

The Barbie movie is all the rage right now, so in tribute to the movie, I’m going to show you a gorgeous pink nail design with a pool water effect.
I am in love with this technique, and by the end of the tutorial, you will be too. Let’s get started!
Upstyle Recommends!
Tools and materials:
- White nail polish
- UV light
- Watercolor gel
- Pink gel polish
- Top coat
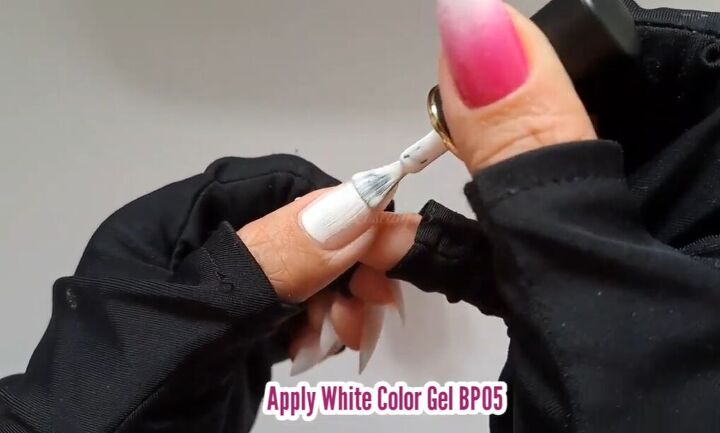
1. Apply base
First, apply a white base to all your nails. Proceed to cure your nails for a minute.

2. Apply watercolor gel
Next, apply a clear watercolor gel over the top.

3. Make pink dots
Dot on some pink gel polish in splotches. Repeat on all of your nails. Then cure your nails for one minute.

4. Apply top coat
Finish by applying a top coat. Then cure your nails for a minute.

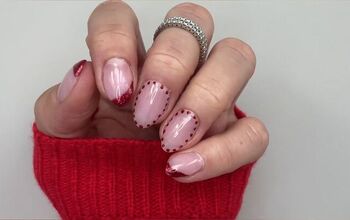
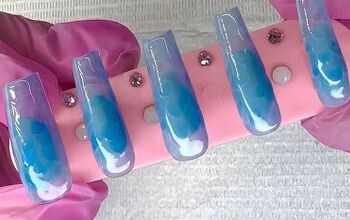
Barbie pink nail design
Here are the finished nails. The beauty of applying gel polish on top of a watercolor base is that the splotches have spread to create a gorgeous watercolor effect.
I love the hot pink color, and the design gets a chef’s kiss from me.
For more nail inspiration, check out How to DIY Cute Glitter Gradient Nails.
The author may collect a small share of sales from the links on this page.


Comments
Join the conversation