Easy Christmas Dot Nail Design Tutorial

Want to try Christmas nail art but you’re not an artist? That’s no problem if you try out this dot nail design with me.
Just follow along with my step-by-step tutorial for these cute, holiday nails.
Tools and materials:
- Base/top coat
- Sheer pink, shimmery red, gel polishes
- UV/LED lamp
- Protective gloves
- Orange wood stick or toothpick
- Lint-free cloth
- Isopropyl alcohol
- Detail brush
- Ombre brush
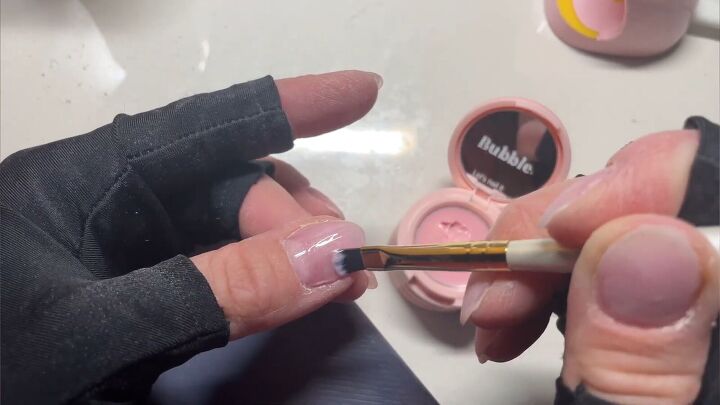
1. Paint a clear base and base color
Start by applying your base coat followed by a neutral pink for your base color. Cure, then paint on a 2nd layer of the pink polish. Cure again.
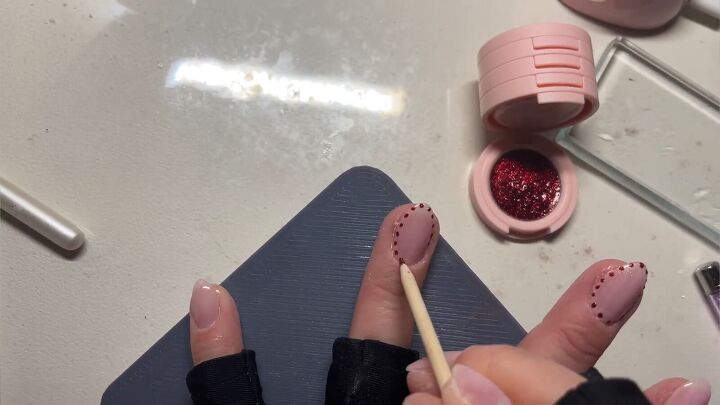
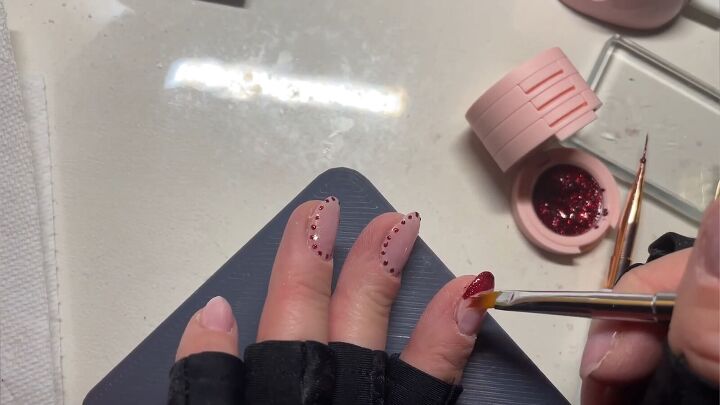
2. Make dots around your ring and middle fingernails
Use an orange wood stick (or toothpick) pipped in shimmery red gel polish to make dots around your ring and middle fingernails.
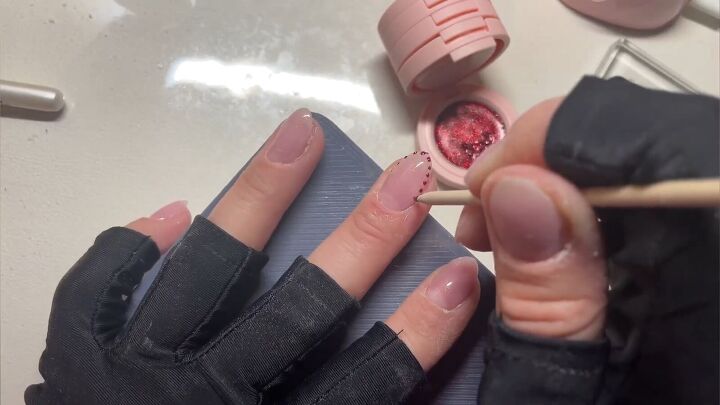
The great thing about gel polish is that if you mess up the design before curing, you can just wipe it off with a lint-free cloth dipped in isopropyl alcohol.
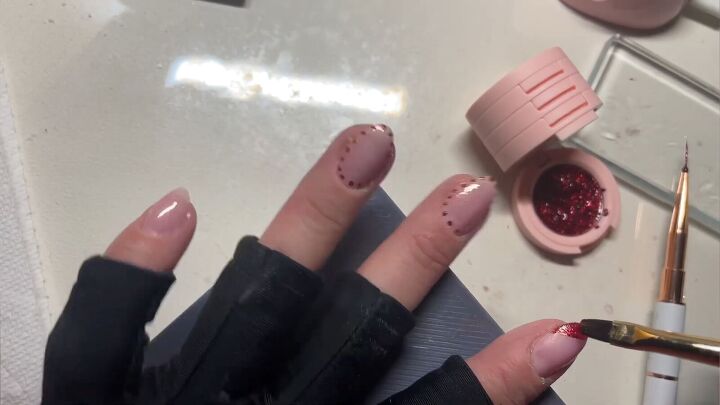
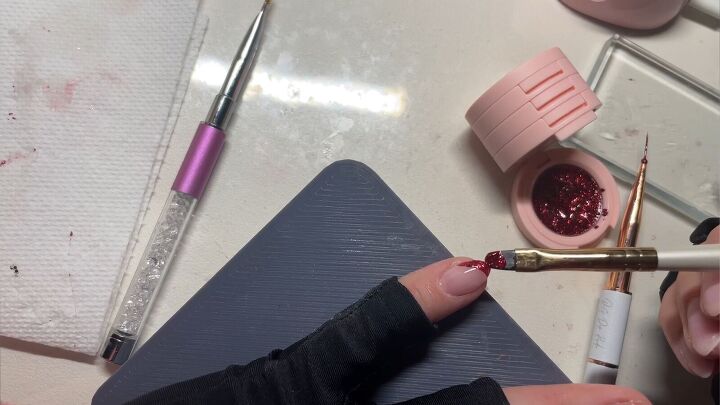
3. Make a French tip design on your pinky, index and thumb nails
Use a wider detail brush dipped in red to start a French tip shape on your pointer nail.
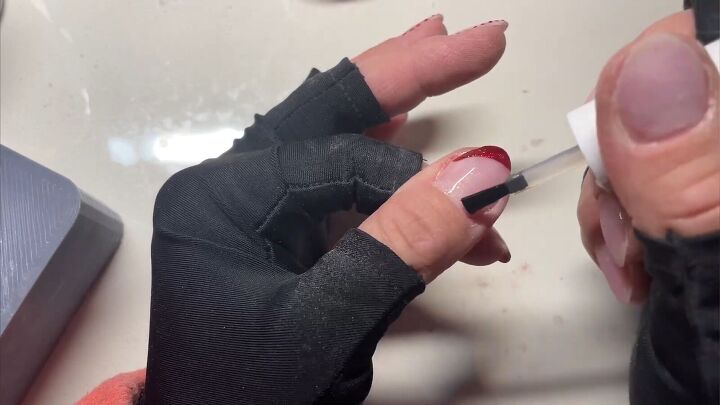
Run an ombre brush dipped in isopropyl alcohol above the line to clean it up.
Repeat for your pinky and thumb nails. Fully cure your nails once the design is complete.
4. Paint a clear top coat
Finish off your nails with a clear, top coat and a final cure.
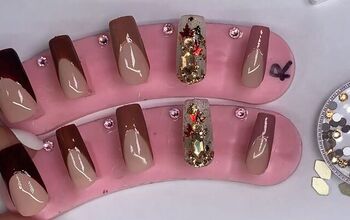
Here’s the final result of this dot nail design for Christmas:
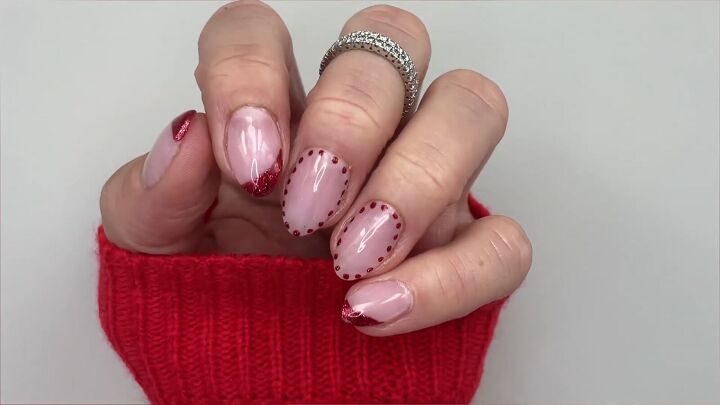
Christmas dot nail design
I hope you loved this easy, abstract gel manicure for Christmas! This dot nail design is perfect for beginners who want to get in the holiday spirit.
Next, try out this quick and easy Christmas snowflake nail art with me.
The author may collect a small share of sales from the links on this page.


Comments
Join the conversation