Quick and Easy Christmas Snowflake Nail Art

If you’re festive like me and love to match your manicure to the current holiday, follow along with my step-by-step tutorial for Christmas snowflake nail art.
Christmas will be here before you know it!
Tools and materials:
- Gel base
- Faux nail set (optional)
- UV/LED lamp
- Black gel polish
- Dotting tool
- White gel polish
- Detail brush
- Cupcake paper
- Shimmer dip powder
- Nail brush
- Isopropyl alcohol
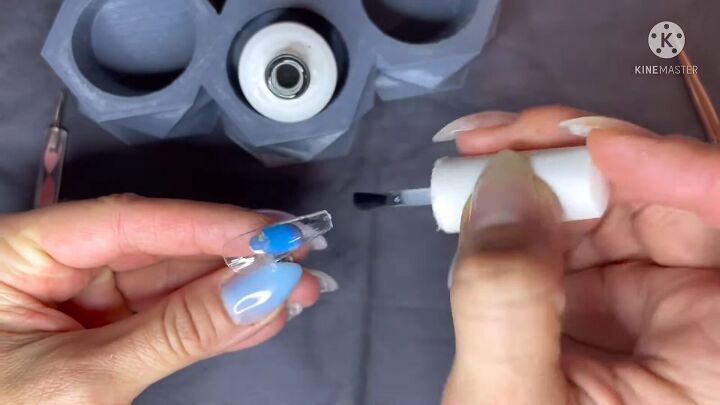
1. Apply a gel base
Start by applying a gel base to your first nail. Then cure that for 30 seconds.
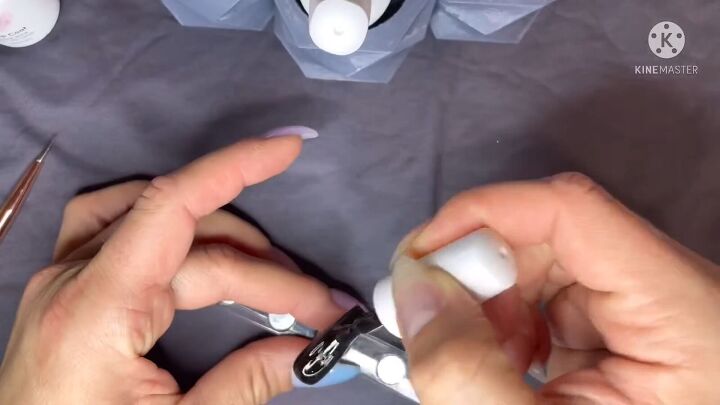
2. Apply black gel polish
Paint a coat of black gel polish and cure the nail for 60 seconds.
Then paint an additional coat to make sure the color pops. Cure for another 60 seconds.
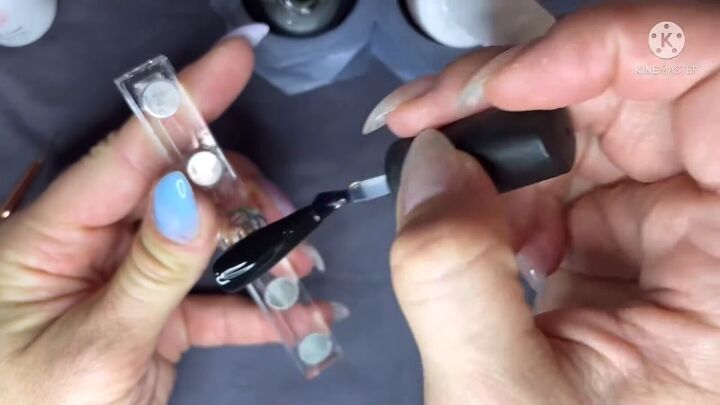
3. Apply a matte gel top coat
Apply a layer of matte gel top coat and cure for 60 seconds.
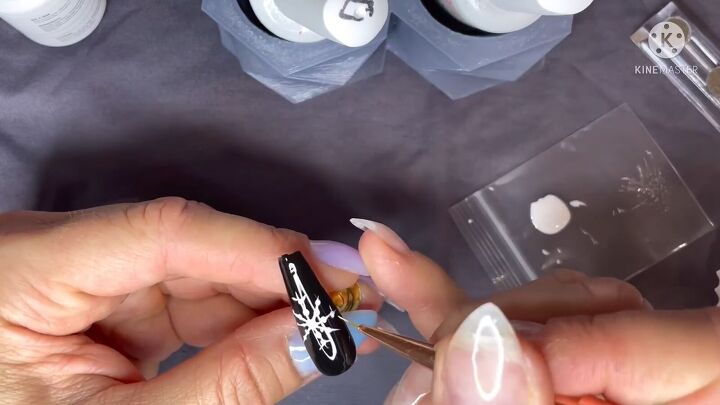
4. Make a snowflake
Apply a bit of white gel polish into a dish or scrap plastic.
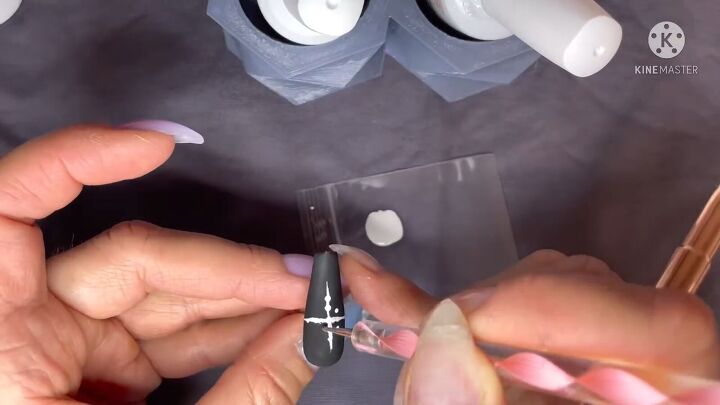
Dip your dotting tool in the white and make a T on the nail with a slightly larger dot in the center.
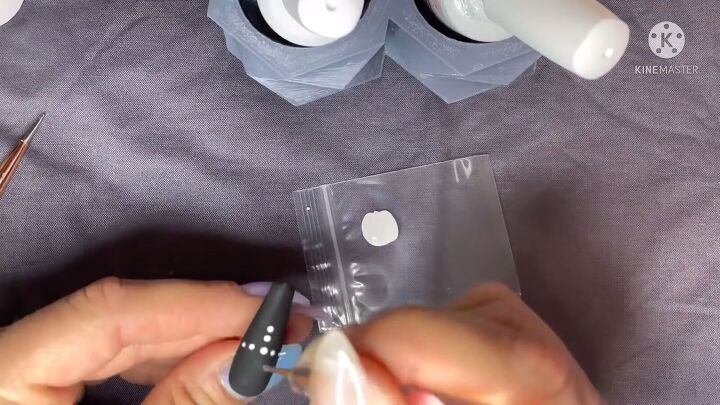
Use a detail brush dipped in the white to connect through the dots on each leg of the snowflake.
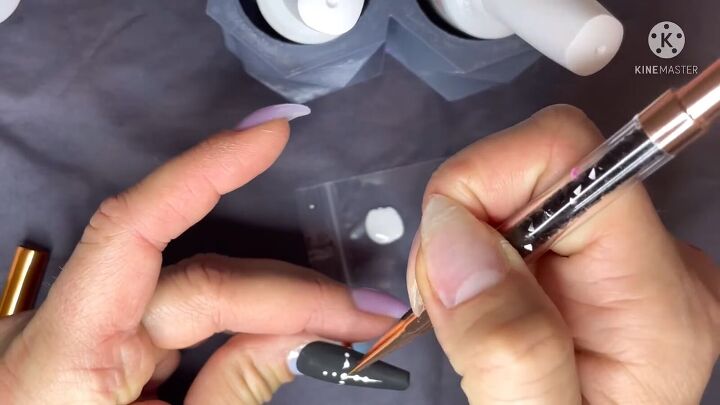
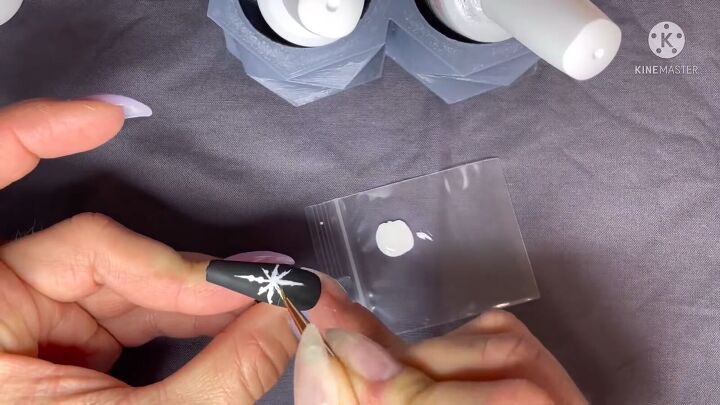
Then make a dot in each quadrant.
Drag shorter lines out through the new dots with the detail brush.
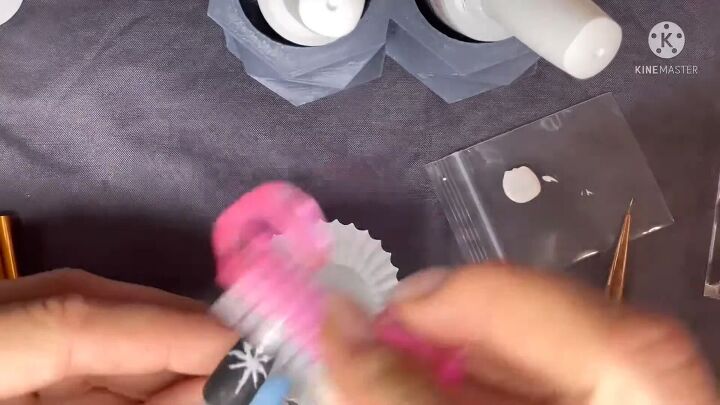
5. Add shimmer
Before curing, hold the nail over a cupcake paper. Pour shimmer dip powder over the snowflake.
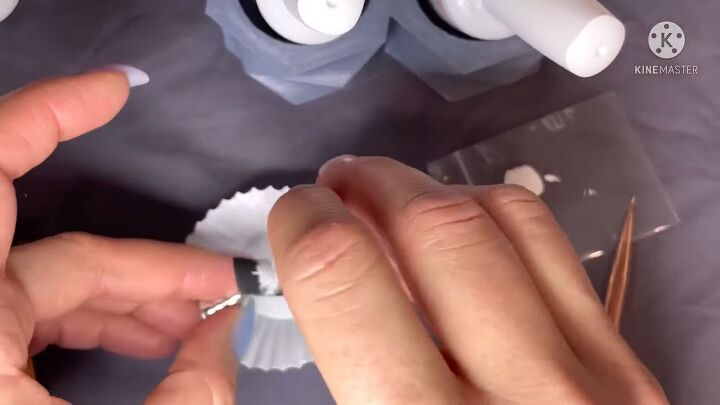
Gently tap and brush off the excess powder. Then cure the nail for 30 seconds.
After curing, brush it off again. Then wipe the nail with isopropyl alcohol.
An alternative is to use a shiny top coat instead of matte.
Here, I am making a slightly different snowflake design. Unlike the first, there are 2 dots in each quadrant.
You can add smaller, diagonal lines at the ends too for extra detail.
Then I applied the shimmer powder like before and cured for 30 seconds.
Then add a gel top coat and cure for 60 seconds.
Here are both options, side by side:
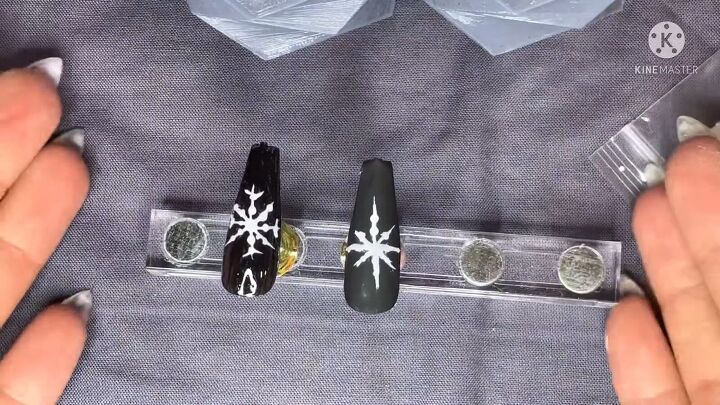
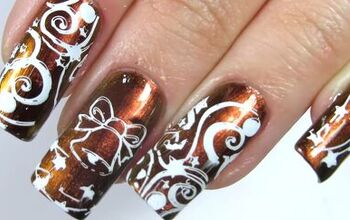
Christmas snowflake nail art
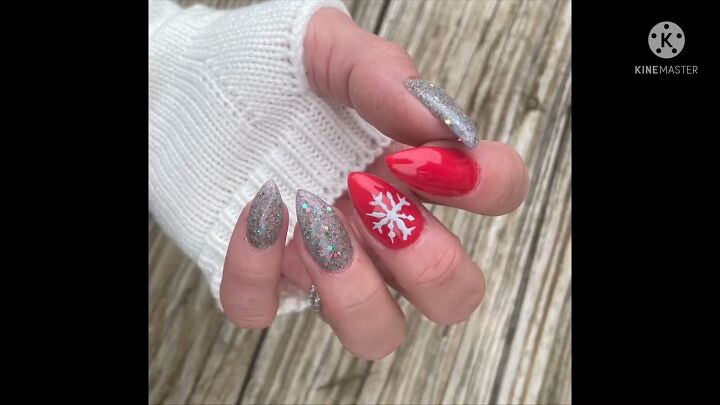
Here’s the finished look, with different colors:
I hope you enjoyed this easy, Christmas snowflake nail art. If so, comment down below.
Next, try this easy chrome French tip nail tutorial with me.
The author may collect a small share of sales from the links on this page.


Comments
Join the conversation