Super Quick and Easy Marble Nail Art Design

Try this marble nail art design that’s easy enough to do at home. Pick out at least 2 contrasting nail polish colors and let’s get started!
Best nail art kit!
Tools and materials:
- 2-3 nail polish colors
- Detail brush (optional)
- Dotting tool
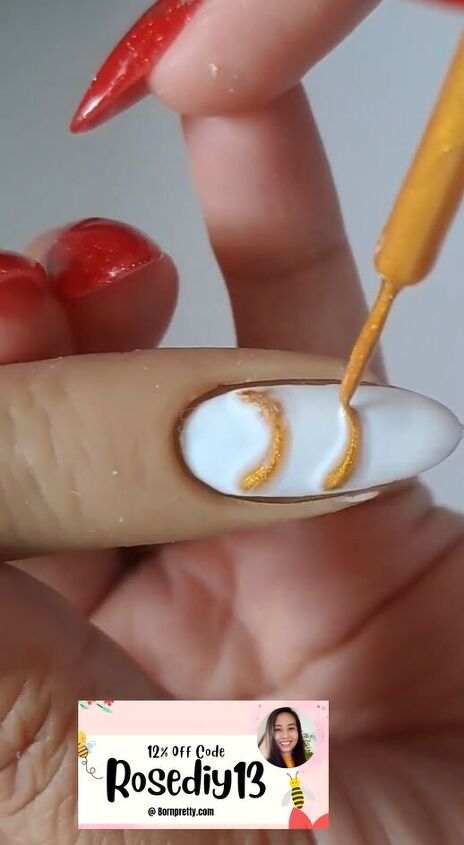
1. Paint your base color
Paint your base color on 1 of your nails.
While still wet, carefully paint on 2 horizontal curves.
If it’s easier for you, pick up this 2nd color on a thinner, detail brush for precise results.
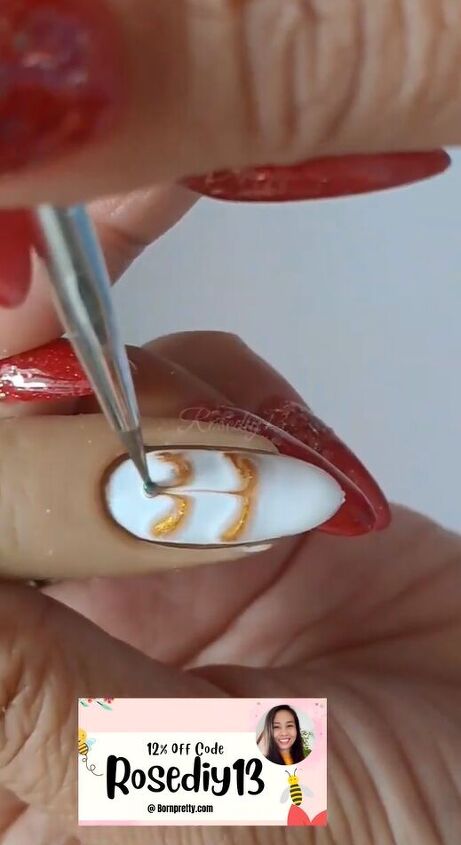
2. Make a marble effect
Next, while both polishes are still wet, use a dotting tool to make a marble effect.
You can start by gently dragging the tool upward to cross both curves.
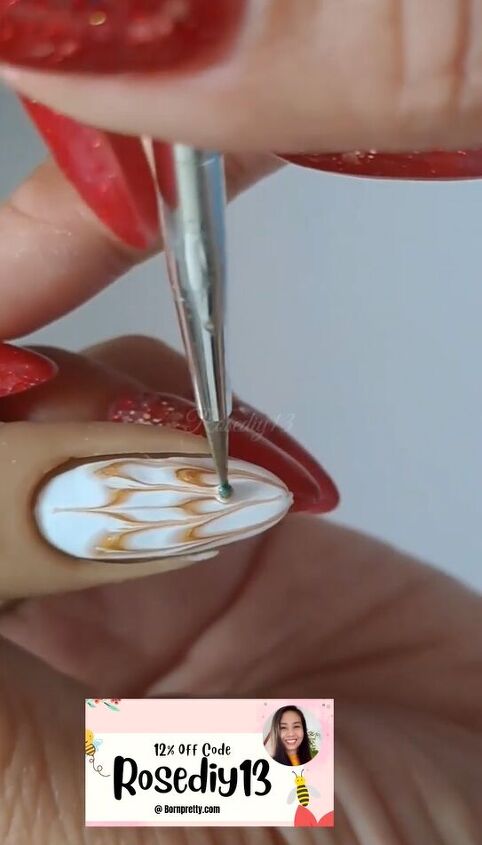
Then drag lines in the opposite direction. There is no specific pattern here, so don’t be afraid to try something different.
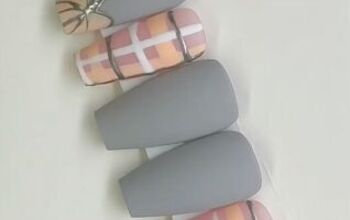
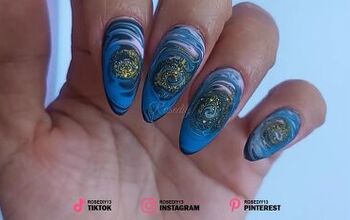
Repeat on as many nails as you’d like! You can even use a 3rd polish color to paint your other nails solid, like I did.
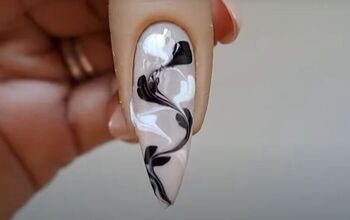
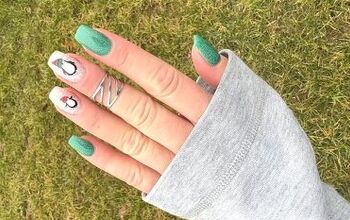
Here is the final look of this marble nail art design:
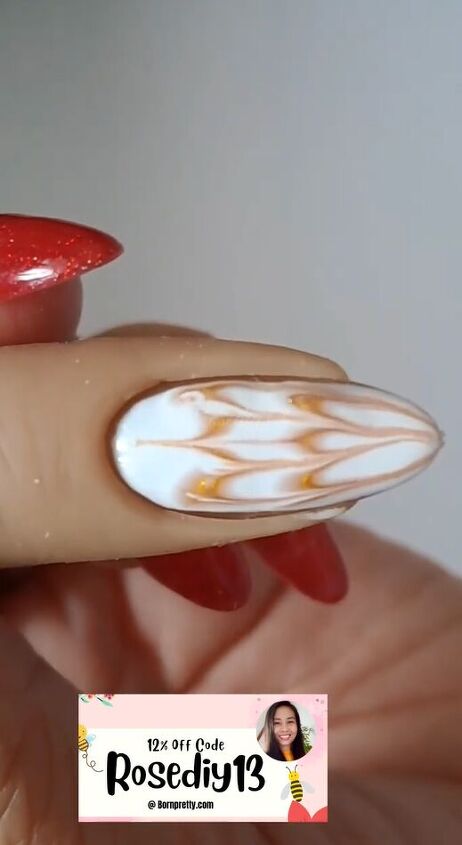
Marble nail art design
You don’t need much experience to create this unique, marble nail art design!
If you enjoyed this tutorial, leave a comment down below.
For more ideas like this, check out my 10 easy nail art design hacks.
The author may collect a small share of sales from the links on this page.


Comments
Join the conversation
It looks like poop drizzle on whip cream instead of caramel.
I think it is interesting, perhaps for Easter.