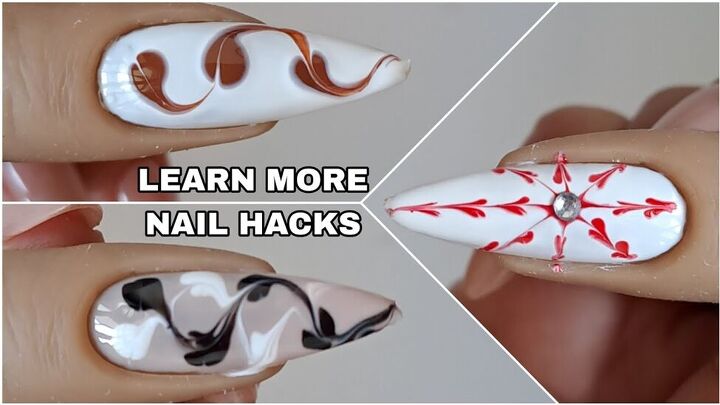
10 Easy Nail Art Design Hacks

If you are looking for some new, original nail art design hacks, follow along with this tutorial.
I will show you 10 simple, but stunning abstract nail designs that you can create using a variety of colors and one simple nail tool!
Tools and materials:
- Nail polish in a variety of colors
- Clear base coat
- Cream glitter polish
- Nail glitter
- Nail dotting tool
- Nail crystal
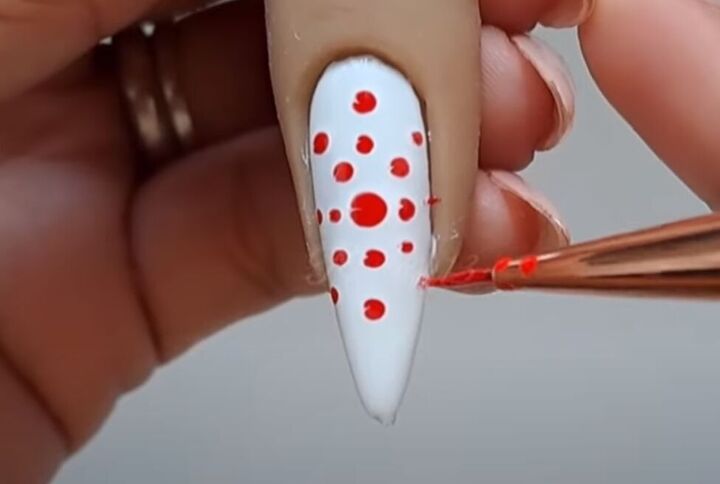
1. Swirly red dots
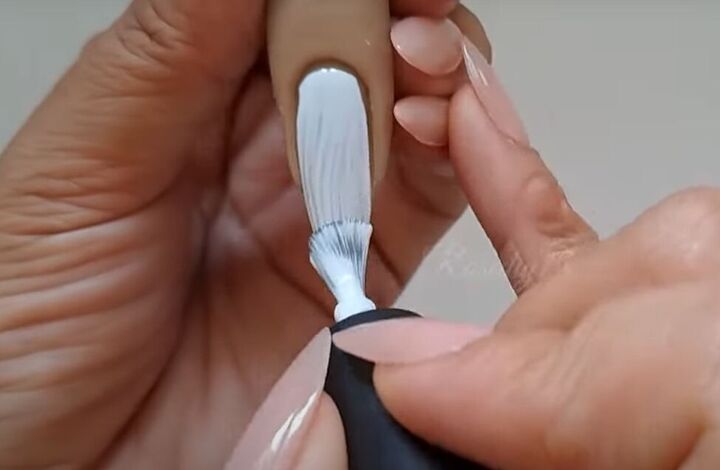
For most of these nail art designs you will start with a white base coat, and work the design right on the base coat while it’s still wet.
Use a nail polish dropper tool to make three red dots vertically down the center of your nail.

Then, with the same tool and starting at the dot closest to your nail bed, join the three dots by dragging the nail tool through them in a swirly pattern.
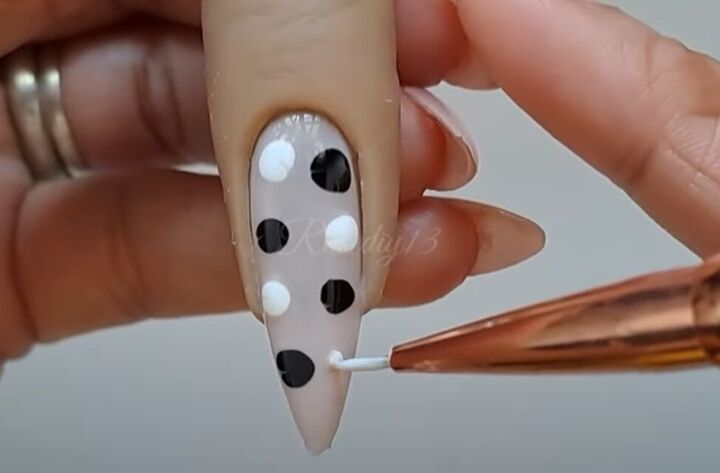
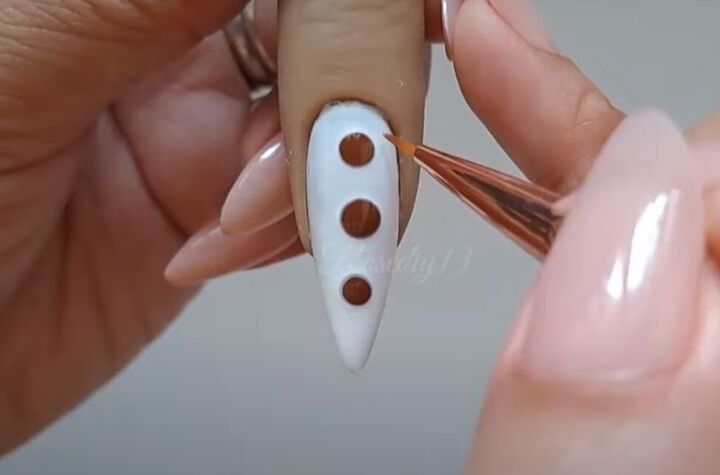
2. Black and white swirls
On the white base coat, make a pattern of four black and four white dots.
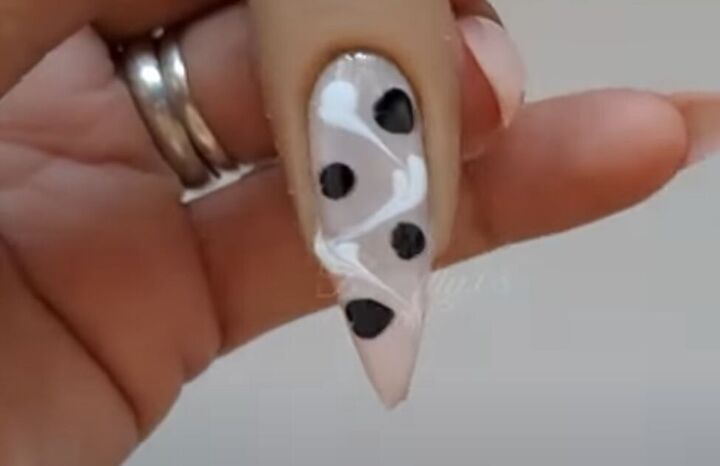
Draw your nail tool through the white dots to connect them.
Then do the same with the black dots.

Here’s the finished black and white swirl look!
3. Red starburst swirl
On your still wet white base coat, create an array of red dots as shown in the image above, with the largest dot in the center.
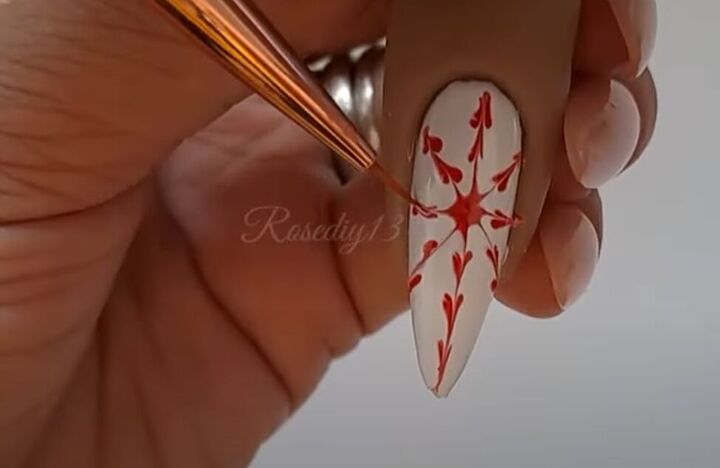
Pull lines out from the center point, connecting a line of dots, to make this starburst pattern.
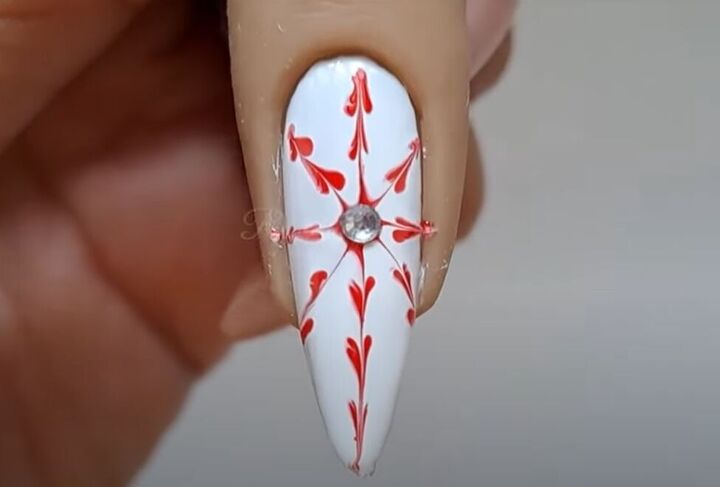
Add a crystal over the center dot for an added bit of bling.
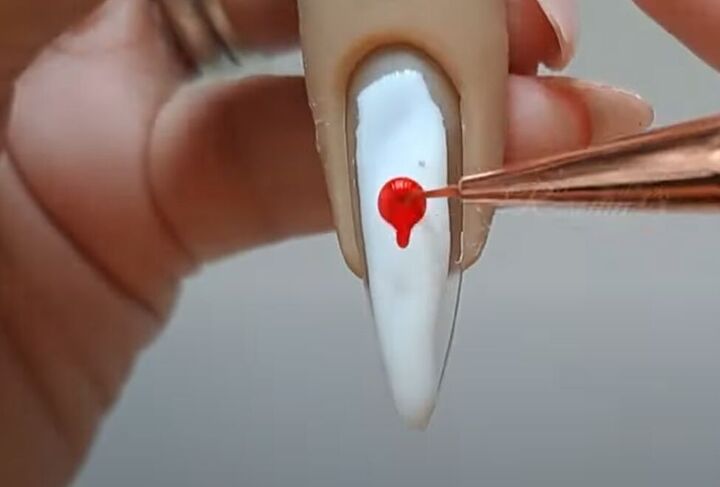
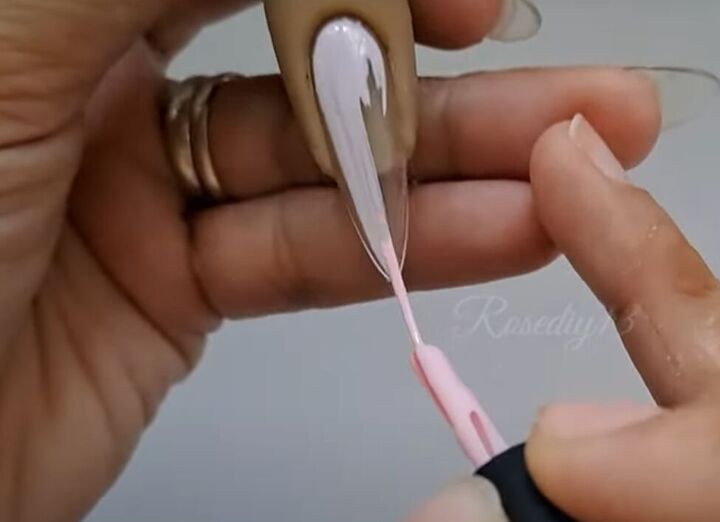
4. Create a custom pink shade
To your still wet white base coat, add one big blob of red polish in the center of your nail.
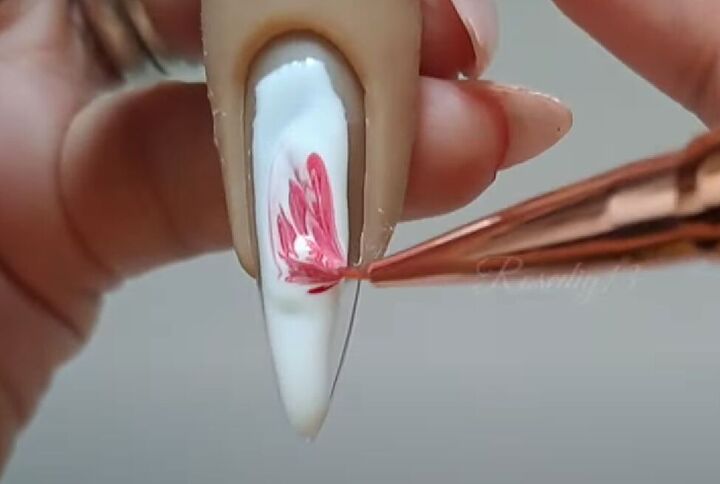
Start swirling the red polish into the white polish
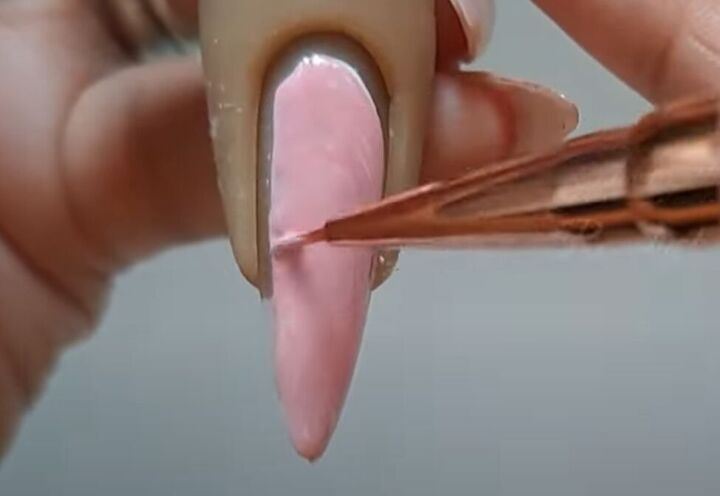
Continue swirling in the red polish until your whole nail is pink.
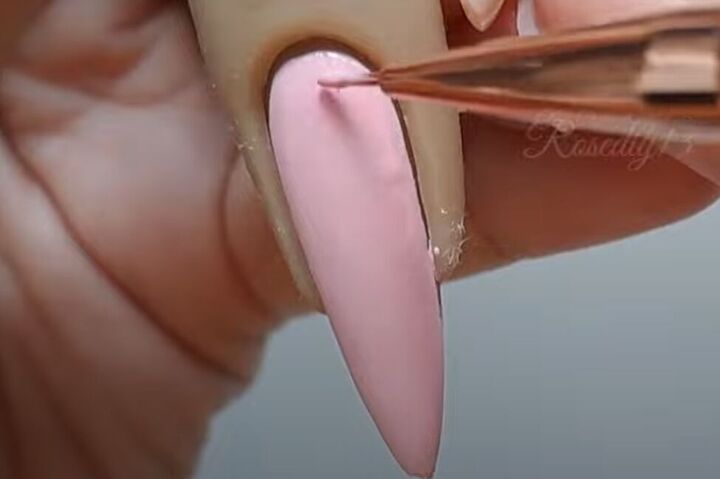
Smooth out the edges.
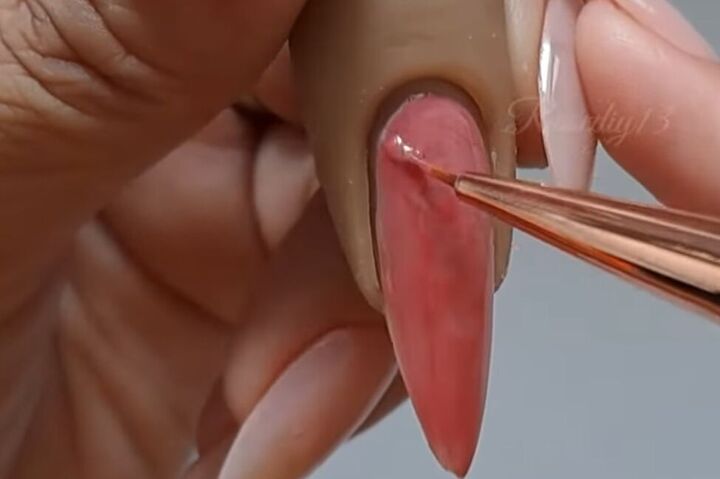
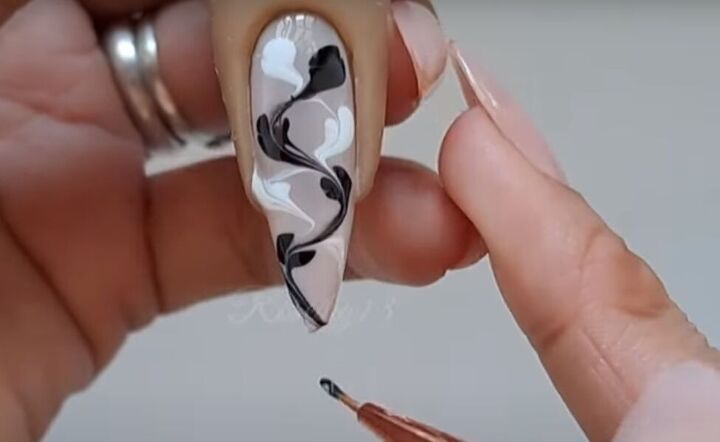
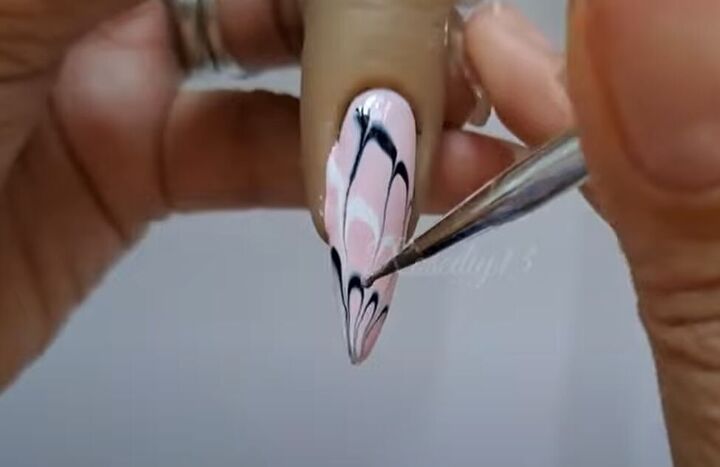
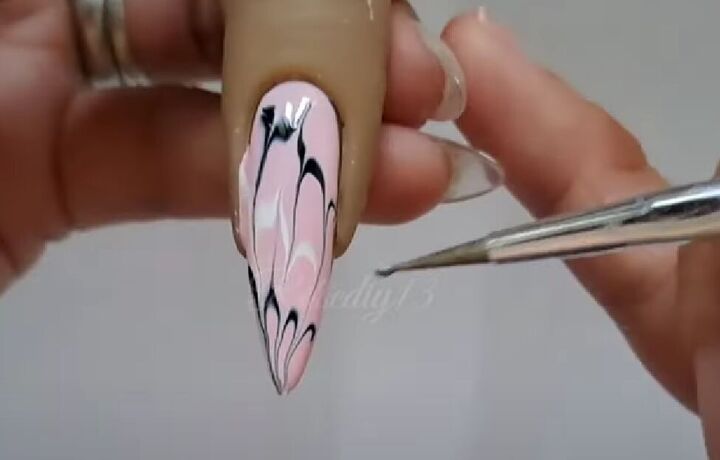
5. Rose and black swirl
Repeat step 4 on another nail using a deeper rose color with the white polish.
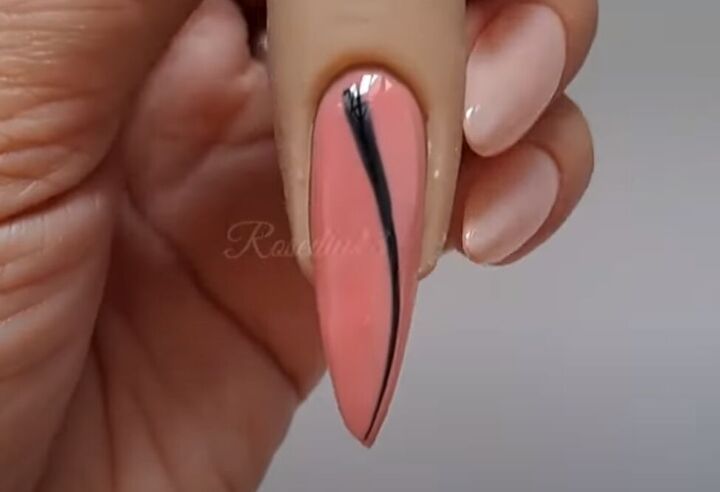
Add a curved back vertical line down the center of your nail.
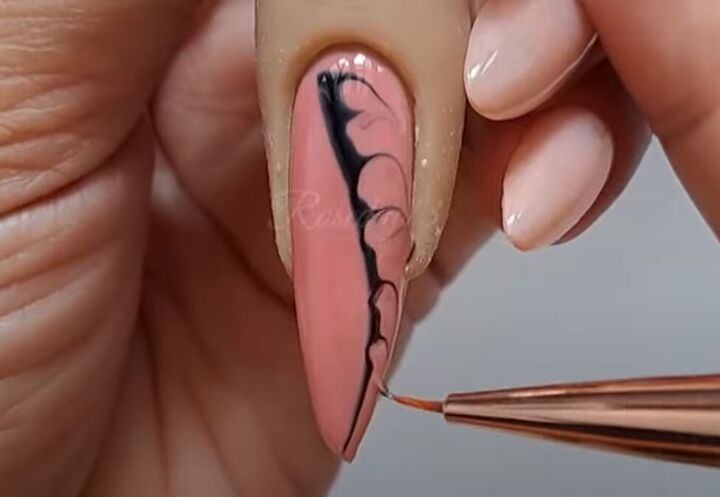
Starting at the bottom of your nail, use the nail tool to pull feathered swirls out from one side of the black line.
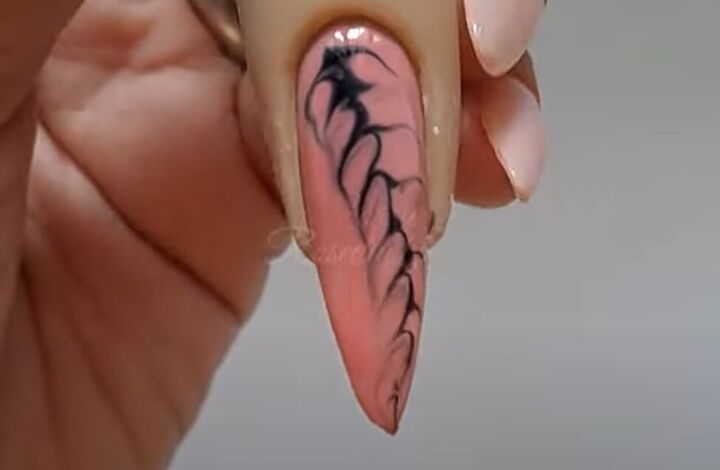
Then do the same on the other side.
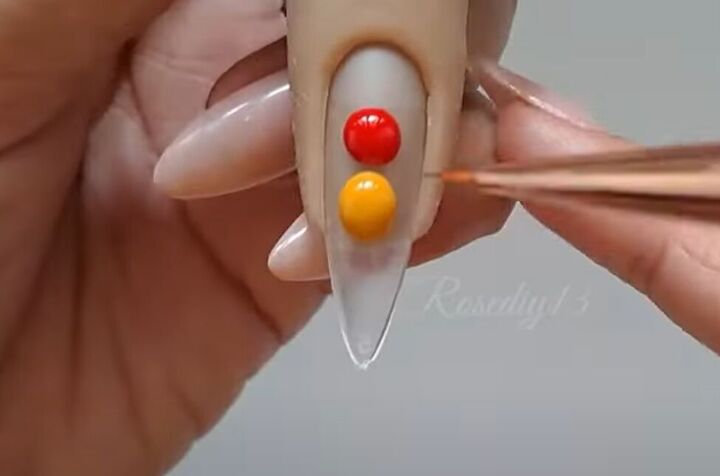
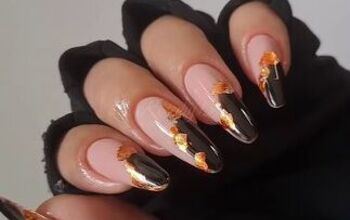
6. Create a custom orange shade
For this custom shade, start with just a clear base coat on your nail, and add a large red and a large yellow dot.
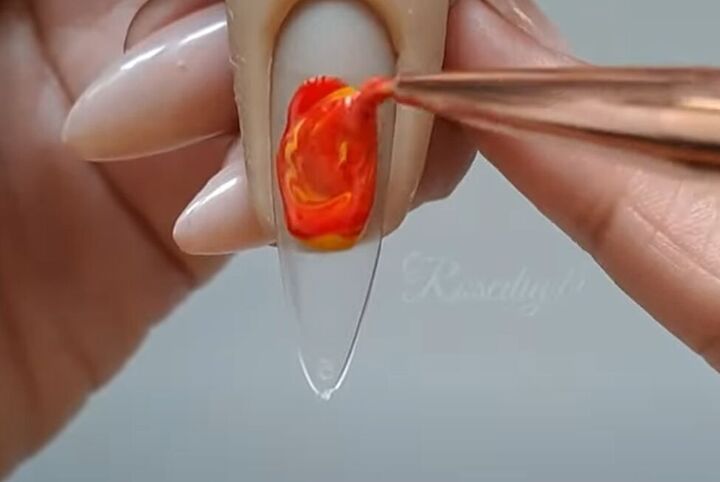
Mix the red and yellow together to get a fiery orange shade.
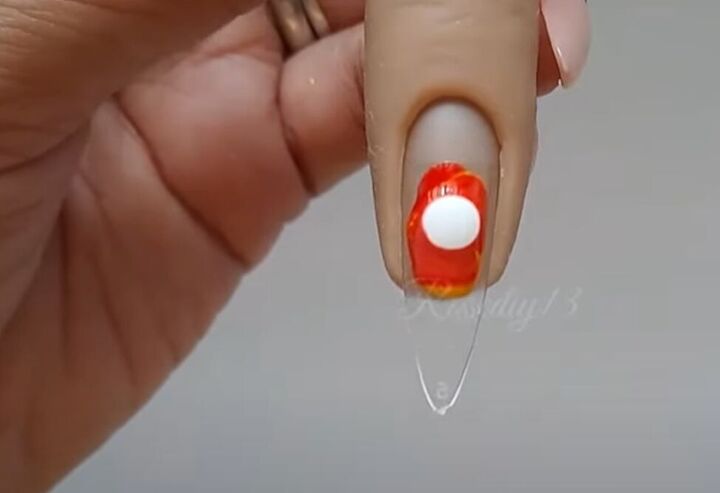
Add a dot of white polish.
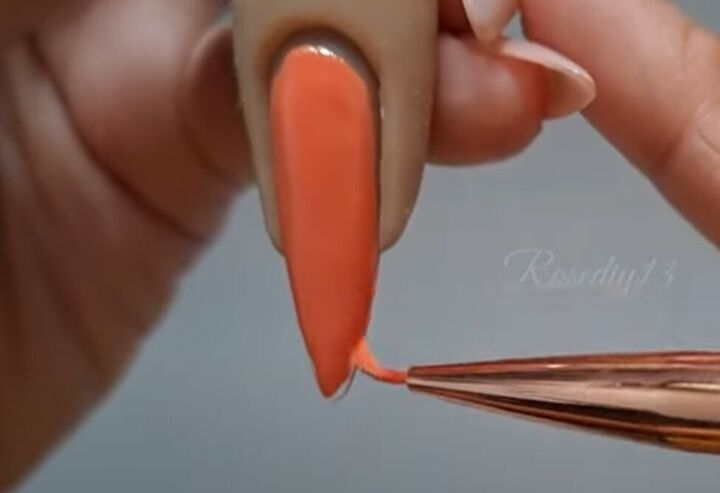
Mix in the white and cover your whole nail with this beautiful new mixed shade.
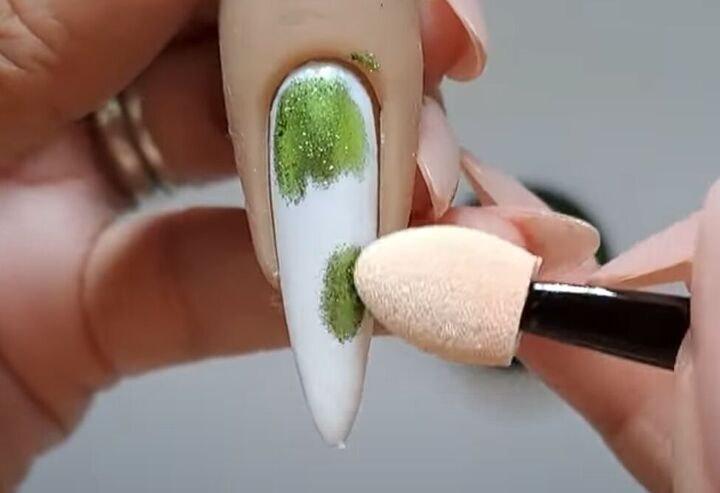
7. Sparkle nail art
Over your wet white polish, use an eyeshadow applicator to dab on some green glitter cream nail polish.
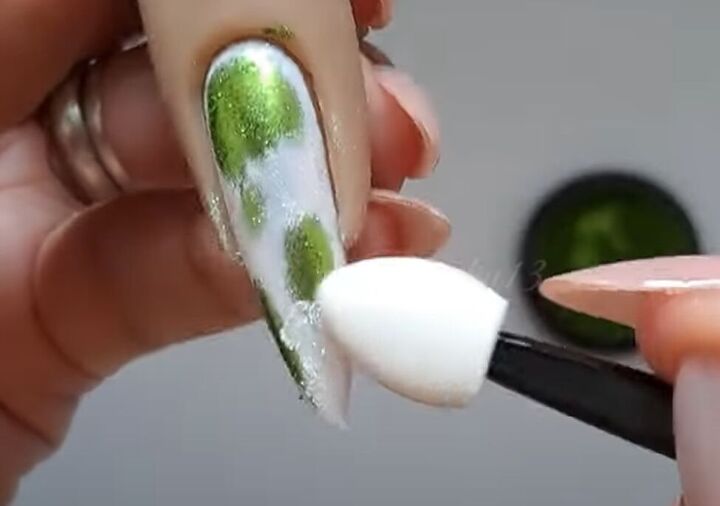
Then add some white glitter cream polish.
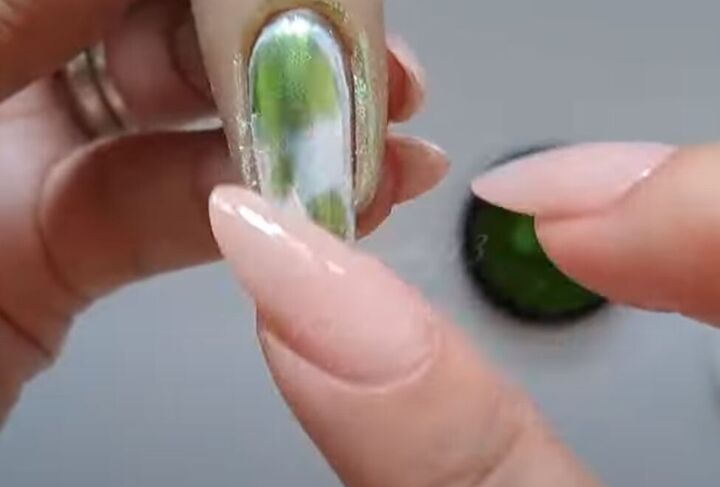
Use your fingertip to blend it all together.
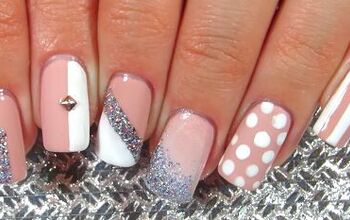
8. Diagonal feathered swirls
Over a clear base coat, and a coat of pale pink polish.
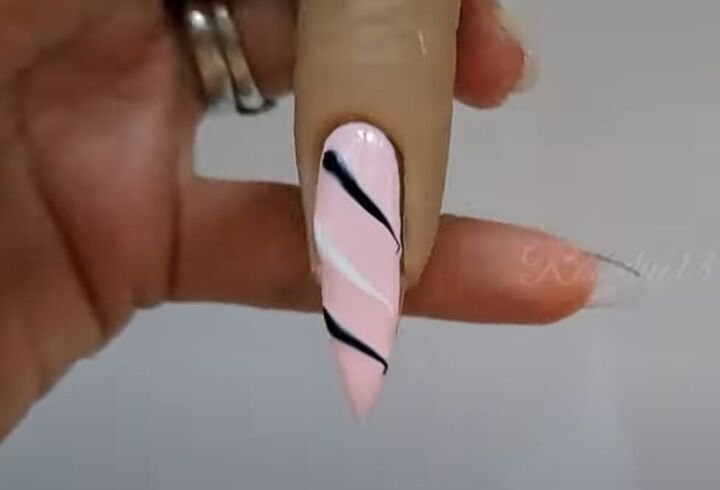
Make diagonal stripes in alternating black and white.
Draw your nail tool from the bottom to the top of your nail, connecting the three lines.
And then connect them again from the top to the bottom, between the vertical lines you just made.
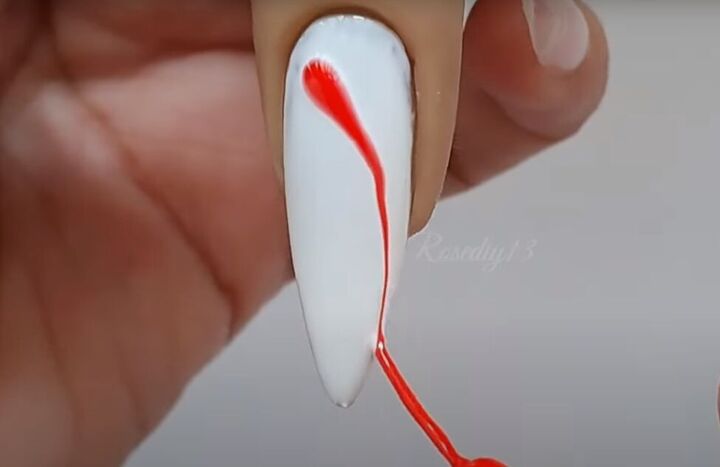
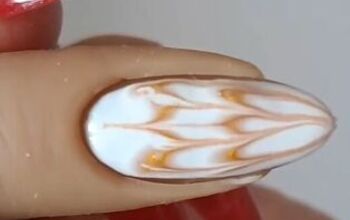
9. A big red feather
Over the wet white base, draw a curved red line from one side of the base of your nail to the opposite tip, making the line thicker at the bottom and thinner at the tip.
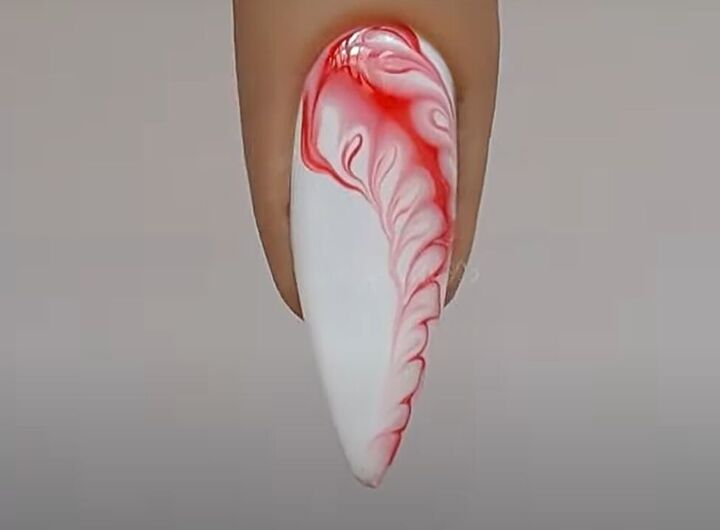
Now, starting at the base, use your tool to make feathered swirls all the way down your nail.
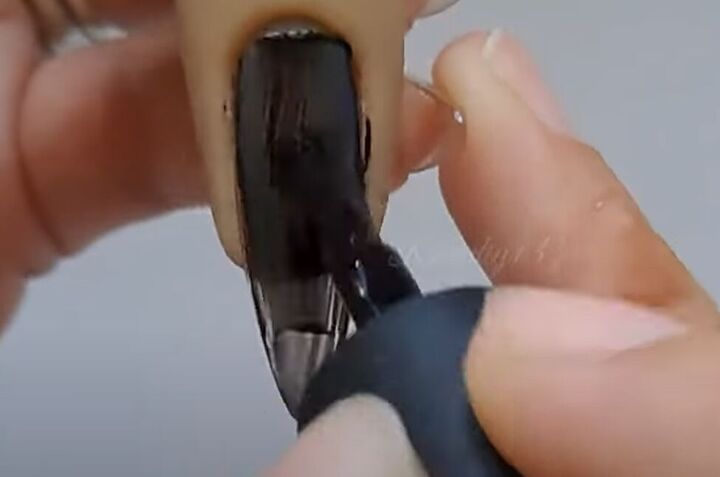
10. Hurricane swirls
For this nail art design, you will start with a black base coat.
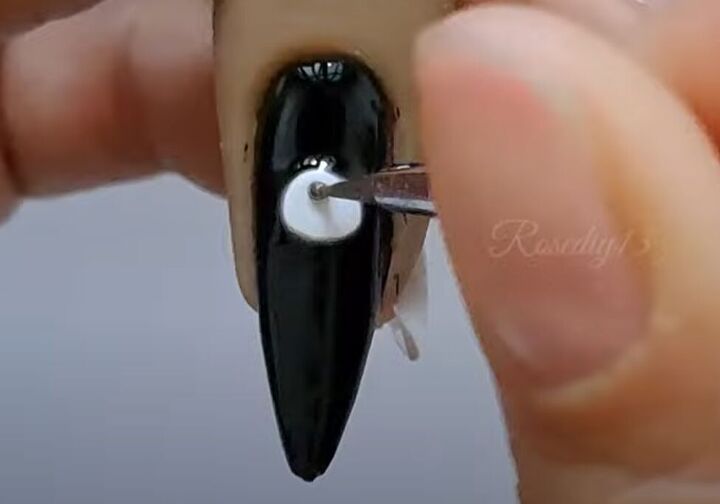
Put a large white dot of polish in the center of your nail.
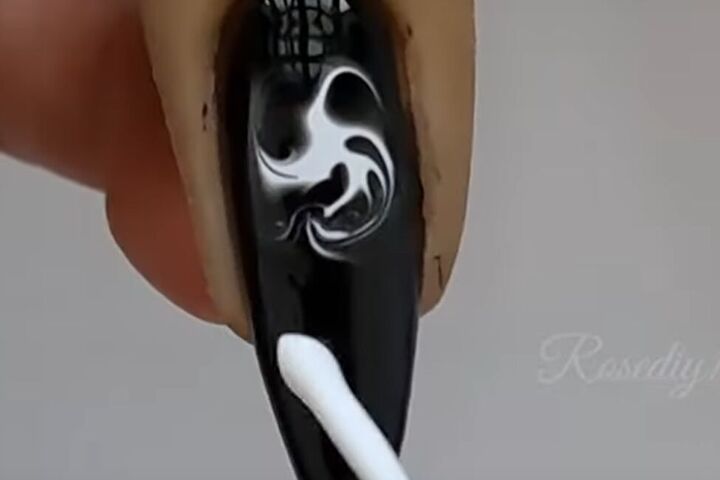
Pull swirls out from the center of the dot for a hurricane effect.
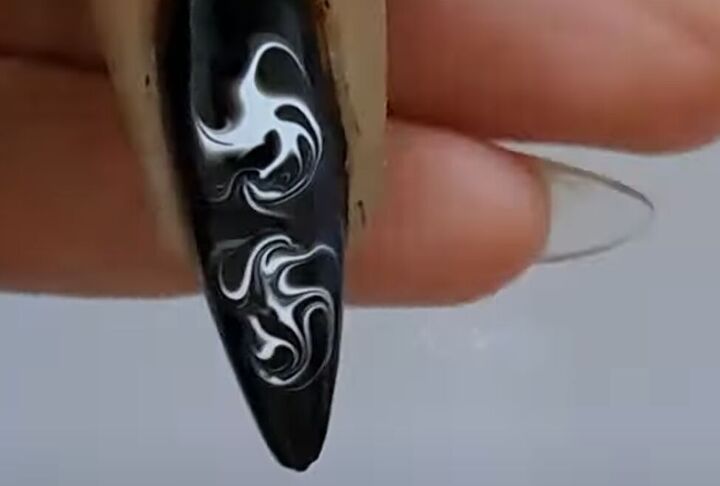
Make a second swirled hurricane closer to the tip of your nail.
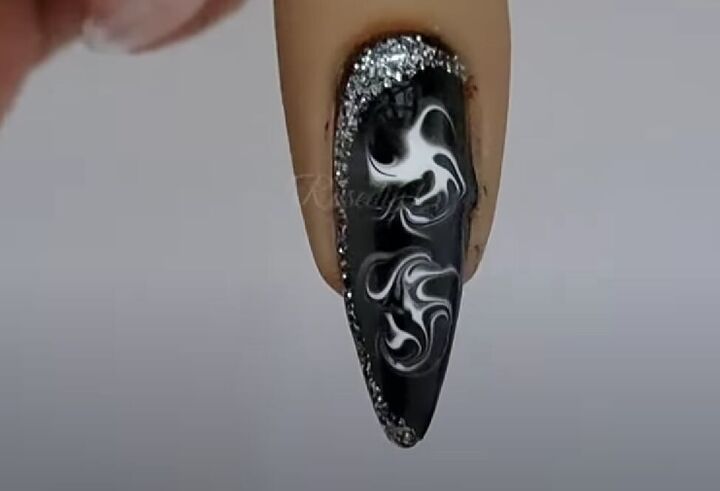
Add a silver glitter edge on one side of your nail.
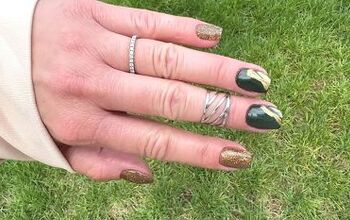
Nail art hacks
Those are some great nail art designs, and a few custom colors for you to create as well.
Leave a comment to let me know which design you liked the best!
Next, check out these 6 Easy Home Remedies to Make Nails Grow Faster & Stronger.
The author may collect a small share of sales from the links on this page.


Comments
Join the conversation