Follow This Easy Builder Gel Nail Art Design for Beginners

In this tutorial, I’ll show you how to use builder gel to create a gorgeous nail art design for beginners.
We’ll be doing a chrome look with dip powders, which I love. Let’s jump right into it!
Tools and materials:
- Builder gel
- Clear dip powder
- Solid and shimmery dip powders
- Top coat
- Activator liquid
- Isopropyl alcohol wipes
- Thin brush
- Cuticle pusher
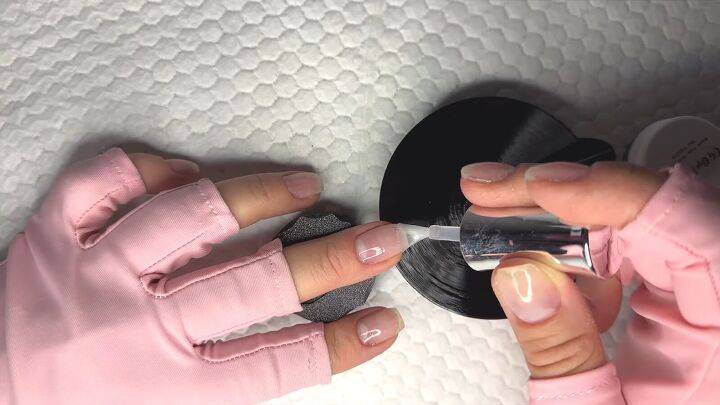
1. Apply the base
For the base, use a builder gel on your natural nails.
If you don’t have a builder gel base or you can’t use gel, clear dip powder is a nice alternative.
It will adhere to your nails better than color dip powder due to the lack of pigment.
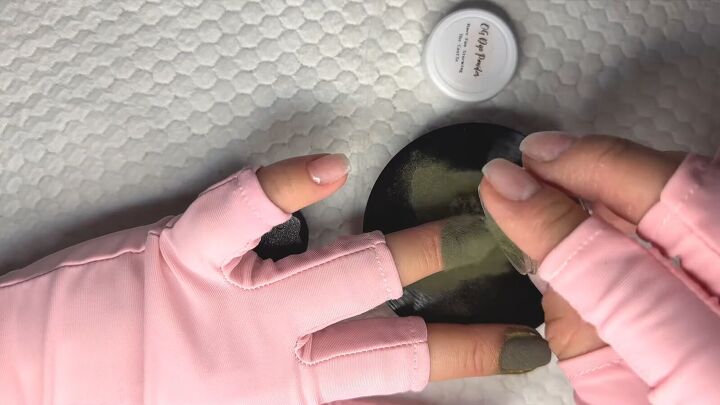
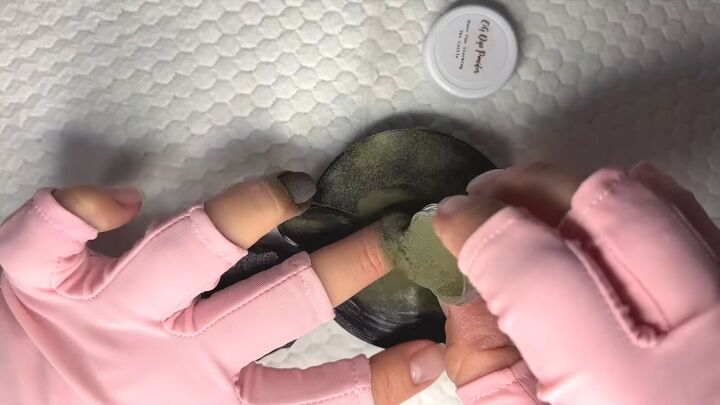
2. Pour on your dip powder
The powder I’m using as a base color is olive green. Pour the powder all over your nail, and tap off the excess powder.
Use this color on every nail except your pinky, pointer, and thumb fingers. You can go in with a nail brush afterward.
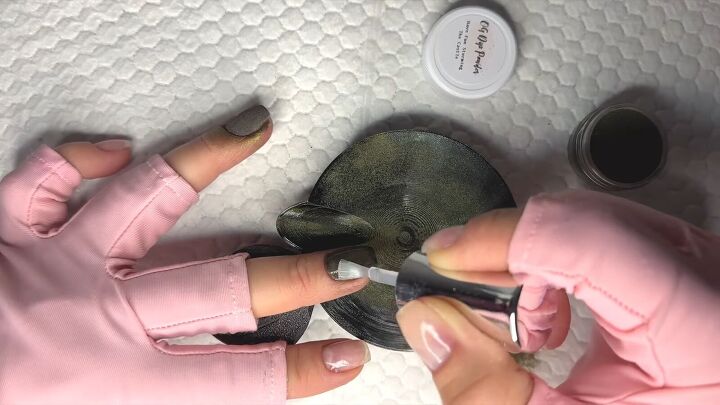
3. Apply a second layer of builder gel
The builder gel works well enough, you’ll only need two dips of each color. Apply the builder gel on top of the green powder.
I also recommend pushing back your cuticles before doing a dip, so you can get as close as possible without flooding them.
4. Pour on the dip powder again
Cover the second layer of builder gel with the dip powder.
Remember to tap off and brush away the excess powder.
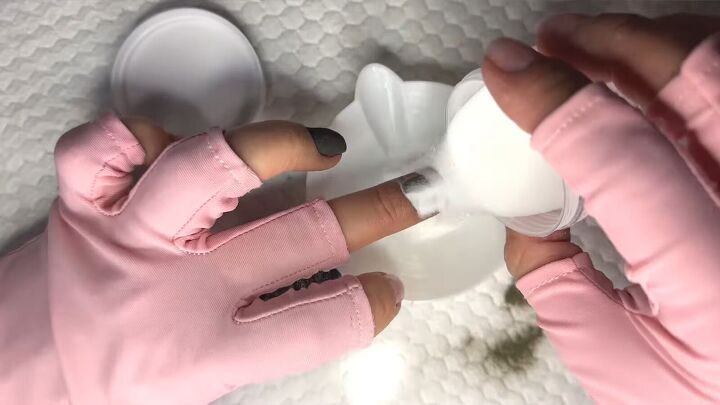
5. Cover the nail with clear dip powder
Whenever you’re done with your solids or shimmers, always go in with clear dip powder. This way, you won’t get the glitter everywhere.
6. Apply the activator liquid
Use an activator liquid over the clear dip powder, and let it dry while you work on the gold nails.
7. Apply builder gel
Apply the builder gel again to your remaining fingers.
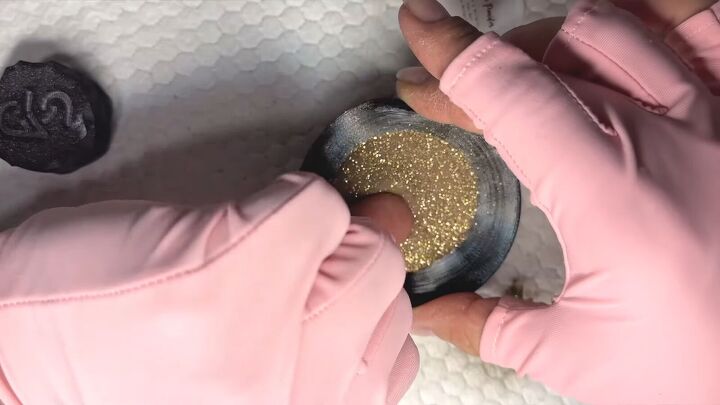
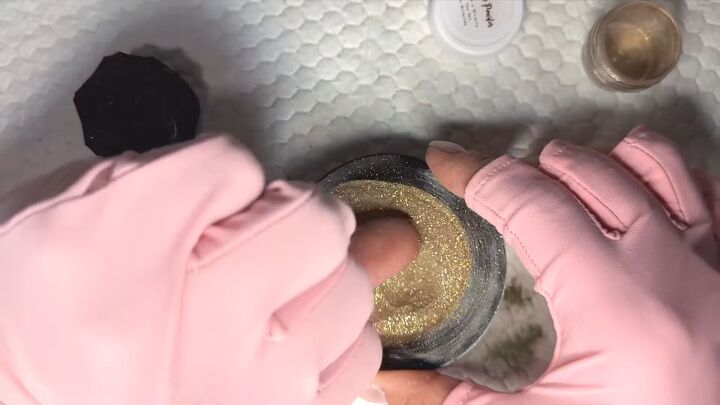
8. Dip your nail into the shimmer powder
This time, since I’m working with a shimmer powder, I’m going to dip my nail instead of pouring it.
Tap and brush off the excess well. Glitters, flakes, and foils tend to get thicker if you don’t brush them all off.
9. Apply a second layer of the builder gel
Just like before, apply a second layer of the builder gel.
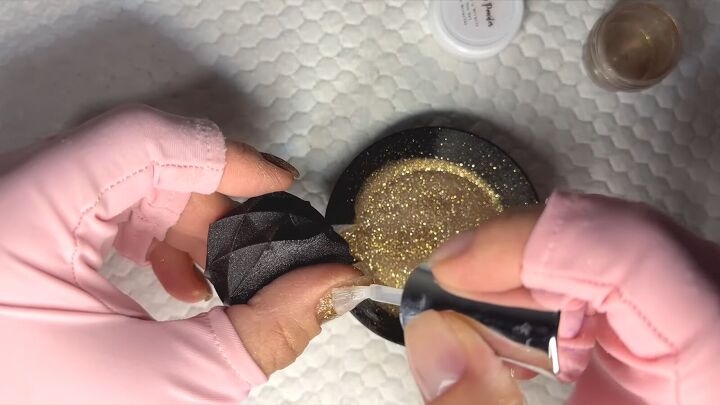
10. Dip your nail a second time
Dip your nail into the shimmery powder once more.
11. Dip and activate the clear dip powder
Apply two layers of the activator one right after the other, and make sure you activate the tips as well.
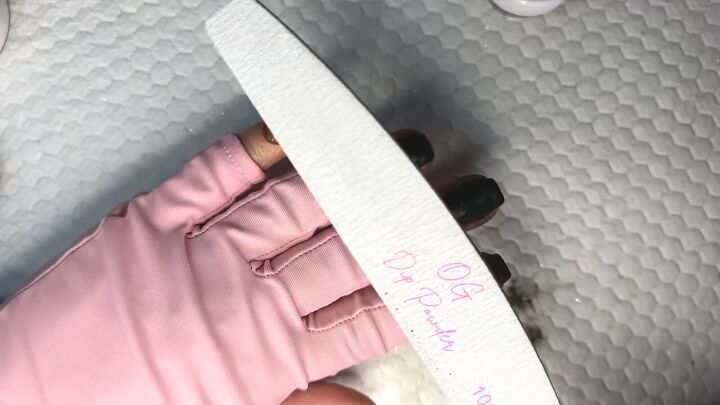
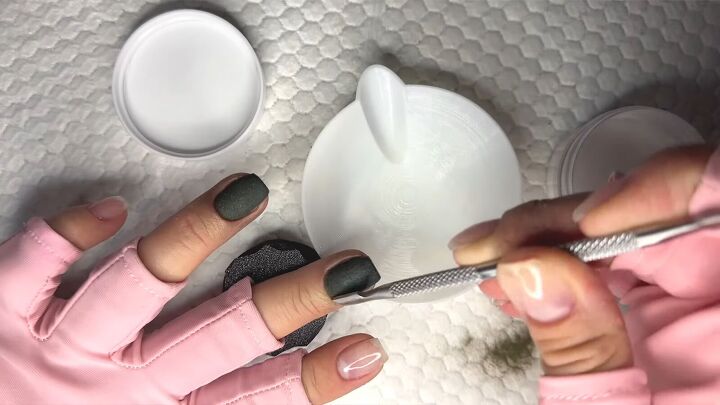
12. Buff, file, and shape your nails
Buff, file, and shape your nails, according to your preference.
13. Wipe your nails with isopropyl alcohol
Wiping your nails with isopropyl alcohol will ensure you don’t leave any dust or residue on your nails before you apply your builder gel and top coat.
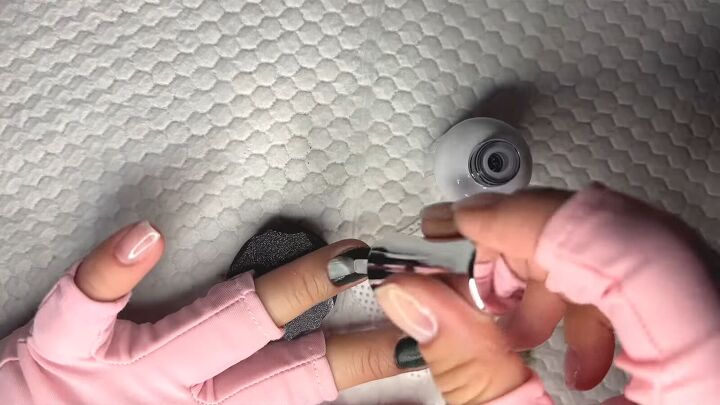
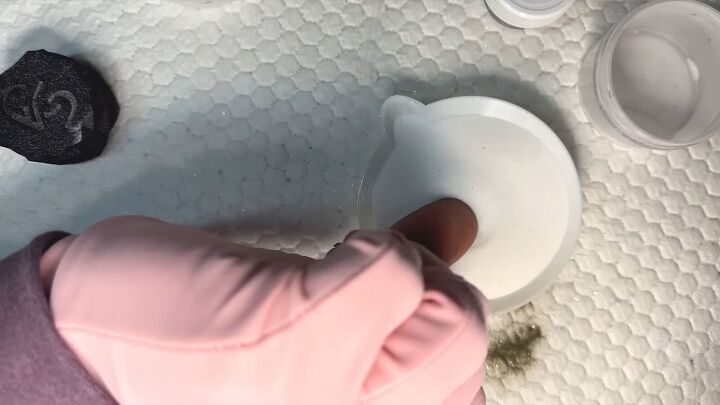
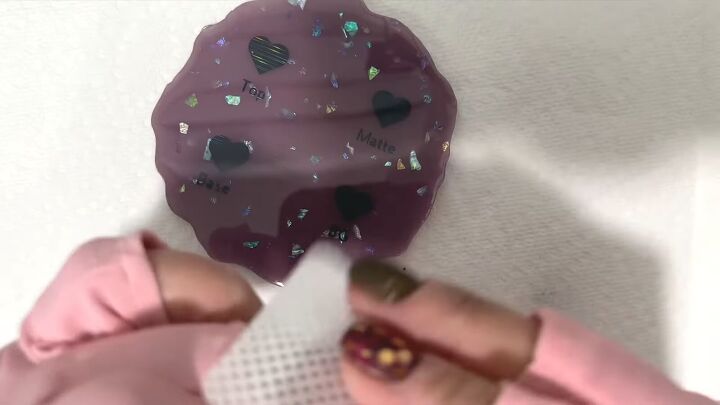
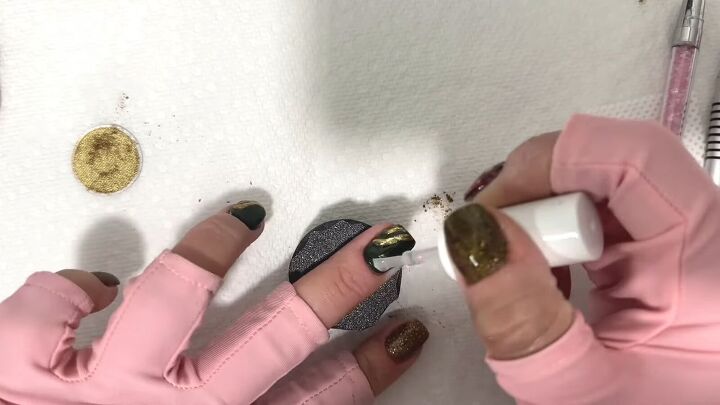
14. Draw lines with builder gel
Use a thin brush to draw a few swoopy lines on your green nails with builder gel.
Pour a bit of your gel out onto a clean surface so it’s easier to work with outside of the bottle.
Cure for 30 seconds.
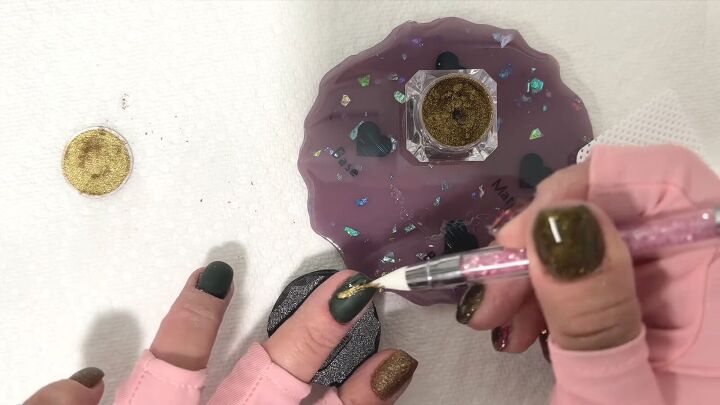
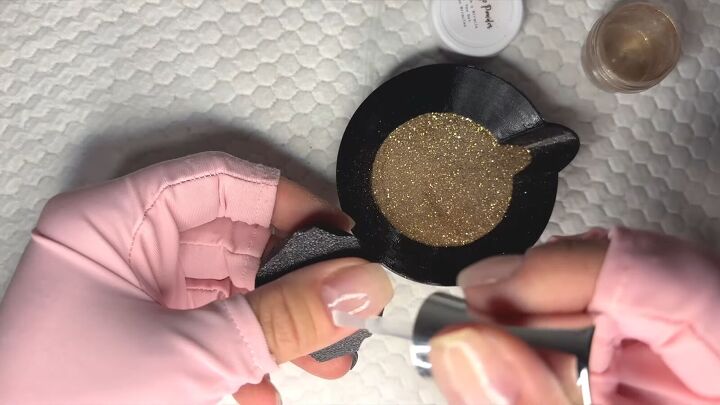
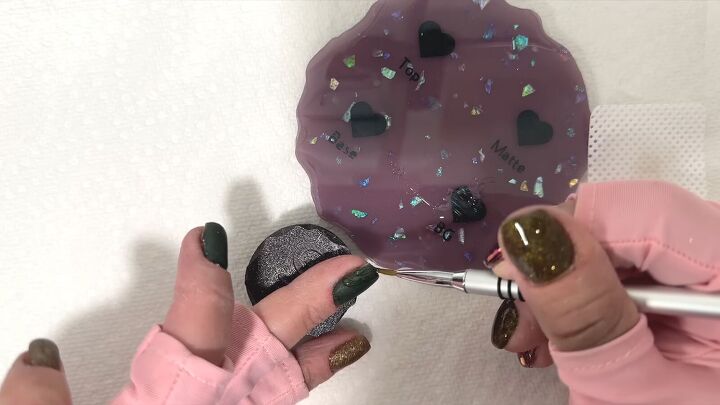
15. Cover the builder gel with chrome powder
Use a gold, chrome powder over top of the builder gel. Cure for 30 seconds.

16. Apply a second layer of builder gel
Go back over the chrome with a second layer of builder gel to seal it in well. Cure for 60 seconds.
Once you’re done, wipe your nails again with isopropyl alcohol to ensure there isn’t any chrome left on the nail.
17. Apply top coat
Apply a clear top coat over the nails.
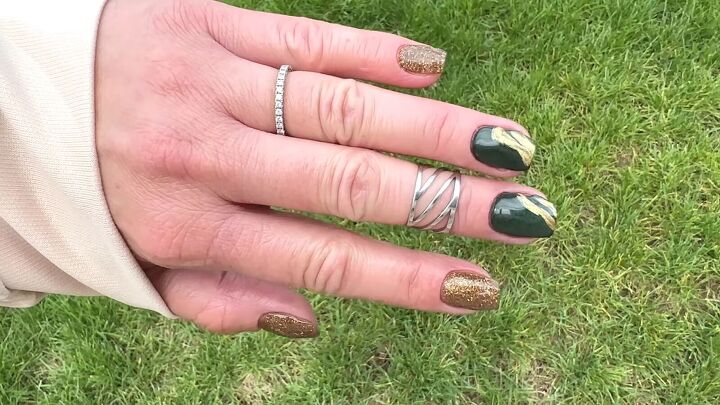
Easy nail art design for beginners
Here’s the finished gel nail art design! Let me know your favorite gel polish nail art ideas in the comments below.
Next, learn How to DIY Cute and Easy Mirror Chrome Nails.
The author may collect a small share of sales from the links on this page.


Comments
Join the conversation