How to DIY Cute and Easy Mirror Chrome Nails

If you're somebody who likes to do some fun nail art, but you don't have a lot of time when you're doing your nails, I got your back.
Today, we are going to be doing a super easy, under 10-minute fun mirror chrome nails look with gels that doesn’t require a lot of skill.
If you're like me and you have minimal artistic abilities when it comes to your nails or anywhere else in life, let me give you some tips on how you can take your manicures to the next level.
Upstyle Recommends!
Tools and materials:
- Gel nail polish
- Chrome
- Clear bag
- Colored dip powder
- Clear dip powder
- Nail brush
- Pointed nail tool
- Activator
- Nail file
- UV light
- Thin brush
- Isopropyl alcohol
- Gel base
- Matte coat
- Nail art brush
- Gel top coat
- Eyeshadow brush
1. Paint base
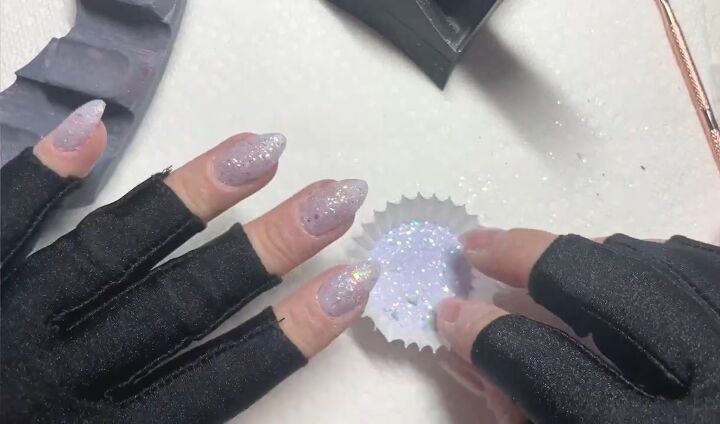
First of all, you want to start with some kind of exciting base for your nails. I painted my nails with local polish. Then, I dipped them into a gorgeous purple dip with a ton of different iridescent flakes.
So, even if I did nothing on top of this manicure, just wearing these flakes alone already makes your nails more interesting, exciting, and fun.
2. Brush off the flakes
Then take a plastic bag and press the flakes into the nail before you brush off the excess.
I've noticed that pressing the foils and flakes down before you go to brush off really makes everything blend well together.
If you start brushing the flakes off once the nails are fully dry, you’ll end up pulling off too many of the flakes or foils.
Pressing them down very quickly and then letting them dry really gives you the best payout for your flakes and foils.
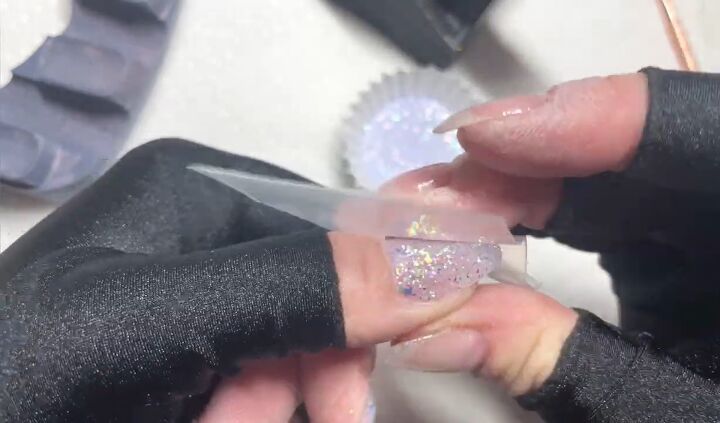
3. Apply clear dip powder
Next, you want to encapsulate the nails with clear dip powder, which will protect them when you buff and shape them.
After you have done all that work making sure that the flakes lay really nicely, you definitely don't want to buff and shape all the flakes off, so you want to make sure that you encapsulate the nails with clear powder.
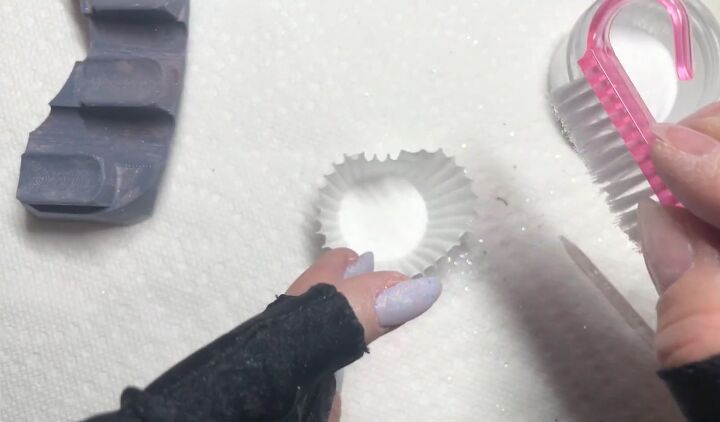
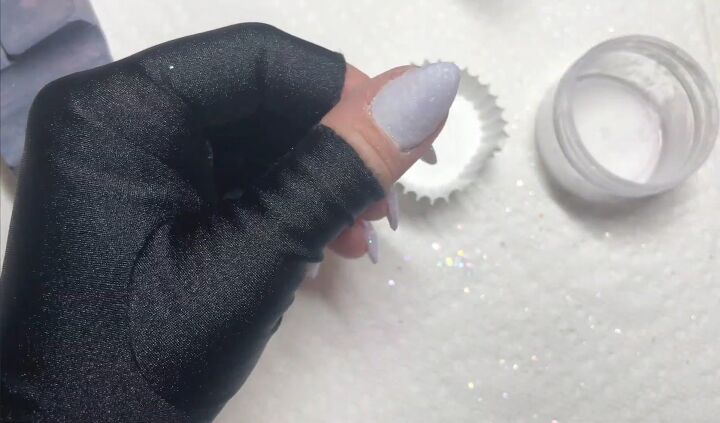
4. Brush nails
To keep your layers as thin as possible, take a stiff nail brush and brush the clear powder off well after you’ve applied it.
You can also go around the nails with a pointed nail tool and scrub all the excess clear off.

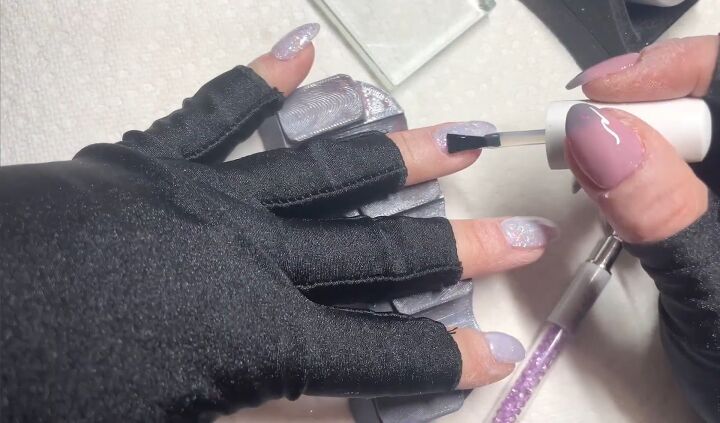
5. Apply activator
Then activate all your nails. This is one of my favorite steps of doing my nails because you really get to see your colors starting to pop through the clear.
6. File nails
The way you tell your nails are ready to be filed and shaped after you've activated is when you tap them, they'll make like a kind of hollow tapping sound.
When they're nice and hard, they're ready to file and shape. Proceed to wipe around your nails with alcohol and a thin brush to clear up the design.
7. Apply gel base
Then go through with a layer of gel base over all your nails.
Make sure that you cap your edges, as this will increase the wearability of the design.
I decided to go for a gel finish on some of my nails and a matte finish on others, so I added a matte coat.
Proceed to cure your nails for 30 seconds.
8. Apply gel top coat
Apply a gel top coat where you want it to go and cure it for 15 seconds.
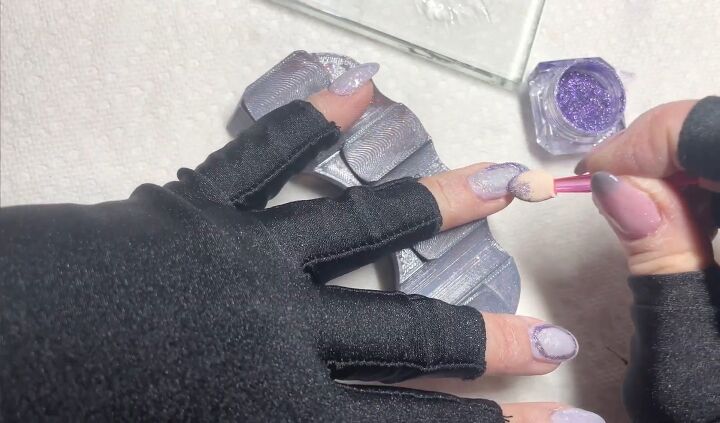
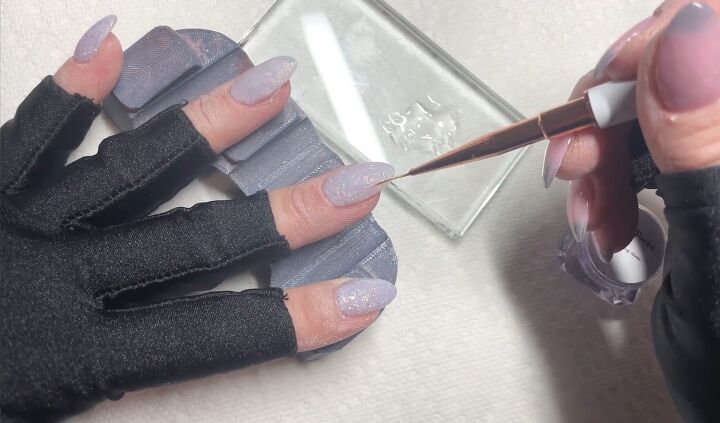
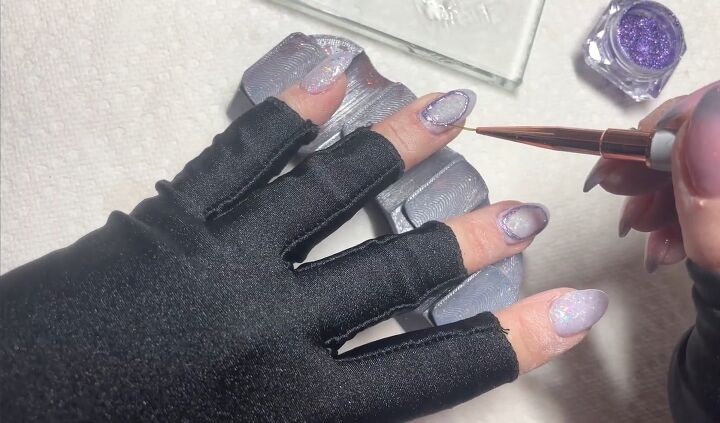
9. Create a design
Now you can go in with your long nail art brush and start making designs. I wanted to make an abstract oval-shaped design.
I took a gorgeous dark purple chrome which pops out against the light purple base and applied it with an eyeshadow brush.
Once you're done applying the chrome, dust off the excess and cure the top coat for 45 seconds.
10. Apply top coat
Then go over the chrome with a top coat, which will make it look shiny and stay in place. Finish by wiping your nails with alcohol.
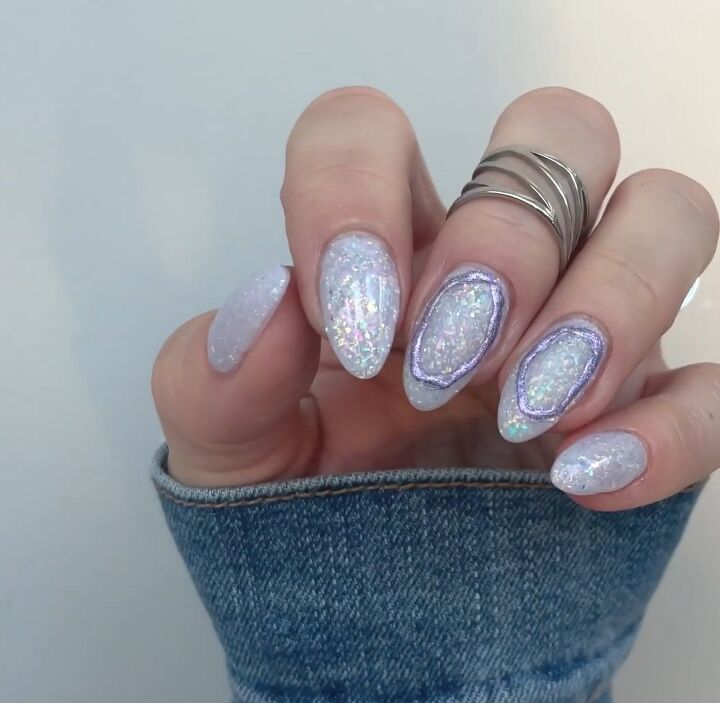
DIY mirror chrome nails
Here is the finished shiny, shimmery, glittery, mirror chrome nails design.
Even though there were a lot of steps, this look is super easy to achieve and will give your a professional salon-looking finish.
Give this a go and let me know what you think!
Check out my post on How to DIY Glazed Pink Hailey Bieber Nails at Home.
The author may collect a small share of sales from the links on this page.


Comments
Join the conversation