How to DIY Cute and Easy Ombre Orange Nails

Learn hot to do the perfect, ombre orange nails to compliment your hot summer style! All you need to do is follow along with my step-by-step tutorial.
Tools and materials:
- Nail lamp
- Makeup wedge
- Yellow gel polish
- Orange gel polish
- Red gel polish
- Matte gel top coat
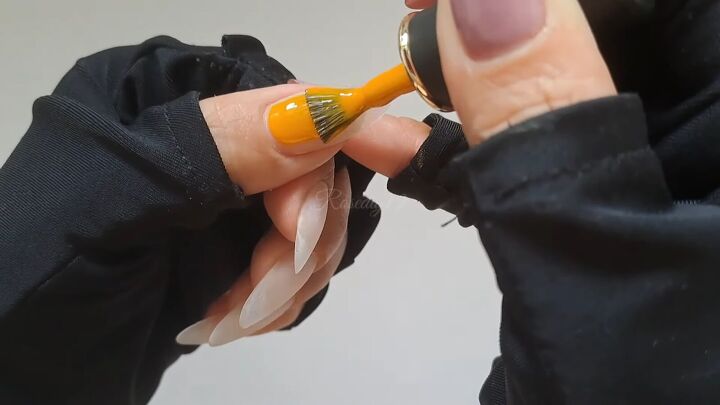
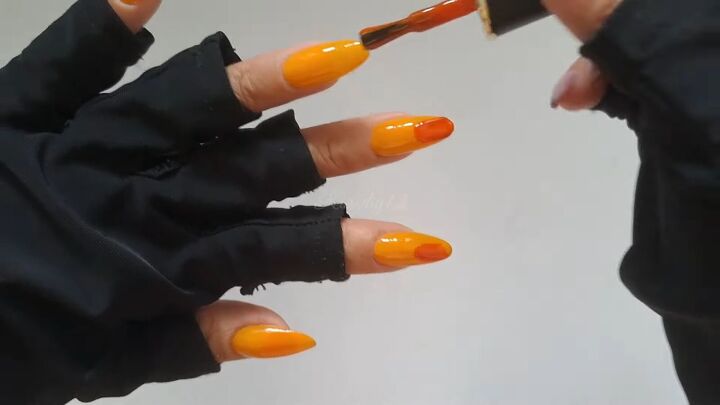
1. Apply yellow gel polish and cure
Start off with a coat of yellow gel polish on one hand.
Then cure under the nail lamp for 60 seconds.
2. Apply orange gel polish
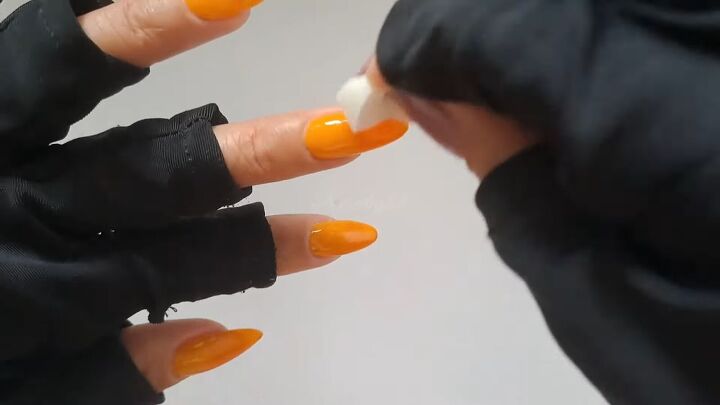
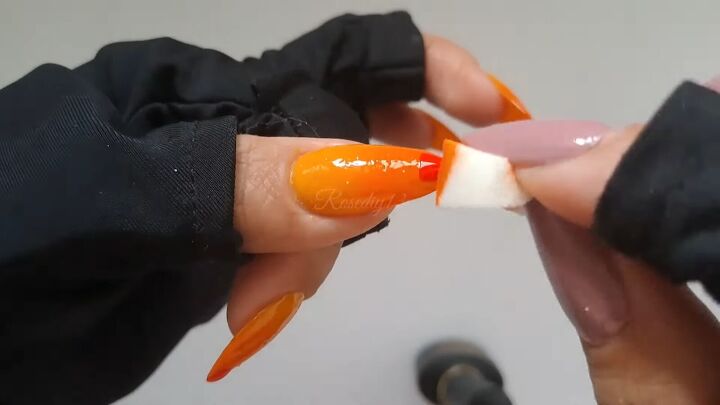
Next, paint a small strip of orange gel polish at the tip of your thumb nail.
Then, use a makeup wedge to stamp lightly at the orange polish, spreading it evenly across the width of the nail on the bottom half.
Repeat for your other nails on that hand.
No need to clean off the sponge, just continue stamping with it on the other nails.
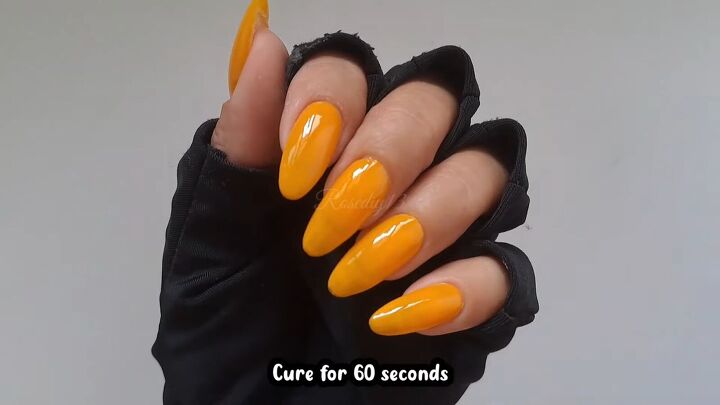
3. Repeat with the orange polish and cure
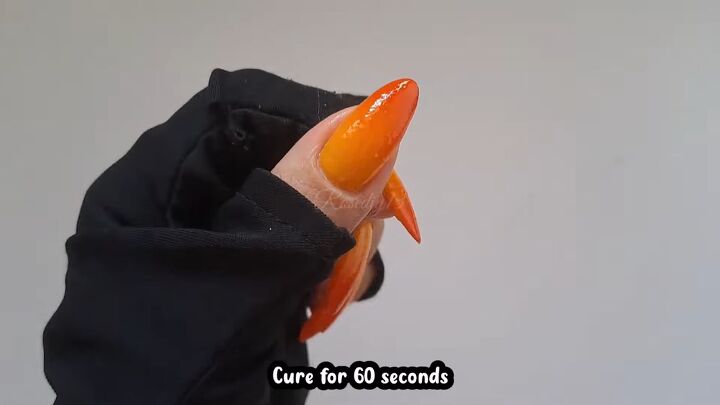
Repeat the same process with the orange polish to create a deeper shade of orange at the tips of the nails.
Then cure for 60 seconds.
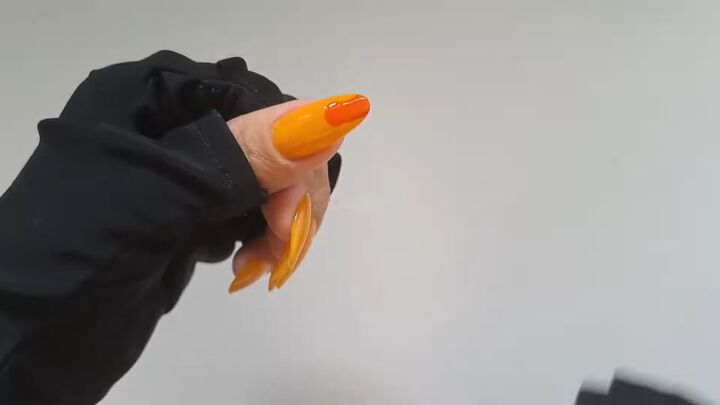
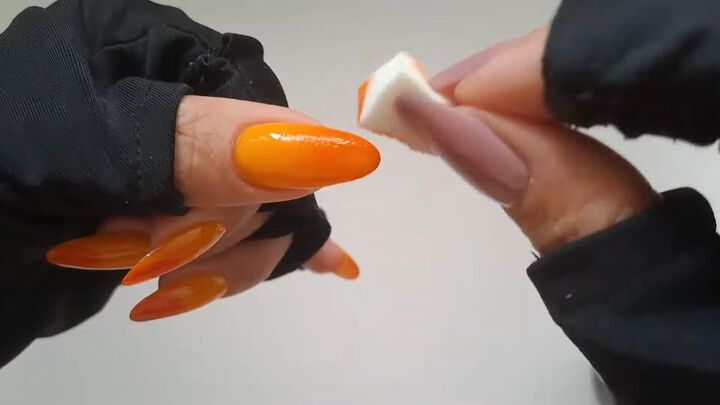
4. Apply red gel polish at the tips, stamp and cure
Apply a dot of red gel polish at the tip of each nail on this hand.
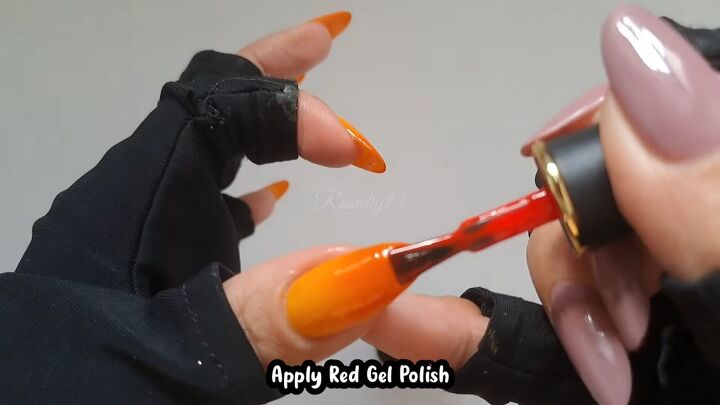
Then stamp lightly with the same makeup wedge, keeping the red color at the tip of the nails.
Then cure for 60 seconds.
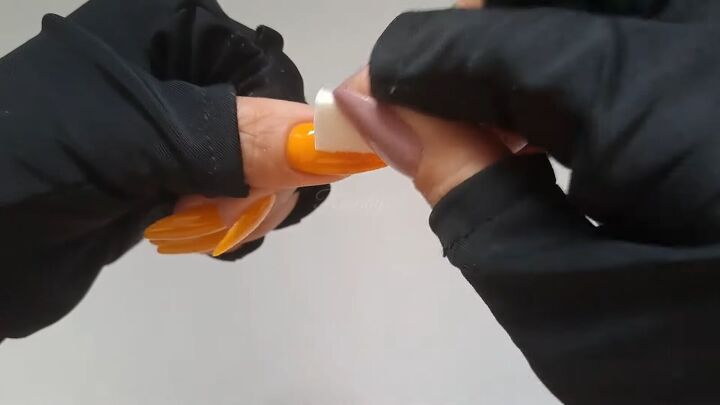
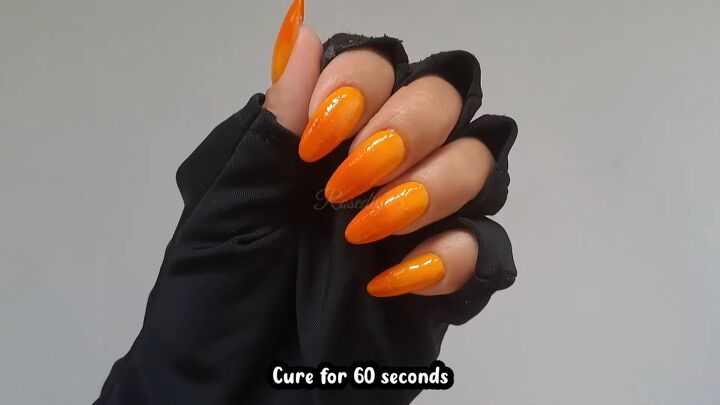
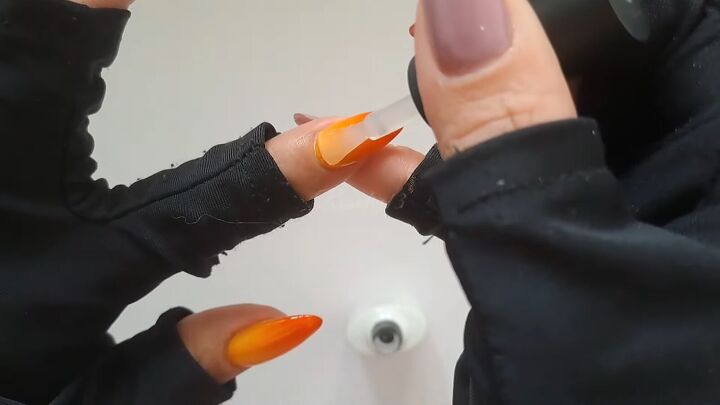
5. Apply a top coat and cure
Finally, apply a matte top coat to all the nails and cure for 60 seconds. Then repeat the process on your other hand.
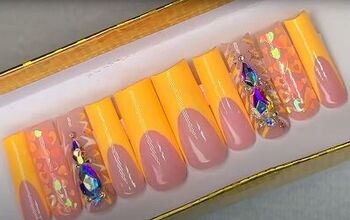
Here are the results of these burnt orange ombre nails:
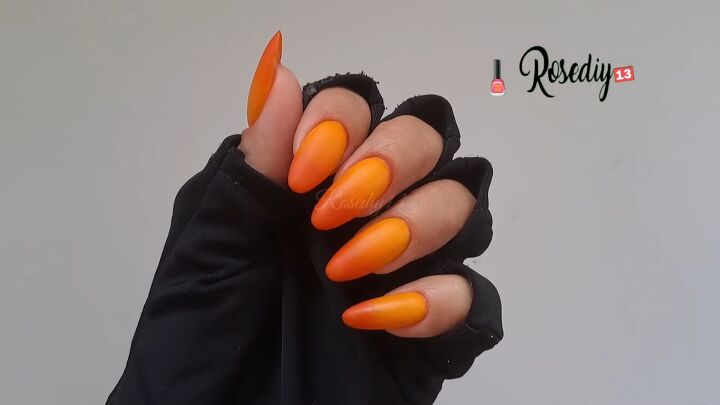
Ombre orange nails
Now that you’ve learned how easy it is to make these burnt orange ombre nails, will you try these out before the end of summer?
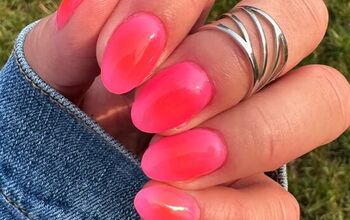
If you love ombre, check out these ombre pink and white nails next!
The author may collect a small share of sales from the links on this page.


Comments
Join the conversation